iPhone Photography! By Jill Warland EDCP 305 Digital Media University of British Columbia

iPhone Digital Photography
Aug 19, 2015
Welcome message from author
This document is posted to help you gain knowledge. Please leave a comment to let me know what you think about it! Share it to your friends and learn new things together.
Transcript

iPhone Photography!
By Jill WarlandEDCP 305 Digital MediaUniversity of British Columbia

Getting Started I’ve been working on an iPhone 5 Version
7.0.3 for this project
In the past I have used both traditional film and digital cameras , but it wasn’t until I got an iPhone with a built in camera that I began to get excited about taking photos
Now I’m pretty much an obsessive compulsive photographer, and shoot nearly every day. Most of my favourites I post to Facebook or Flickr, but that’s about as far as I take my work.

On camera effects and editing
Before taking a shot, you can select the
following options:1. LIGHTING: From the top left of the screen, you can turn the flash to ON, OFF or AUTO. Flash is useless on objects more than a metre or so away but comes in handy to ‘fill-in’ shadowy areas.
2. HDR: High Dynamic Range captures a greater vibrancy between lightest and darkest areas of an image. It will pick up more texture, for example, in a sky or washed out area.

Regular vs
HDR skies

3. Rotate camera
lens front-to-rear:
Shoot what is in front
of you or take a ‘selfie’
by pressing the
camera image at top
right.
Note that in the
second option, you’re
seeing a mirror image
and on the actual
photo rights and lefts
will be reversed

4. Filters: Press the 3 interlocking circles icon at the bottom right to bring up 9 filters you can choose from.
Select one of these before or after you shoot.
To the right is a screen shot of what the photo
viewfinder sees when you choose the filter button
before shooting
Filters cannot be applied to panoramas or videos

Fade filter option

Chrome
filter
option

5. Scroll along the bottom of your screen viewer to set
the camera to VIDEO, PHOTO, SQUARE and
PANO
The PANORAMIC option allows for a 180° view.
Hold the camera in the upright (portrait) orientation, and turn your body all the way to your left. Press the photo button and a horizontal line -------------------------- and will appear mid-screen. Pan slowly and steadily to your right, without stopping, aiming to keep the arrow on the horizontal line. Release your finger when done.
Any photo can be cropped square or rectangular when editing afterward.

Panoramic View
Panorama shots tend to have a flattening and curving effect on scenery so shooting a smaller range, less than 180 degrees, often gives a better result.

Other features There is also a ‘burst’ shooting feature that
allows multiple photos to be taken in rapid succession simply by keeping the shutter depressed. This is excellent for photographing sports, pets and other moving subjects.
When photographing in PHOTO or SQUARE mode, zoom in by touching two fingers to the screen and stretching them apart. Note that zooming will make images less sharp and more pixelated.

Editing photos on the iPhone

Editing tools
From your camera roll
select a picture to work from
At top right of your screen select ‘Edit’
Across the bottom of your screen will appear 5 icons for editing tools• Rotate• Enhance• Filter• Remove Red
Eye• Crop
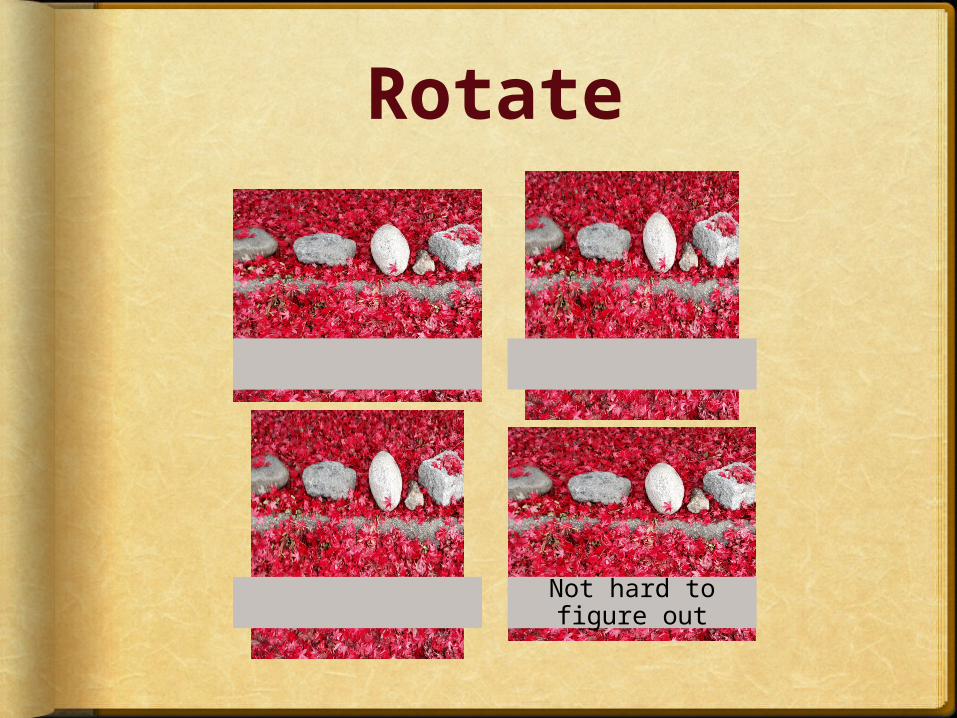
Not hard to figure out
Rotate

Enhance
Click on the magic wand
Colours will appear
brighter and darker
If you don’t like the effect, click the wand again
If you do like the effect, click
‘Save’ at top right
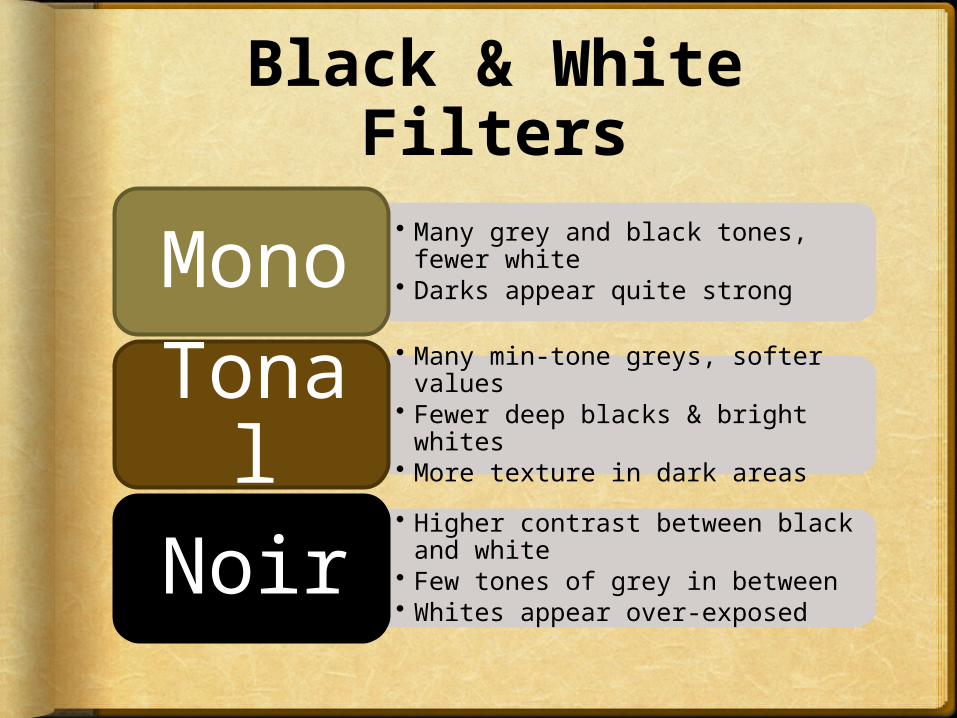
Black & White Filters• Many grey and black tones, fewer
white• Darks appear quite strong
Mono
• Many min-tone greys, softer values• Fewer deep blacks & bright whites• More texture in dark areasTonal• Higher contrast between black and
white• Few tones of grey in between• Whites appear over-exposed
Noir
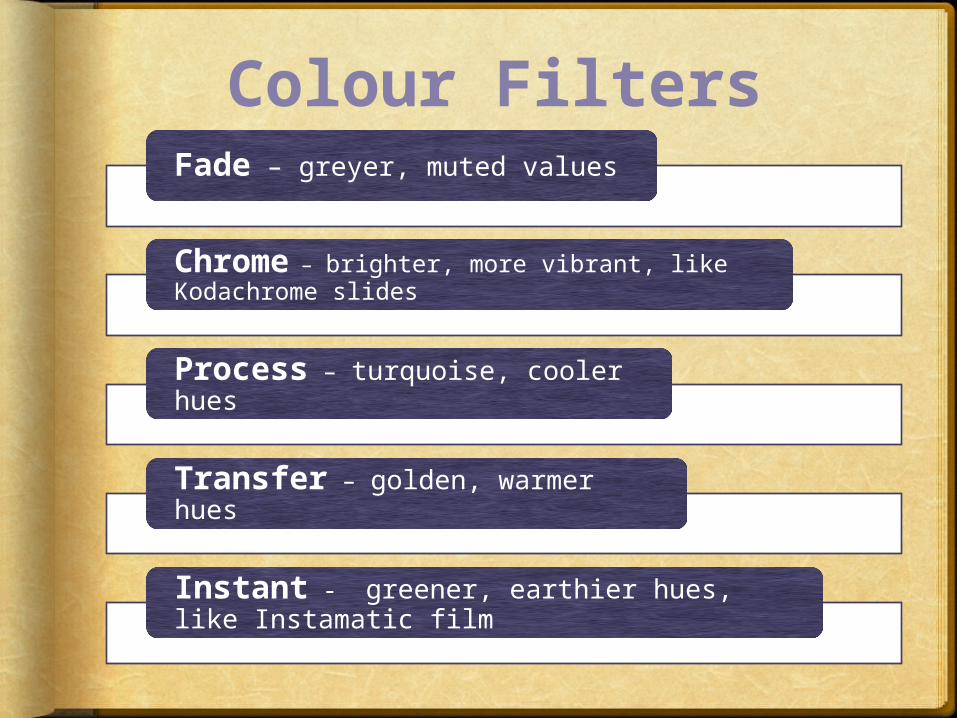
Colour FiltersFade – greyer, muted values
Chrome – brighter, more vibrant, like Kodachrome slides
Process – turquoise, cooler hues
Transfer – golden, warmer hues
Instant - greener, earthier hues, like Instamatic film

Let’s compare differences
FADE CHROME
PROCESS
TRANSFER
INSTANT
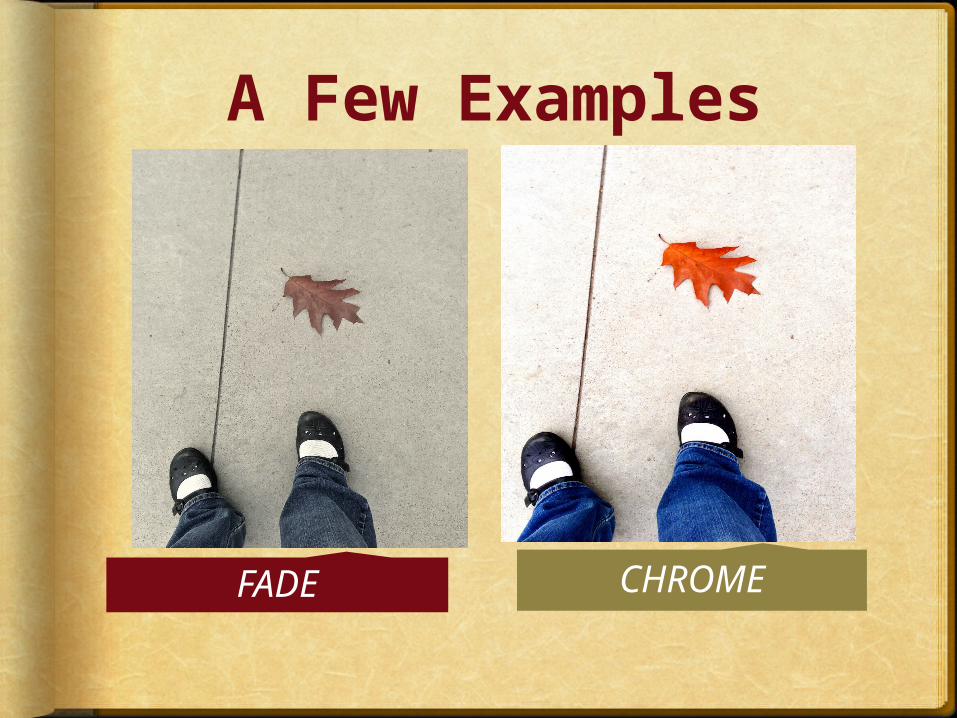
A Few Examples
FADE CHROME

Normal vs Fade
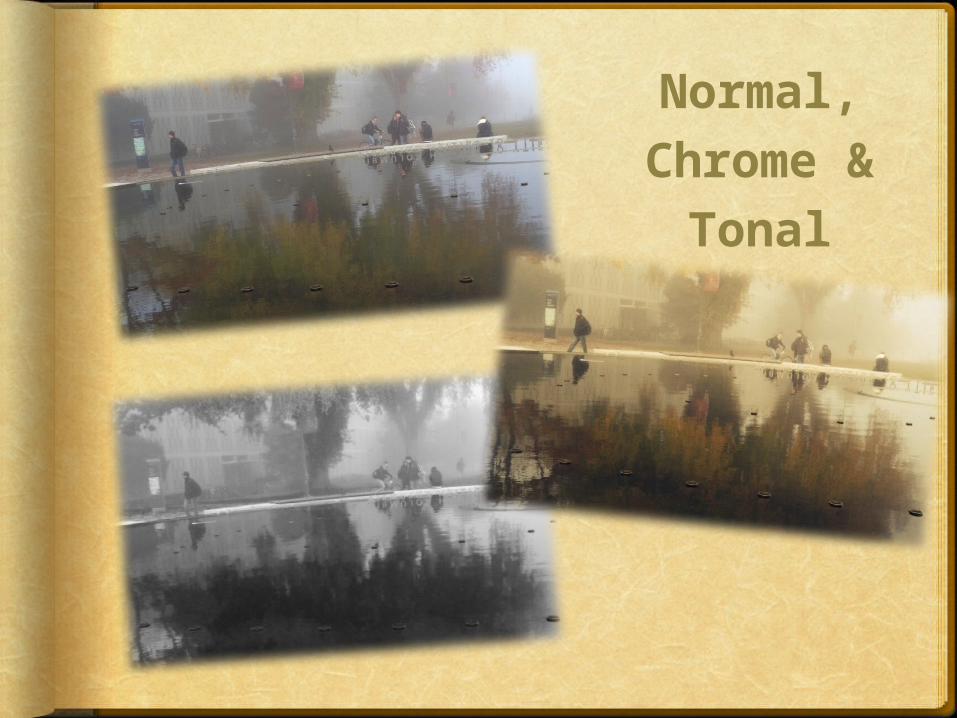
Normal, Chrome &
Tonal

Fade vs Transfer
The filters can be applied before or after you shoot. Don’t forget to try the enhance wand too!

R e d – E y eTap the eye icon and a message
will appear at the bottom:
“Tap each red-eye. Tap again to undo.”
Remember you can use two fingers
to zoom in for a more accurate
resultiPhoto has a built in face recognition program, which makes it nearly
impossible to remove bright dots from areas other than
faces.

Cropping
MANUALTighten your view of the subject•Remove clutter and distractions
•Zoom in on subject
ASPECT• Choose from
preset sizes• Touch screen to
center image within that size & shape
GRID• Allows for
balanced composition
• Follow Principle of Thirds
Remember you can crop in iPhoto on your computer as well
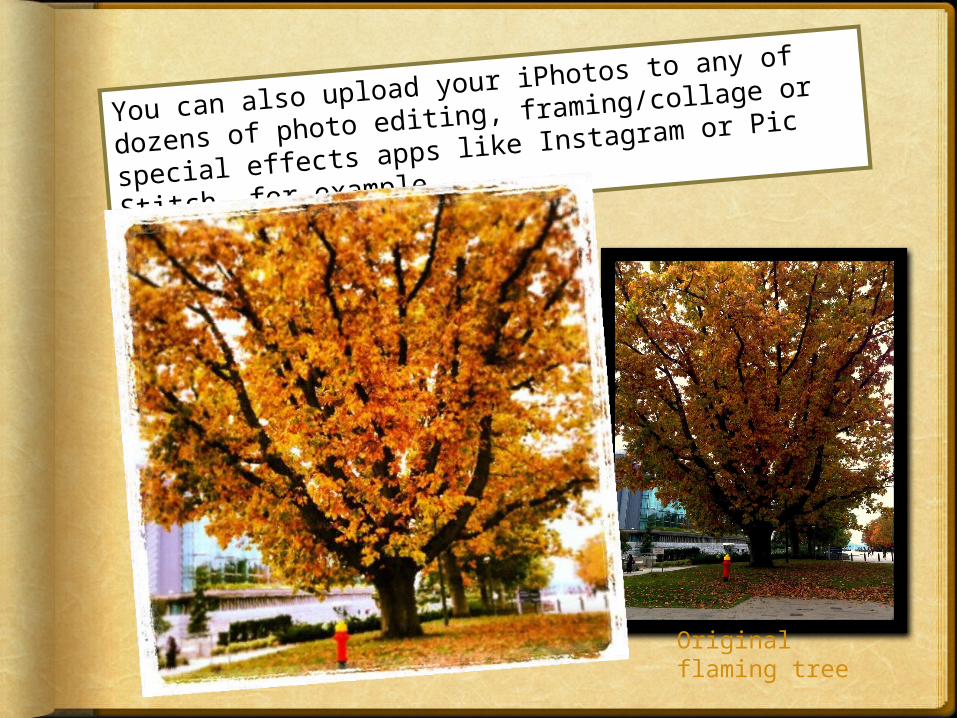
You can also upload your iPhotos to any of dozens
of photo editing, framing/collage or special effects
apps like Instagram or Pic Stitch, for example.
Original flaming tree
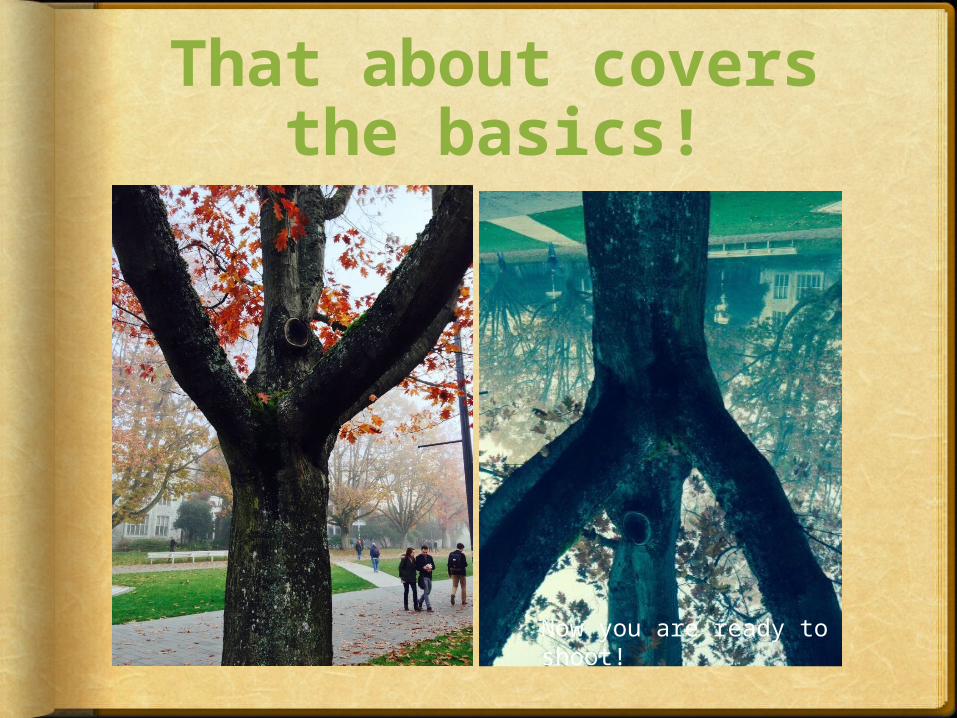
That about covers the basics!
Now you are ready to shoot!
Related Documents