iOS Development Tutorial Nikhil Yadav CSE 40816/60816: Pervasive Health 09/09/2011

Welcome message from author
This document is posted to help you gain knowledge. Please leave a comment to let me know what you think about it! Share it to your friends and learn new things together.
Transcript
iOS Development Tutorial
Nikhil YadavCSE 40816/60816: Pervasive Health
09/09/2011

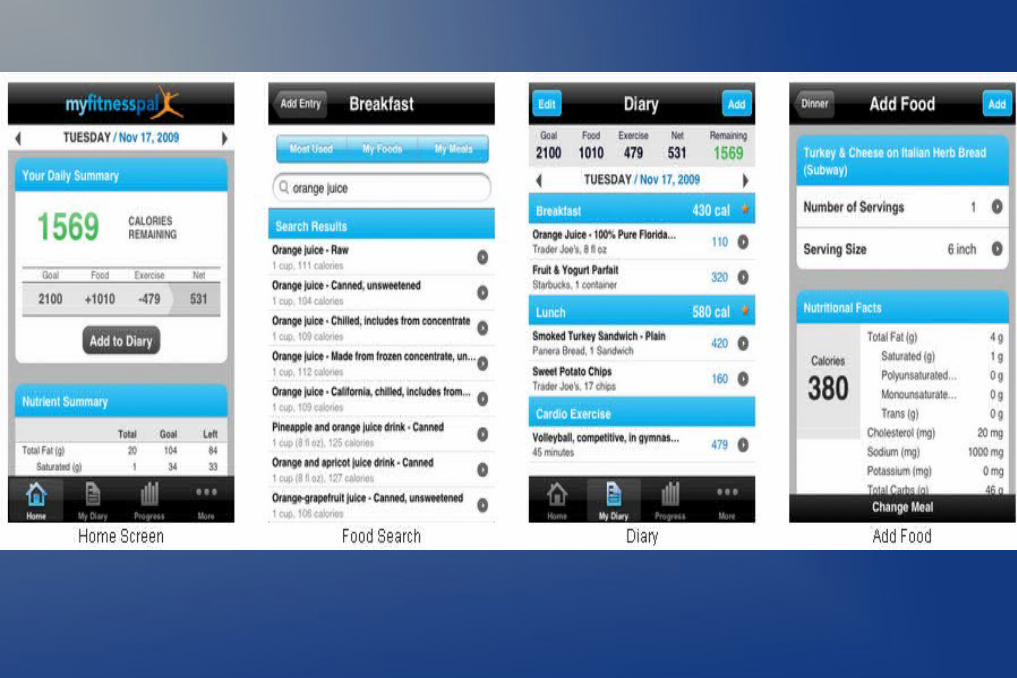
Healthcare iPhone apps ● Various apps for the iPhone available● Diagnostic, Diet and Nutrition, Fitness, Emotional
Well-being e.g. WebMD mobile.

Requirements•Apple Mac Computer (Desktop or laptop) with recent Snow Leopard/Lion builds (>=10.6)
• Apple Developer Registered Profile (create an account at http://developer.apple.com) • Apple iPhone SDK (can be downloaded from: http://developer.apple.com/devcenter/ios/ under Xcode and iOS SDK 4.1 and higher)
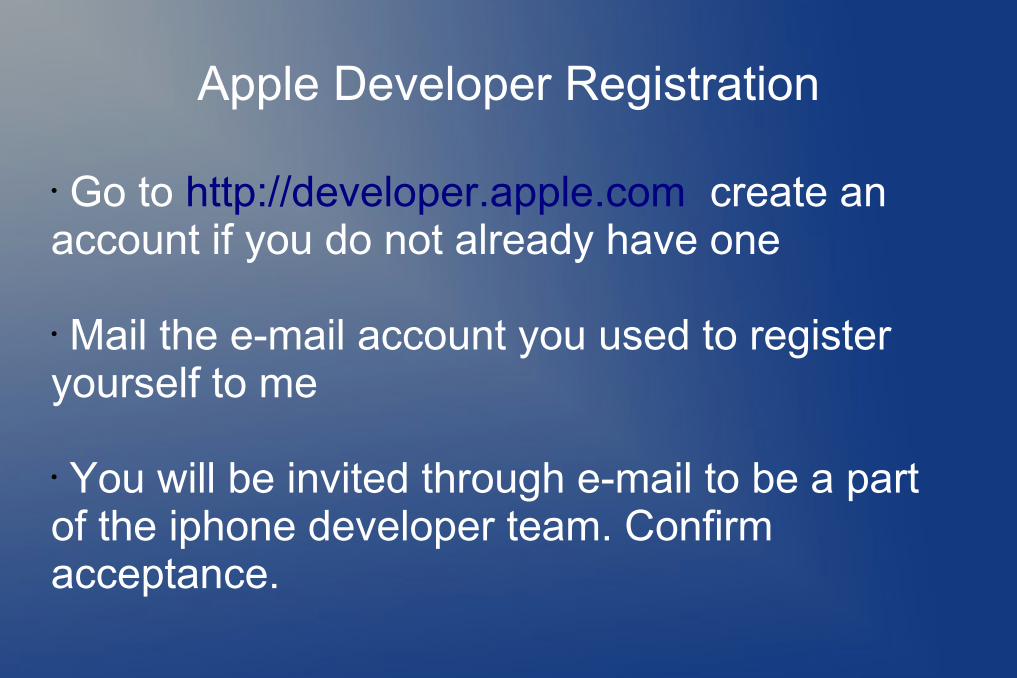
• Go to http://developer.apple.com create an account if you do not already have one
• Mail the e-mail account you used to register yourself to me
• You will be invited through e-mail to be a part of the iphone developer team. Confirm acceptance.
Apple Developer Registration

Apple Developer Site Access•Next time you log in to apple developer site it will look similar to:
•Select iPhone Developer Program Portal
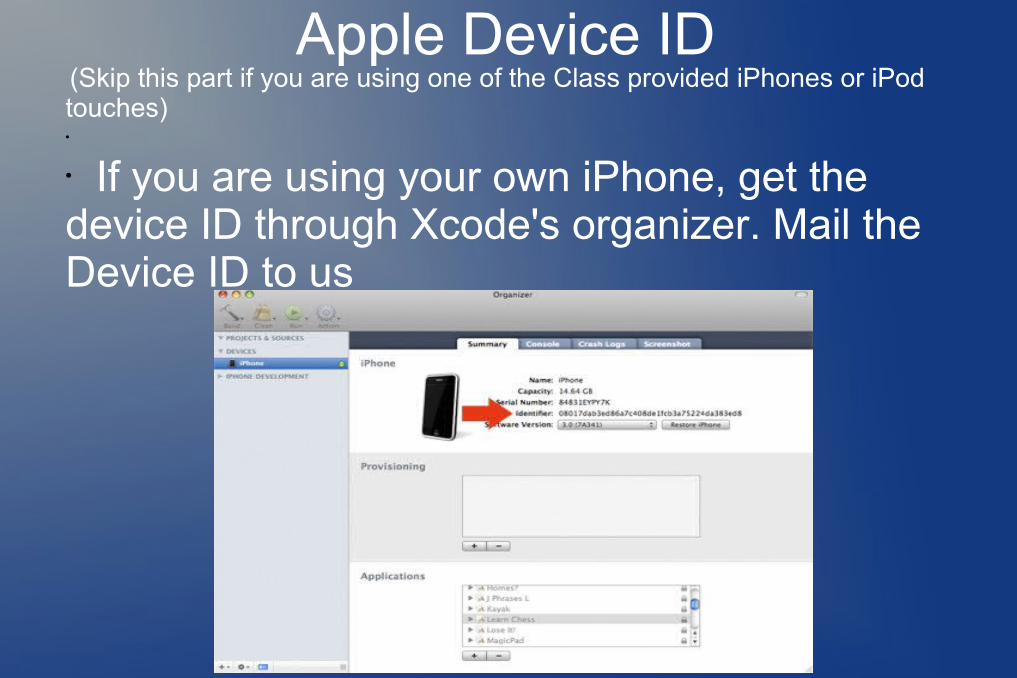
Apple Device ID(Skip this part if you are using one of the Class provided iPhones or iPod touches)•
• If you are using your own iPhone, get the device ID through Xcode's organizer. Mail the Device ID to us

Apple Development Certificate• Next you have to generate a certificate signing request
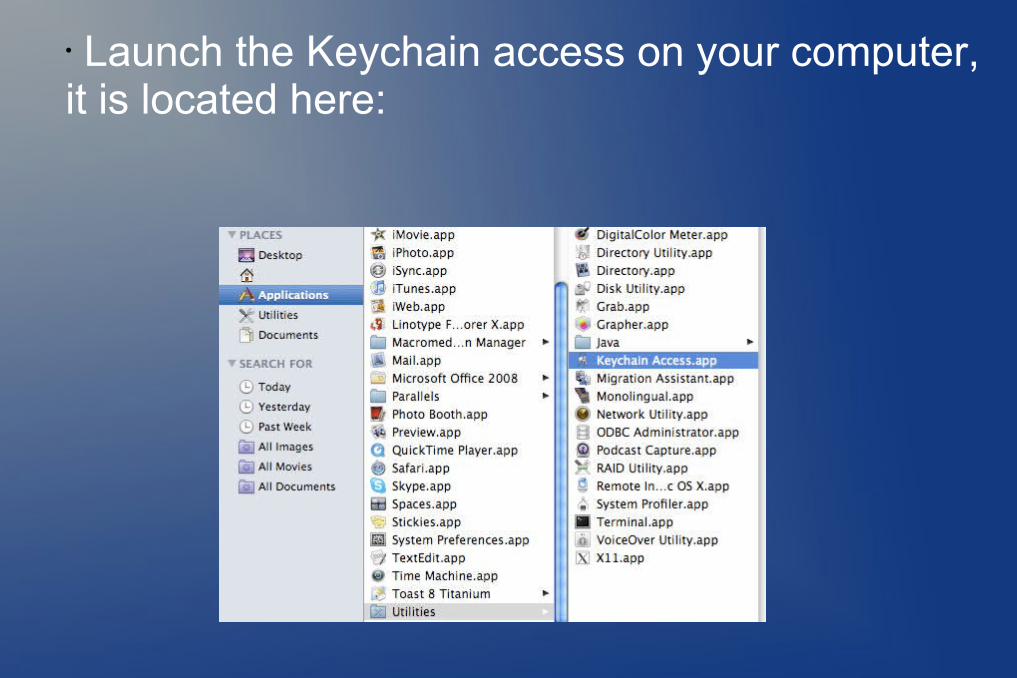
• Launch the Keychain access on your computer, it is located here:
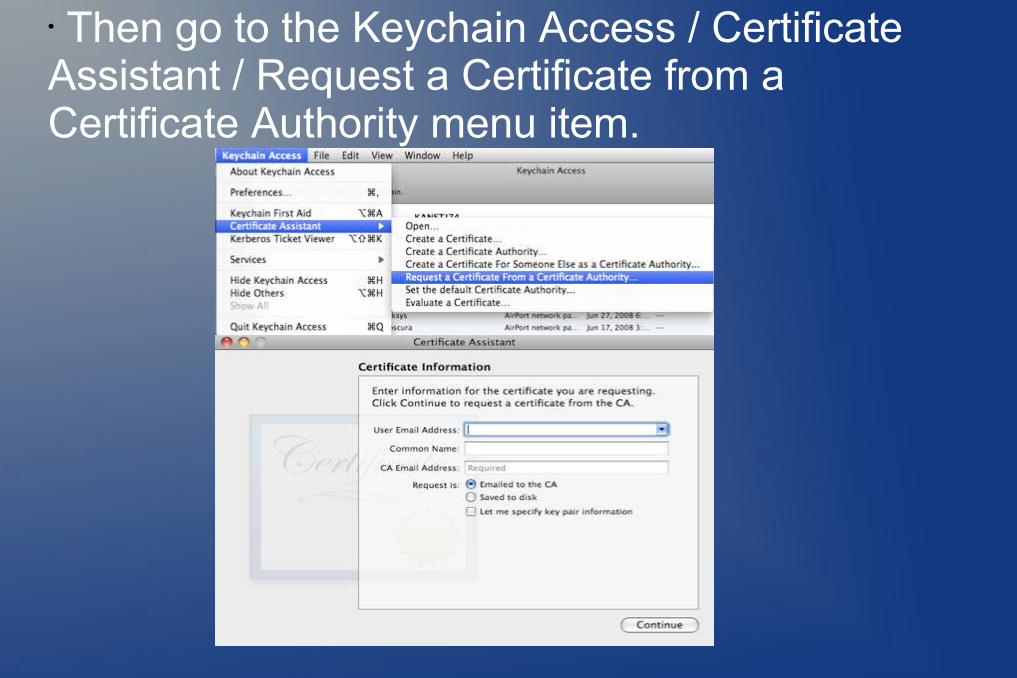
• Then go to the Keychain Access / Certificate Assistant / Request a Certificate from a Certificate Authority menu item.
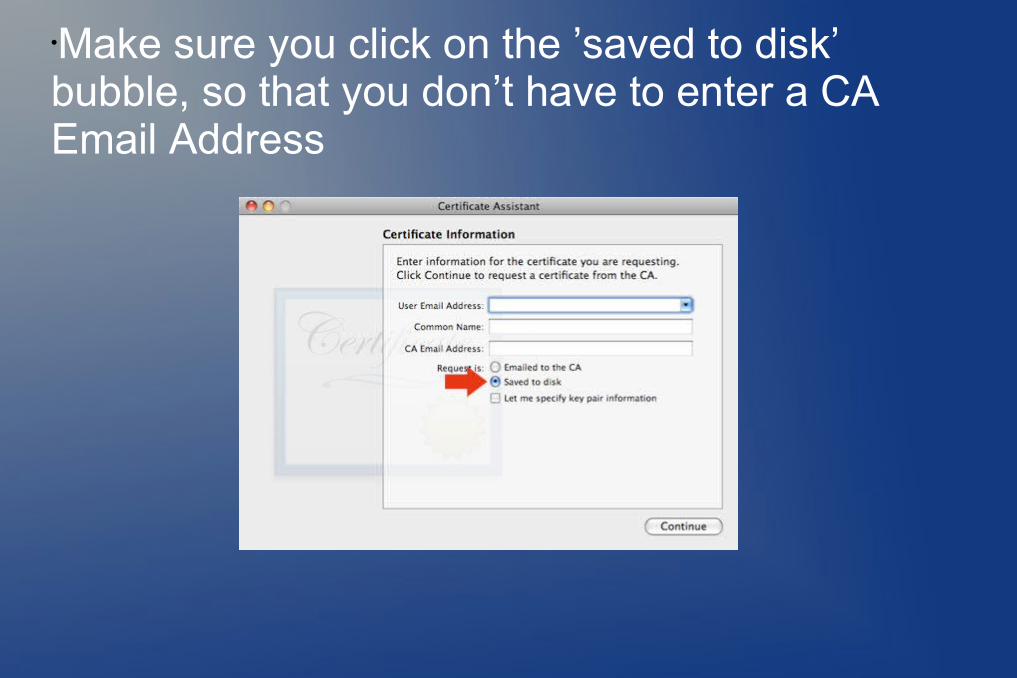
•Make sure you click on the ’saved to disk’ bubble, so that you don’t have to enter a CA Email Address

• Fill out the rest of the information, hit continue, and save the certificate somewhere on your computer that you will remember. Then, it’s back to the the provisioning assistant.

• Download the provisioning profile when prompted. And then double click on it

• Double clicking on your profile should open up Xcode and add it to your device, if it doesn’t open xcode, drag the provision to xcode.
If it doesn’t add it to your device, it’s possible you mistyped your device’s UDID. This can be fixed after you’ve finished going through this tutorial by going back to your program portal, going to the ‘devices’ tab, and changing the id in there, and then re-downloading your profile in the distribution tab.

• Download your certificate in an easy to remember location

Porting to actual iPhone device•Consider the following sample application (open it up in Xcode)
• Click on the arrow next to ‘Targets’, and then double click on the target name (in this case ‘iPhone oF’)
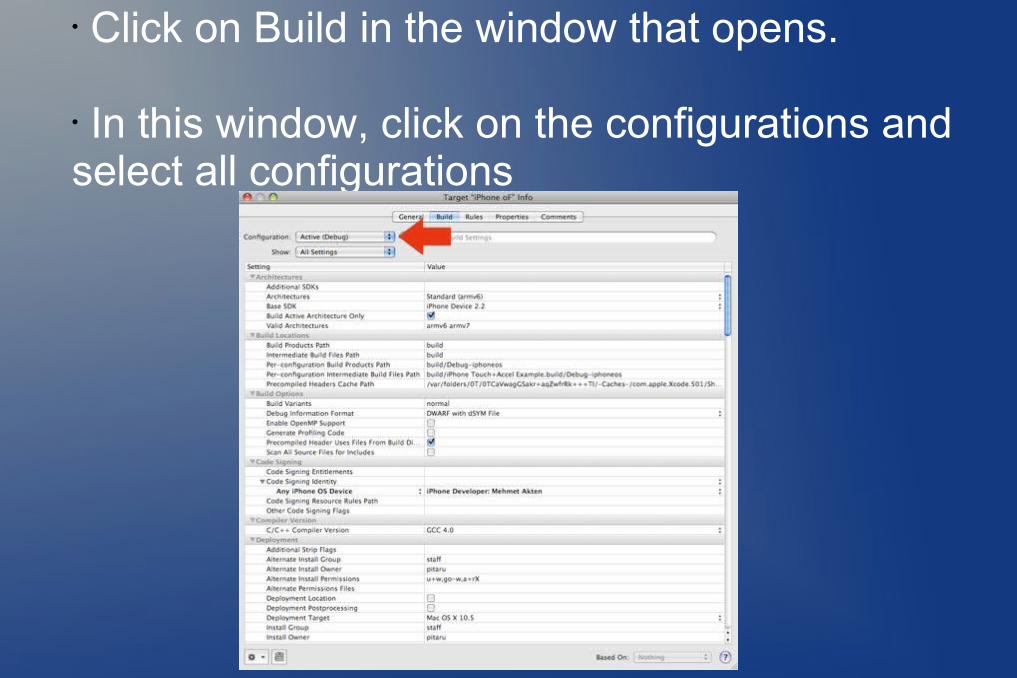
• Click on Build in the window that opens. • In this window, click on the configurations and select all configurations

• Then go down to where the Code Signing Identity line is. Across from Any iPhone OS Device, click on where it says iPhone Developer: (developer name)
• Select ‘iPhone Developer’ from the automatic profile selectors. This should make the current automatic selection be your profile.
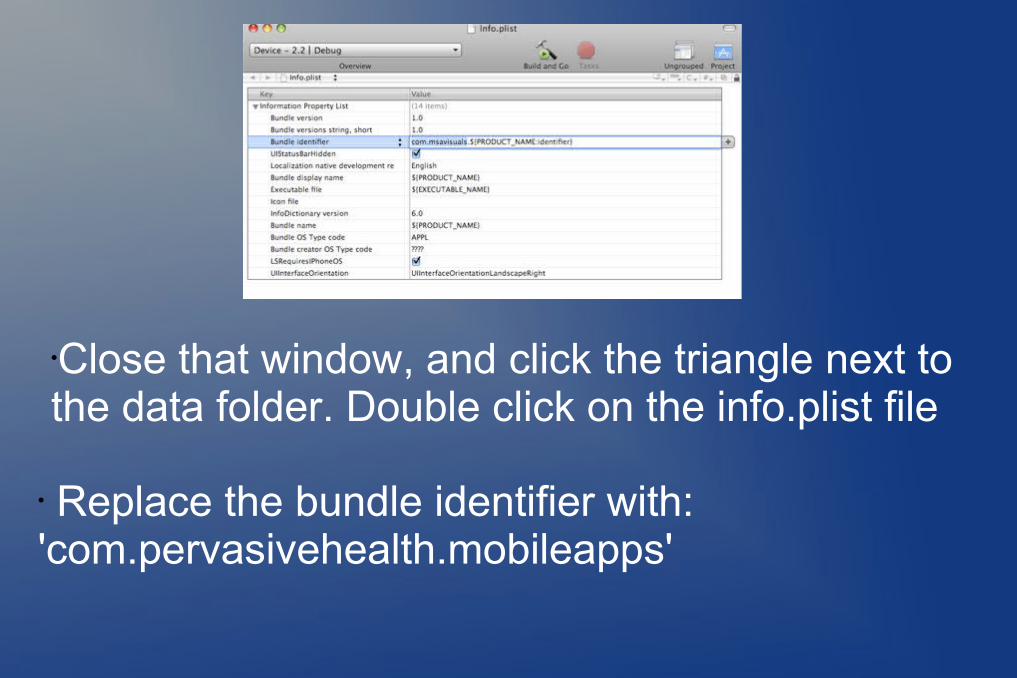
•Close that window, and click the triangle next to the data folder. Double click on the info.plist file
• Replace the bundle identifier with: 'com.pervasivehealth.mobileapps'
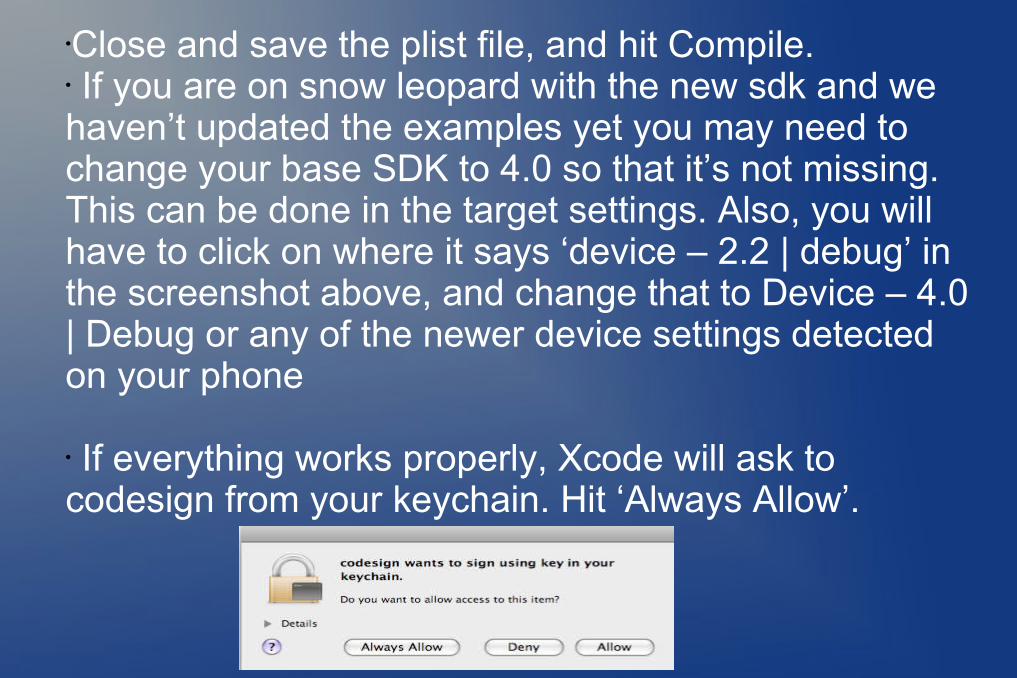
•Close and save the plist file, and hit Compile. • If you are on snow leopard with the new sdk and we haven’t updated the examples yet you may need to change your base SDK to 4.0 so that it’s not missing. This can be done in the target settings. Also, you will have to click on where it says ‘device – 2.2 | debug’ in the screenshot above, and change that to Device – 4.0 | Debug or any of the newer device settings detected on your phone
• If everything works properly, Xcode will ask to codesign from your keychain. Hit ‘Always Allow’.

iPhone Platform● ARM Processor● 128/256 MB RAM● BSD UNIX ● Mach Microkernel● COCOA APIs

COCOA● COCOA is a OO Framework● Based on NextStep ● Mostly written in Objective-C ● iPhone uses COCOA Touch

COCOA Framework● NS (NextStep)● CF (Core Foundation)● CA (Core Animation)● CI (Core Image)● Core Data● OpenGL

COCOA Conventions● Most classes begin with NS, I.E. NSObject,
NSString, NSArray or NSNumber● Designed around MVC pattern● Heavy use of delegation● iPhone specific components based on UIKit
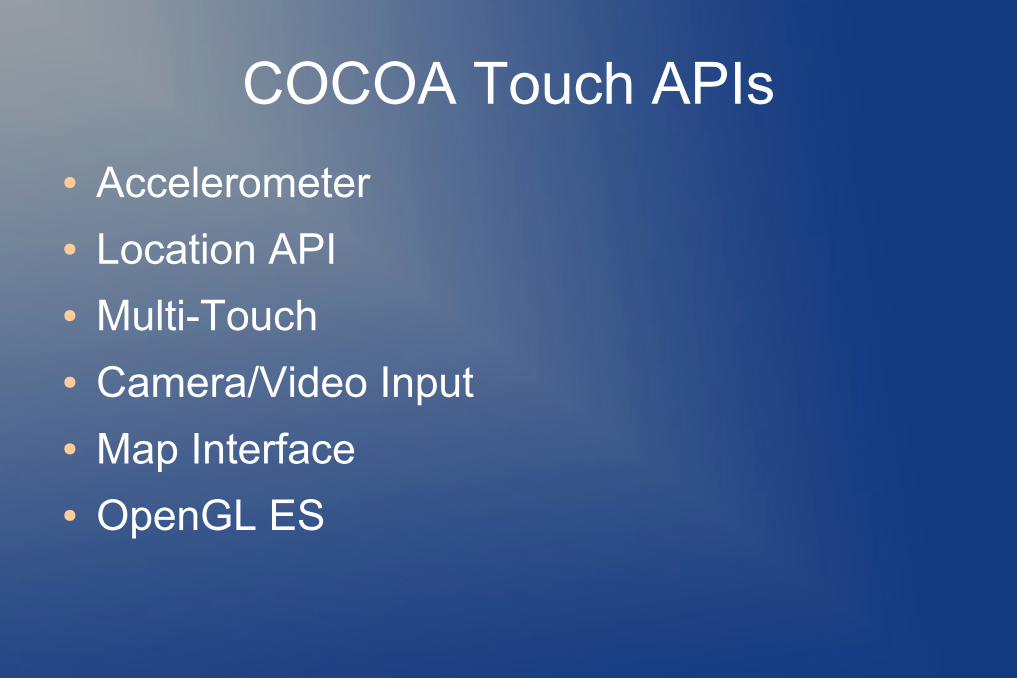
COCOA Touch APIs● Accelerometer● Location API● Multi-Touch● Camera/Video Input● Map Interface● OpenGL ES

Objective-C● Somewhere in-between C++ and Java● Invented in 1980’s for Next Computing● Based on C with SmallTalk like extentions● Used in COCOA, OpenStep and GNUStep● Class based OO language
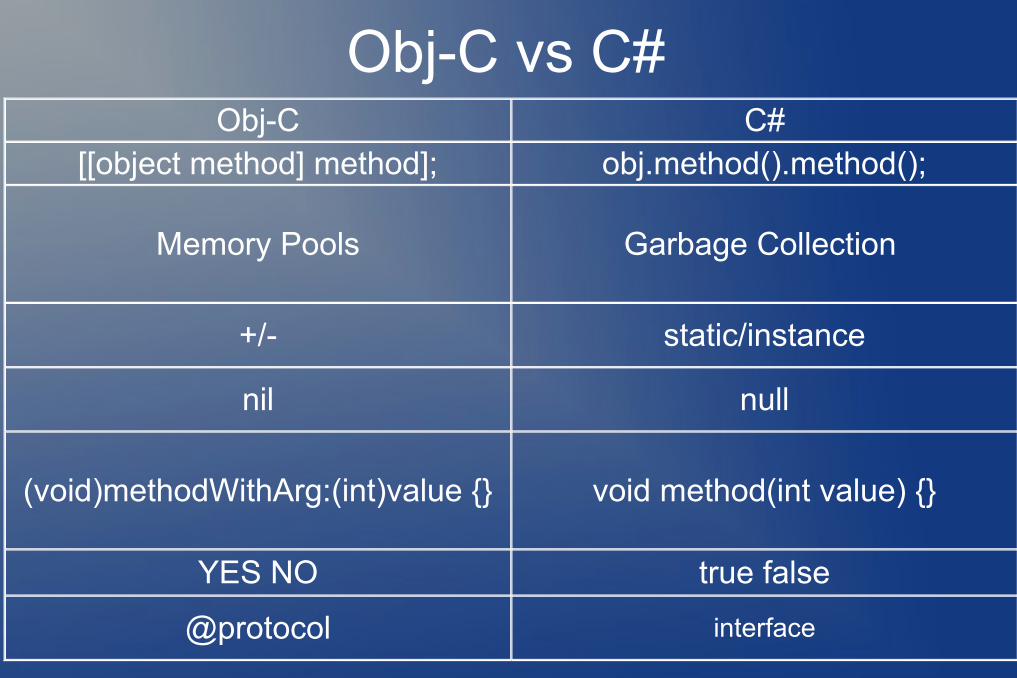
Obj-C vs C#Obj-C C#
[[object method] method]; obj.method().method();
Memory Pools Garbage Collection
+/- static/instance
nil null
(void)methodWithArg:(int)value {} void method(int value) {}
YES NO true false
@protocol interface

Objective-C Structure● Obj-C Class composed of two files: header
and implementation, or .h and .m● header uses the @interface and
implementation uses @implementation

#import <UIKit/UIKit.h>@interface LottoRandomAppDelegate : NSObject <UIApplicationDelegate>{ UIWindow *window;}@property (nonatomic, retain) IBOutlet UIWindow *window;@end
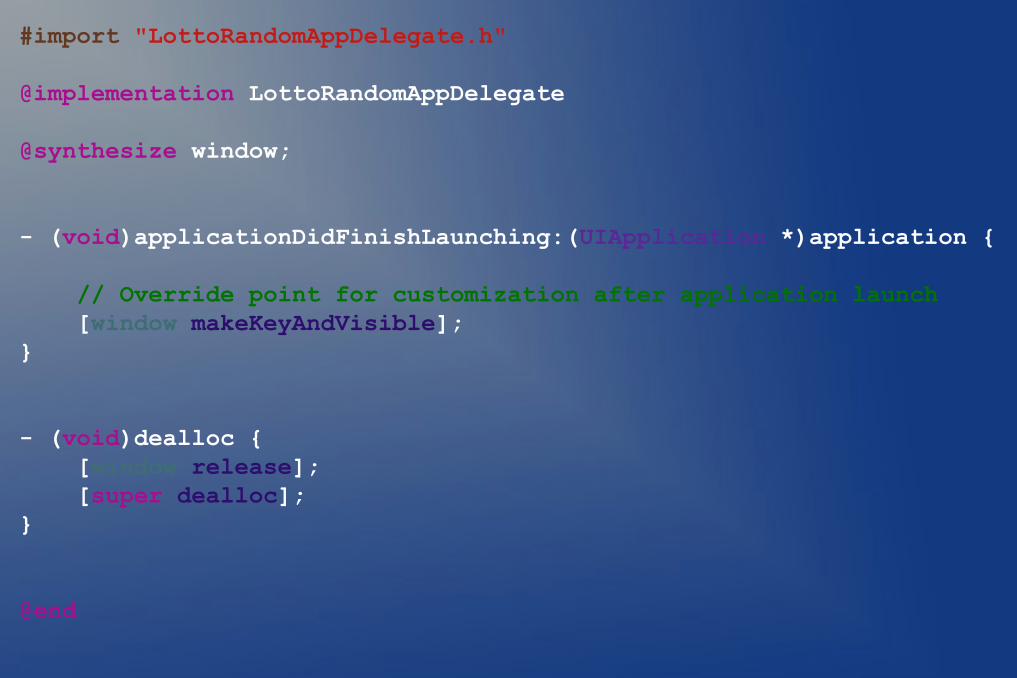
#import "LottoRandomAppDelegate.h"@implementation LottoRandomAppDelegate@synthesize window;
- (void)applicationDidFinishLaunching:(UIApplication *)application { // Override point for customization after application launch [window makeKeyAndVisible];}
- (void)dealloc { [window release]; [super dealloc];}
@end
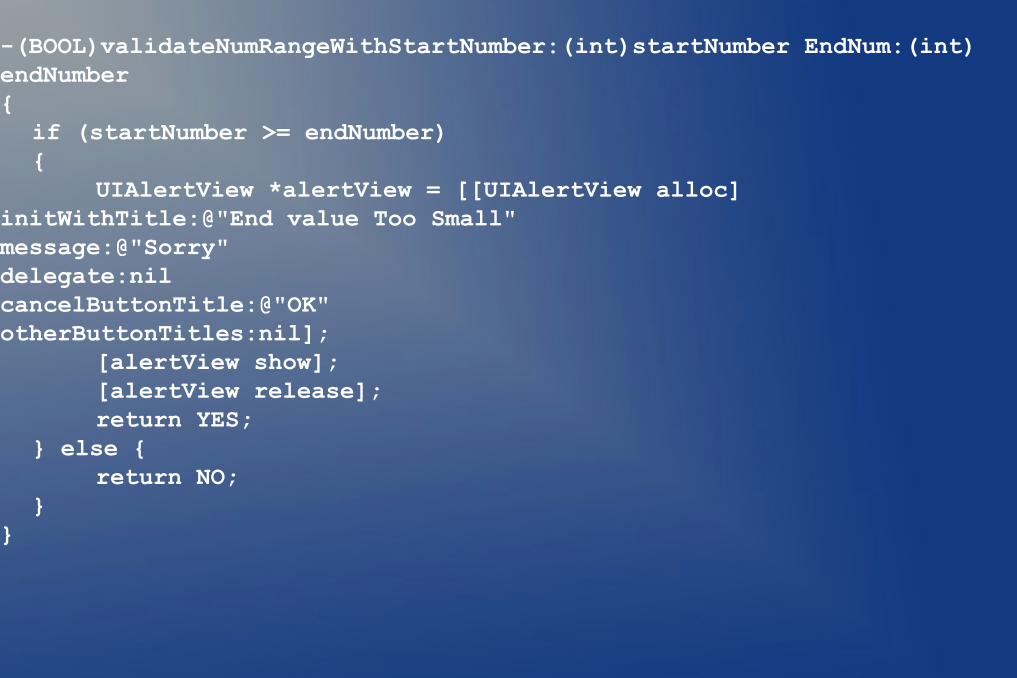
-(BOOL)validateNumRangeWithStartNumber:(int)startNumber EndNum:(int) endNumber{
if (startNumber >= endNumber){
UIAlertView *alertView = [[UIAlertView alloc] initWithTitle:@"End value Too Small" message:@"Sorry" delegate:nil cancelButtonTitle:@"OK" otherButtonTitles:nil];
[alertView show];[alertView release]; return YES;
} else {return NO;
}}

Selectors● SEL type defines a method signature● -(void)setAction:(SEL)aSelector● SEL mySelector;● mySelector = @selector(drawMyView:);● [myButton setAction:mySelector];

Memory Management● C used methods like malloc and free● Obj-C uses object retain pool● Garbage Collection on the Mac, but not on the
iPhone● Inherit management methods from NSObject
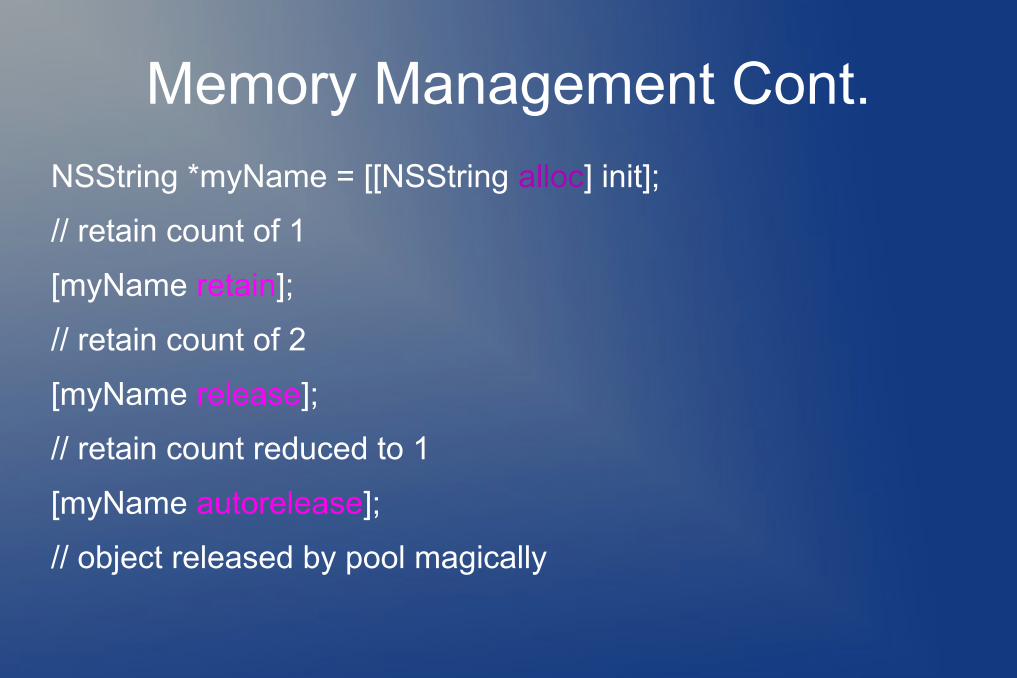
Memory Management Cont.NSString *myName = [[NSString alloc] init];
// retain count of 1
[myName retain];
// retain count of 2
[myName release];
// retain count reduced to 1
[myName autorelease];
// object released by pool magically

MVC● Model-View-Controller
● COCOA has Controller classes● UIViewController Class● Views are in the XIB (NIB) files
Controllers● iPhone Apps commonly have multiple views● Push and Pop the Controllers for each View● Navigation Controller used to load different
views● UINavigationController

SDK Tools● Xcode 4.1 (and >) IDE● Interface Builder (Views)● Instruments (Profiler tool)● iPhone Simulator

Interface Builder● Tool for laying out interfaces● Separate Tool from Xcode● Bind Actions and Outlets in Controllers

Demo

View Based Application

● Open the Xcode and click on File > New Project. Select “View-Based Application” and click on “Choose..” button. Name this project “Hello World” and click “Save” button. Now you have a template for your hello world iphone project.

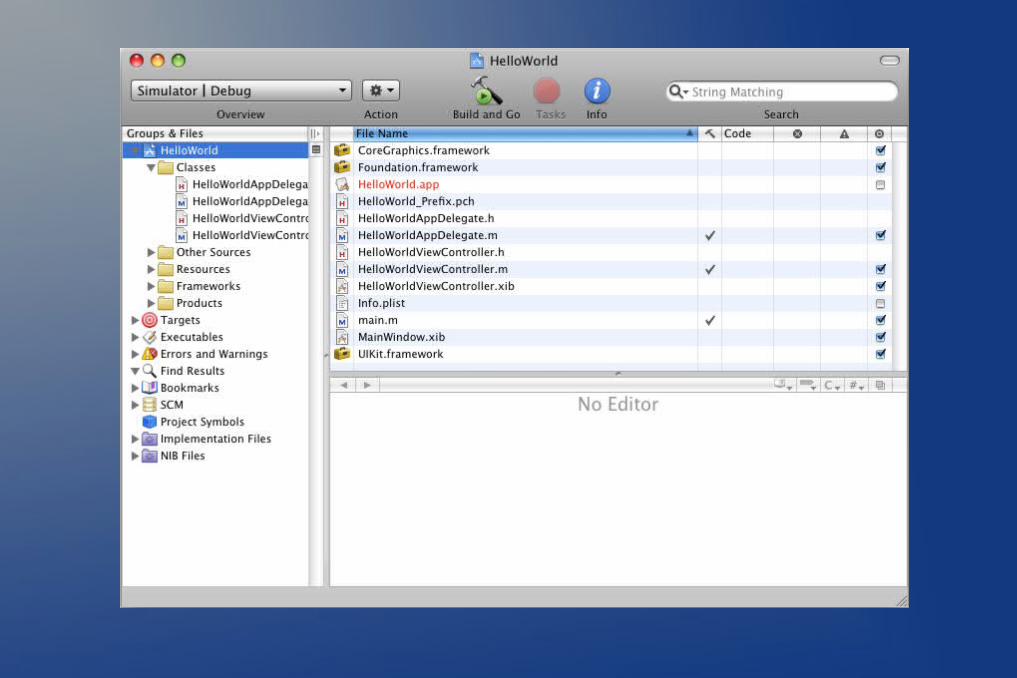

● Now click on Build and Go button to run this template application. It will start the iPhone simulator and you can see a gray screen on that. Click on Home button and it will show you a HelloWorld icon on the dash board of iPhone simulator. If you click on it again, it will open the application again. iPhone simulator is best tool to test your application before you deploy it on your device for testing or even before submitting to apple store.


● Open Xcode Project and edit HelloWorldViewController.h
#import <UIKit/UIKit.h>
@interface HelloWorldViewController : UIViewController {IBOutlet UITextField *txtUserName;IBOutlet UILabel *lblUserTypedName;}
- (IBAction) submitYourName;@end
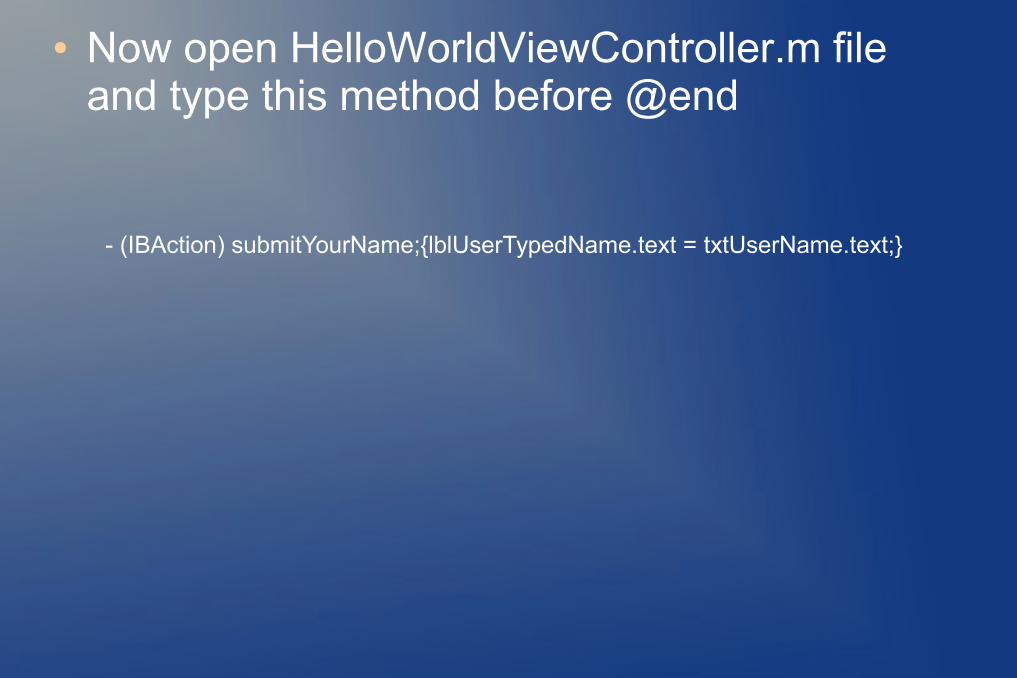
● Now open HelloWorldViewController.m file and type this method before @end
- (IBAction) submitYourName;{lblUserTypedName.text = txtUserName.text;}

● Now lets start some design on interface builder. Open your xcode project and in “Group & Files” looked at bottom, you will see “NIB Files”, expand it and you will see two design files for your classes. One is the MainWindow.xib which is the main window or entry point to your application. Other one is HelloWorldViewController.xib file which is mapped to your controller class “HelloWorldViewController.h. For now we just want to change in HelloWorldViewController.xib file. Double click on that file to open it inside interface builder.
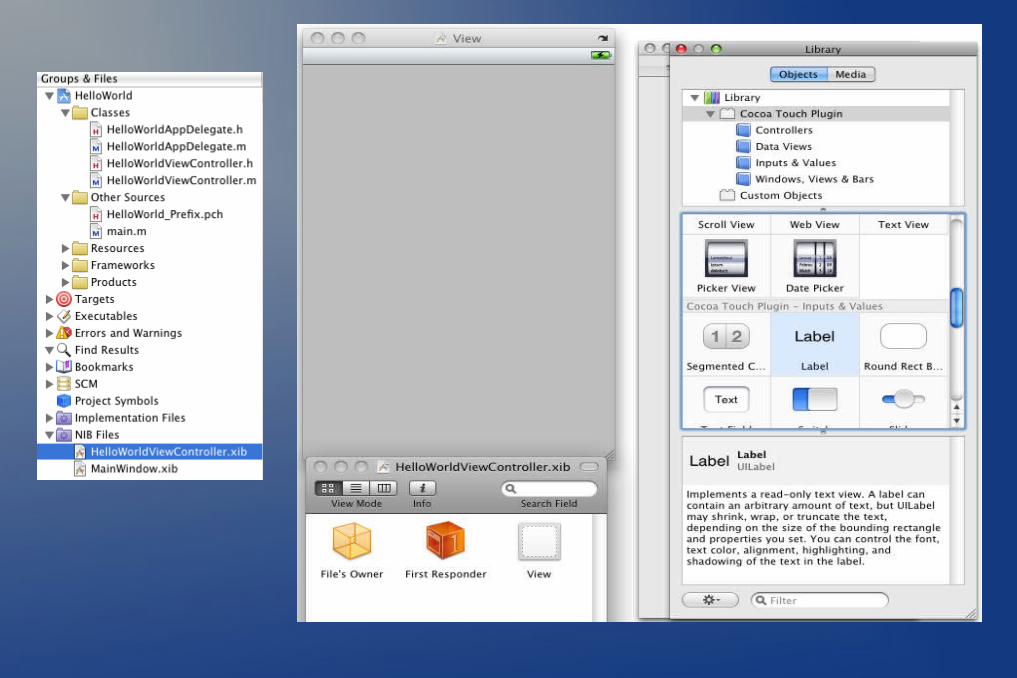

● Click on Tools and select Library (cmd + shift + L) and drag the text field to your view. As text field is already selected, click on Tools>Inspector (cmd + 1) and in Text field type “Your Name”.


● Now drag the TextField from Library to your view (cmd+shift+L) and also drag another Label inside view. Make sure label is selected, Click on tools and select “Size Inspector” (cmd + 3) and change the width of this text field to 250. Also go to tools and select Inspector, change the layout to center.

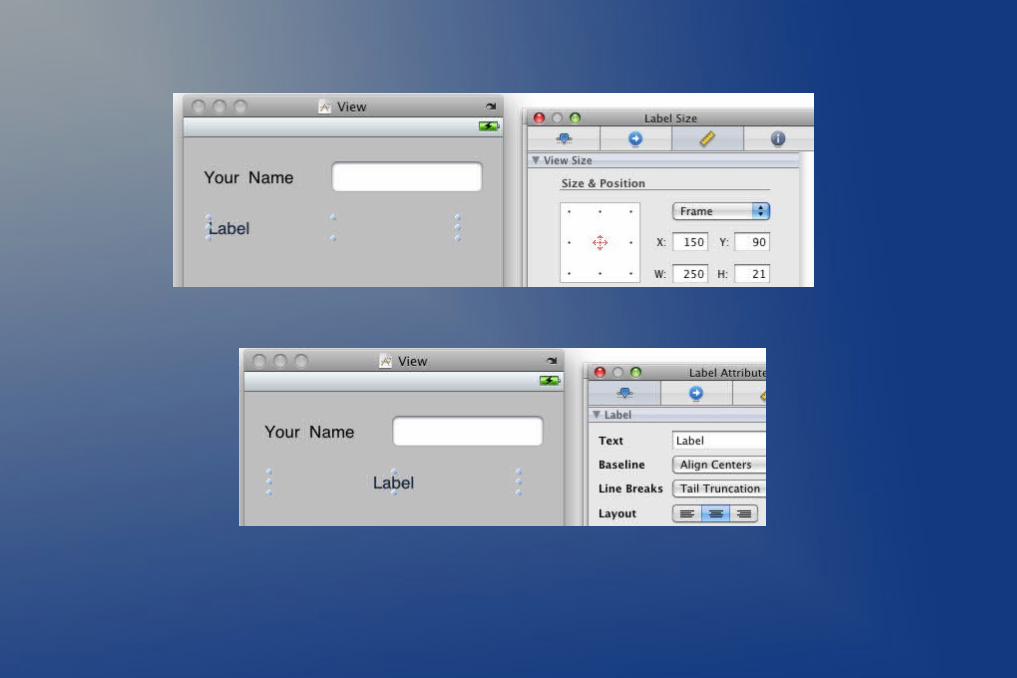

Last thing is to drag a button to the view (19) and then open Inspector again by selecting tools>Inspector. In Title type “Submit”.


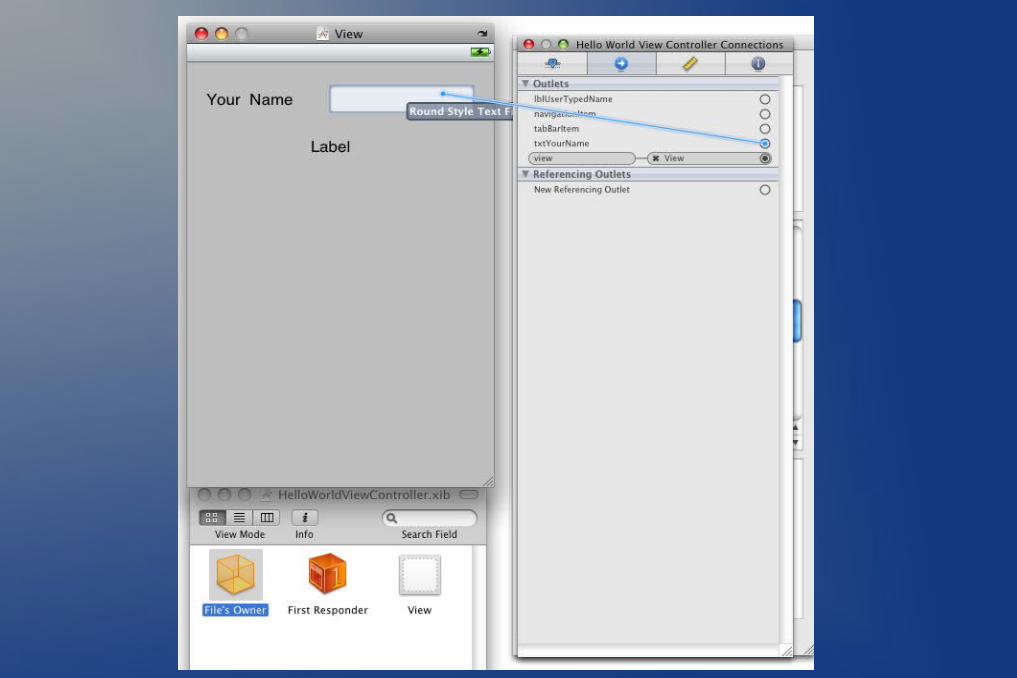
● Now map the controller class variable function and methods with interface builder. Select File’s Owner in Interface builder and select connection inspector from Tools cmd + 2

● Now you can see that two new variables are added in connection inspector txtUserName and lblUserTypedName. Click on txtUserName radio button and drag it to text field in view (as you can see in the image)
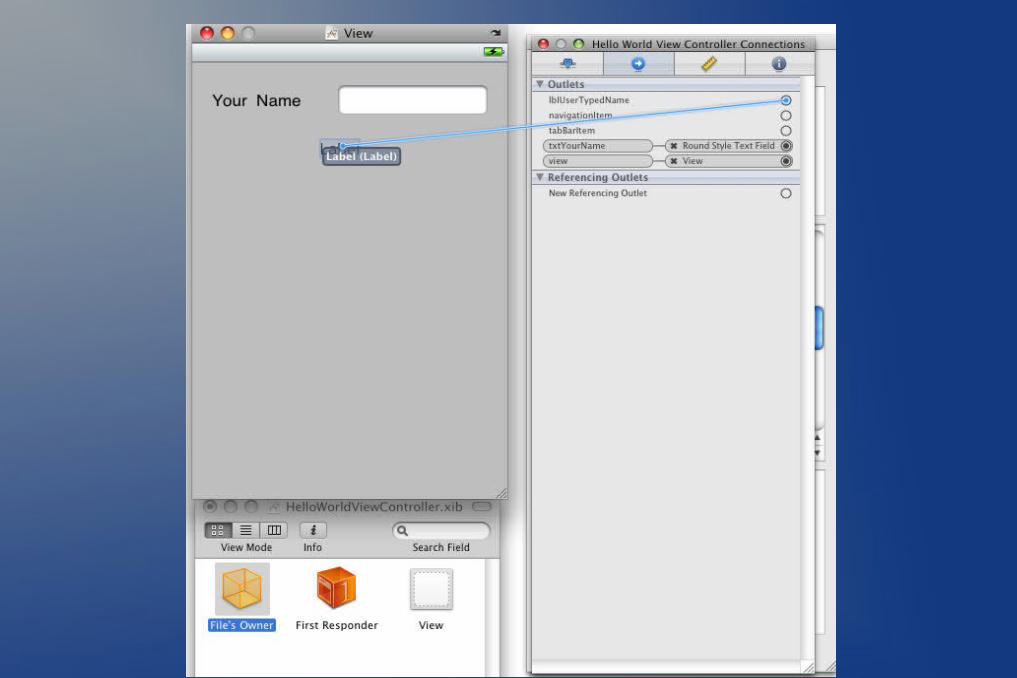
● Do the same with lblUserTypedName, select its radio and drag it to below label.

● Now the last step is, click on submitYourName radio and drag it to the button and select touch down from the list.


● Now close the interface and open xcode. Either press cmd + r or cmd + enter or simply press of “build and go” button to run this hello world application. It will open the simulator in iPhone.

Resources● http://developer.apple.com/
● http://developer.apple.com/library/ios/#documentation/Cocoa/Conceptual/ObjectiveC/Introduction/introObjectiveC.html
● http://www.cocoadev.com/
Related Documents