Gianluca Costa Introduction to Docker http://gianlucacosta.info/

Welcome message from author
This document is posted to help you gain knowledge. Please leave a comment to let me know what you think about it! Share it to your friends and learn new things together.
Transcript
Introduction
● VM-based virtualization is an overwhelmingly vast sector, rich in nuances and featuring a wide variety of solutions
● On the other hand, Docker is a very recent and evolving technology, surrounded by a vibrant, ever-changing ecosystem
● We are going to see a practical introduction to Docker, focusing on its building blocks – images and containers - trying to grasp their very essence, especially in relation to traditional virtualization, without any claim of completeness
● After discussing Docker, we'll briefly see a simple but complete distributed application demonstrating how to use Docker containers in practice, side-by-side with a hypervisor creating a virtual network node
● Special thanks to Prof.ssa Anna Ciampolini of University of Bologna for her kind interest in the project and for her valuable advice and suggestions; special thanks to Ing. Arialdo Martini for making me discover containerization and Docker
Virtual machines...
● In traditional virtualization, every virtual machine is an isolated sandbox on top of a hypervisor (or VMM – Virtual Machine Monitor)
● This solution is excellent in a broad range of contexts, such as multi-tenant services based on different operating systems
● It is the hypervisor itself that usually provides a complete abstraction of the underlying architecture, enabling the execution of any operating system within each VM
● This strategy, however, might impact on performances: despite optimizations such as fast binary translation and virtualizable architectures, hypervisors still require CPU work to orchestrate their VMs
● What if – for example - we just needed sandboxing for our services on the same operating system?
...and containers!
● Containers are a new, lightweight way to perform virtualization
● In lieu of a hypervisor layer abstracting the hardware for different operating systems, it's the OS kernel itself that provides a dedicated view of the machine (file system, processes, network interfaces, …) - in other words, a kernel namespace – to the processes requesting one
● A first immediate consequence of this strategy is that every abstraction capability is delegated to the host kernel – including the execution of programs targeting different OS's and architectures

Brief comparison
Hypervisor Container-enabled kernel
Runs operating systems Runs processes
Heavyweight isolated virtual machines Lightweight kernel namespaces
Can theoretically emulate any architecture Is less flexible in architecture emulation
VMs start via a full boot-up process Very fast namespace + process creation
Platform-oriented solution Service-oriented solution
Optimized for generality Optimized for minimalism and speed
HW
VMM
VM 1 VM 2
OS 1 OS 2
APP 1 APP 2 APP 3
HW
OS
APP 1 APP 2 APP 3
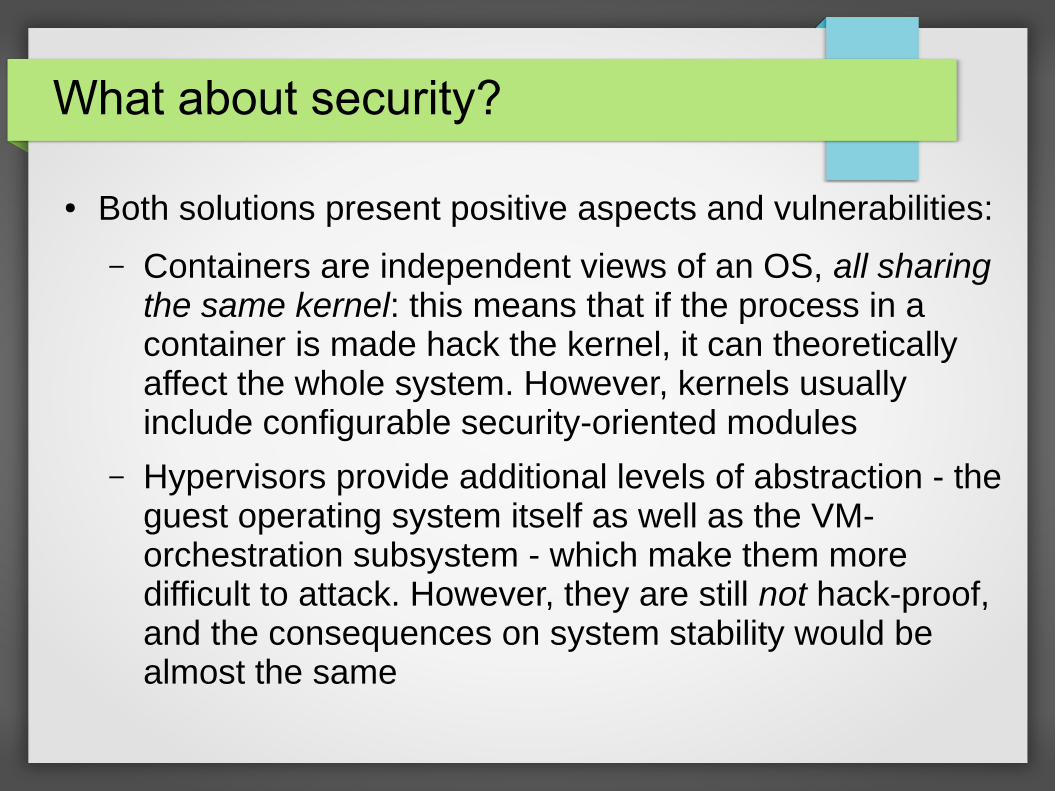
What about security?
● Both solutions present positive aspects and vulnerabilities:
– Containers are independent views of an OS, all sharing the same kernel: this means that if the process in a container is made hack the kernel, it can theoretically affect the whole system. However, kernels usually include configurable security-oriented modules
– Hypervisors provide additional levels of abstraction - the guest operating system itself as well as the VM-orchestration subsystem - which make them more difficult to attack. However, they are still not hack-proof, and the consequences on system stability would be almost the same
Containers in Linux
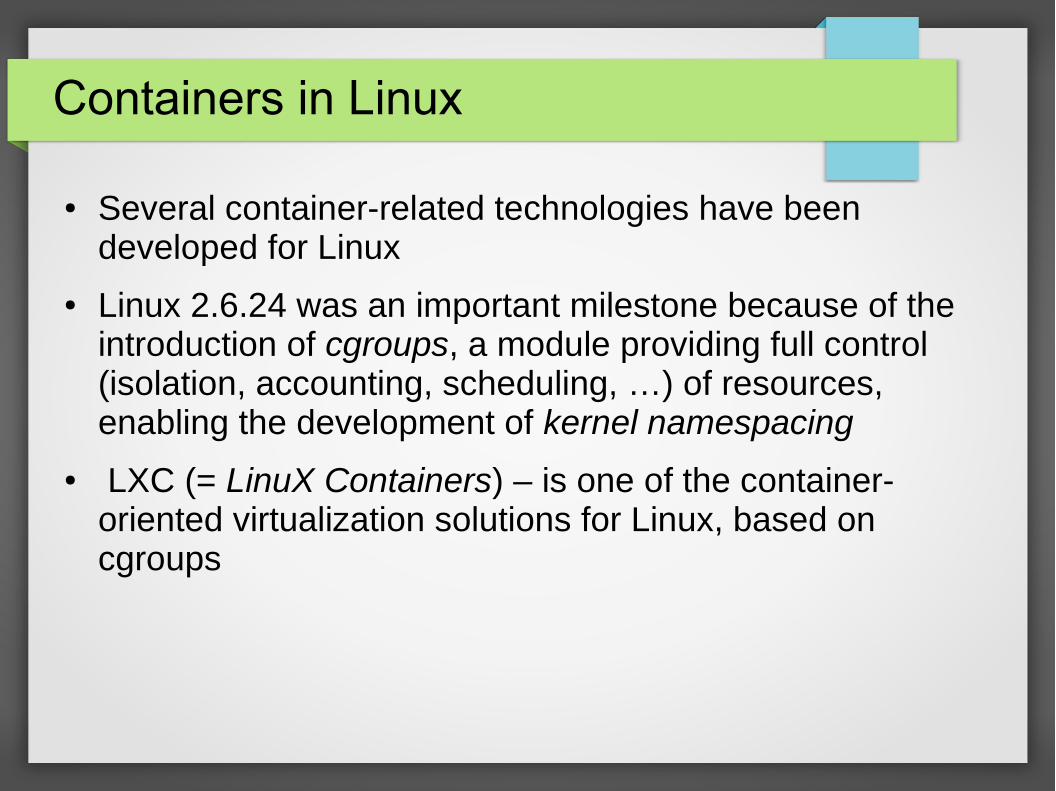
● Several container-related technologies have been developed for Linux
● Linux 2.6.24 was an important milestone because of the introduction of cgroups, a module providing full control (isolation, accounting, scheduling, …) of resources, enabling the development of kernel namespacing
● LXC (= LinuX Containers) – is one of the container-oriented virtualization solutions for Linux, based on cgroups

What is Docker?
● Docker is “a platform for developers and sysadmins to develop, ship, and run applications”, based on containers
● Docker is open-source, mainly created in Go and originally on top of libvirt and LXC - later replaced by a unifying library, libcontainer, written in Go as well
● Docker simplifies and standardizes the creation and management of containers, also providing a simple and elegant Remote API to perform queries and actions
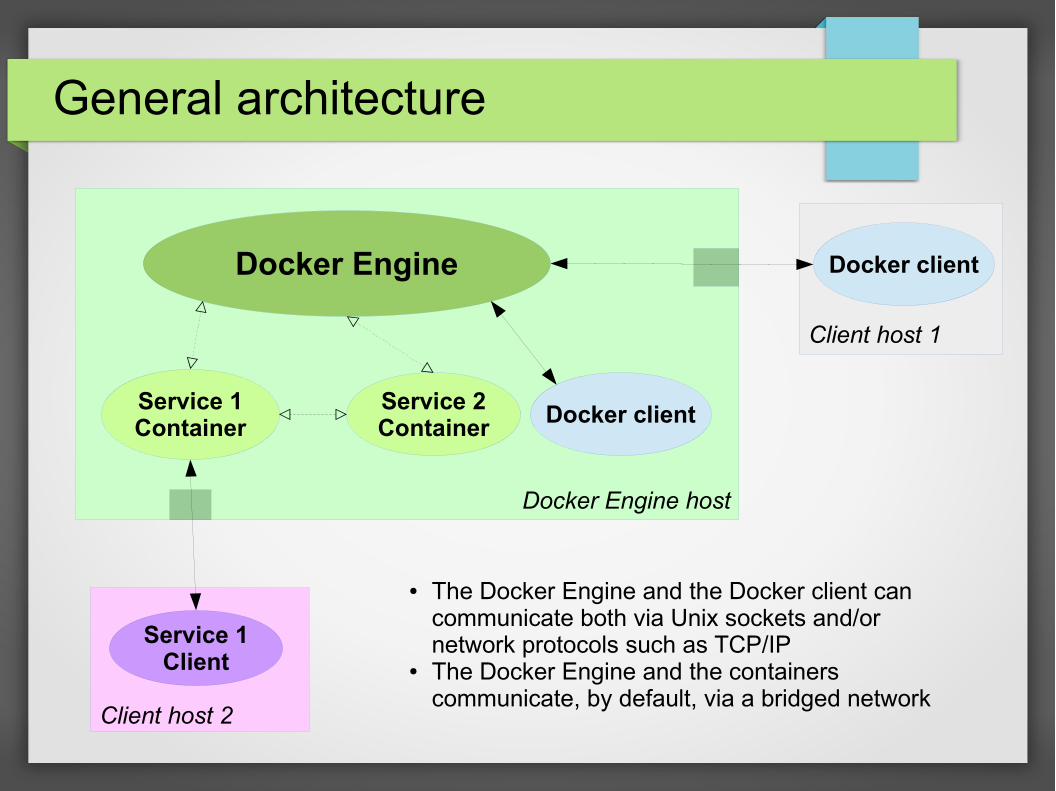
General architecture
Docker Engine
Service 1Container
Service 2Container
Service 1Client
Docker client
Docker client
● The Docker Engine and the Docker client can communicate both via Unix sockets and/or network protocols such as TCP/IP
● The Docker Engine and the containers communicate, by default, via a bridged network
Docker Engine host
Client host 2
Client host 1
Docker - Engine and client
● The very same program – docker – can be executed:
– As the Docker Engine, the active component managing containers, when using the -d command-line argument. It also exposes a REST API available for the creation of custom clients.By default,the server listens on a Unix socket (/var/run/docker.sock), but additional or alternative endpoints (such as other Unix sockets or TCP/IP bindings) can be declared via the -H argument
– As a client – in this case, it tries to connect to the above Unix socket, unless an alternative binding is provided via the -H parameter
● The Docker daemon runs as root, and assigns the default Unix socket to the docker user group (if available). It follows that:
– Users belonging to the docker group can execute the Docker client from the command line and use the default socket, but their commands will be run by root, which has security implications
– Other users can usually employ sudo docker, if enabled
Docker Engine as a service
● On many Linux distributions, the Docker Engine is packaged as a System V service
● In this case, root can execute
service docker <command>
to issue service commands (start, stop, restart, ...) to the Docker Engine
● Secure connections: by default, for the sake of simplicity, the Docker Engine does not apply TLS when communicating on a network endpoint; however, it can be configured to employ suitable X.509 certificates – created, for example, with OpenSSL

Requirements
● The Docker Engine currently requires a 64-bit Linux kernel
● The Docker client could theoretically be created for any platform; actually, any REST client (including web browsers) can contact the Docker Engine – via its web APIs
● Docker's requirements are likely to change and new platforms and architectures may well be supported in the future! Please, refer to Docker's website and to your platform's documentation for further details
Installing Docker
● Docker's setup steps depend on the specific operating system
● Whenever possible, it is best to employ the package repositories listed on Docker's website:
– The installation process becomes transparent, employing standard methods such as apt-get or yum
– All the required packages are downloaded and installed, as well as their dependencies
– Configuration files are correctly initialized
– Updates can be promptly installed when available
Running the Docker client
● For the sake of simplicity, we'll assume that:
– The Docker Engine and the Docker client are running in the same host, communicating via the default Unix socket
– The user employing the Docker client belongs to the docker group, to avoid writing sudo docker every time
● The set of Docker's command line arguments is very complete:
– docker help shows the available commands
– docker <command> --help shows the command-related documentation
Docker images
● In Docker, images are to containers what classes are to instances in OOP: their archetypes
● An image includes:
– A full-fledged, isolated file system – for example, the minimal file system provided by a Fedora or Ubuntu distribution
– Process-related metainfo, e.g., the default process to execute when a container is created from the image, or its command-line arguments
– Network-related metainfo – in particular, which ports should be exposed
– File-system metainfo, in terms of volumes, which we'll describe later● Every container must be instantiated from an image – more precisely, it
encloses a program within the image's file system
Image inheritance
● New images can be created from existing images, following a single-inheritance taxonomy of arbitrary depth
● All images are usually created starting from the images of well-known Linux distributions (such as ubuntu, debian or fedora)
● Actually, images can be created from scratch, but that's less common. In this case, they are called base images
● Starting from an existing image is easy and requires no significant overhead, thanks to the file system employed by Docker images, called Union File System

Union File System
● The Docker images making up a taxonomy are stacked, and so are their file systems
● In lieu of having different file systems, each image contributes to the creation of the same file system, by applying its modifications only, just like superposed plastic layers
● When a container is created, its file system can be thought of as an additional, empty layer on top of the stack: every modification to the file system is then stored in such layer – private to the container – like the diffs in a VCS repository
Image registries
● Since images are a cornerstone of Docker's virtualization technology, image registries are widely supported:
– Docker Hub hosts the main image registry, providing official images for several Linux distributions as well as famous services (HTTP servers, DBMS's, programming languages, …)
– Docker Hub also enables people to upload and share their own images, in both public and private repositories
– Docker provides an image for setting up one's dedicated registry - for example, a private enterprise registry
– The Docker Engine itself has an internal registry of downloaded images

Image names
● Image names follow a precise format:
<repository>[:<tag>]
where <repository> ::= [<user>/]<base name>
● On Docker Hub, only official repositories are at root level, without a leading <user>/
● For images to be uploaded to a private registry, <user> is the node endpoint (<host>:<port> in the case of TCP/IP) of the private registry
● The same image can be associated with multiple tags (for example, “trusty”, “14.04”, “latest”, …) and even different repositories, but is always identified by a unique hexadecimal id

The internal image registry
● To list the images available in the internal registry, execute:
docker images
different lines actually might refer to the same hex id – because every line shows a different image name
● Images are automatically downloaded by Docker whenever needed
● It is also possible to manually download images via:
docker pull <image name> or docker pull <image id>
if the tag is missing in <image name>, :latest will be downloaded
● Both images and containers can be referenced via their user-friendly name or their id (which can be full or shortened)

Creating the first container
● The most straightforward way (and the only one, up to version 1.3) to create a container is the docker run command
● For example:
docker run --rm debian echo “Hello, world! ^__^”
● This instruction:
– Retrieves the debian:latest image (adding the :latest tag) from Docker Hub, if it's not locally available
– Executes the command echo available in the debian image and found in its PATH environment variable, passing a command-line argument
– Prints the output to the host's terminal
– Removes the container once the related process has finished, because of the --rm argument

Creating an interactive container
● To create a container and launch a Bash shell inside it:
docker run -it debian /bin/bash
● This instruction:
– Starts the executable file /bin/bash within the image's file system
– Connects the container's stdin to a pseudo-tty backed by the current terminal, so as to support user input (because we want to launch an interactive process)
● As a result the host's prompt is replaced by a root prompt within the container: by using Bash's commands, it is possible to browse and alter the container's file system
Listing Docker's containers
● While the Bash container is running, if we open another terminal and execute:
docker ps
one container will be shown, having an id and a random name
● After exiting Bash (for example, via the exit command), docker ps will show no more containers
● However, the Docker container still exists, even if it's stopped:
docker ps -a
shows all the containers on the host, including stopped ones

Stopping a container
● A container automatically stops as soon as its process stops
● Many server processes – such as the Apache HTTP server - must be set up as foreground processes - in the case of httpd, by passing its -D FOREGROUND command-line argument; otherwise, the container will silently stop
● A container can also be stopped from the host's command line:
docker stop <container>
● To send custom signals, one can issue docker kill <container>

Starting a container
● To re-execute the process of a stopped container, or to start a container created via docker create (which, essentially, supports all of docker run's arguments), type:
docker start <container>
● The container's process will be started again, with the very same parameters specified at creation time
● In the case of interactive processes, such as a Bash shell, it is required to rebind the container's stdin to the current terminal: to do so, use the -ia parameters of docker start, or
docker attach <container> after starting the container
● To have visual feedback in several interactive environments, consider pressing RETURN after attaching
Inspecting a container
● To show very detailed information, in JSON format, about a container and its process, execute:
docker inspect <container>
● Inspection is available for both active and stopped containers
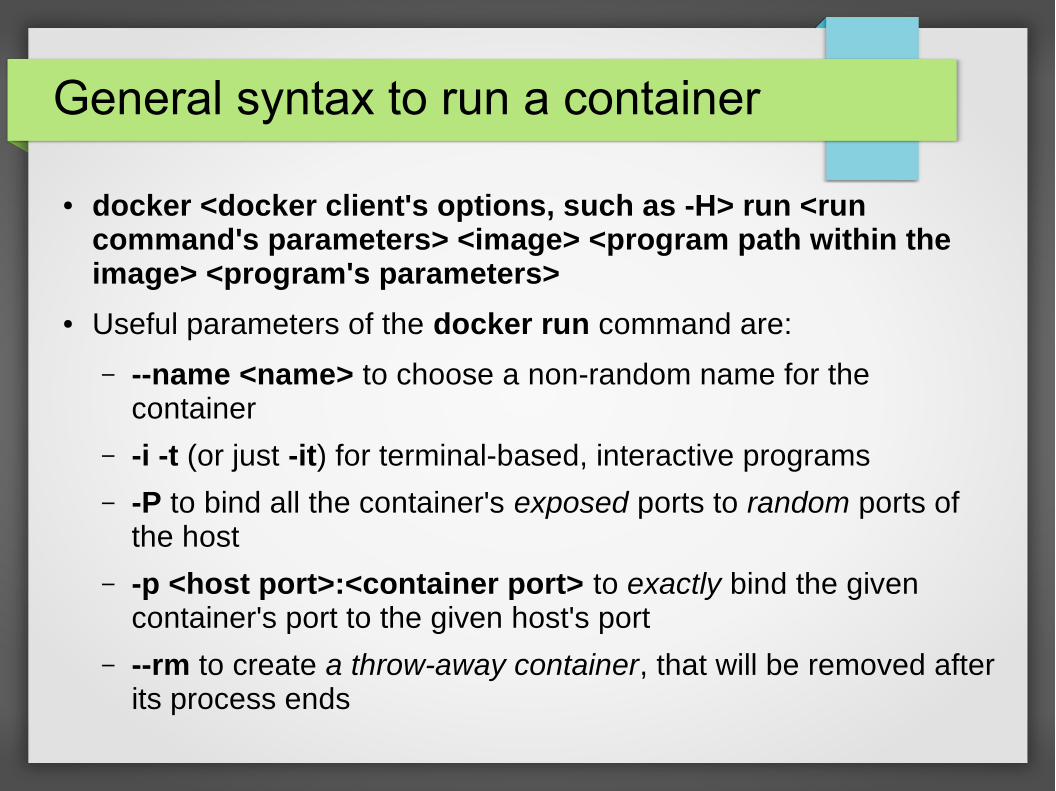
General syntax to run a container
● docker <docker client's options, such as -H> run <run command's parameters> <image> <program path within the image> <program's parameters>
● Useful parameters of the docker run command are:
– --name <name> to choose a non-random name for the container
– -i -t (or just -it) for terminal-based, interactive programs
– -P to bind all the container's exposed ports to random ports of the host
– -p <host port>:<container port> to exactly bind the given container's port to the given host's port
– --rm to create a throw-away container, that will be removed after its process ends

Running background containers
● The -d parameter creates a container running in background
● stdout and stderr won't be shown on the current console, but will be redirected to Docker's logging infrastructure
● If you start a process designed to be a daemon (for example, most HTTP servers), you must start the process in foreground, as we have seen, but you can always enclose it in a background container

Reading a container's output
● Docker redirects stdout and stderr of every container both to the current terminal and to Docker's internal logs
● In the case of background containers, only the logs are available
● docker logs <container> outputs the stdout and stderr log for the given container
● Important parameters are:
– -f to keep the log visible, with updates printed in real-time
– --tail=N where N is the number of most recent lines to show
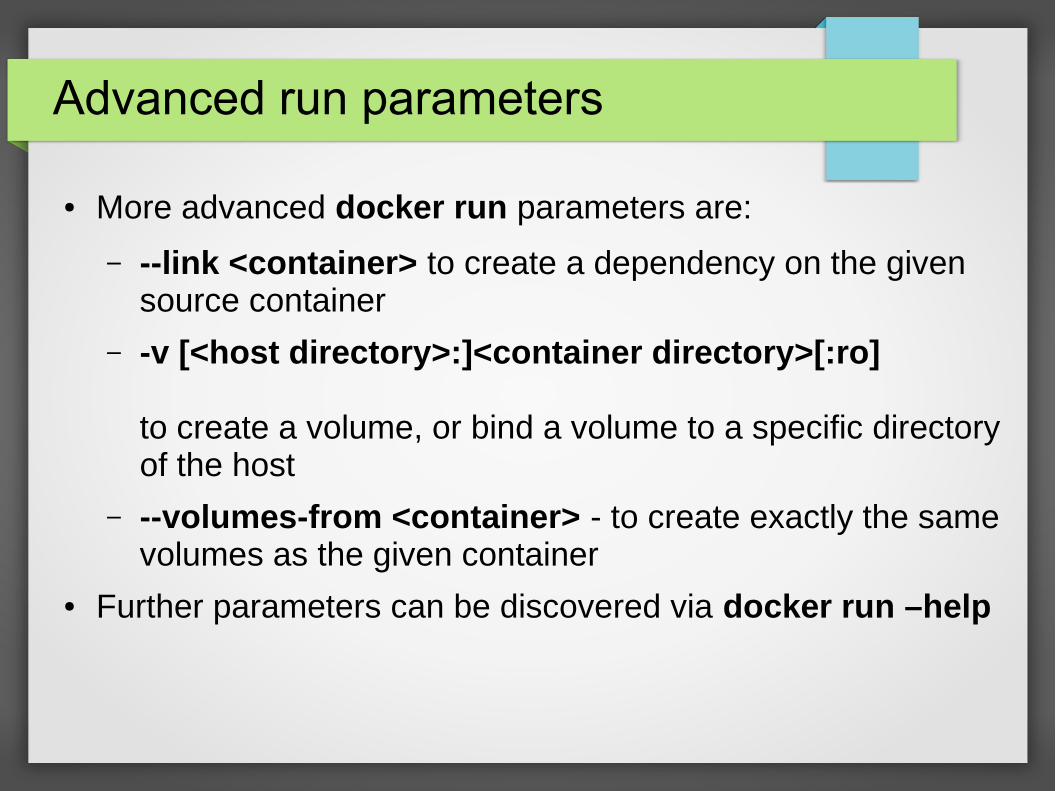
Advanced run parameters
● More advanced docker run parameters are:
– --link <container> to create a dependency on the given source container
– -v [<host directory>:]<container directory>[:ro]
to create a volume, or bind a volume to a specific directory of the host
– --volumes-from <container> - to create exactly the same volumes as the given container
● Further parameters can be discovered via docker run –help
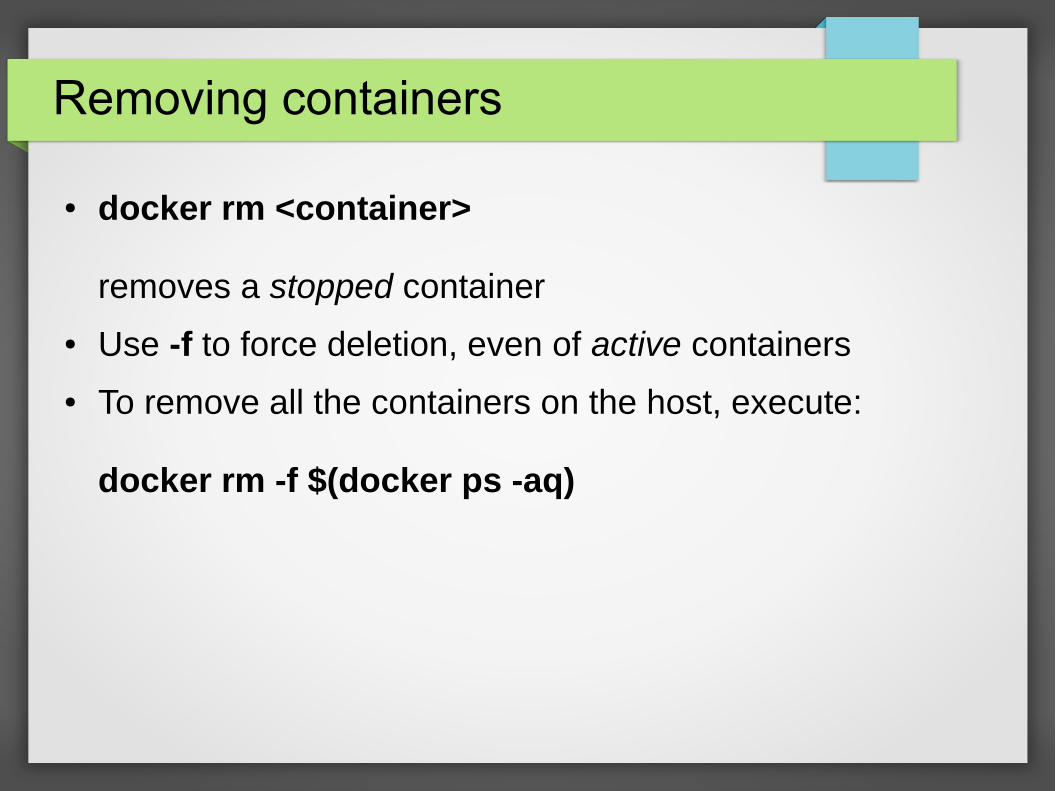
Removing containers
● docker rm <container>
removes a stopped container
● Use -f to force deletion, even of active containers
● To remove all the containers on the host, execute:
docker rm -f $(docker ps -aq)
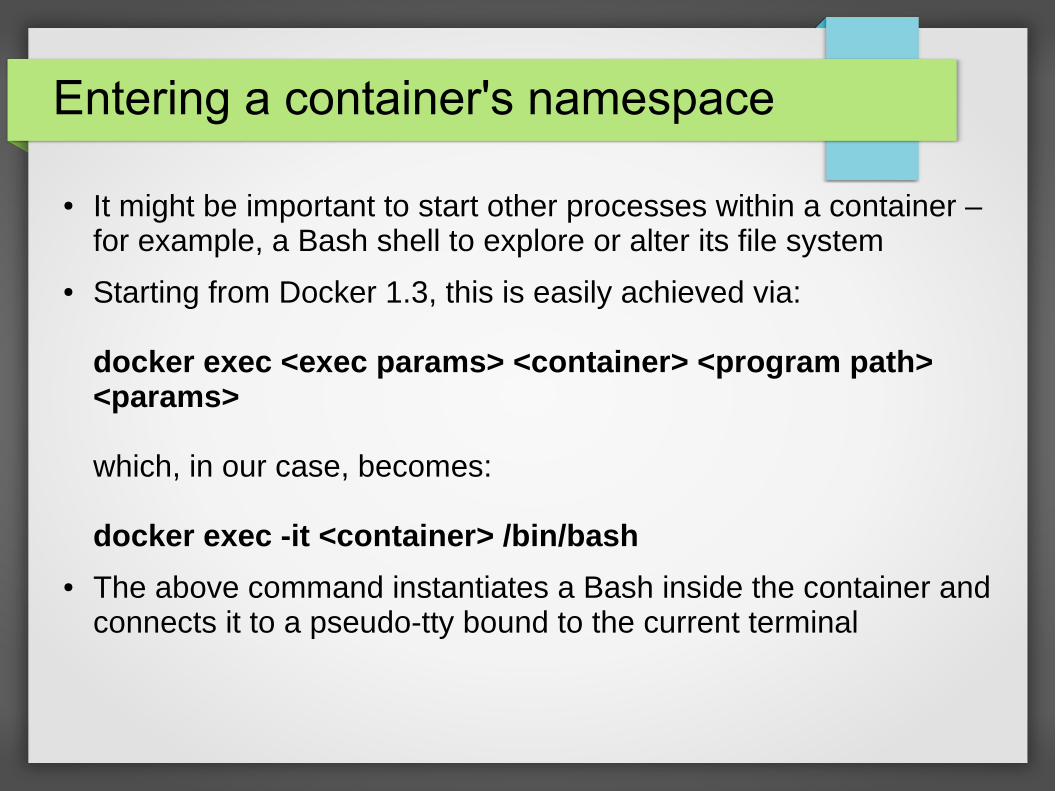
Entering a container's namespace
● It might be important to start other processes within a container – for example, a Bash shell to explore or alter its file system
● Starting from Docker 1.3, this is easily achieved via:
docker exec <exec params> <container> <program path> <params>
which, in our case, becomes:
docker exec -it <container> /bin/bash
● The above command instantiates a Bash inside the container and connects it to a pseudo-tty bound to the current terminal
Creating an image
● Docker images can be created in 2 different ways:
– By editing a Dockerfile in the host filesystem and executing the docker build command
– By working on a container, then saving it by executing the docker commit command - mainly for specific or debugging purposes
Building an image via a Dockerfile
● The steps are simple and standard:
1)Create a directory having a file named Dockerfile
2)Edit the Dockerfile, according to the related syntax
3)Add any supporting file/directory, as demanded by the image you are preparing. They must then be added to the image via the ADD and COPY instructions of the Dockerfile
4)Run docker build -t <image name> <directory with Dockerfile>If no tag is specified in <image name>, :latest is assumed by default
● docker images will show that the image is now in the internal registry
● Please, refer to Docker's website for further information about Dockerfile and the build process
Pushing an image
● A first possibility is to publish images to one's own account on Docker Hub. In this case:
– Execute docker login to interactively register or login to Docker Hub (or another registry server)
– Execute docker push <image name>, where:<image name> ::= <username>/<image base name>
● Images can also be pushed to repositories whose one is collaborator
● To push to a private registry:<image name> ::= <registry host>:<registry port>/<image base name>
● The above image names must be available in the internal registry and must defined when building the image or by using docker tag

Further Docker commands
● There are many more Docker commands! ^__^
● For example:
– docker cp copies files and folders from a container to the host
– docker diff shows the changes performed by a container's file system with respect to its image's
– docker wait blocks until a given container stops, then prints its exit code
● For further information on the available commands, please refer to docker help
The virtual network
● Docker's internal networking capabilities are very flexible and configurable: for simplicity, we'll only introduce the default settings
● The Docker Engine creates a virtual bridge interface (docker0) on the host, that behaves similarly to a network switch
● Every container has an eth0 interface linked to docker0
● As a consequence, the host machine and all the containers share the same virtual network – if possible, 172.17.42.1/16
● To know the exact address of a container, enter it (for example, by starting a Bash shell with docker exec) and consult ifconfig

Network communications
● All the containers inside a host share the same network so they can communicate and can open connections to each other's ports
● Every container also has a hostname, by default based on its id and shown by hostname: it can be set using the -h argument of docker run
● However, the container's hostname is invisible to other containers; even worse, a new IP address is generally assigned when a container is restarted
● Therefore, how can containers uniquely and reliably reference each other in network communications over time?

Linking containers
● When creating a container, you can link it to one or more existing and active containers (called source containers) with this command-line argument:
--link <source container name>:<alias>
● Creating a link enables 2 important behaviours:
– <alias> will reference the IP address of <source container name> in network communications, as Docker automatically updates the container's /etc/hosts file
– The env variables created by Docker (eg, via Dockerfile) in <source container name> are exported into the env of the new container, with a suitable, alias-based prefix
Automatic local DNS update
● Docker automatically updates the /etc/host file of a container linked to one or more source containers whenever a source container is restarted and receives a different IP address
● However, the update is real time only if <source container name> and <alias> are exactly the same string; otherwise, the updated DNS binding won't be available until the target container is restarted
Binding to host ports
● By default, Docker containers do not bind to host ports
● The -P option of docker run binds the container's exposed ports (declared by the EXPOSE command in the image's Dockerfile) to random available ports of the host
● However, you can bind any port of the container (even non-exposed ones), by using the following parameter of docker run:
-p <host port>:<container port>

Advanced networking
● Docker's networking behaviour can be influenced by a wide variety of factors:
– The configuration of the Docker Engine
– Networking in the host
– Networking in each container● Related documentation and articles can be found on
Docker's website

Volumes
● The file system of a container behaves like the read/write top layer of the Union File System stack provided by its underlying image
● However, such structure doesn't allow file and directory sharing between containers
● To address the issue, Docker introduces volumes - directories bypassing the Union File System – a sort of mount points
● More precisely, a volume is a path in the container's file system that is actually backed by a path in the host file system – thus allowing data sharing between containers
● For simplicity and safety, we'll assume that volumes are directories
Creating volumes
● Via the VOLUME directive in the image's Dockerfile. This directive can only declare a list of paths, in the container's file system, that will be backed by “anonymous” directories on the host, without altering the directory content in the file system provided by the image
● Via the -v argument of docker run, which can be repeated multiple times and can have 2 different forms:
● -v <path>: in this case, it is equivalent to an additional item in the VOLUME directive
● -v <host path>:<path>[:ro] binds <path> (in the container) to <host path> on the host. If <path> already existed in the container's file system, its content will be replaced by <host path>'s, like a mount operation. :ro means that the volume should be mounted as read-only. -v takes precedence over VOLUME
● In any case, if <path> is not in the original file system of the image, it is automatically created, as well as its directory tree
Sharing volumes
● Volumes can be shared:
– By making containers all reference a set of dedicated folders on the host. This can be impractical when containers have several volumes, or if a container was already created with volumes referencing “anonymous” host directories
– By creating new containers using (one or more times) the --volumes-from <container> command line argument of docker run: Docker will mount the very same volumes as the specified container(s), making it very easy to share even “anonymous” volumes

Container orchestration with Fig
● Creating and managing a set of related containers from the command line can quickly become tedious, if not unwieldy
● To orchestrate containers, that is to manage them as a single unit for commands like start and stop, the Docker ecosystem features Fig, providing a command named fig
● fig expects:
– A YML file – named fig.yml – in the current directory, whose elements are equivalent to docker run's command line
– A command-line argument, such as up, start, down

Basic Fig commands
● Basic Fig commands are:
– fig up to (re)create the set of containers and start them
– fig stop to stop the container set
– fig start to start an existing container set
– fig logs to see the logs of the container set● Of course, the container set is the one described by the
fig.yml file in the current directory
● More commands are available. Please refer to Fig's website
Case Study
MiniSumA simple distributed and dockerized architecture
Brief introduction
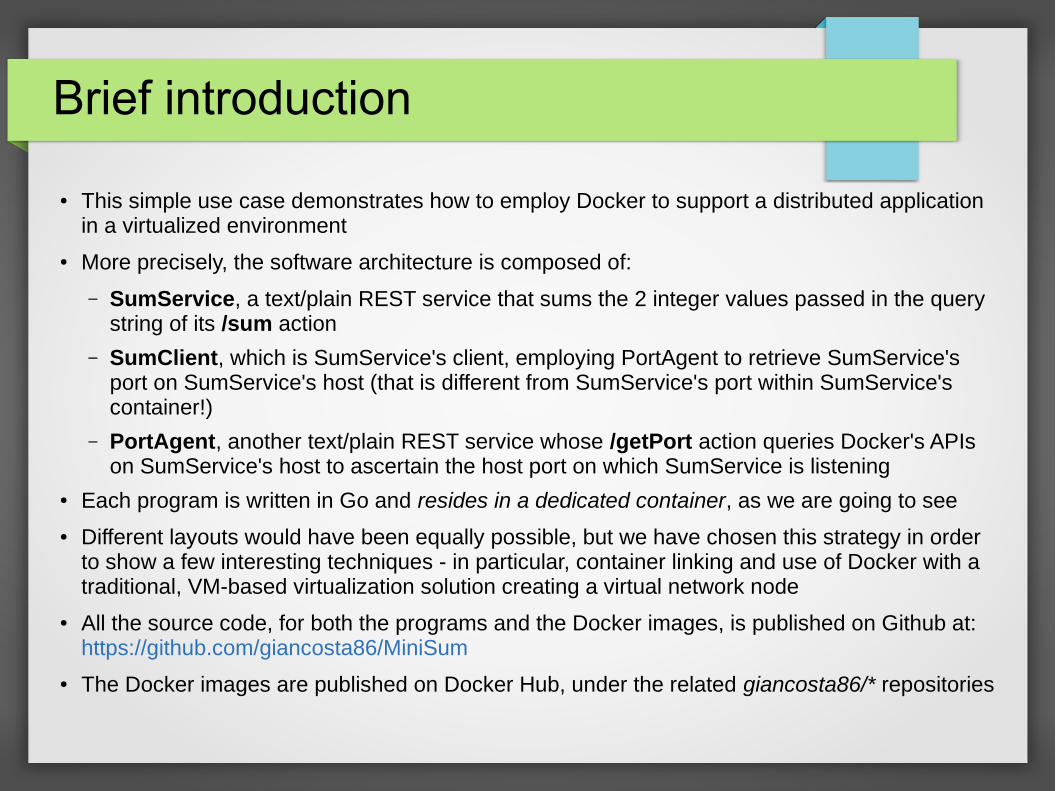
● This simple use case demonstrates how to employ Docker to support a distributed application in a virtualized environment
● More precisely, the software architecture is composed of:
– SumService, a text/plain REST service that sums the 2 integer values passed in the query string of its /sum action
– SumClient, which is SumService's client, employing PortAgent to retrieve SumService's port on SumService's host (that is different from SumService's port within SumService's container!)
– PortAgent, another text/plain REST service whose /getPort action queries Docker's APIs on SumService's host to ascertain the host port on which SumService is listening
● Each program is written in Go and resides in a dedicated container, as we are going to see
● Different layouts would have been equally possible, but we have chosen this strategy in order to show a few interesting techniques - in particular, container linking and use of Docker with a traditional, VM-based virtualization solution creating a virtual network node
● All the source code, for both the programs and the Docker images, is published on Github at: https://github.com/giancosta86/MiniSum
● The Docker images are published on Docker Hub, under the related giancosta86/* repositories
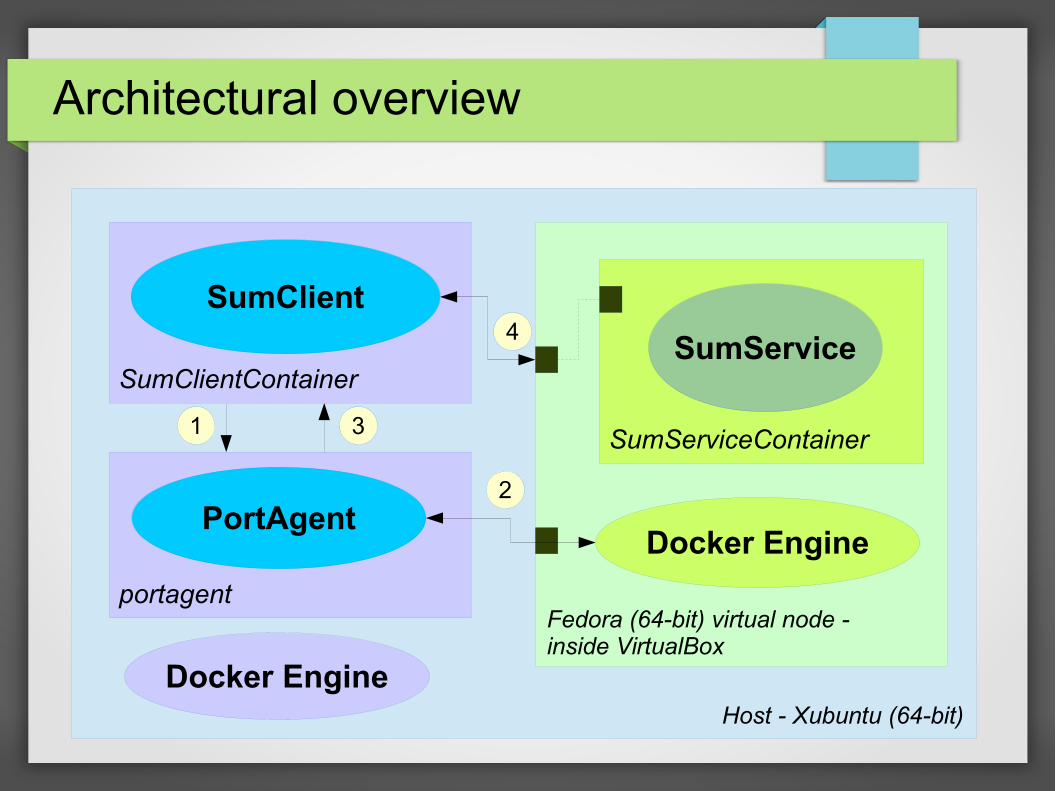
Architectural overview
SumClient
PortAgent
SumService
Host - Xubuntu (64-bit)
Fedora (64-bit) virtual node - inside VirtualBox
SumClientContainer
portagent
SumServiceContainer1
4
Docker Engine
2
3
Docker Engine
Networking considerations
● Fedora's VM, hosted by a VirtualBox guest hypervisor, communicates with the host node (a Xubuntu system) via a bridged connection and has an IP address in the host's network: in the following pages, the alias <fedoraIP> will refer to it
● To simplify the code, we'll assume that, in both hosts (and especially on Fedora), Docker and its containers are bound to the same IP address - <fedoraIP>

SumService
● When started, reads its listening port from the command line
● Waits for HTTP requests having the syntax:
/sum?op1=num1&op2=num2
where num1 and num2 must be valid integer numbers
● Returns the requested sum or an error string

PortAgent
● Reads its listening port from the command line and starts an HTTP server
● Its action has the following syntax:
/getPort?dockerHost=dh&dockerPort=dp&containerName=cn&containerPort=cpwhere:
– dp is Docker's host – in our case, <fedoraIP>
– dockerPort is Docker's port – usually 2375
– containerName is the name of the container enclosing SumService (in our case, it will be SumServiceContainer)
– containerPort is the port – inside the above container – on which SumService is listening
● By calling the Docker APIs exposed by the Fedora host, and by parsing the JSON response, PortAgent returns just the numeric value of the port – on the Fedora host - on which SumService's container is listening, or an error string
SumClient
● Interactive program
● Reads PortAgent's host and port from its command line; sensible defaults are provided in the related Docker image, but they can be overridden when creating the container
● It starts by asking the user for the 4 parameters required by PortAgent and calls it, showing errors until a valid service port value is returned
● Then, it starts an interactive cycle requesting the 2 operands and directly calling SumService to retrieve a result

Linking example
● SumClient's command line arguments default to:
portagent 7070
where 7070 is PortAgent's default port in the related image, but what about portagent? How is that host name defined?
● It must be defined when creating SumClient's container, by adding the following parameter to docker run:
--link portagent:portagent
● This way, portagent will always refer to the IP address of PortAgent's container, even if the container gets restarted
● Of course, PortAgent's container must have already been created, with the --name portagent parameter
Running PortAgent's container
● We'll assume that:
– The Docker Engine is already installed and listening on the Xubuntu host
– The current user belongs to the docker group● To create the container, type in Xubuntu's shell:
docker run --name portagent -d giancosta86/port_agent
● --name gives a name to the container
● -d makes it a daemon container, running in background
● Neither <program path> nor <program arguments> were specified, because default values are provided by the image, thanks to the ENTRYPOINT and CMD directives in the source Dockerfile
Run the Docker Engine in Fedora
● We'll assume that, in Fedora, Docker is installed (via the docker.io package) but to be started
● In this case, execute in a root shell:
docker -d -H unix:///var/run/docker.sock -H tcp://<fedoraIP>:2375
● The -d option starts the Docker Engine, listening for requests
● The 2 occurrences of the -H param create 2 distinct bindings:
– A Unix socket, used by default by docker when started as a client (to avoid repeating -H <ip> whenever the client is executed locally)
– A TCP socket, contacted by PortAgent to query Docker's APIs – but that could be employed by Docker's client itself or third parties
Running SumService's container
● At Fedora's command line, as root or as a user belonging to the docker group, type:
docker run --name SumServiceContainer -d -p 9090:80 giancosta86/sum_service
● As usual, -d starts the container in background
● This occurrence of -p binds the container's port 80 to its host's port 9090
Running SumClient's container
● At Xubuntu's command line, type:
docker run --name SumClientContainer -it --link portagent:portagent giancosta86/sum_client
● -it is required because we want to launch an interactive program, requesting keyboard input
● --link portagent:portagent creates a link with portagent – in particular, portagent becomes an alias for its IP address in network communications
● The link alias equals the source container's name to enable real-time IP address updates in SumClientContainer's local DNS (the /etc/hosts file)
Testing SumClient
● According to the previous discussion, the following parameters should be input in the program's first phase:
– Docker host: <fedoraIP>
– Docker port: 2375
– Container name: SumServiceContainer
– Container port: 80● PortAgent will return port 9090, and the client will use that
value for opening direct connections
● The actual interactive session begins, expecting operands from the user and retrieving results from SumService
Final considerations
● PortAgent works as a basic RMI middleware component
● Far more robust and complete solutions for service discovery in Docker are available and constantly evolving
● In particular, please refer to Consul at https://www.consul.io/

Further references
● “The Docker Book: Containerization is the new virtualization” - James Turnbull - http://www.dockerbook.com/
● Docker's website: https://www.docker.com/
● Docker's interactive tutorial: https://www.docker.com/tryit/
● Docker Hub: https://hub.docker.com/
● Fig: http://www.fig.sh/
● Consul: https://www.consul.io/
● Prof.ssa Anna Ciampolini – Didactic web page: http://www.unibo.it/faculty/anna.ciampolini
Related Documents