ALL ABOUT CAMERA

Introduction to camera & its major parts
Aug 15, 2015
Welcome message from author
This document is posted to help you gain knowledge. Please leave a comment to let me know what you think about it! Share it to your friends and learn new things together.
Transcript

ALL ABOUT CAMERA
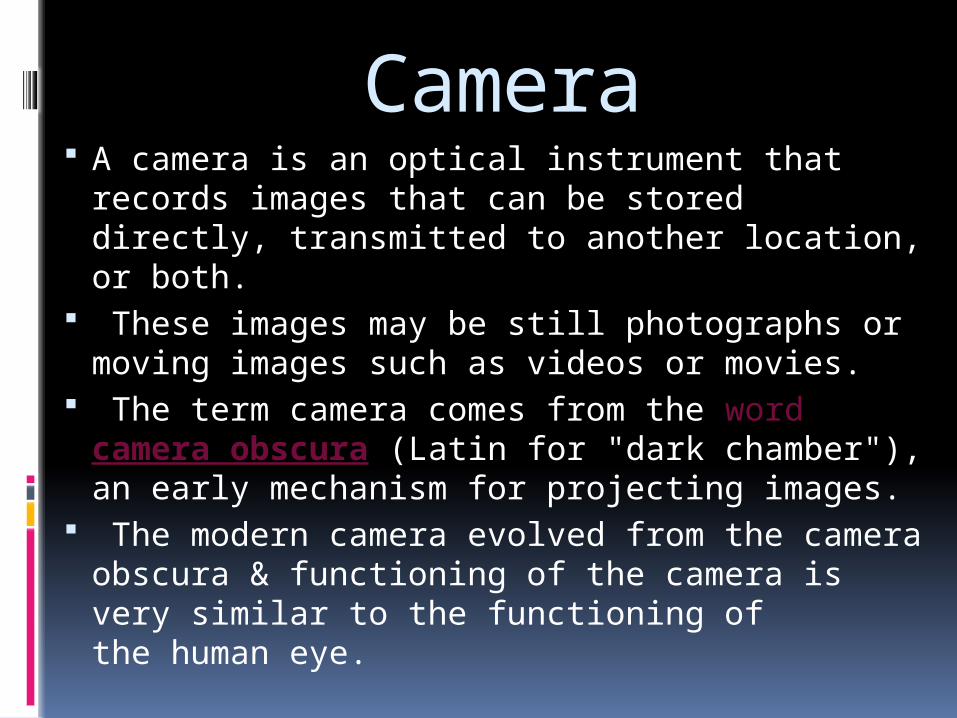
Camera A camera is an optical instrument that
records images that can be stored directly, transmitted to another location, or both.
These images may be still photographs or moving images such as videos or movies.
The term camera comes from the word camera obscura (Latin for "dark chamber"), an early mechanism for projecting images.
The modern camera evolved from the camera obscura & functioning of the camera is very similar to the functioning of the human eye.

History The history of the camera can be
traced much further back than the introduction of photography.
Cameras evolved from the camera obscura, and continued to change through many generations of photographic technology, including Daguerre types, callow types, dry plates, film, and digital cameras.

History: Camera Obscura
Photographic cameras were a development of the camera obscura, a device dating back to the ancient Chinese[1] and ancient Greeks,[2][3] which uses a pinhole or lens to project an image of the scene outside upside-down onto a viewing surface.
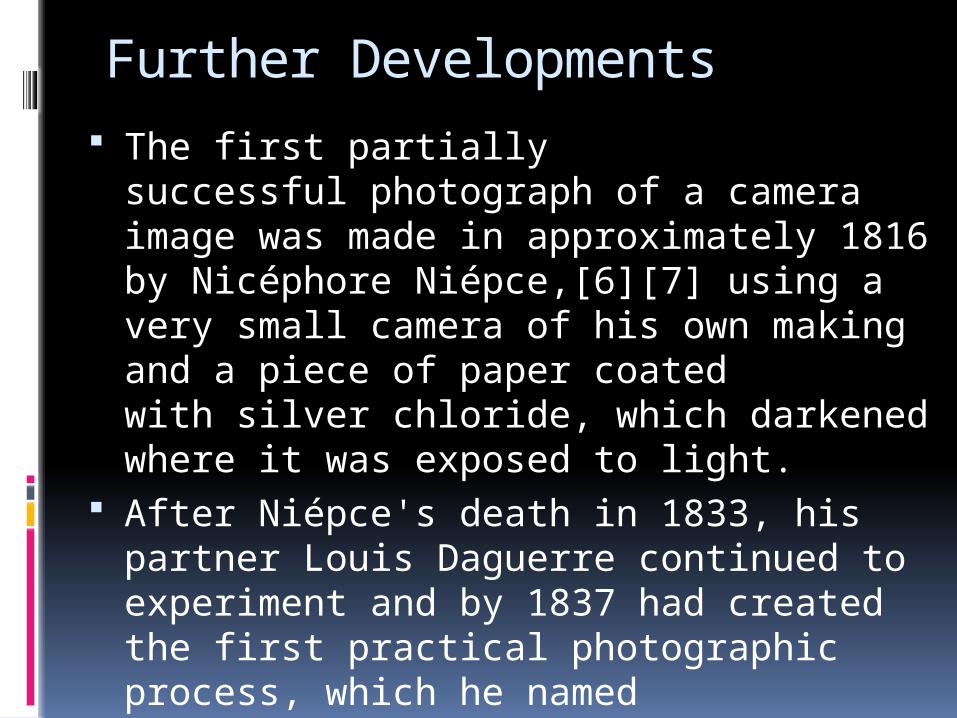
Further Developments The first partially successful photograph of
a camera image was made in approximately 1816 by Nicéphore Niépce,[6][7] using a very small camera of his own making and a piece of paper coated with silver chloride, which darkened where it was exposed to light.
After Niépce's death in 1833, his partner Louis Daguerre continued to experiment and by 1837 had created the first practical photographic process, which he named the daguerreotype and publicly unveiled in 1839.

Further Developments TLRs and SLRs:- The first practical reflex
camera was the Franke & Heidecke Rolleiflex medium format TLR of 1928.
A similar revolution in SLR design began in 1933 with the introduction of the Ihagee Exakta, a compact SLR which used 127 rollfilm

Further Developments Instant cameras :- While conventional cameras were
becoming more refined and sophisticated, an entirely new type of camera appeared on the market in 1948.
Digital cameras:- By the late 1980s, the technology
required to produce truly commercial digital cameras existed. The first true portable digital camera that recorded images as a computerized file was likely the Fuji DS-1P of 1988, which recorded to a 16 MB internal memory card that used a battery to keep the data in memory
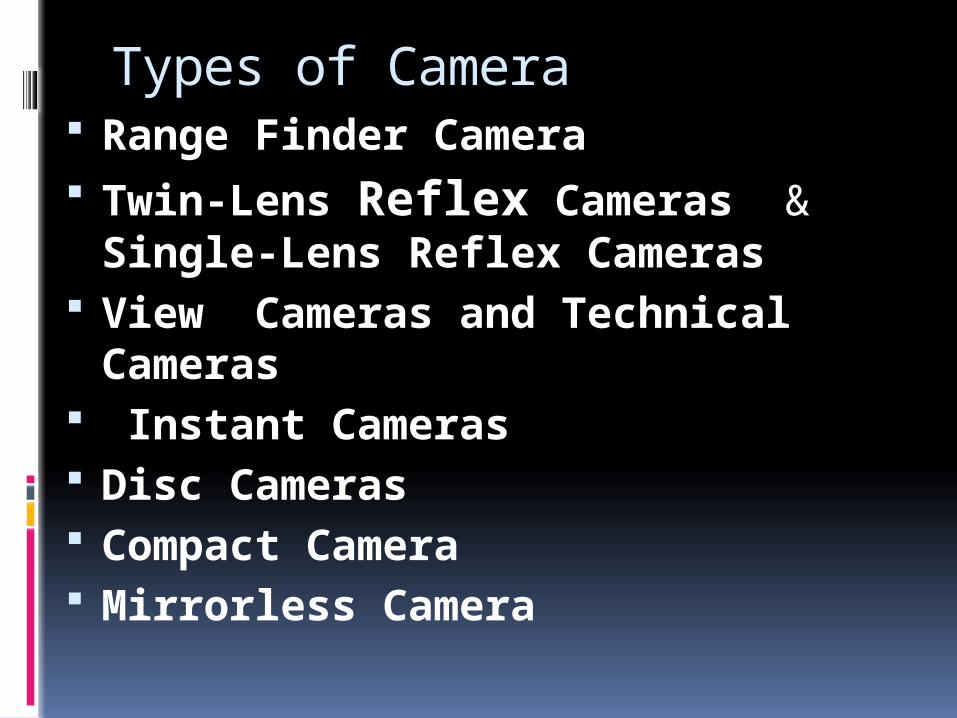
Types of Camera Range Finder Camera Twin-Lens Reflex Cameras &
Single-Lens Reflex Cameras View Cameras and Technical
Cameras Instant Cameras Disc Cameras Compact Camera Mirrorless Camera
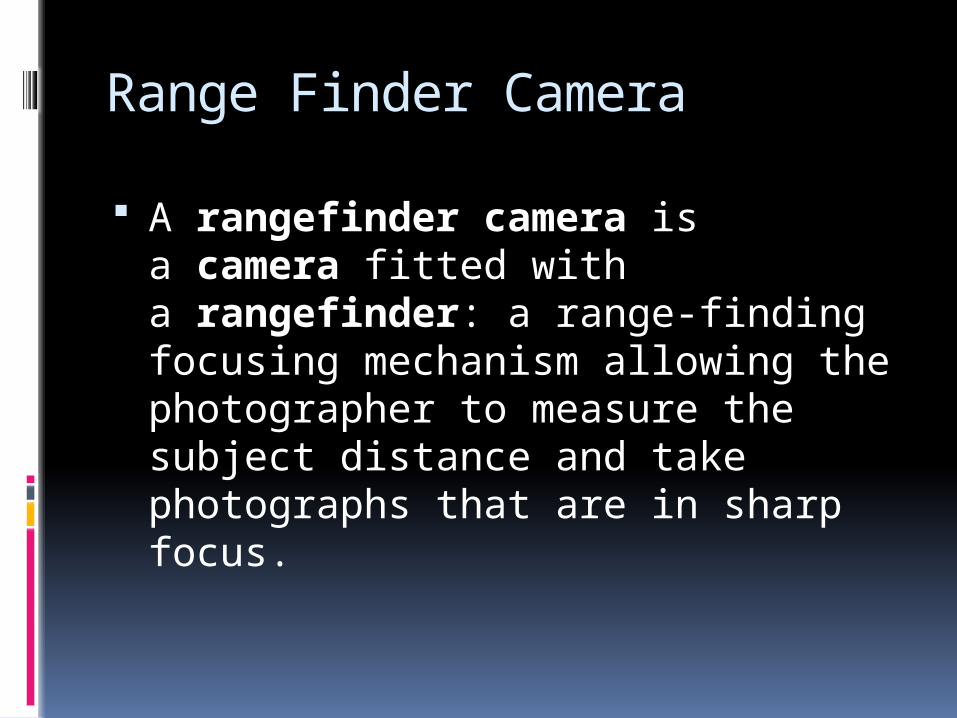
Range Finder Camera
A rangefinder camera is a camera fitted with a rangefinder: a range-finding focusing mechanism allowing the photographer to measure the subject distance and take photographs that are in sharp focus.

Reflex Camera
A reflex camera is a camera that permits the photographer to view the image that will be seen through the lens, and therefore to see exactly what will be captured, contrary to viewfinder cameras where the image could be significantly different from what will be captured.

Instant Camera
The instant camera is a type of camera that generates a developed film image. The most popular types to use self-developing filmwere formerly made by Polaroid Corporation.

Compact Camera
A point-and-shoot camera, also called acompact camera, is a still camera designed primarily for simple operation. Most use focus free lenses or autofocus for focusing, automatic systems for setting the exposure options, and have flash units built in.

Major Parts of Camera

Camera lens A camera lens (also
known as photographic lens or photographic objective) is an optical lens or assembly of lenses used in conjunction with a camera body and mechanism to make images of objects either on photographic film or on other media capable of storing an image chemically or electronically.
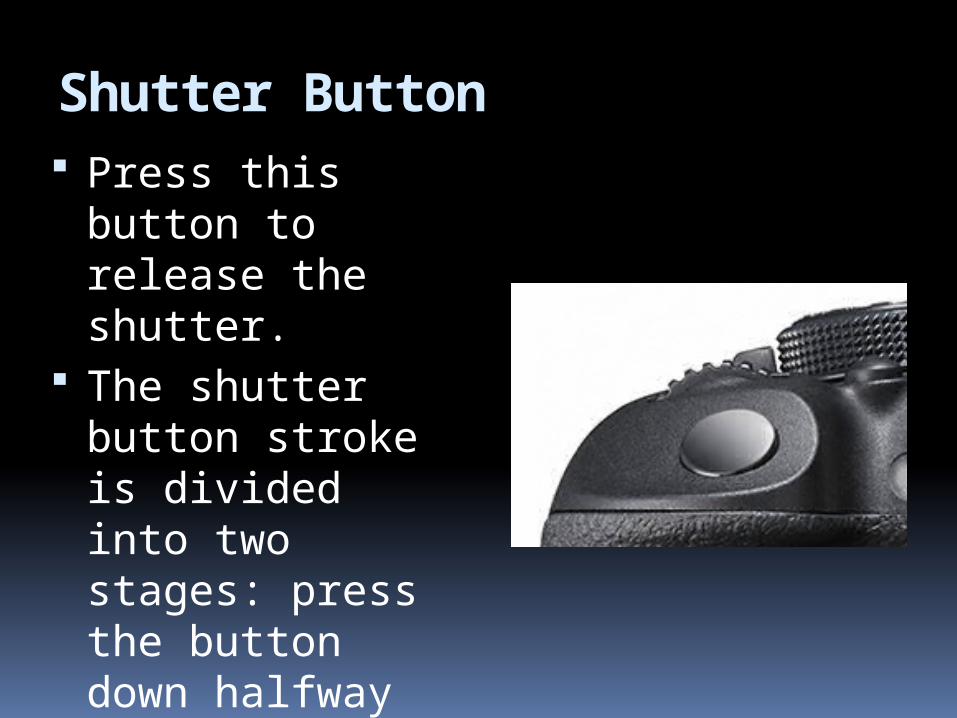
Shutter Button Press this button
to release the shutter.
The shutter button stroke is divided into two stages: press the button down halfway to activate the AF function, and press it down fully to release the shutter.

Lens Mount
This is the section for connecting the exchangeable lens to the camera body.
Attach the lens by sliding it along the surface of the mount.
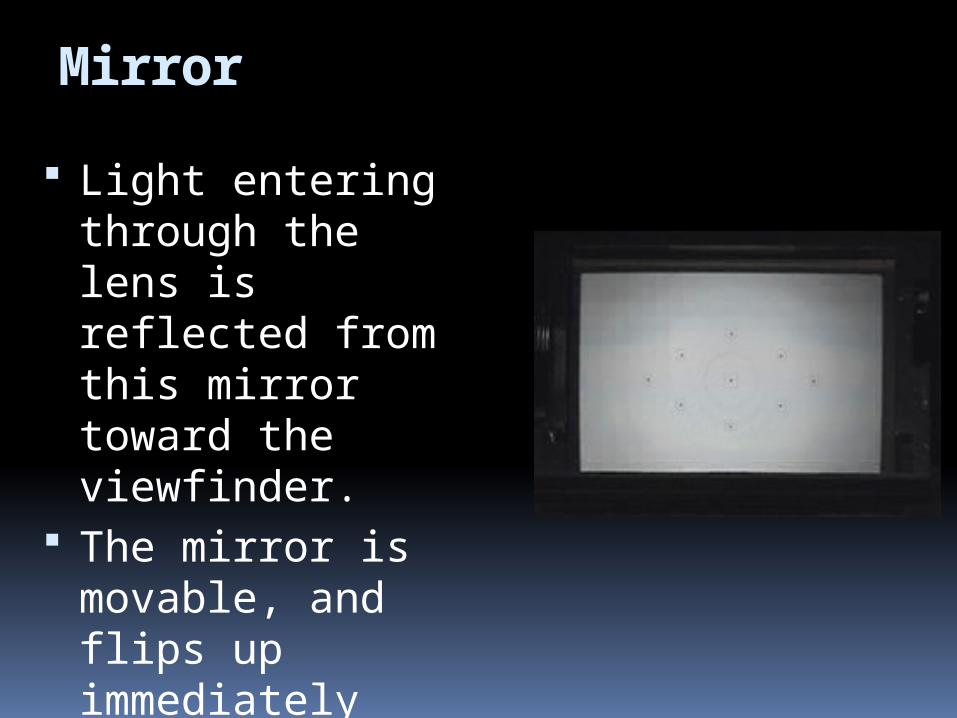
Mirror
Light entering through the lens is reflected from this mirror toward the viewfinder.
The mirror is movable, and flips up immediately before a shot is taken.

Built-in Flash
When needed, you can fire the flash to capture a shot of dimly-lit scenes.
Flash may be automatically fired in some modes.
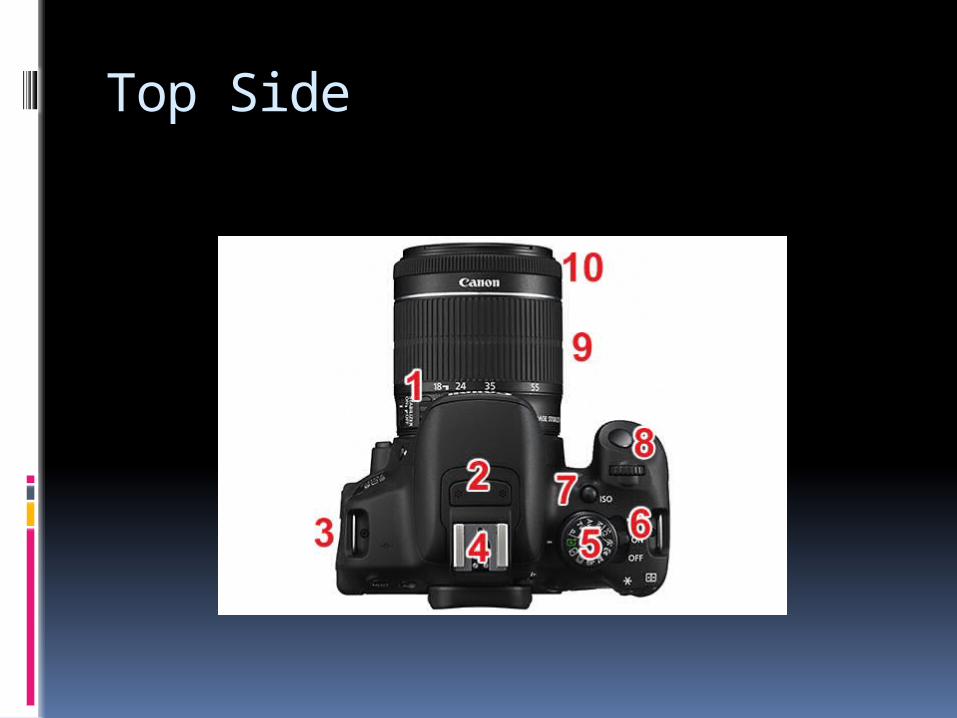
Top Side

Focus Mode Switch
Use this switch to set the focusing mode to Automatic (AF) or Manual (MF).

Mode Dial Turn this dial to select a
shooting mode according to the scene you want to capture. The shooting modes are largely divided into two different zones, Creative and Basic.
A: Creative Zone B: Basic Zone The Creative Zone modes allow
users to select and set functions according to their intended purpose.
In the Basic Zone modes, the camera automatically selects the appropriate settings according to the selected scene.

Power Switch
Use this switch to power on or power off the camera.
When the power of the camera is left on for a prolonged period of time, it switches automatically to the standby mode to conserve power.
For some cameras, the power switch comes with a Movie icon as shown in the illustration, which allows you to switch to the Movie shooting mode directly.

ISO Speed Setting Button
Press this button to adjust the sensitivity of the camera toward light.
ISO speed is an international standard that is determined based on the sensitivity of negative films.

Main Dial
This is a multi-purpose dial that allows you to perform tasks such as adjusting the value of the shooting settings and jumping through playback images.

Zoom Ring
Turn the zoom ring to alter the focal length.
The selected focal length can be identified from the numbers and index marks at the lower end of the lens.
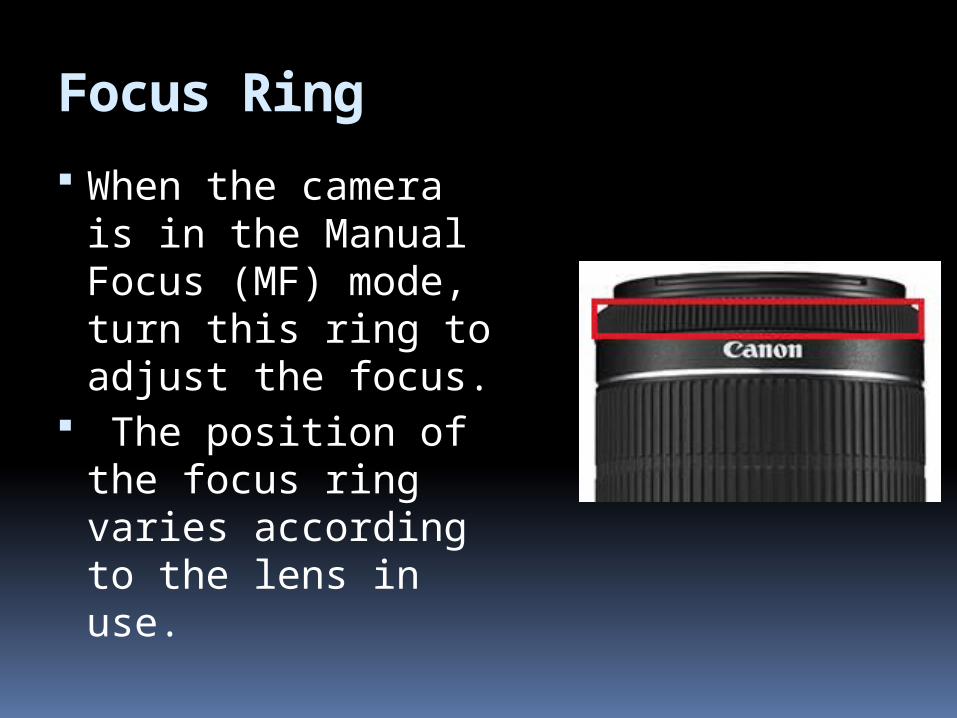
Focus Ring
When the camera is in the Manual Focus (MF) mode, turn this ring to adjust the focus.
The position of the focus ring varies according to the lens in use.

EXPOSURE TRIANGLE: APERTURE, ISO & SHUTTER SPEED

Aperture Setting
A camera's aperture setting controls the area over which light can pass through your camera lens. It is specified in terms of an f-stop value, which can at times be counterintuitive, because the area of the opening increases as the f-stop decreases.
In photographer slang, when someone says they are "stopping down" or "opening up" their lens, they are referring to increasing and decreasing the f-stop value, respectively.

Aperture SETTING
Wide Aperture Narrow Aperture

SHUTTER SPEED A camera's shutter determines
when the camera sensor will be open or closed to incoming light from the camera lens.
The shutter speed specifically refers to how long this light is permitted to enter the camera.
"Shutter speed" and "exposure time" refer to the same concept, where a faster shutter speed means a shorter exposure time.

SHUTTER SPEED
Slow Shutter Speed Fast Shutter Speed

ISO SPEED The ISO speed determines how sensitive the
camera is to incoming light. Similar to shutter speed, it also correlates
1:1 with how much the exposure increases or decreases.
However, unlike aperture and shutter speed, a lower ISO speed is almost always desirable, since higher ISO speeds dramatically increase image noise.
As a result, ISO speed is usually only increased from its minimum value if the desired aperture and shutter speed aren't otherwise obtainable.

Depth of Field Depth of field is the amount of distance between the
nearest and farthest objects that appear in acceptably sharp focus in a photograph.
It varies depending on camera type, aperture and focusing distance, although print size and viewing distance can also influence our perception of depth of field.
A preferred selection Depth of field ("DOF") in a focused subject in an image can be quite subjective.
Adequate selection of DOF for one situation, application may be unacceptable for another photographer.
It is all a matter of personal preference when trying to determine the appropriate use of DOF to enhance an effect in a photograph.

Camera angles
Eye Level
High Angl
e
Low angle
Bird’s Eye angle
Slanted
angle
Camera Angles It is, the angle of the camera relative
to the subject.

Camera Angles Eye-Level :- This is the most common view, being the
real-world angle that we are all used to. It shows subjects as we would expect to see them in real life. It is a fairly neutral shot.
High Angle :- A high angle shows the subject from
above, i.e. the camera is angled down towards the subject. This has the effect of diminishing the subject, making them appear less powerful, less significant or even submissive.

Camera Angles Low Angle :- This shows the subject from below, giving them the
impression of being more powerful or dominant. Bird's Eye :- The scene is shown from directly above. This is a
completely different and somewhat unnatural point of view which can be used for dramatic effect or for showing a different spatial perspective.
In drama it can be used to show the positions and motions of different characters and objects, enabling the viewer to see things the characters can't.
The bird's-eye view is also very useful in sports, documentaries, etc.

Camera Angles Slanted :- Also known as a dutch tilt, this is where
the camera is purposely tilted to one side so the horizon is on an angle.
This creates an interesting and dramatic effect. Famous examples include Carol Reed's The Third Man, Orson Welles' Citizen Kane and the Batman series.
Dutch tilts are also popular in MTV-style video production, where unusual angles and lots of camera movement play a big part.

Camera MovementsPan
Panning is when you move your camera horizontally; either left to right or right to left, while its base is fixated on a certain point.
You are not moving the position of the camera itself, just the direction it faces.
These types of shots are great for establishing a sense of location within your story.

Camera MovementsTilt
Tilting is when you move the camera vertically, up to down or down to up, while its base is fixated to a certain point.
Again, like panning, this move typically involves the use of a tripod where the camera is stationary but you move the angle it points to.
These shots are popular when introducing a character, especially one of grandeur, in a movie.
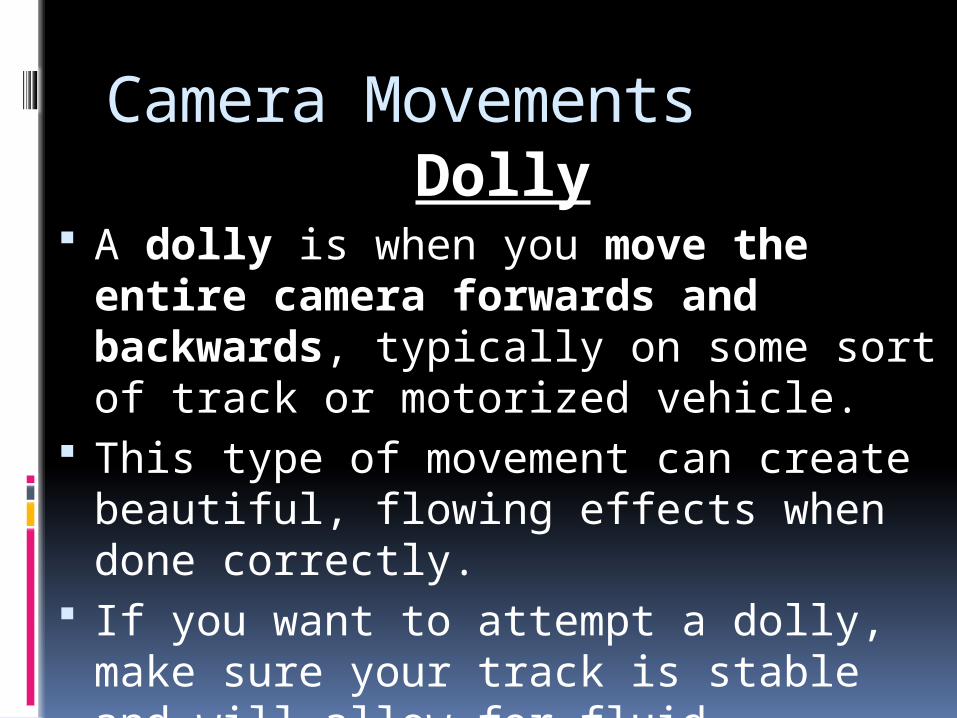
Camera MovementsDolly
A dolly is when you move the entire camera forwards and backwards, typically on some sort of track or motorized vehicle.
This type of movement can create beautiful, flowing effects when done correctly.
If you want to attempt a dolly, make sure your track is stable and will allow for fluid movement.
Camera Movements
Truck Trucking is the same as dollying,
only you are moving the camera from left to right instead of in and out.
Again, it is best to do this using a fluid motion track that will eliminate any jerking or friction.

Camera Movements
Pedestal A pedestal is when you move the
camera vertically up or down while it is fixated in one location.
This term came from the use of studio cameras when the operators would have to adjust the pedestal the camera sat on to compensate for the height of the subject.
A pedestal move is easy to do when the camera is fixated to an adjustable tripod.

Camera MovementsRack Focus
Rack focus is not as much of a camera move as it is a technique, but many amatuers overlook this essential skill.
You adjust the lens to start an image blurry and then slowly make it crisper, or vice versa.
It is an extremely effective way for you to change your audience’s focus from one subject to another.

Camera MovementsArc
An Arc is a fairly difficult shot to pull off free-hand.
This is when the camera rotates around its subject, keeping the same distance but changing the angle at which it views that subject.
The slow-motion arcs in the Matrix movies are perhaps the best and most widely recognized example of this technique

Camera MovementsZoom
Without a doubt, zooming is the most used (and therefore, most overused) camera movement there is.
It is often used as a clutch when the videographer is not sure what else to do to add interest to a shot.
If you are going to use zoom, try to use it creatively.
Zoom in or out from an unexpected, yet important, object or person in your shot.
Use a quick zoom to add energy to a fast-paced piece.
Don’t get stuck with your zoom as your default move!

Camera Movements
Crane/Jib A crane can be used to lift a
camera (and operator, if it's big enough) from low to high shooting positions.
Less expensive jibs can support the weight of a camera and lift it several feet off of the ground.
Sometimes called a boom, but the boom term usually applies to the device that holds a microphone aloft

Camera Movements
Dolly Counter Zoom A dolly counter zoom is a rare type
of shot of great stylistic effect. To accomplish it, the camera has to
dolly (move) closer or further away from the subject while the zoom is adjusted so the subject’s size remains about the same.

THANK
S
Related Documents


![Interchangeable Lens Digital Camera ILCA-99M2 α99II · Interchangeable Lens Digital Camera ILCA-99M2 α99II Names of parts/Icons and indicators Names of parts Front side [1] ...](https://static.cupdf.com/doc/110x72/5f06243d7e708231d4167fbe/interchangeable-lens-digital-camera-ilca-99m2-99ii-interchangeable-lens-digital.jpg)