[Type text] IntegraSpec Cavity Closer

IntegraCavity Closer
Mar 16, 2016
Integraspec Cavity Closers
Welcome message from author
This document is posted to help you gain knowledge. Please leave a comment to let me know what you think about it! Share it to your friends and learn new things together.
Transcript
[Type text]
IntegraSpec Cavity Closer

[Type text]
IntegraSpec Cavity Closer
Economical and easy
to install completing
the thermal
envelope
with an
ICF solution
[Type text]
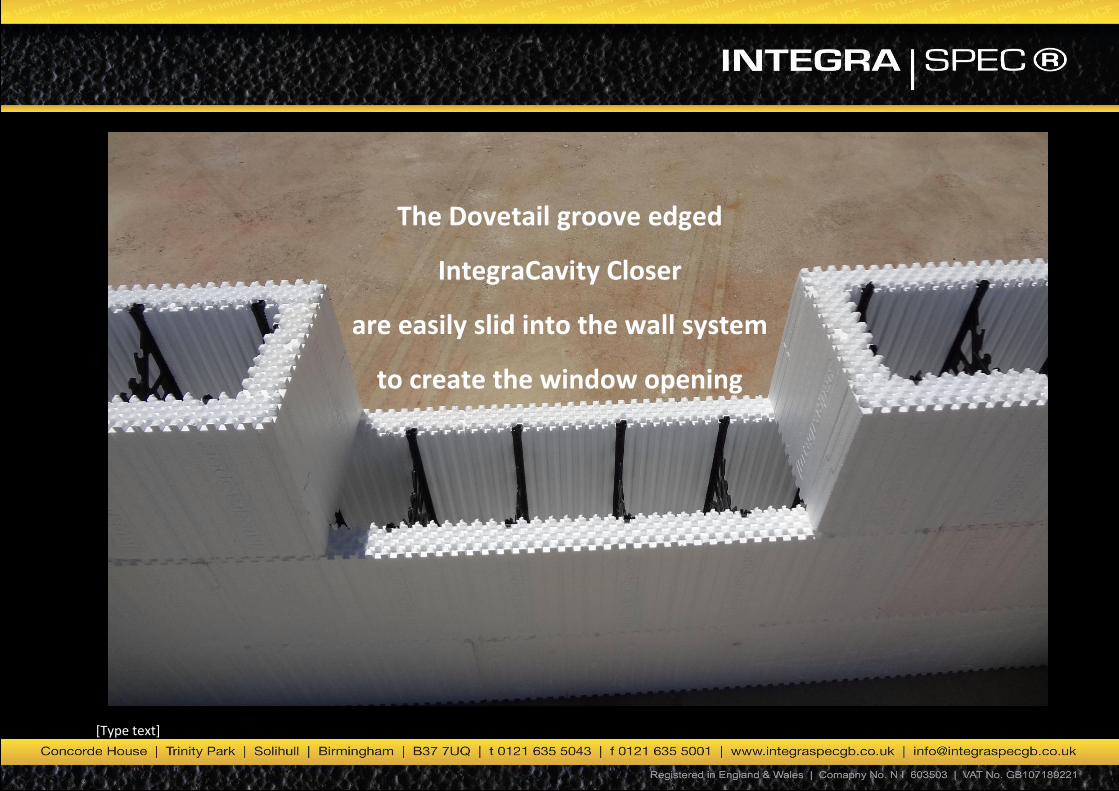
The Dovetail groove edged
IntegraCavity Closer
are easily slid into the wall system
to create the window opening

[Type text]
The IntegraCavity Closer can be installed as shown without additional bracing or strapping
[Type text]
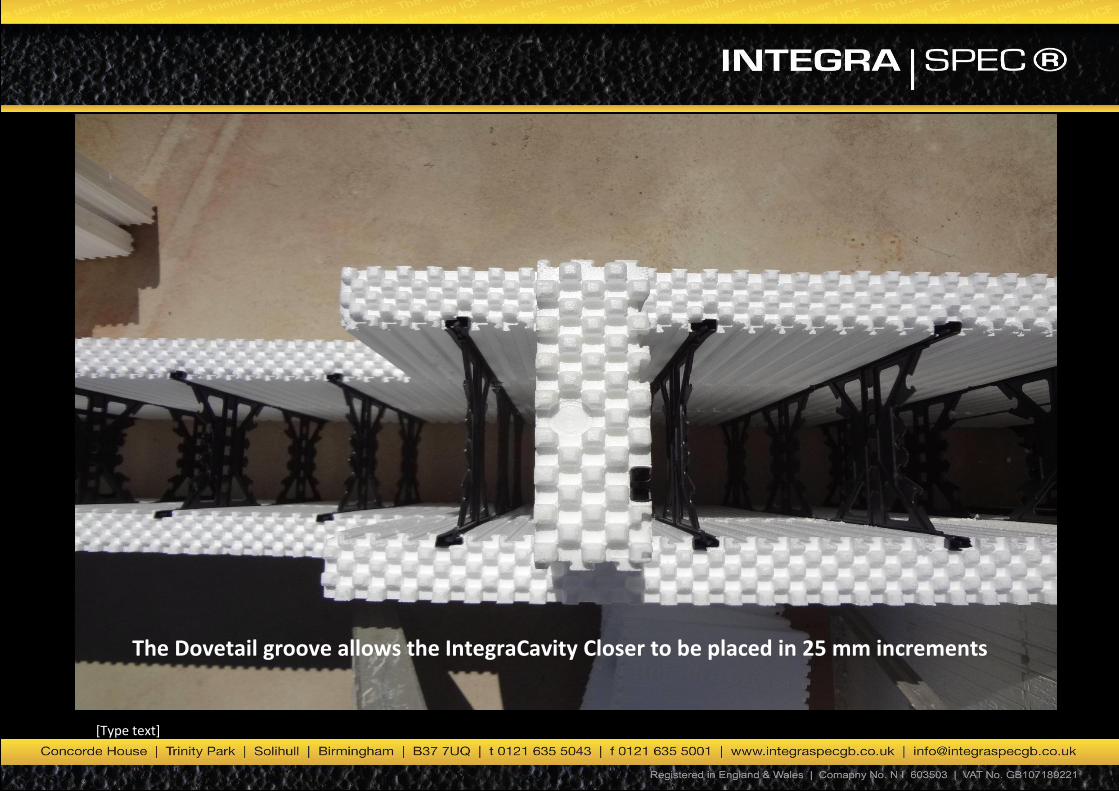
The Dovetail groove allows the IntegraCavity Closer to be placed in 25 mm increments

[Type text]

[Type text]
Allowing the wall system to continue past the opening
Provides additional support for the Cavity Closers and can be easily
cut away after the pour allowing the web and cut piece to be reused

[Type text]
IntegraCavity Closers frame out a window opening
as a wall system is constructed.
No strapping, bracing or taping required

[Type text]
IntegraCavity Closers are shown
with the wall system built past the opening
to provide additional support.
The panels are cut away after the concrete pour
All materials can be reused.

[Type text]
IntegraHeader placed on IntegraCavity Closers
to complete the top of the window opening

[Type text]
IntegraHeader and IntegraCavity Closer
[Type text]
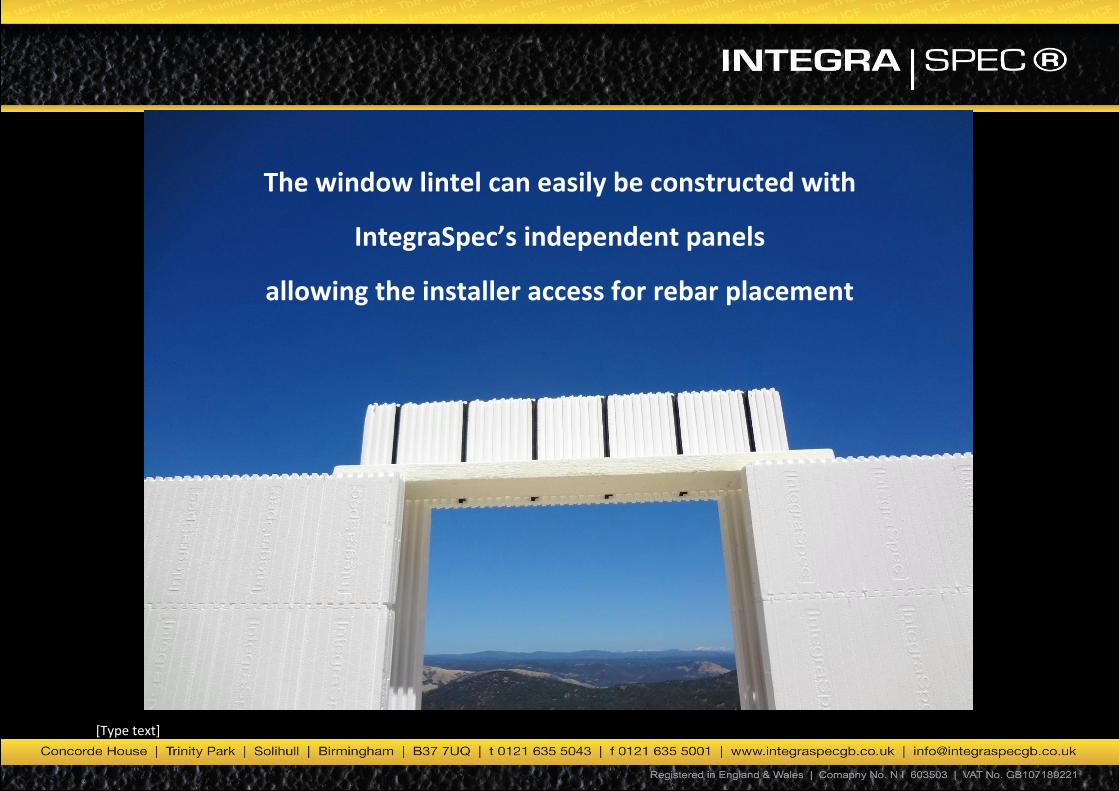
The window lintel can easily be constructed with
IntegraSpec’s independent panels
allowing the installer access for rebar placement
[Type text]
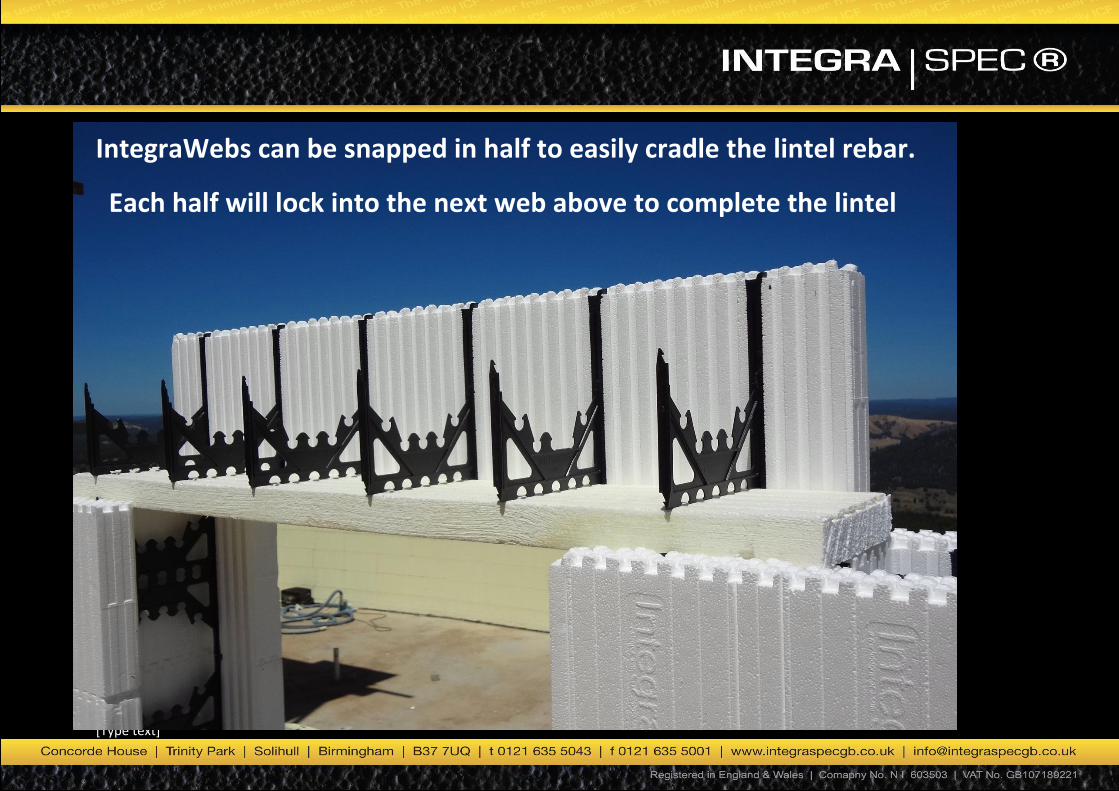
IntegraWebs can be snapped in half to easily cradle the lintel rebar.
Each half will lock into the next web above to complete the lintel
[Type text]
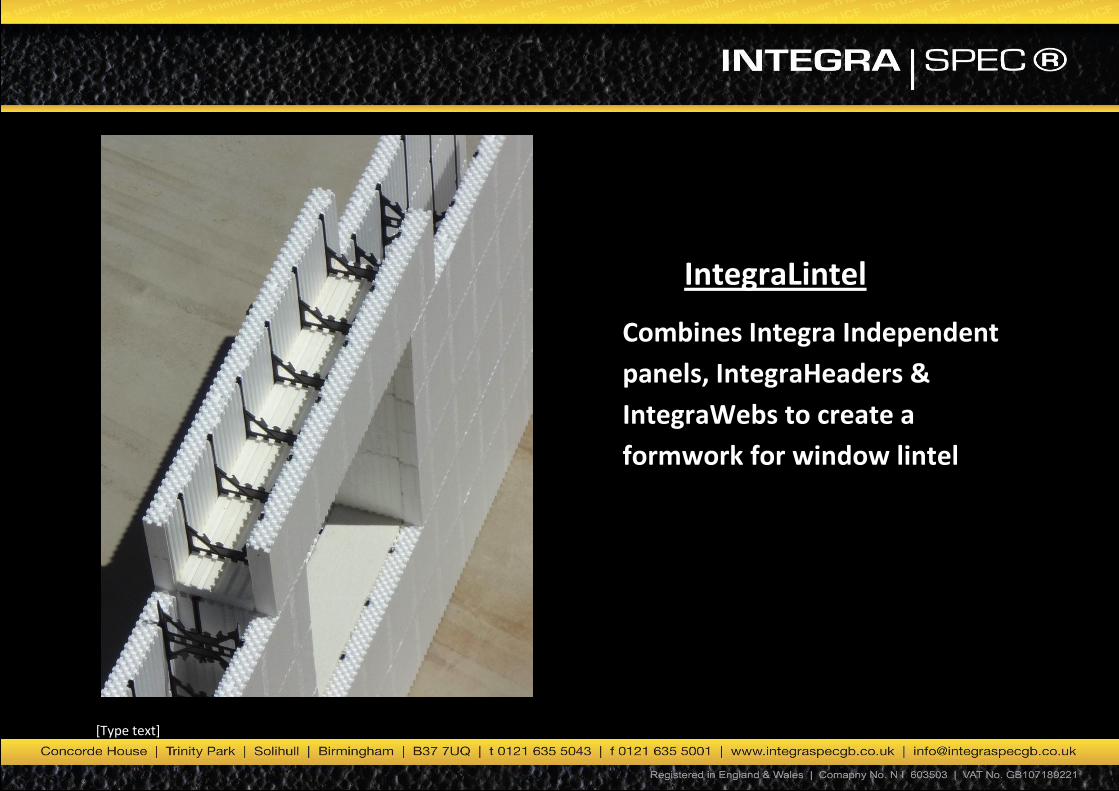
IntegraLintel
Combines Integra Independent
panels, IntegraHeaders &
IntegraWebs to create a
formwork for window lintel
[Type text]
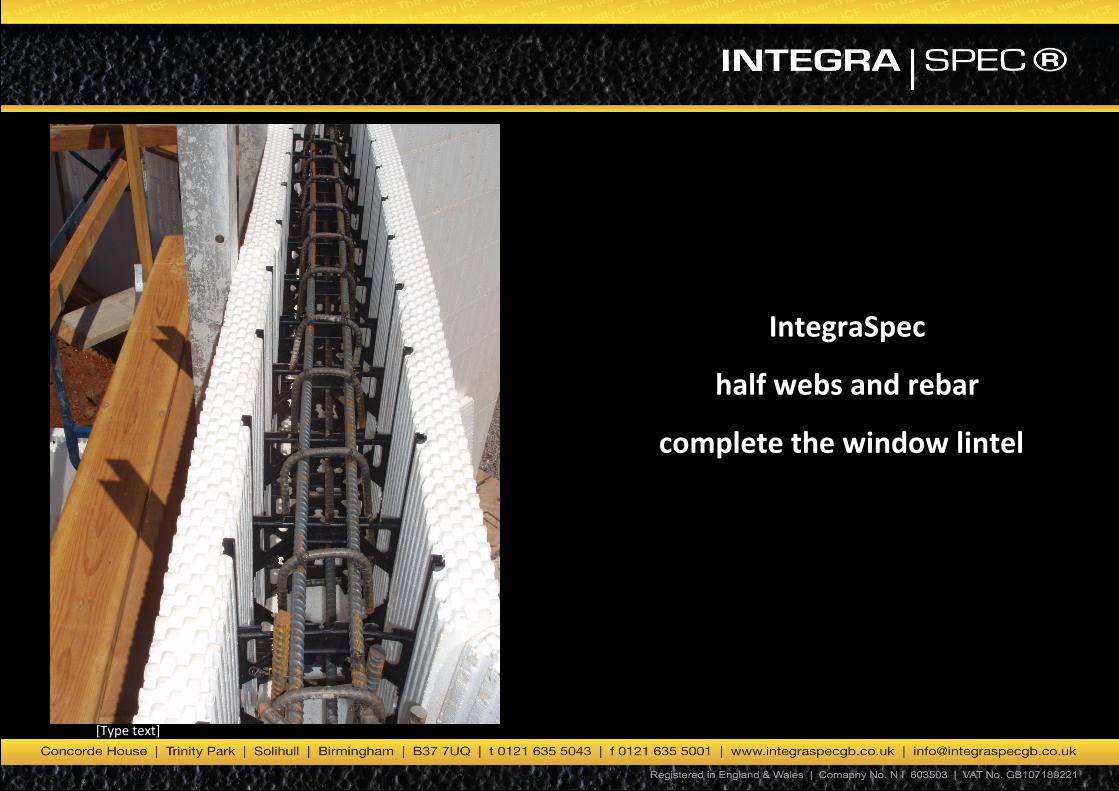
IntegraSpec
half webs and rebar
complete the window lintel

[Type text]
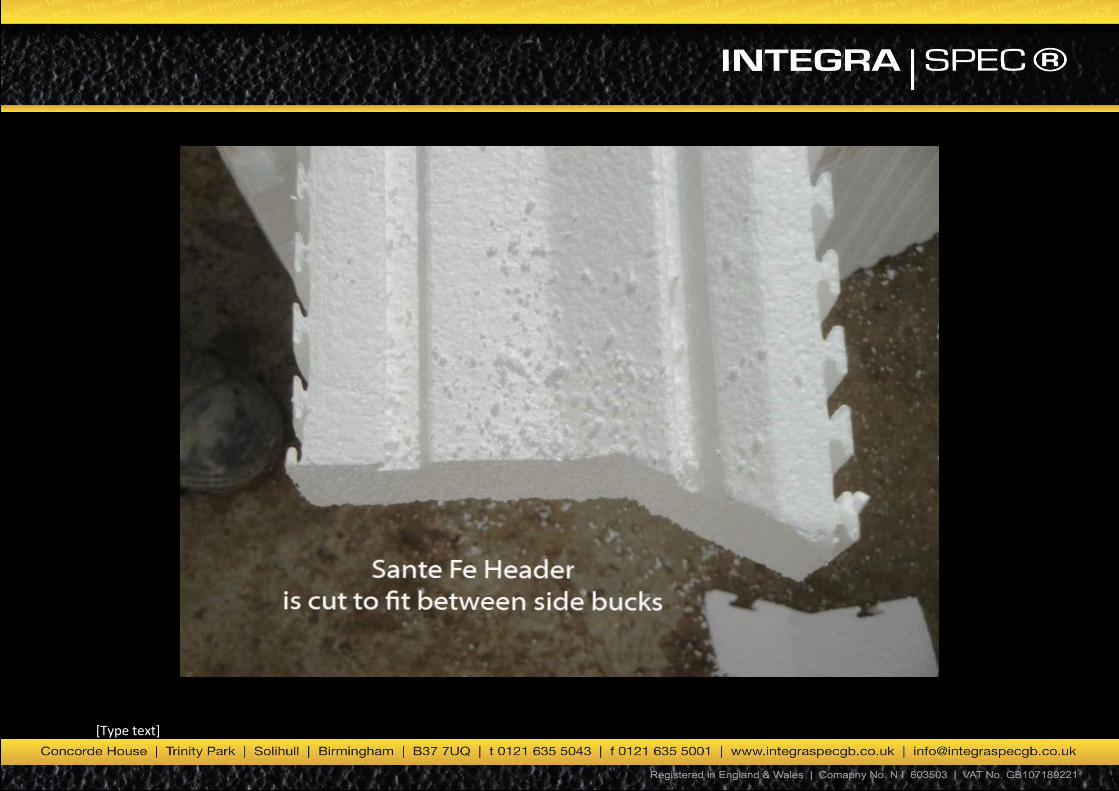
IntegraSpec panels
can also be ripped on a table saw
to the wall core size
and used for window headers

[Type text]
IntegraSpec wall system
continues above the window opening to
complete the lintel

[Type text]
Concrete is screeded down 50mm
at the bottom of the window to allow
IntegraHeaders to be placed in the sill
completing the ICF window opening

[Type text]
Larger window openings are easily constructed and have
Temporary support concrete placement

[Type text]
IntegraSpec Technology
provides every design
challenge with an
easy solution

[Type text]
[Type text]

[Type text]
[Type text]
[Type text]
[Type text]
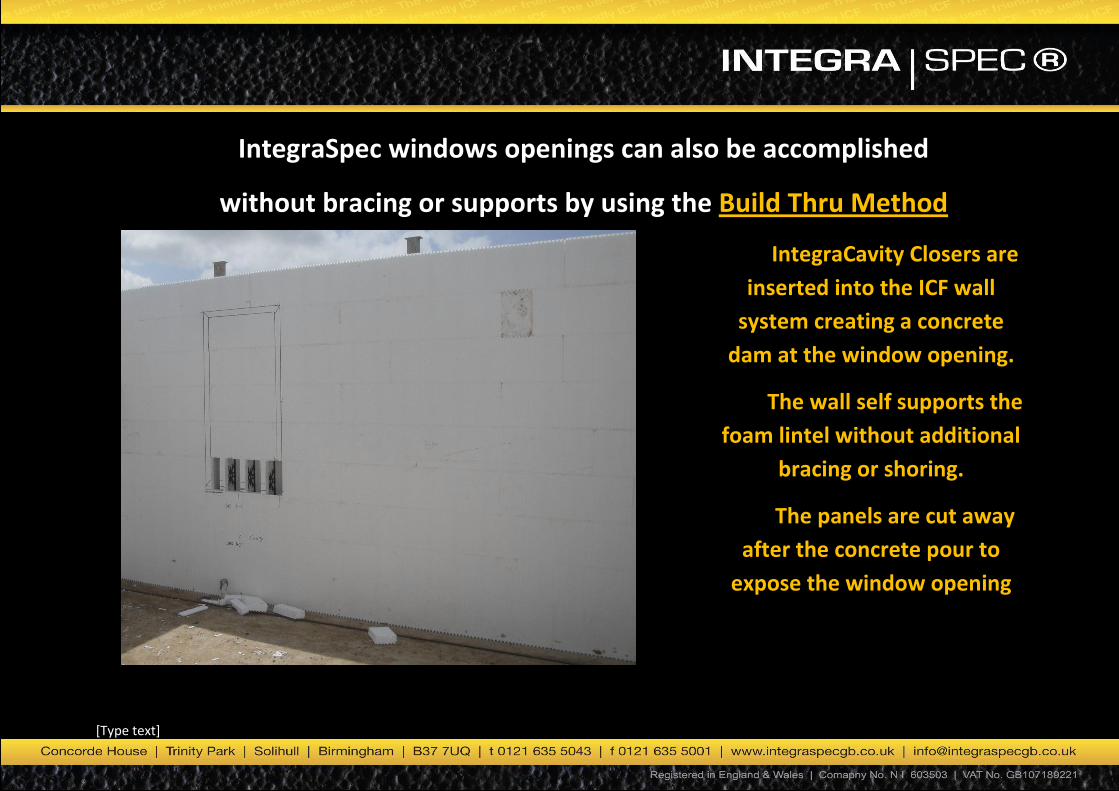
IntegraSpec windows openings can also be accomplished
without bracing or supports by using the Build Thru Method
IntegraCavity Closers are
inserted into the ICF wall
system creating a concrete
dam at the window opening.
The wall self supports the
foam lintel without additional
bracing or shoring.
The panels are cut away
after the concrete pour to
expose the window opening

[Type text]
Front panels are left off to show the BuildThru
also the placement of the IntegraSpec Header on the Cavity
Closer and how the IntegraWebs support the header

[Type text]
IntegraSpec Header is fully supported by the IntegraWebs
A half web is used to set the header height

[Type text]
Before the pour 150mm x 150mm viewing ports
are made at the window sill height allowing you to
screed the concrete

[Type text]

[Type text]

[Type text]

[Type text]
Panels are cut away
and sill foam has
been installed after
the pour
[Type text]
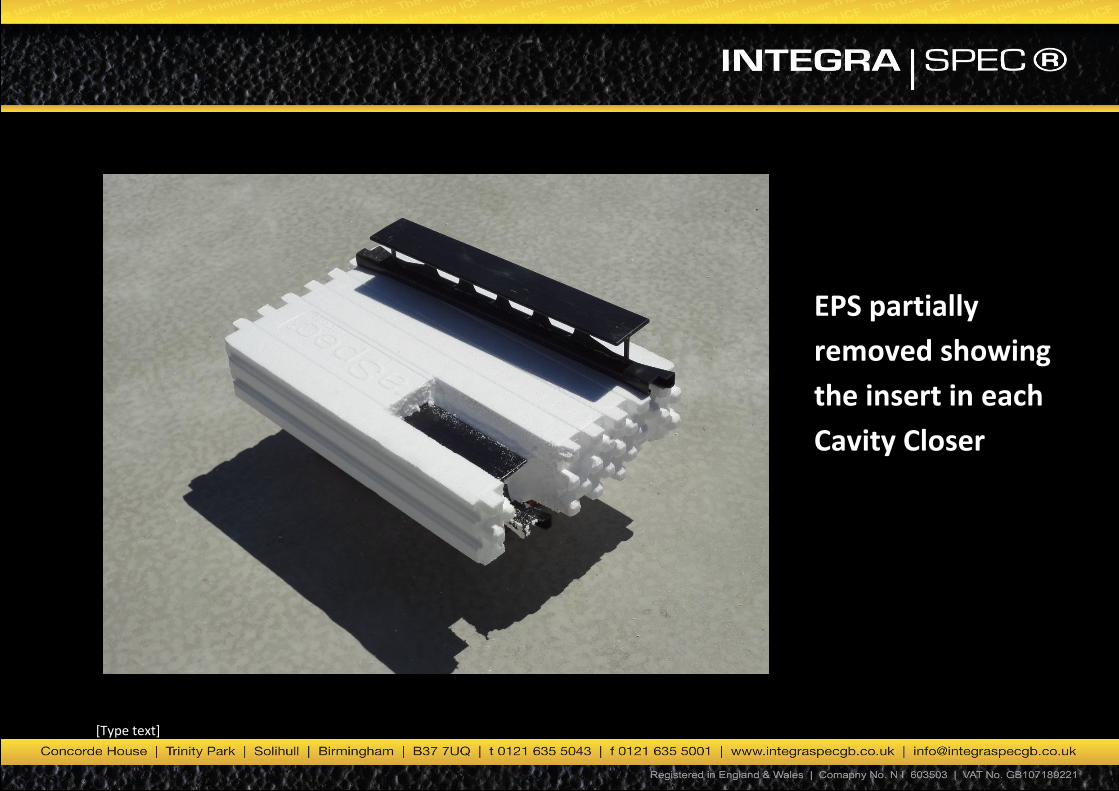
EPS partially
removed showing
the insert in each
Cavity Closer
[Type text]
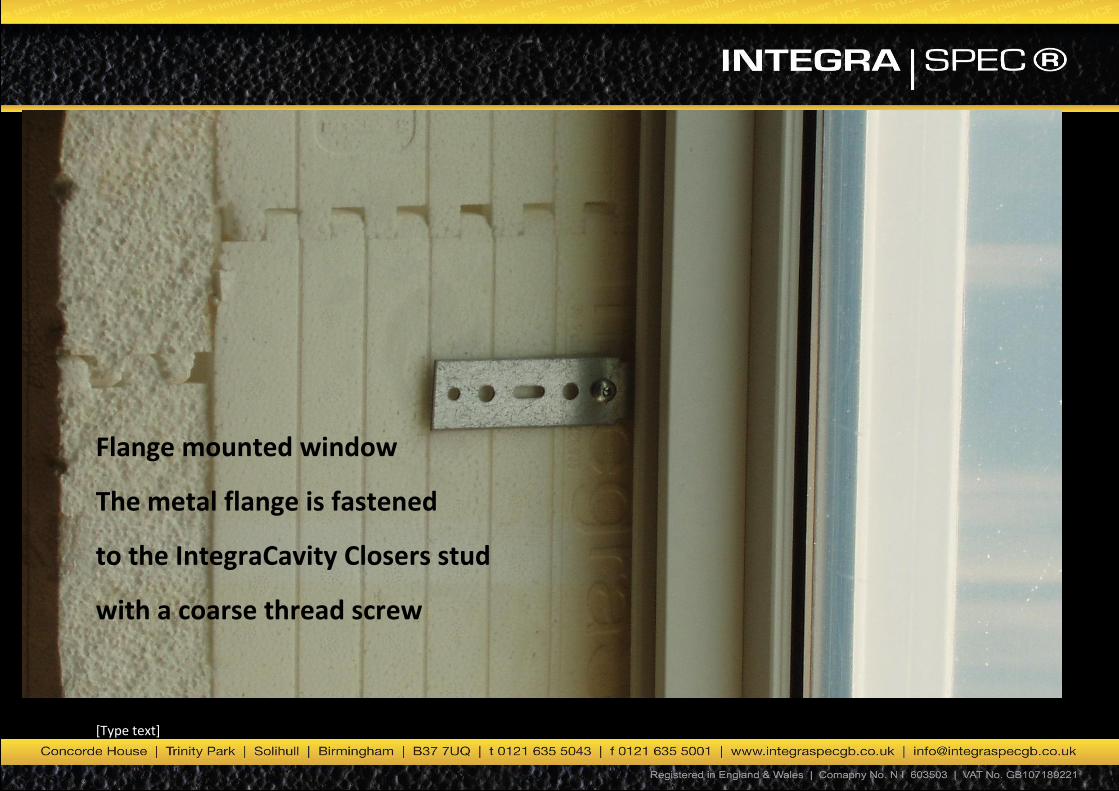
Flange mounted window
The metal flange is fastened
to the IntegraCavity Closers stud
with a coarse thread screw

[Type text]
Flange mounted window outside
With a drywall return and a bull corner inside

[Type text]
Wood finished window sills and jambs
[Type text]
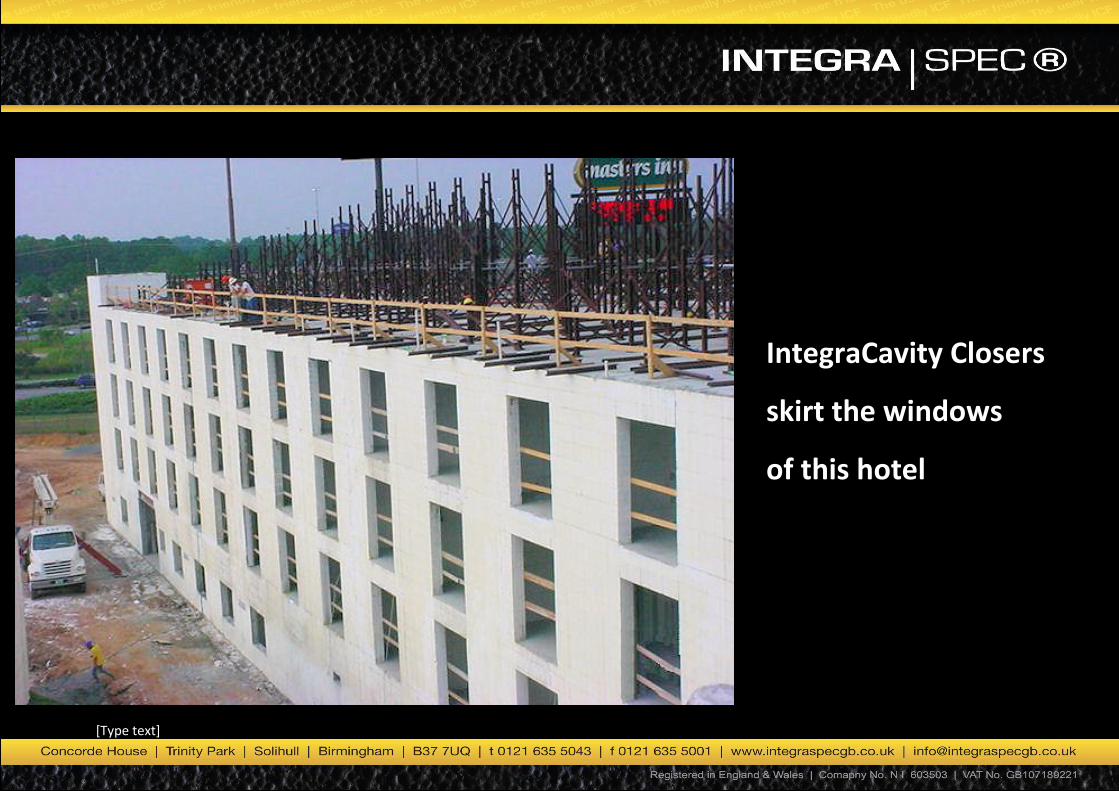
IntegraCavity Closers
skirt the windows
of this hotel

[Type text]
IntegraSpec ICF Wall system with IntegraCavity Closers skirting
all openings creating a Render friendly base

[Type text]
IntegraCavity Closer

[Type text]
Email: [email protected]
Website: www.integraspecgb.co.uk
: http://twitter.com/#!/ICF_UK
: http://www.facebook.com/IntegraspecUK
Related Documents