1 Office 365 on the Native Android Email App 1. Go to the Android phone desktop. 2. Use your finger to swipe down. This will get you to the email app OR tap on the home screen “III” which is circled in the graphic below:

Welcome message from author
This document is posted to help you gain knowledge. Please leave a comment to let me know what you think about it! Share it to your friends and learn new things together.
Transcript
1
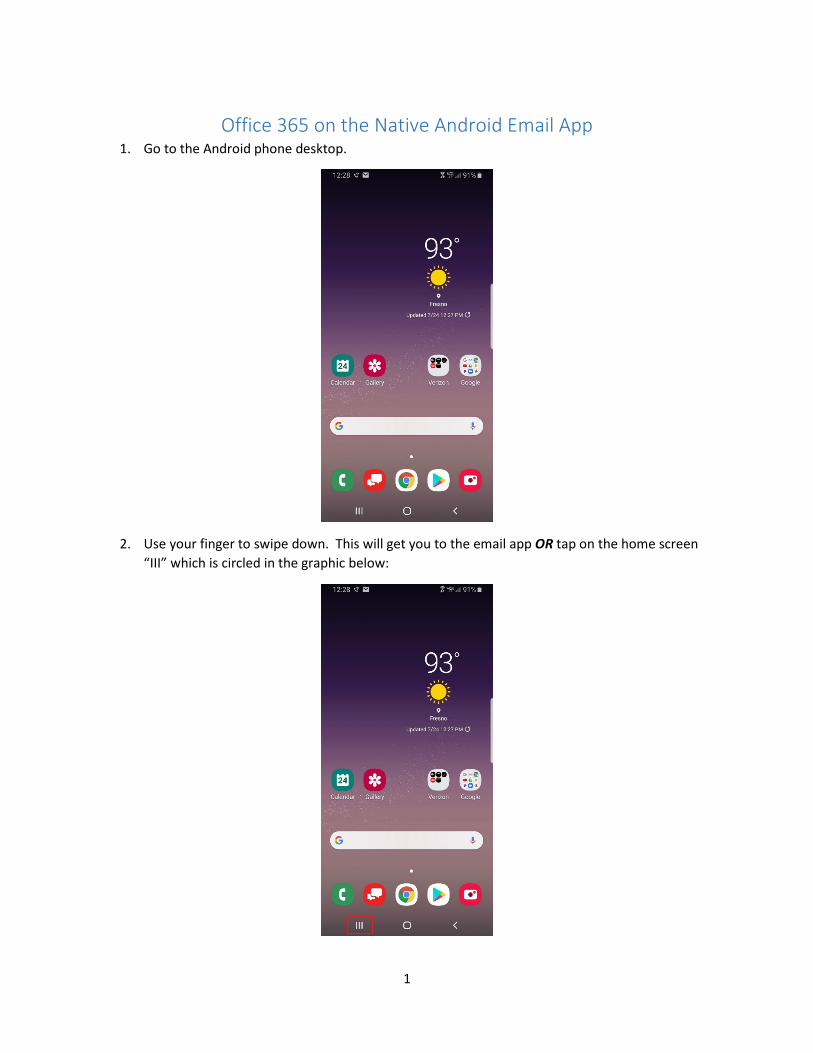
Office 365 on the Native Android Email App 1. Go to the Android phone desktop.
2. Use your finger to swipe down. This will get you to the email app OR tap on the home screen “III” which is circled in the graphic below:

2
3. The Finder will appear as shown in the graphic on the next page. 4. Type the word “email” into the Finder and it will bring up the icon for the native client as shown
in the graphic below:
5. Type the word “Email” into the Finder and it will bring up the icon for the native client as shown in the graphic below:
6. Tap on the Email icon. It is circled in the graphic on the next page.

3
7. The “Set Up Email” screen will appear as shown below:
8. Tap on the Corporate icon. It is circled in the screen on the next page.

4
9. The Exchange Server Settings screen will now appear as shown below:

5
10. Enter the following information into the “Exchange Settings” dialog box: a. The User’s District Email Address b. Enter the User’s Active Directory Username with @scccd.net (UPN) c. Enter the User’s Active Directory password d. Enter the Name of the Exchange Server
i. Enter “Outlook.office365.com” 11. Tap on the “Next” button. It is circled in the graphic below:
12. You will now be asked to “Apply Security Settings” in a pop-up screen like the one shown in the graphic below:
6
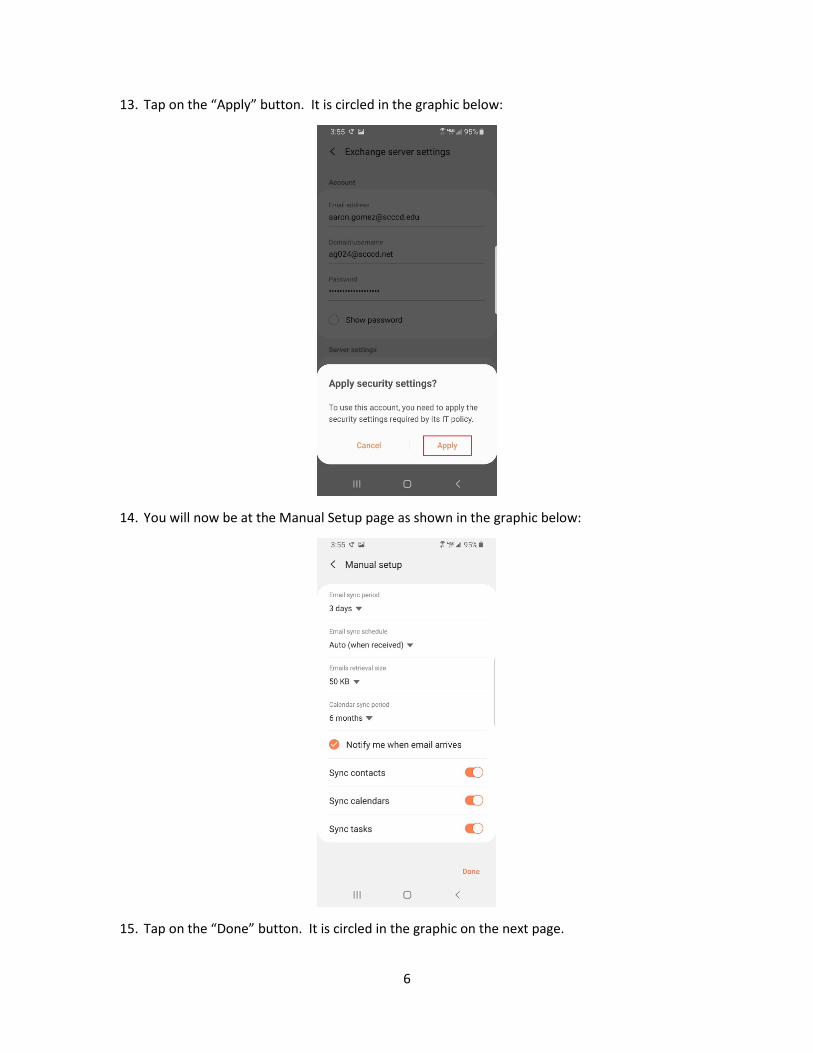
13. Tap on the “Apply” button. It is circled in the graphic below:
14. You will now be at the Manual Setup page as shown in the graphic below:
15. Tap on the “Done” button. It is circled in the graphic on the next page.

7
16. You will now be at the Activate Device Admin App page as shown in the graphic below:
17. Please read the information before you Activate by tapping on the “Activate” button. It is circled in the graphic on the next page.

8
18. You are now on the “Edit Names” page as shown in the graphic shown below:
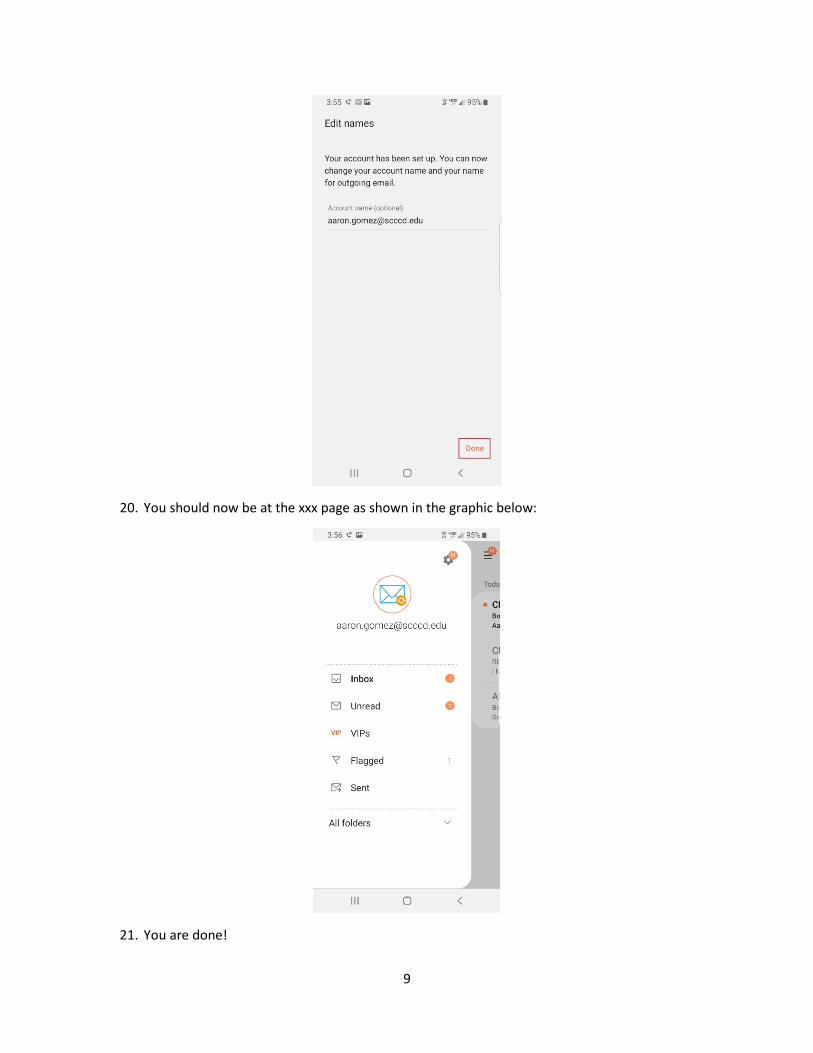
19. Tap on the “Done” button. It is circled in the graphic on the next page.
9
20. You should now be at the xxx page as shown in the graphic below:
21. You are done!
Related Documents


