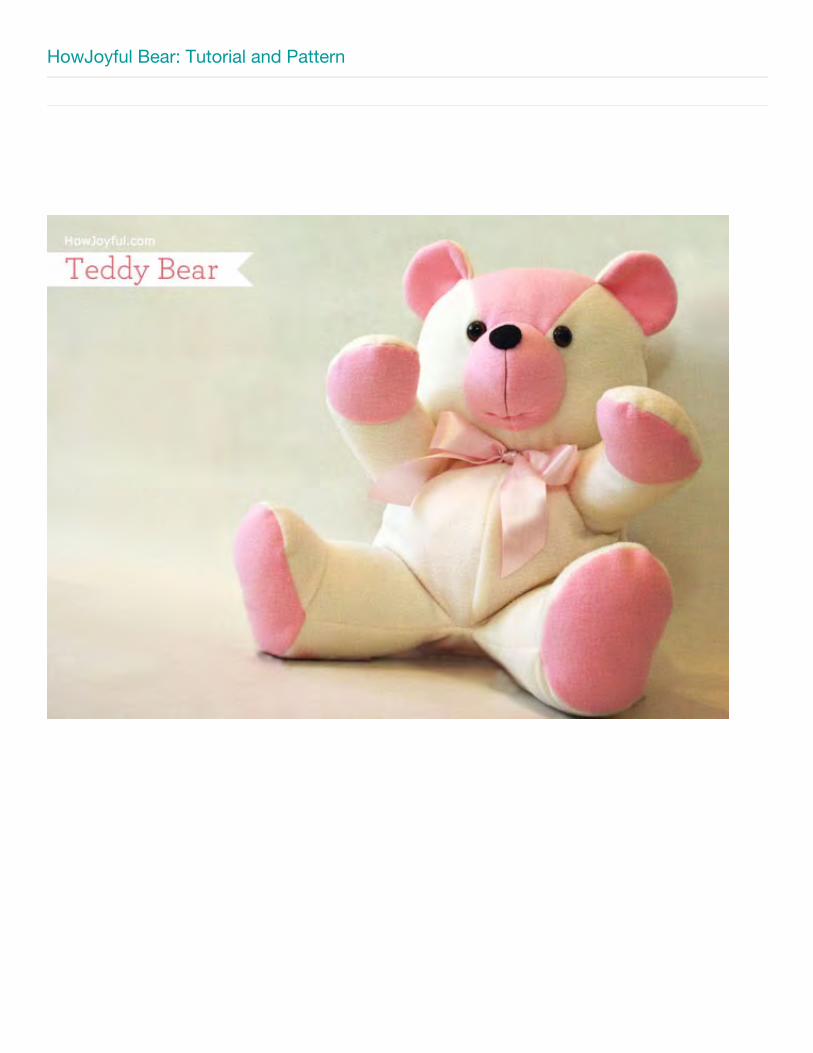
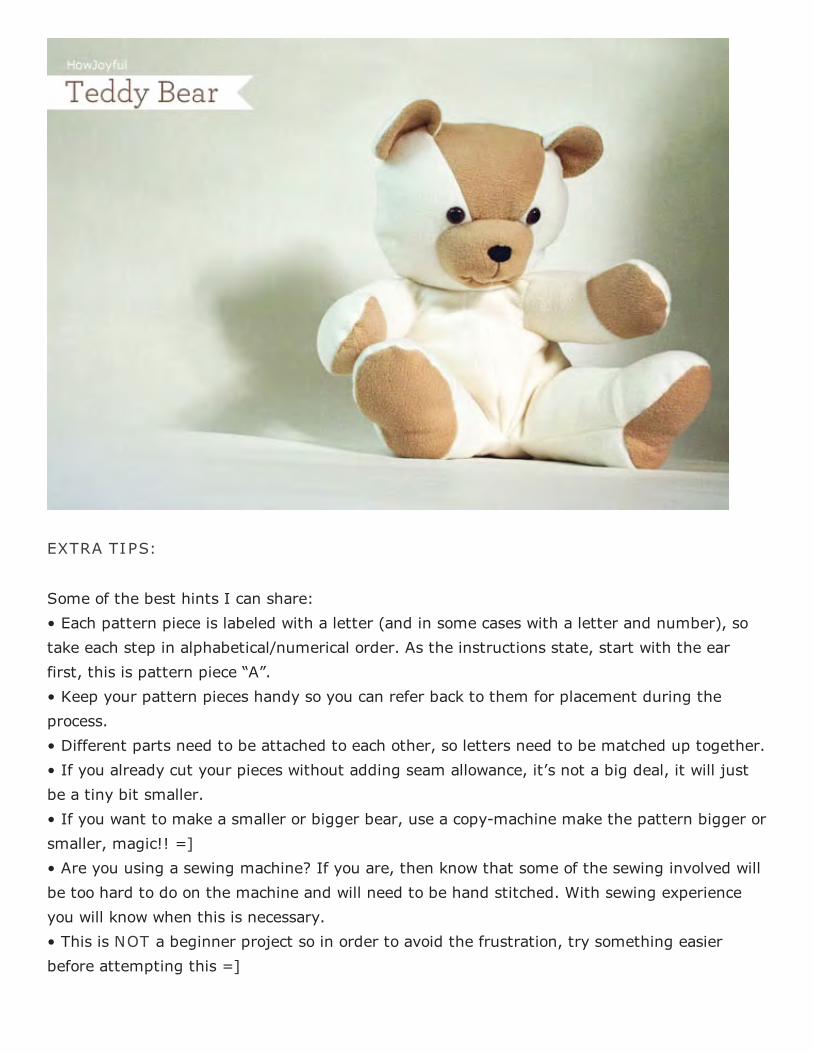
HowJoyful Bear: Tutorial and Pattern

Welcome message from author
This document is posted to help you gain knowledge. Please leave a comment to let me know what you think about it! Share it to your friends and learn new things together.
Transcript
HowJoyful Bear: Tutorial and Pattern
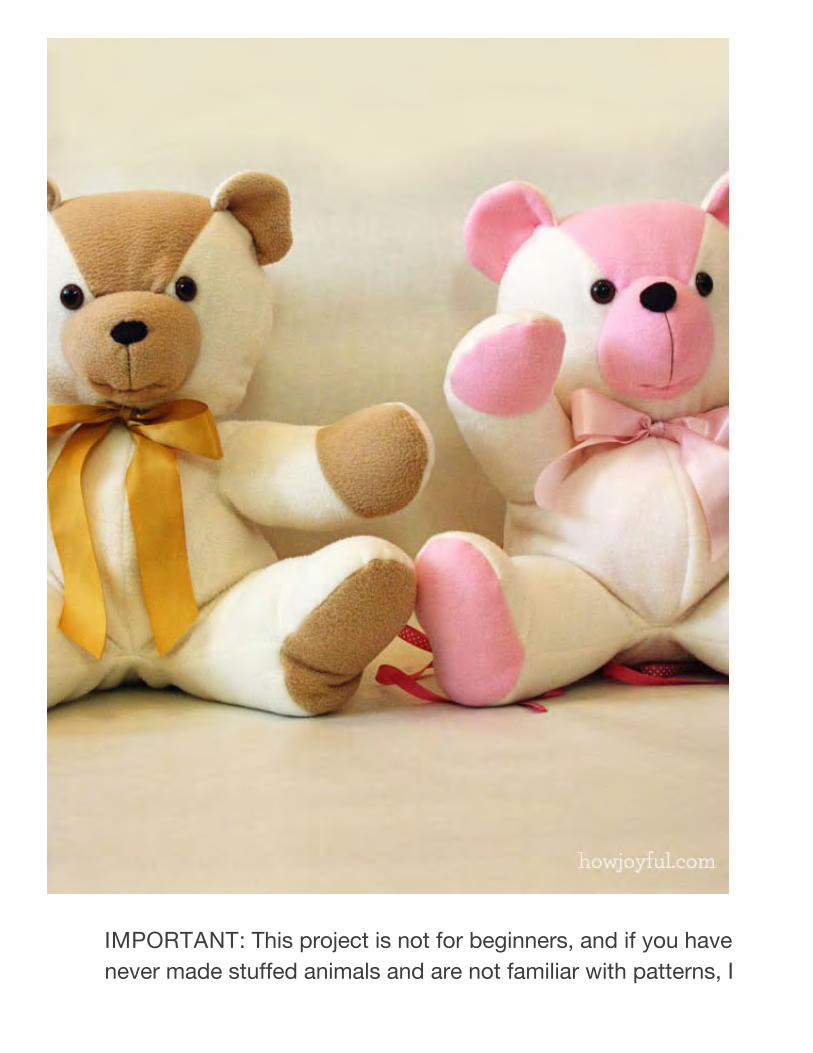
IMPORTANT: This project is not for beginners, and if you havenever made stuffed animals and are not familiar with patterns, I
(I printed my pattern on cardboard so that way the process of tracing to the fabric will beeasier.)Once you have all of the pieces of the pattern printed you are ready to start!
MATERIALS:
* You can use normal hairy fur fabric too, I used fleece because these are for a little boy andgirl, so I wanted the bears to be as soft as possible =)
THE PROCESS:
[ Click on image to enlarge ]
would recommend you to start with a more simple project andattempt this teddy bear once you have the skills and patience toput together pattern pieces and are familiar with your sewingmachine (if you are not fully hand-stitching it). I have added extrainstruction and updated this post Feb 20th 2012. So hopefullynow it will be easier for all of you to follow. I have no extrainstructions or images but what I am sharing here. I am unable togive personalized help with this project, Thank you forunderstanding!
First you need the pattern in the back of this PDF:
Click HERE to go there now.
1 yard of fabric for the body (I used cream color fleece*)
1/2 yard of fabric for the color details (I used light brown)
1 set of animal eyes 18mm
small piece of felt for the nose
Stuffing material (I used polyester filling)
Sewing machine or thread and needle for hand-stitching

First you need to trace all of your pieces on the fabric.
Cut out all pieces adding a 1/4 inch seam allowance.
Note: If you are doing a two-toned bear, as shown,
you will need contrasting fabric and these pieces will be
used: #1 (ear, 2 only), #2 (forehead), #4 (mouth), #8
(arm front, hand) and #15 (feet bottom).
For all of those pieces that say you need “2, 1 reverse”
after tracing the front, turn the pattern and trace the
second piece. Cut out the pattern and pin on to your
fabric. When only one piece is necessary (#2, forehead
and #4 mouth) place pattern on right side of fabric.
HEAD ASSEMBLY: Pieces #1-5• Sew ear (contrasting) pieces (#1) right sides together, leaving straight portion open. Turnright side out.• Sew forehead (#2) and side head (#3) together making sure ears are in place (A2), seepicture.• Attach mouth (#4) to forehead piece matching “B” and center.• Sew mouth center seam to close.• Sew center seam of back of head (#5).• Attach head back to front making sure ears are pinned in place (A1) and center of foreheadmatches the center seam.• Turn head right side out
I recommend to start with the ears, once
you have them done attach them to the
front and side part of the face.
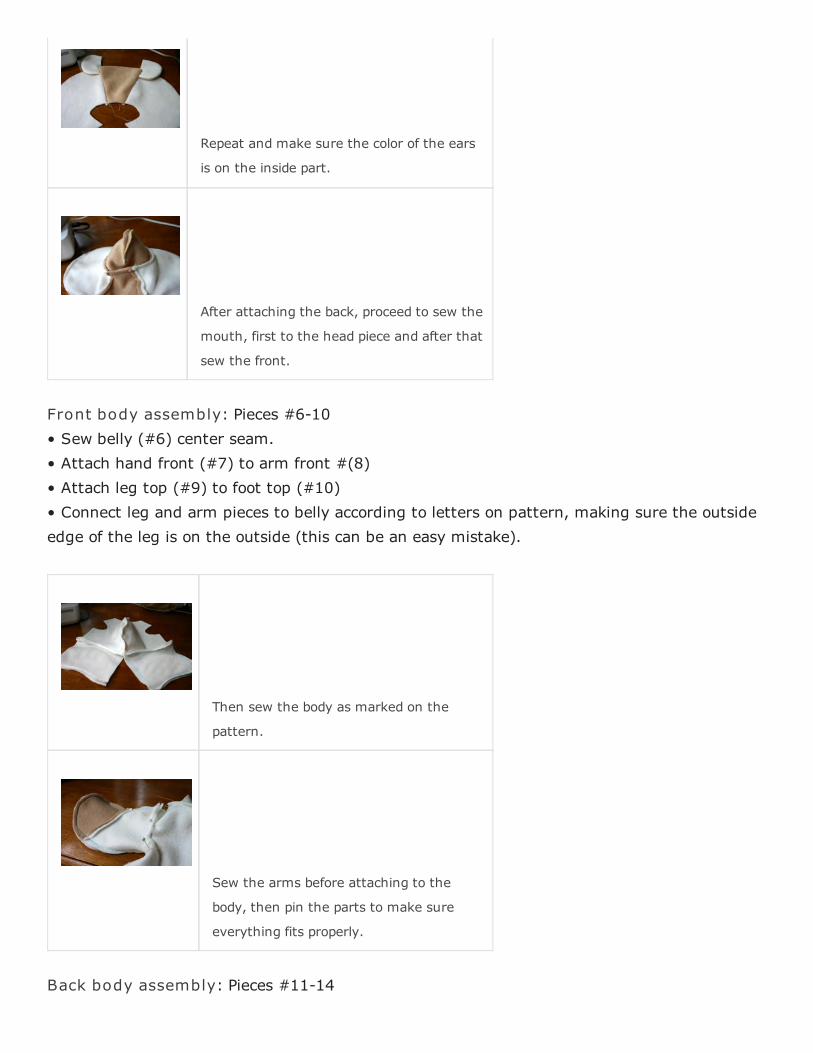
Repeat and make sure the color of the ears
is on the inside part.
After attaching the back, proceed to sew the
mouth, first to the head piece and after that
sew the front.
Front body assembly: Pieces #6-10• Sew belly (#6) center seam.• Attach hand front (#7) to arm front #(8)• Attach leg top (#9) to foot top (#10)• Connect leg and arm pieces to belly according to letters on pattern, making sure the outsideedge of the leg is on the outside (this can be an easy mistake).
Then sew the body as marked on the
pattern.
Sew the arms before attaching to the
body, then pin the parts to make sure
everything fits properly.
Back body assembly: Pieces #11-14

• Sew tail (#11), right sides together, leaving straight portion open. Turn right side out.• Sew back (#12) center seam with tail in place.• Sew bottom leg (#13) center seam together from point S to K.• Attach bottom leg to back, matching letters on pattern.• Attach arm back (#14) to back (#12), matching letters on pattern.• Sew your front piece to the back piece leaving neck open and feet open.
Attach feet bottoms (#15) to leg openings, matching points Q and R to leg seams. Turn bearright side out.
Make sure you assemble the tail and place it
before closing the back.
For the feet repeat the process and pin all the
pieces together before sewing, sometimes it can
be an overflow of fabric in this area depending on
the kind of fabric you are using.
The body of your Teddy Bear is done!
Finish face details:• Attach eyes• Cut a nose out of felt, put in place and hand sew all around.• Fold mouth as shown, pin and tack into place.• Hand sew head to body with an invisible seam.
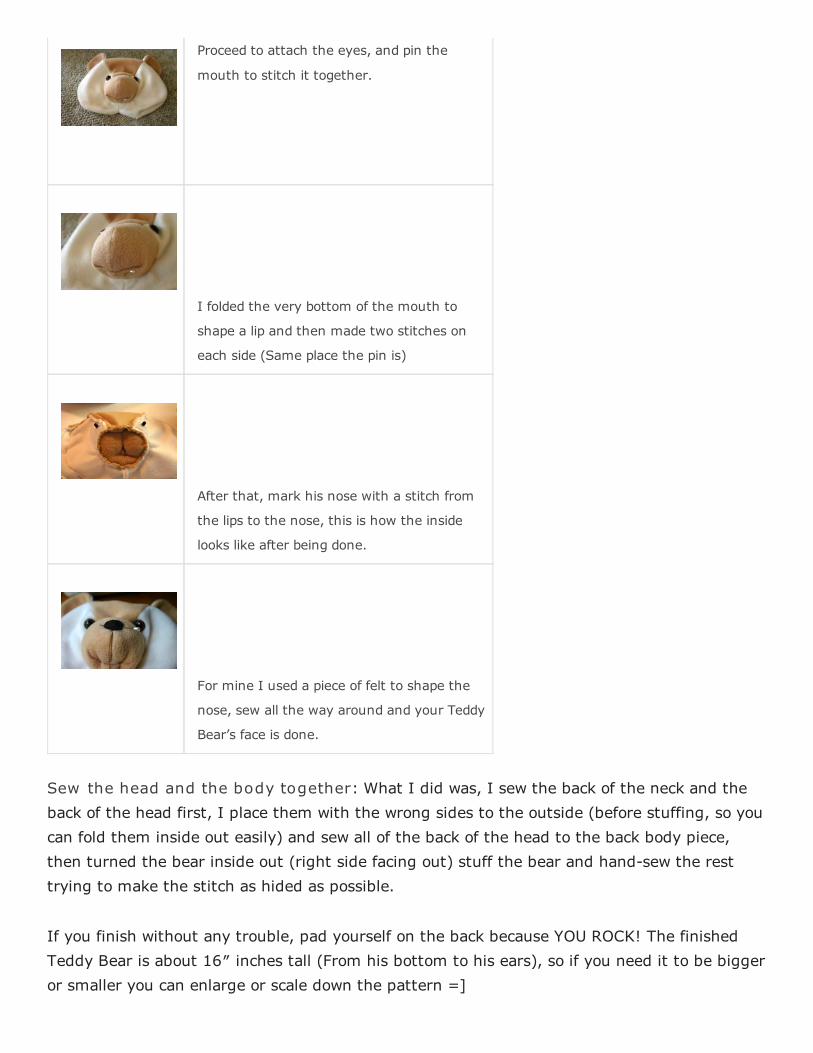
Proceed to attach the eyes, and pin the
mouth to stitch it together.
I folded the very bottom of the mouth to
shape a lip and then made two stitches on
each side (Same place the pin is)
After that, mark his nose with a stitch from
the lips to the nose, this is how the inside
looks like after being done.
For mine I used a piece of felt to shape the
nose, sew all the way around and your Teddy
Bear’s face is done.
Sew the head and the body together: What I did was, I sew the back of the neck and theback of the head first, I place them with the wrong sides to the outside (before stuffing, so youcan fold them inside out easily) and sew all of the back of the head to the back body piece,then turned the bear inside out (right side facing out) stuff the bear and hand-sew the resttrying to make the stitch as hided as possible.
If you finish without any trouble, pad yourself on the back because YOU ROCK! The finishedTeddy Bear is about 16″ inches tall (From his bottom to his ears), so if you need it to be biggeror smaller you can enlarge or scale down the pattern =]
EXTRA TIPS:
Some of the best hints I can share:• Each pattern piece is labeled with a letter (and in some cases with a letter and number), sotake each step in alphabetical/numerical order. As the instructions state, start with the earfirst, this is pattern piece “A”.• Keep your pattern pieces handy so you can refer back to them for placement during theprocess.• Different parts need to be attached to each other, so letters need to be matched up together.• If you already cut your pieces without adding seam allowance, it’s not a big deal, it will justbe a tiny bit smaller.• If you want to make a smaller or bigger bear, use a copy-machine make the pattern bigger orsmaller, magic!! =]• Are you using a sewing machine? If you are, then know that some of the sewing involved willbe too hard to do on the machine and will need to be hand stitched. With sewing experienceyou will know when this is necessary.• This is NOT a beginner project so in order to avoid the frustration, try something easierbefore attempting this =]
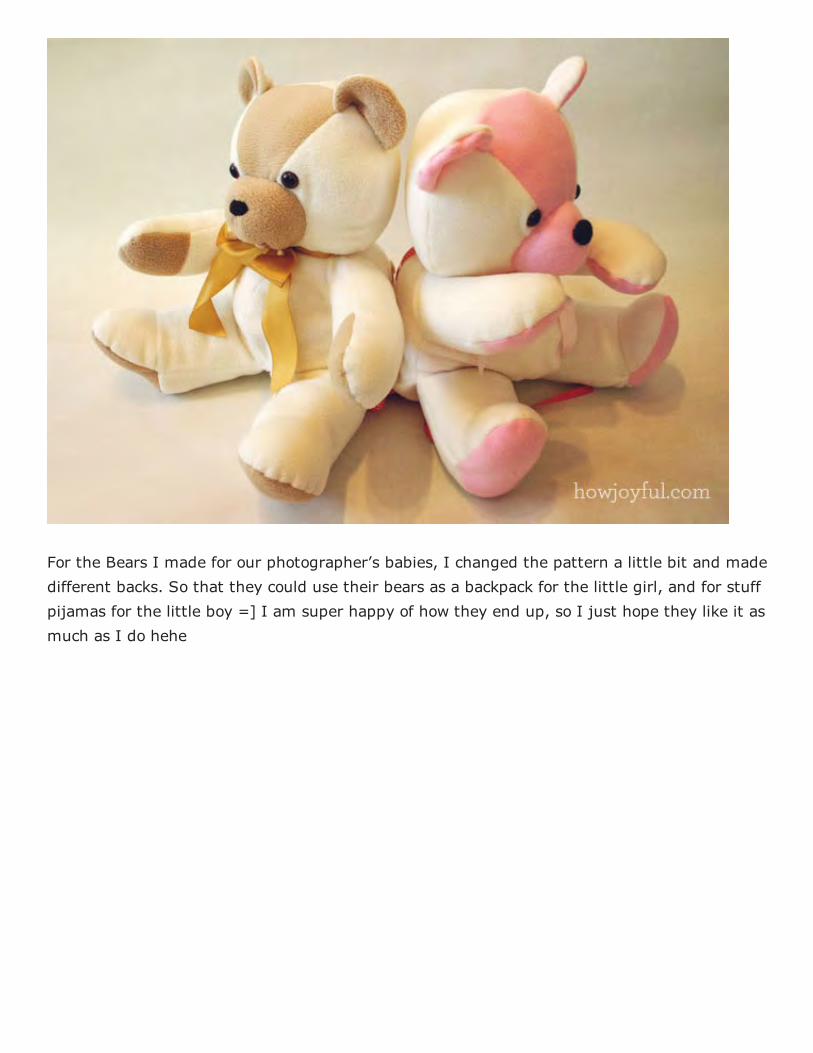
For the Bears I made for our photographer’s babies, I changed the pattern a little bit and madedifferent backs. So that they could use their bears as a backpack for the little girl, and for stuffpijamas for the little boy =] I am super happy of how they end up, so I just hope they like it asmuch as I do hehe

you can see in the top image that the pink it has ribbon strings that work as handles to be abackpack and the brown has buttons that make a pouch for the pijamas =] If you want to seeall the rest of the pictures for the two very special bears, you should visit this post.
Hope you enjoy this project! It’s very fun!
* This tutorial is provided for personal use only. If you wish to sell items made with this
tutorial please purchase alimited production license.
Check the Site policy at the bottom for further information, Thank you!

pattern or bear made from this pattern - Thank you!
Copyright 2010 Joy Kelley | All right reservedwww.howjoyful.com
Terms of use: This pattern (and any modify version you create/find) is for personal use only, You may not sell this
Copyright 2010 Joy Kelley | All right reservedwww.howjoyful.com
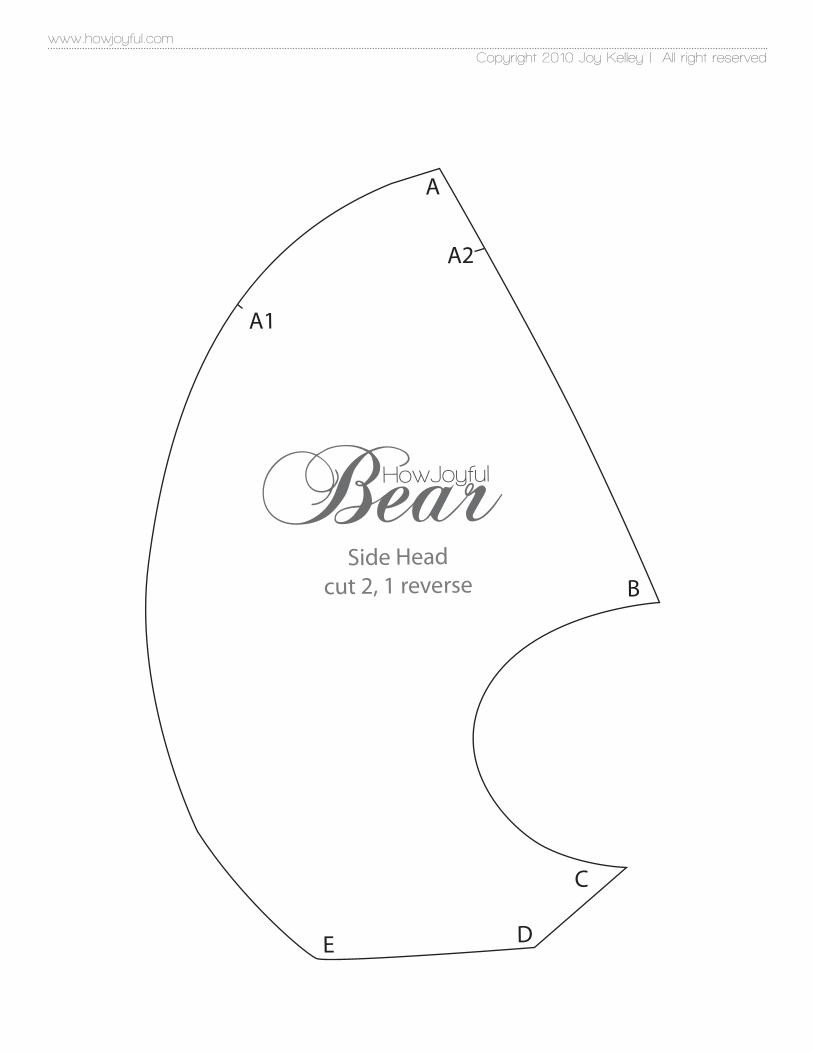
A
Side Headcut 2, 1 reverse B
D
C
E
A2
A1
Copyright 2010 Joy Kelley | All right reservedwww.howjoyful.com
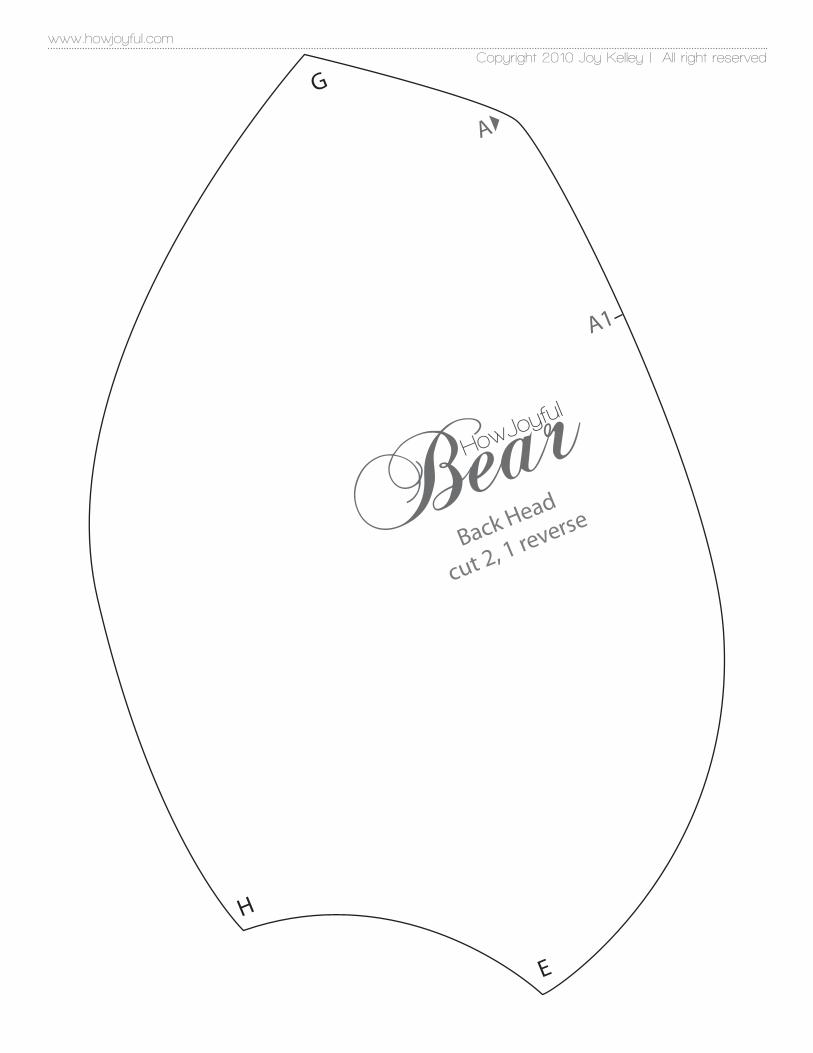
G
A
E
H
Back Head
cut 2, 1 reverse
A1
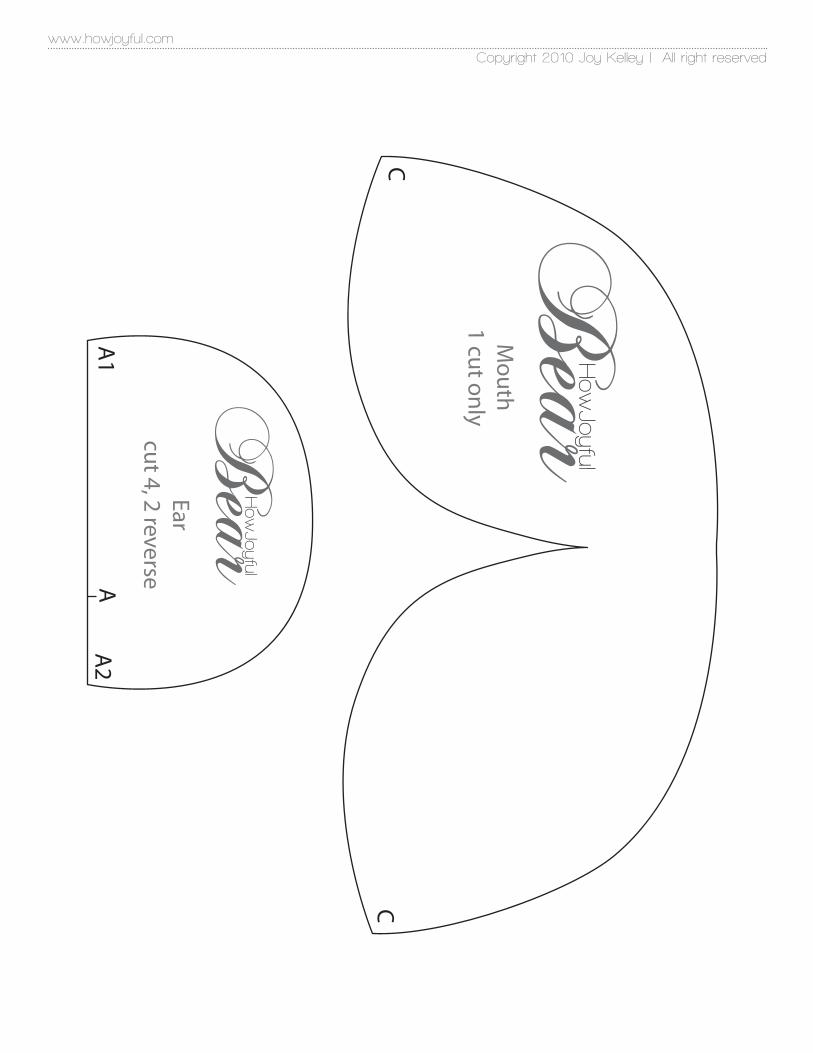
CC
Mouth
1 cut only
Copyright 2010 Joy Kelley | All right reservedwww.howjoyful.com
Earcut 4, 2 reverseA
A1
A2

Copyright 2010 Joy Kelley | All right reservedwww.howjoyful.com
A
B
A
B
Front Headcut 1only
GA2
A2
Feet cut 2, 1 reverse
Q RI
J
Tailcut 2, 1 reverse

Copyright 2010 Joy Kelley | All right reserved
Arm
Backcut 2, 1 reverse
E
M
N
www.howjoyful.com

Copyright 2010 Joy Kelley | All right reservedwww.howjoyful.com
Arm Front
cut 2, 1 reverseN
E
O
P
Arm Front (hand)
cut 2, 1 reverseO
P

Belly cut 2, 1 reverse
L S
N
E
M
D
Copyright 2010 Joy Kelley | All right reservedwww.howjoyful.com

Copyright 2010 Joy Kelley | All right reservedwww.howjoyful.com
Leg top (Feet)cut 2, 1 reverse
RQ
Leg topcut 2, 1 reverse
R
L
Q
S
Copyright 2010 Joy Kelley | All right reservedwww.howjoyful.com
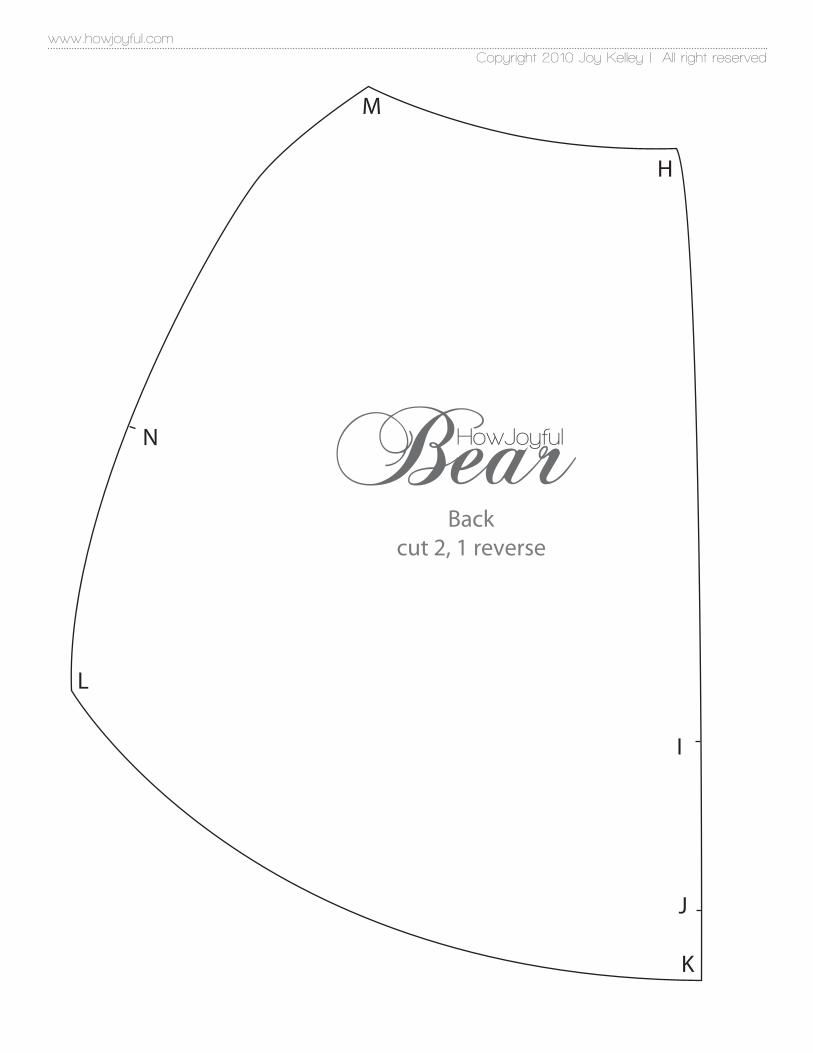
H
Back cut 2, 1 reverse
J
I
K
L
M
N
www.howjoyful.com
Copyright 2010 Joy Kelley | All right reservedK
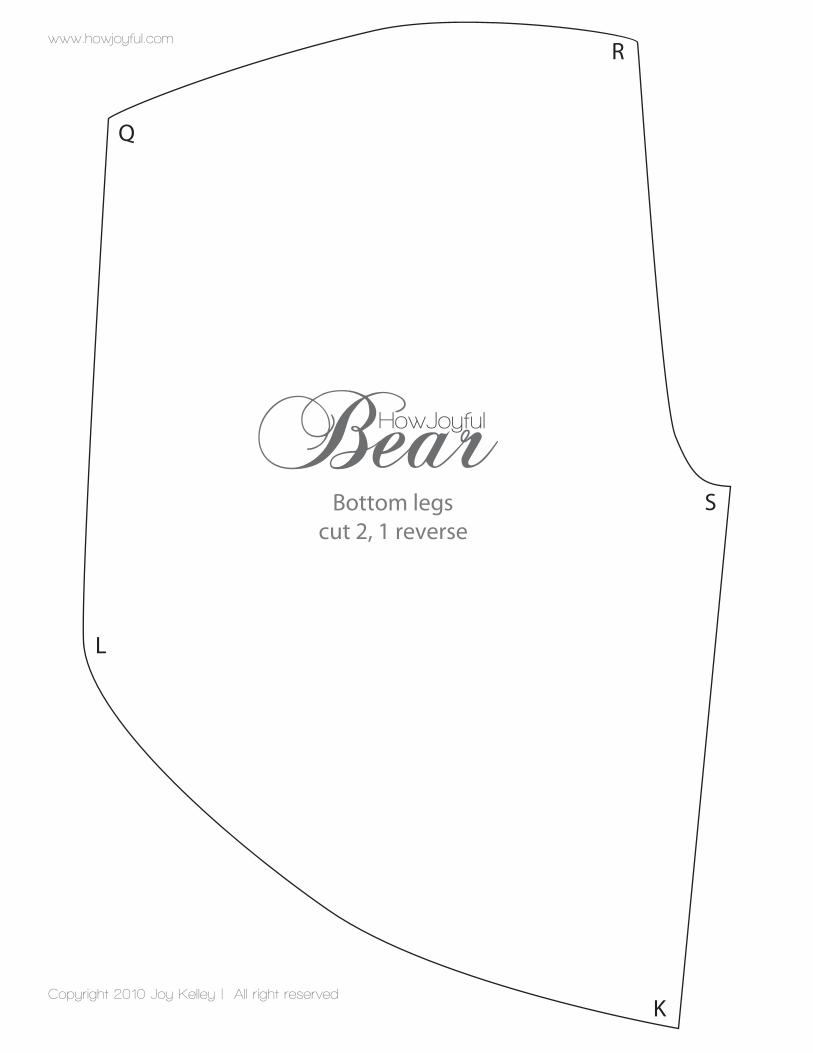
L
Bottom legscut 2, 1 reverse
Q
R
S
Related Documents


