How to Synchronize Excel with SharePoint Online (Office 365) Keywords Sync Excel with SharePoint Online; Sync Excel with Office 365; Excel Synchronization with SharePoint Online; Excel Synchronization with Office 365; Office 365 Excel Synchronization; SharePoint Online Excel Synchronization;

How to Synchronize Excel with SharePoint Online
Aug 12, 2015
Welcome message from author
This document is posted to help you gain knowledge. Please leave a comment to let me know what you think about it! Share it to your friends and learn new things together.
Transcript
How to Synchronize Excel with SharePoint Online (Office 365)
KeywordsSync Excel with SharePoint Online; Sync Excel with Office 365; Excel Synchronization with SharePoint Online; Excel
Synchronization with Office 365; Office 365 Excel Synchronization; SharePoint Online Excel Synchronization;
Created by Don E. Wallace 2
How to Synchronize Excel with SharePoint Online
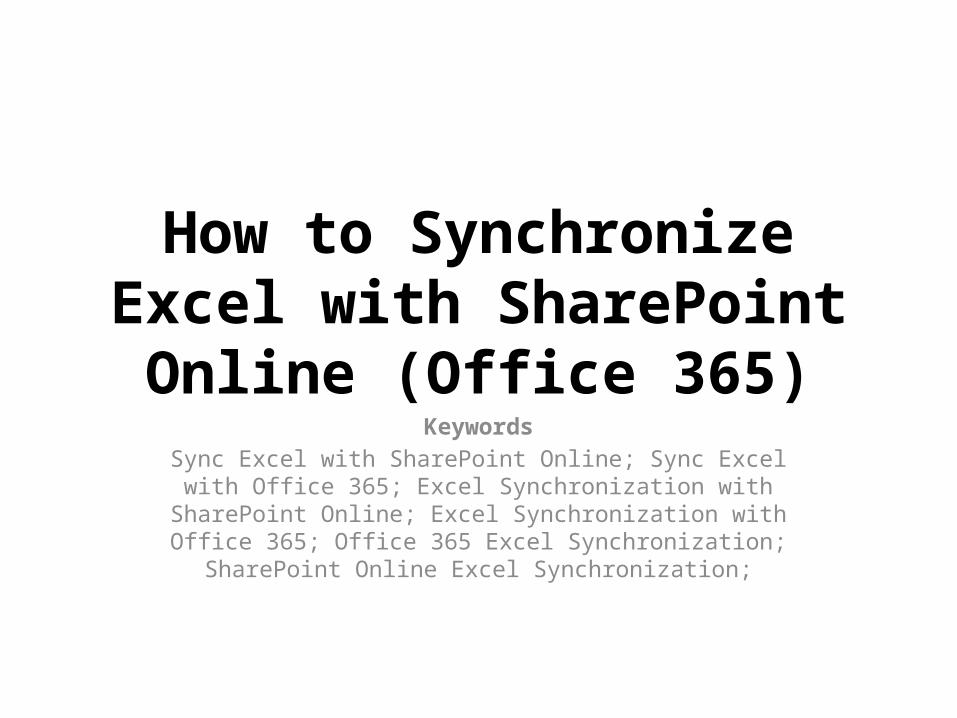
• Step 1 : Download Excel Add-in
• Microsoft provide an excel add-in to accomplish the goal of synchronizing excel table data with SharePoint online or Office 365. This add-in can be downloaded from here
Save excel Add-in to your local file system. Default file name will be "XL2007SynchronizeWSSandExcel.exe" while saving the add-in file.
Created by Don E. Wallace 3
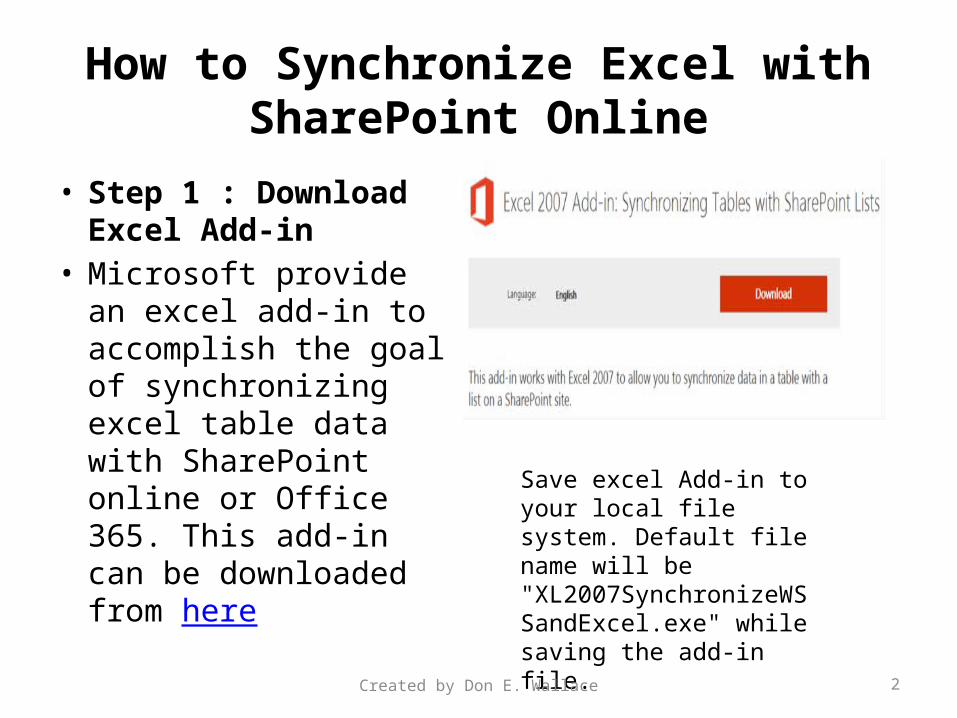
• Save excel Add-in to your local file system. Default file name will be "XL2007SynchronizeWSSandExcel.exe" while saving the add-in file.
Created by Don E. Wallace 4
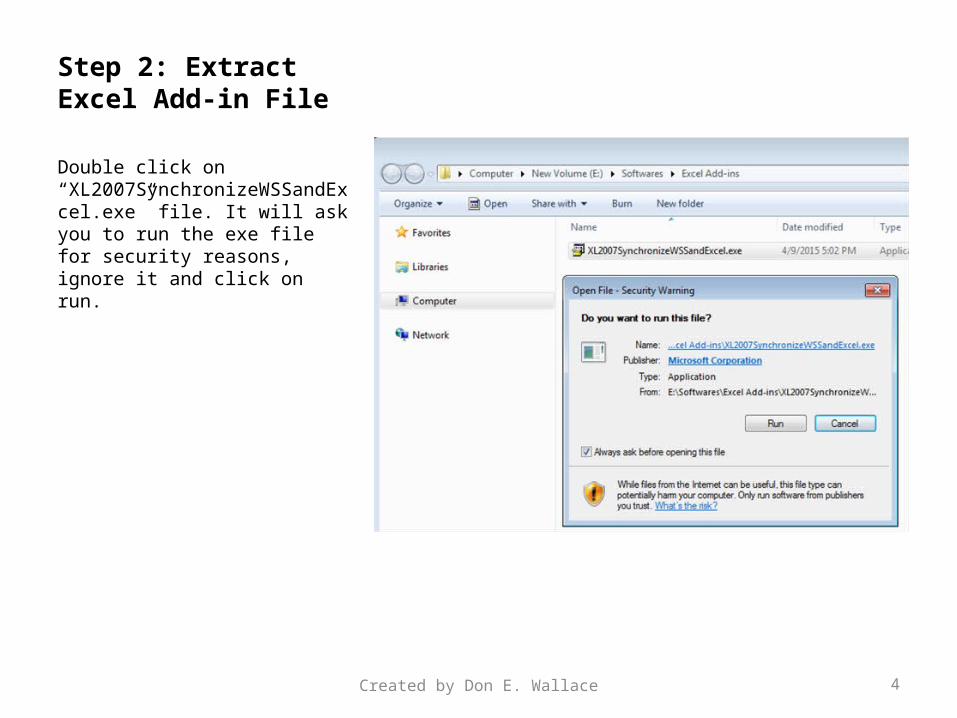
Step 2: Extract Excel Add-in File
Double click on “XL2007SynchronizeWSSandExcel.exe” file. It will ask you to run the exe file for security reasons, ignore it and click on run.
Created by Don E. Wallace 5
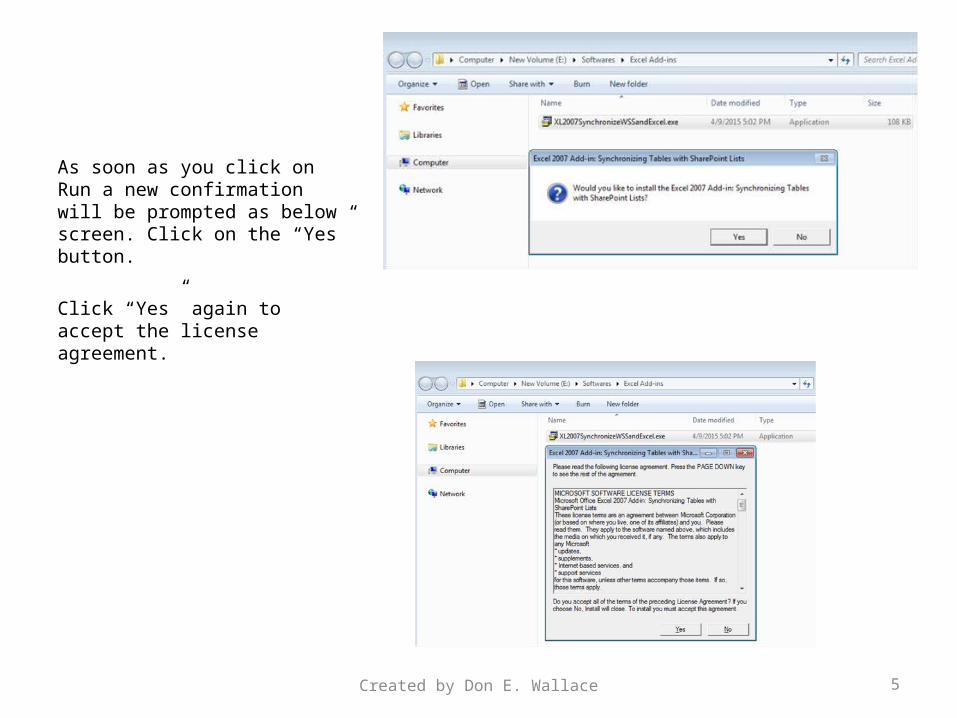
As soon as you click on Run a new confirmation will be prompted as below screen. Click on the “Yes” button.
Click “Yes” again to accept the license agreement.
Created by Don E. Wallace 6
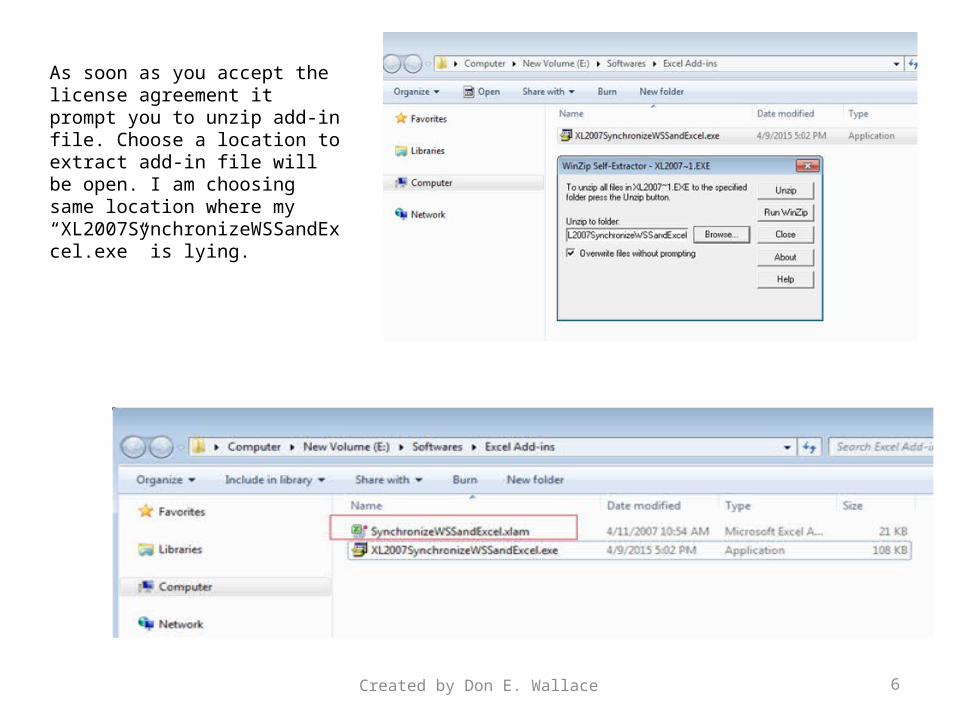
As soon as you accept the license agreement it prompt you to unzip add-in file. Choose a location to extract add-in file will be open. I am choosing same location where my “XL2007SynchronizeWSSandExcel.exe” is lying.
Created by Don E. Wallace 7
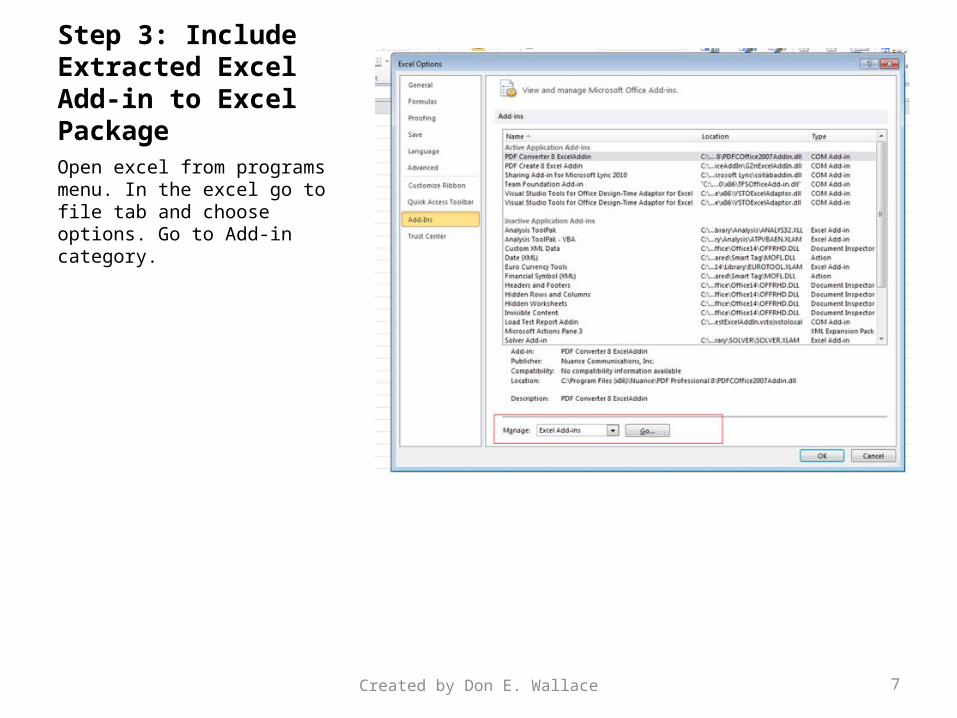
Step 3: Include Extracted Excel Add-in to Excel PackageOpen excel from programs menu. In the excel go to file tab and choose options. Go to Add-in category.
Created by Don E. Wallace 8
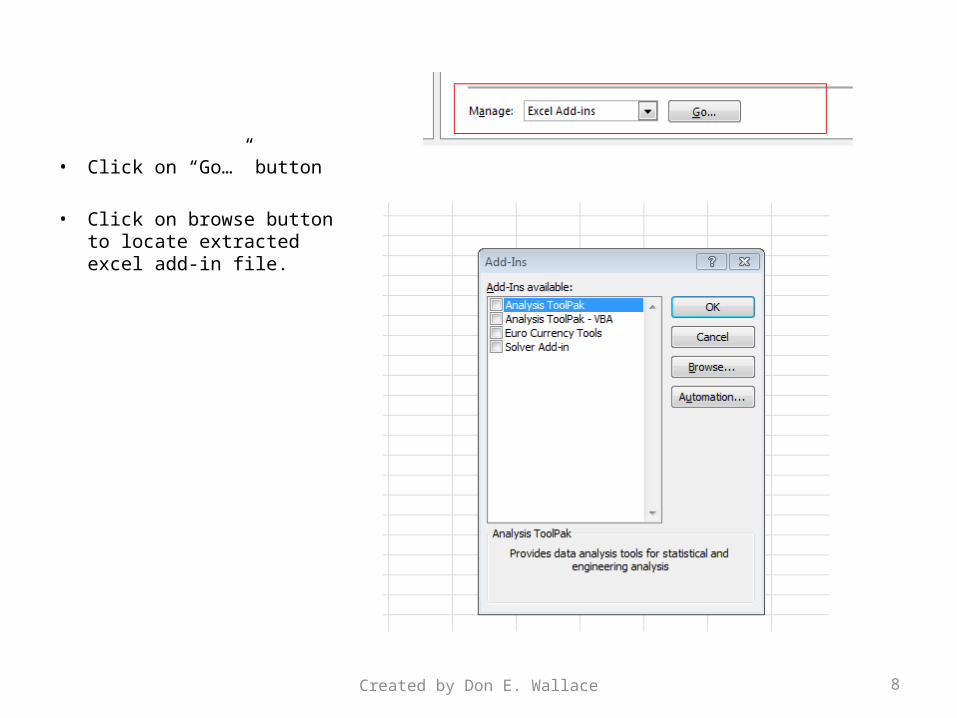
• Click on “Go…” button
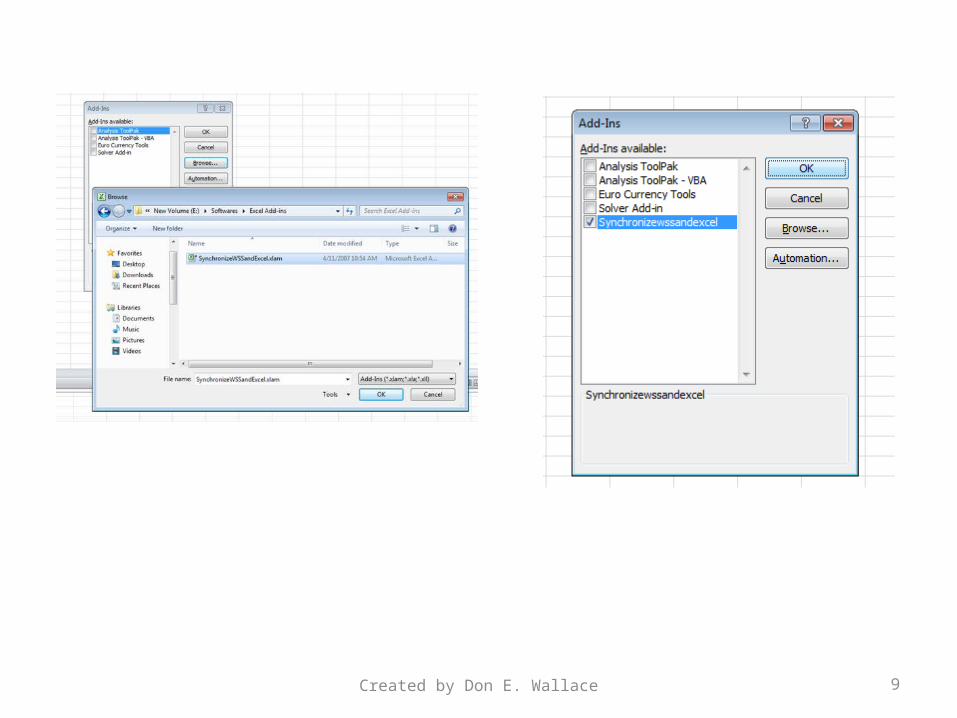
• Click on browse button to locate extracted excel add-in file.
Created by Don E. Wallace 9
Created by Don E. Wallace 10
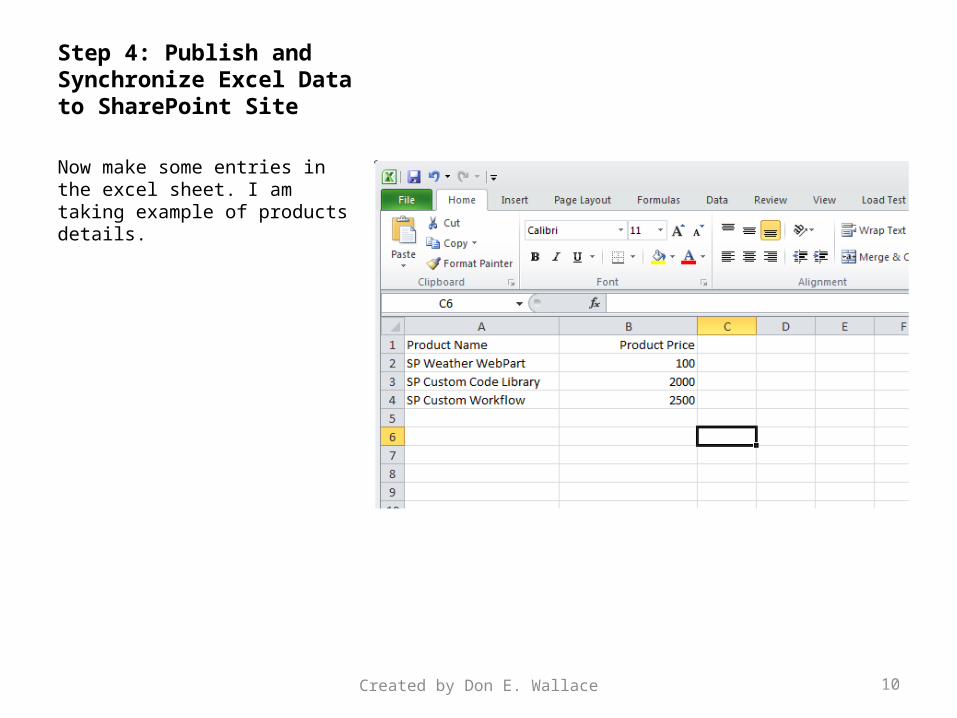
Step 4: Publish and Synchronize Excel Data to SharePoint Site
Now make some entries in the excel sheet. I am taking example of products details.
Created by Don E. Wallace 11
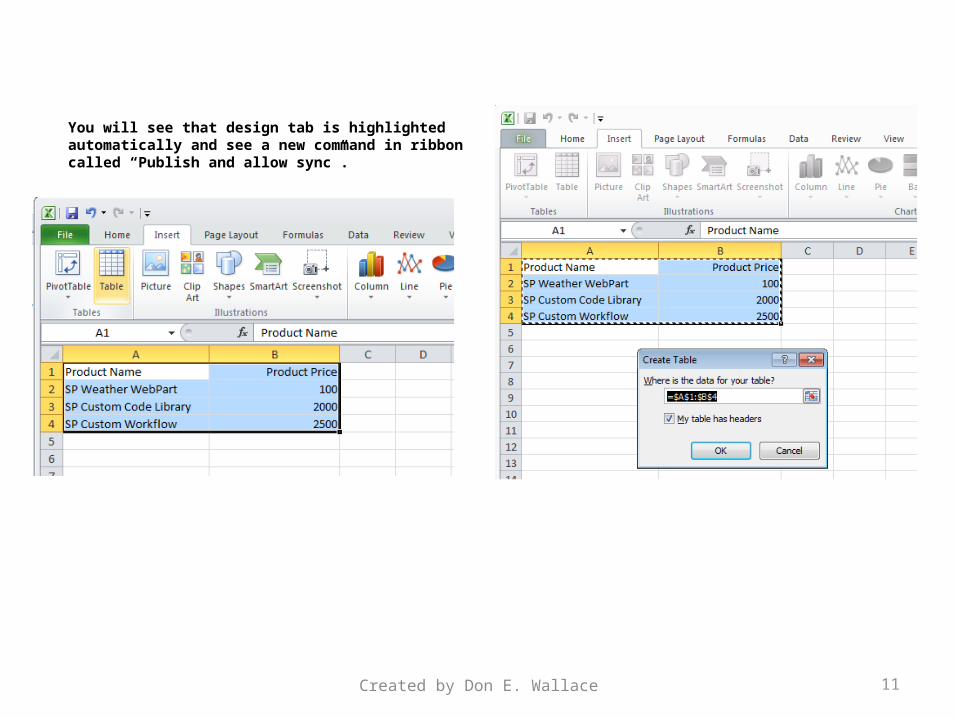
You will see that design tab is highlighted automatically and see a new command in ribbon called “Publish and allow sync”.
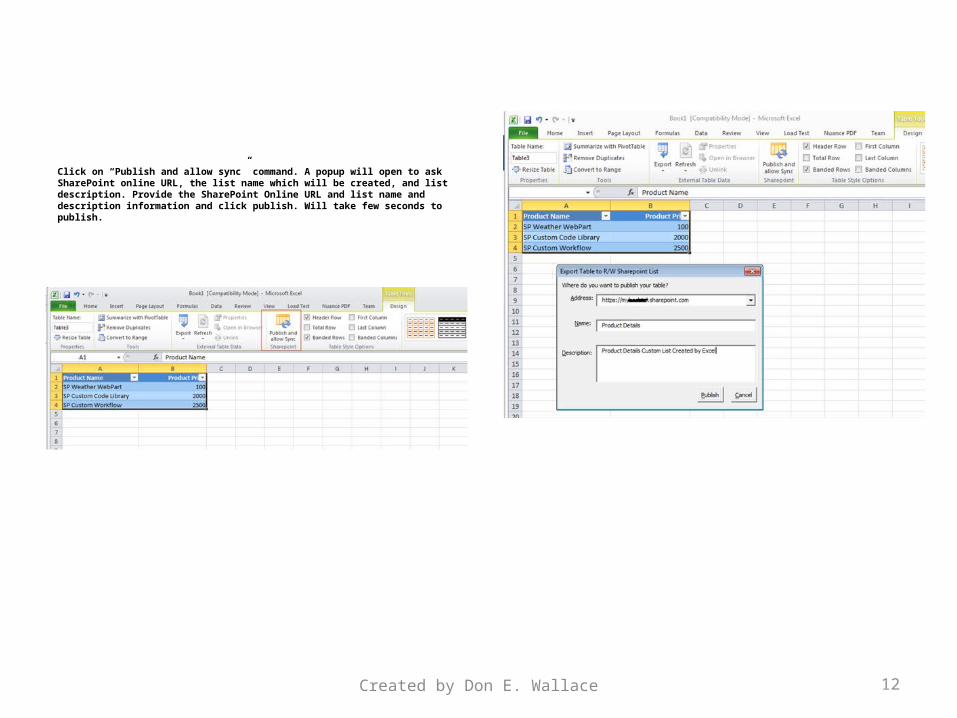
Created by Don E. Wallace 12
Click on “Publish and allow sync” command. A popup will open to ask SharePoint online URL, the list name which will be created, and list description. Provide the SharePoint Online URL and list name and description information and click publish. Will take few seconds to publish.

Created by Don E. Wallace 13
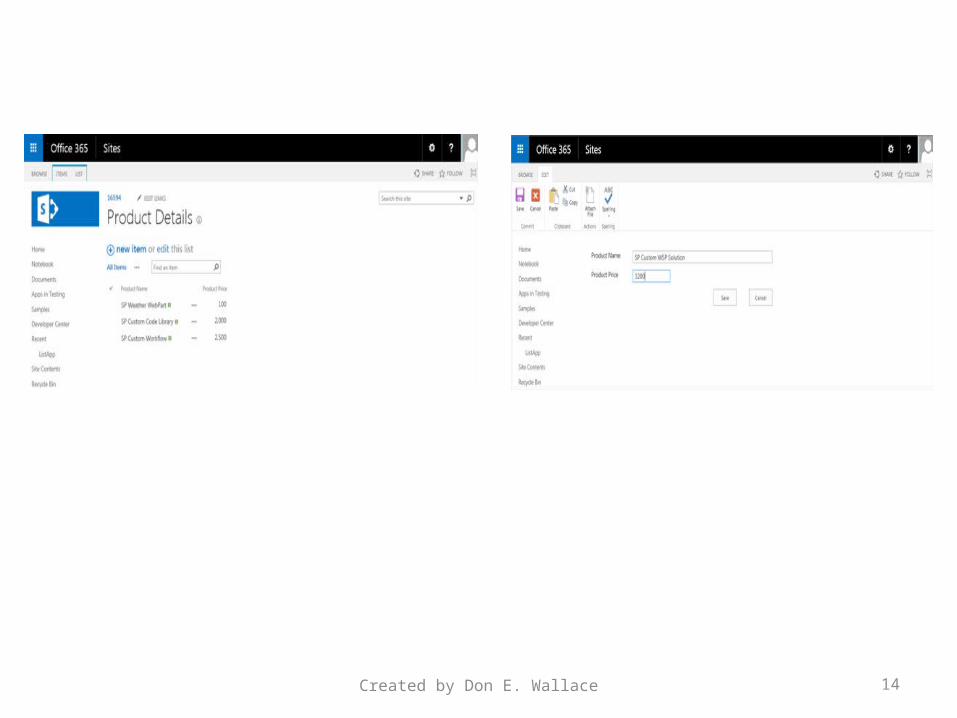
Step 5: Verify SharePoint Online Site with Published Data and Data is being synchronized
Now go to your SharePoint online site click on Site Contents. You will see that a new list is created called “Product Details”. Click on this list and add a new item.
Created by Don E. Wallace 14
Created by Don E. Wallace 15
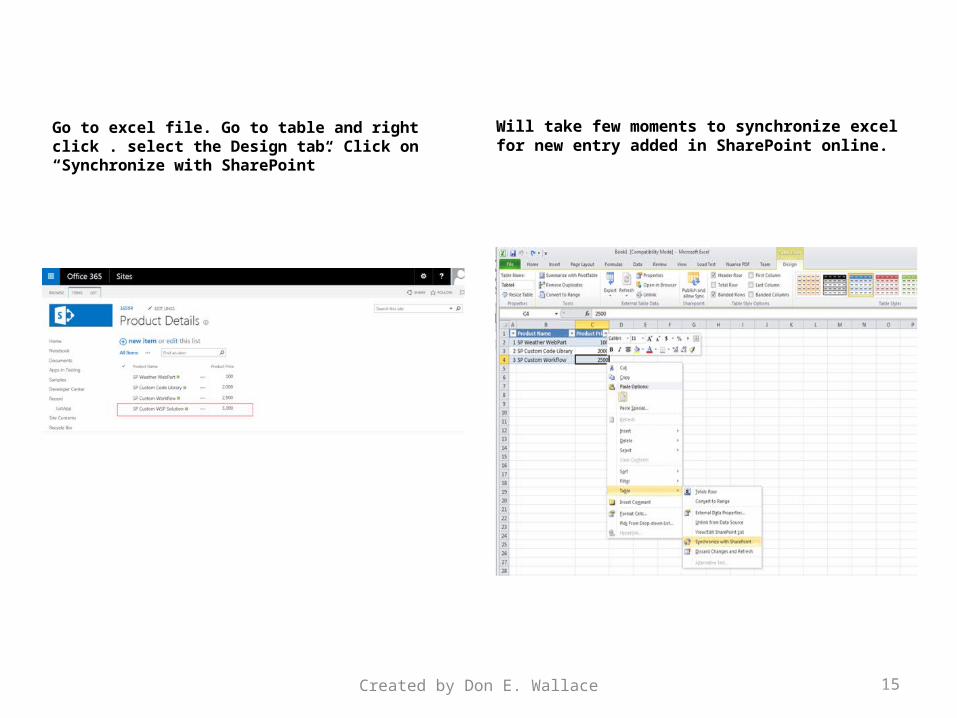
Go to excel file. Go to table and right click . select the Design tab. Click on “Synchronize with SharePoint”
Will take few moments to synchronize excel for new entry added in SharePoint online.
Created by Don E. Wallace 16
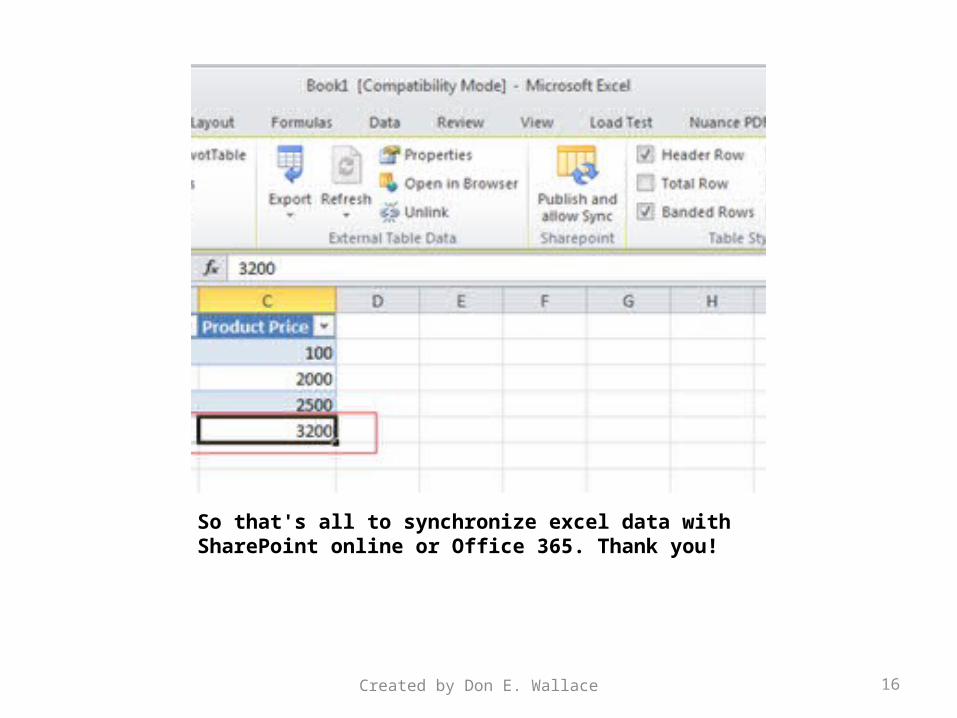
So that's all to synchronize excel data with SharePoint online or Office 365. Thank you!
Related Documents