How to do HYPERSTEREO PHOTOGRAPHY A Presentation by George Themelis - NSA July 2014

Welcome message from author
This document is posted to help you gain knowledge. Please leave a comment to let me know what you think about it! Share it to your friends and learn new things together.
Transcript
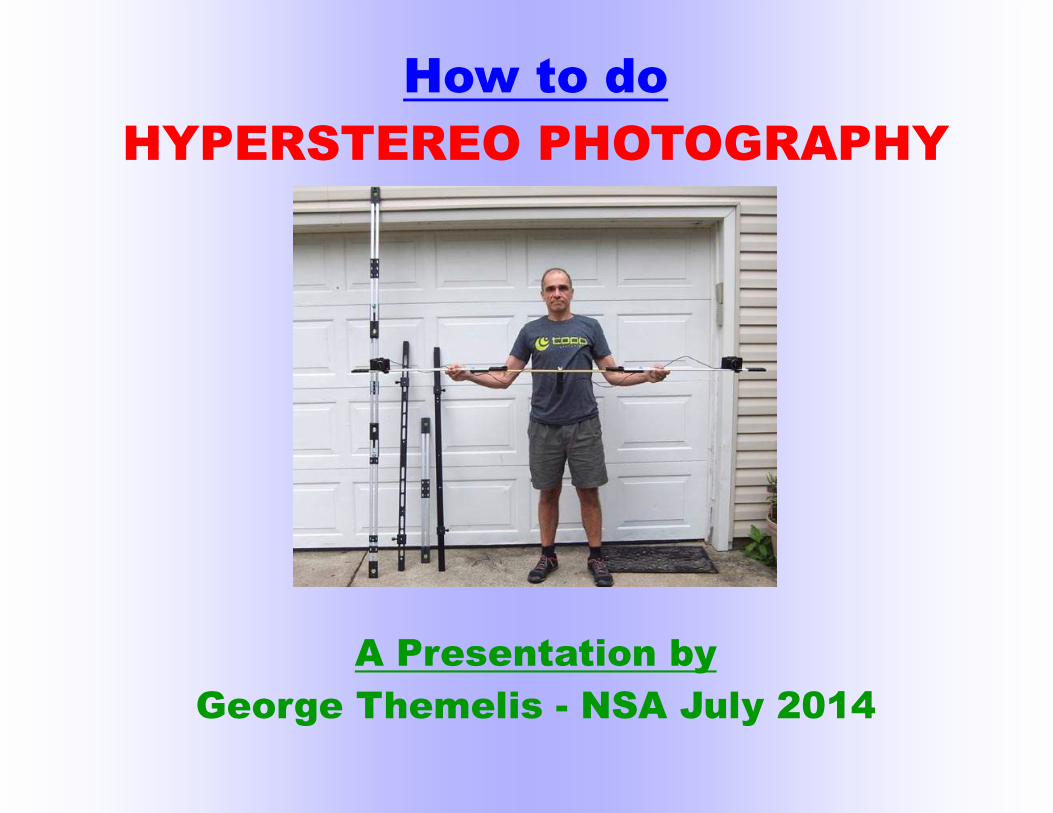
How to do
HYPERSTEREO PHOTOGRAPHY
A Presentation by
George Themelis - NSA July 2014

Hypers Today
Today with digital photography is the best time ever to experiment with Hyper Stereo Photography:
• Inexpensive
• Software alignment

B
B
Normal vs. Hyper Stereo
Normal (Ortho) Stereo: The distance between the
lenses is about equal to the spacing of the eyes
Hyperstereo: The distance between the lenses is greater than the spacing of the eyes

Hyperstereo WHY?
1. Because it is Possible!
2. Near Object is too far away
Rule of thumb:
B ~ 1/30 x Distance of Near Object
Distance of Near Object ~ 30x B

Type of 3dType of 3dType of 3dType of 3d Stereo Base Stereo Base Stereo Base Stereo Base Examples of Camera SystemsExamples of Camera SystemsExamples of Camera SystemsExamples of Camera Systems
Normal Stereo
50-75mm (2-3 inches)
Mild Hyperstereo
4-24 inches
Strong Hyperstereo
> 3 ft
Types of Hyper Stereo (based on Stereo Base)
B

Hyper Stereo Impression

Types of Hyperstereos (based on technique)
A. SINGLE CAMERA (Sequential Stereos)
A1. Observer is moving A2. Observer is stationary, riding a moving platform
B. TWIN CAMERA (Synchronized Stereos)
B
B

(+) Inexpensive (+) Flexible stereo base (+) Perfectly matched lenses (-) Limited to stationary objects (-) Requires attention to alignment ** (-) Higher reject ratio **
** Digital helps !!!
A. Single Camera Hypers
Paul Wing: “Every day when the air is calm, I think hyper!”

Tips for Single Camera Hypers
1. Equipment?
2. Subjects to Photograph?
3. How much to shift?
4. What direction to move?
5. Alignment Concerns
6. How many shots to take?
7. Tips for hypers from airplane/moving platform
8. How to organize the pictures?
9. Post Processing tips
10. SPM Clone Brush

W3: Rotate the dial to Adv 3D There are two “Advance 3D” modes: 1) Individual Shutter 3D, 2) Interval 3D Shooting. These modes are selected by pressing the MENU button on the top right. The camera remembers the last options used the mode.
1. Equipment for Single Camera Hypers
1. Any camera! (including a 3d camera!)
2. Interesting twist: Fuji in “Advance 3d mode”
Fuji Individual Shutter 3D
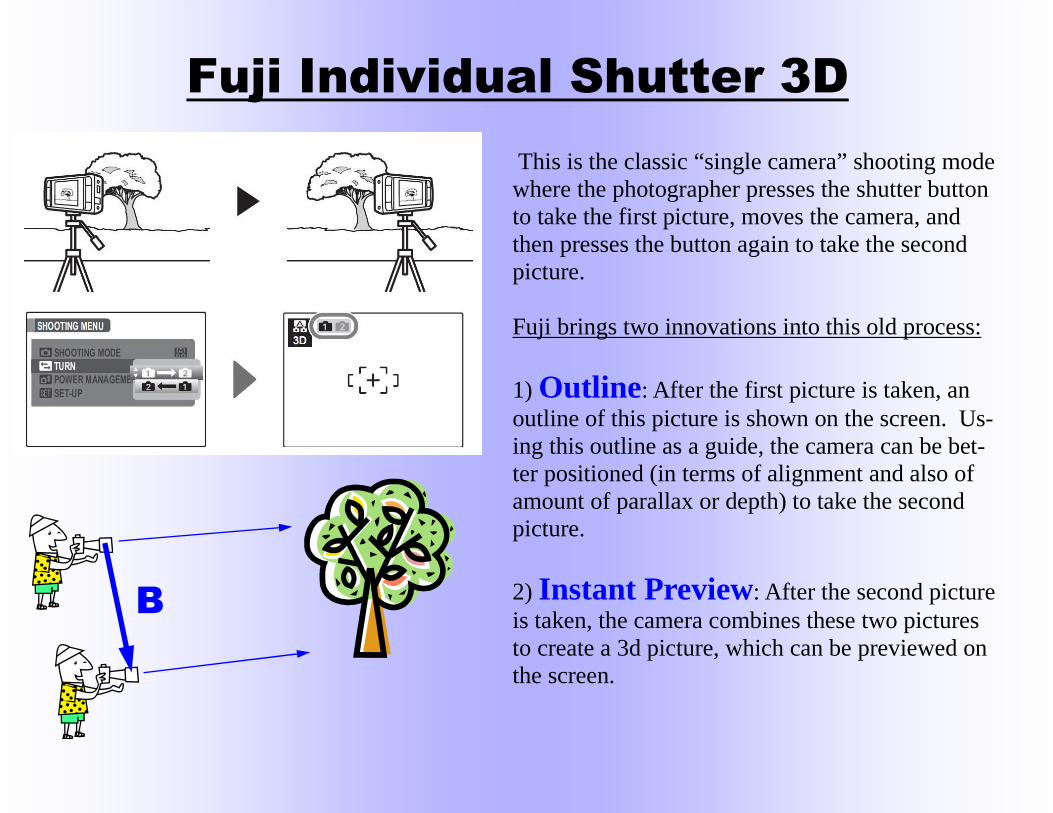
This is the classic “single camera” shooting mode where the photographer presses the shutter button to take the first picture, moves the camera, and then presses the button again to take the second picture. Fuji brings two innovations into this old process:
1) Outline: After the first picture is taken, an outline of this picture is shown on the screen. Us-ing this outline as a guide, the camera can be bet-ter positioned (in terms of alignment and also of amount of parallax or depth) to take the second picture.
2) Instant Preview: After the second picture is taken, the camera combines these two pictures to create a 3d picture, which can be previewed on the screen.
B

Fuji Interval 3D Shooting
In this mode the camera will fire the 2nd pic-ture after a predetermined time interval. This mode is best suited for shooting from a moving platform (airplane, boat, etc).
Even though the “individual 3D” mode could also be used from a moving platform, it is con-venient not to have to press the shutter button twice, but just fix the camera, take the first pic-ture, and let the camera fire again after a prede-termined time interval.
The time interval choices are: Min, 1, 1.5, 2, 3, 5, and 10 seconds, and can be selected from the “Menu” screen.
The minimum time interval is estimated to be about 0.8s, which might not be short enough for shooting from a fast moving car or train, but it works well for shooting from a plane or boat.
I have found that 5s interval works well with the plane cruising at high altitude, while min and 1s work better during landing or with clouds closer to the plane.
B
2. What Subjects to Photograph?
Moving objects are the biggest enemy of singe camera hyperstereos. Small movements can be tolerated but hyperstereos with people or moving traffic are impossible. This still leaves a lot of subjects possible:
• Buildings / Architectural Details
• High rise Cityscapes
• Landscapes / Nature (without wind)
• Aerial 3d hyperstereos
• Tabletops

3. How much to SHIFT?
This is the age-old question and a source of anxiety for beginners in stereo. Paul Wing answers this in his own unique way: “The mathematical genius spouts the numbers, but seldom gets around to making good pic-tures. In real life, you simply try a few, and profit from your mis-takes.”
• Take your chances!
• 1/30 of nearest object
• Use “maximum deviation” formulas based on
Inear, Ifar, F
• Measure deviation on-the-spot

What can go wrong w/Guessing?
1. Too little depth
2. Too much depth
• Between these two EXTREMES, there is a lot of ground for great stereo pictures.
• Sometimes “less is more”. Be conservative! • Bracket stereo base if you can.

4. What Direction to Move?
Normally, I take the left picture first but some times there is a reason to take the right the picture first.
For the Fuji: The order of pictures af-fects the previewing. If the camera is set to take the left picture first and you shoot the right picture first, the stereo pair will be reversed (pseudo) on the screen. The pair can be reversed later with soft-ware, but it helps to see the proper 3d pic-tures on the screen.
• Moving with the
clouds, pushes the
clouds back
• Moving against the
clouds, pulls the
clouds forward

5. Alignment Concerns
Keeping the camera aligned between the two shots has been the greatest headache when using film. But now things are better with digital and the possibility of correcting misalignments with software. Still, an effort should be made to keep the camera reasonably aligned be-tween shots. (Fuji’s “shadow outline” helps in that respect.)
1. Keystone Distortion
One common error is differential keystone distortion. This is caused by converging the camera lens to the subject, instead of keeping it parallel. Keystone distortion can be corrected digitally, if done in moderation.
2. Change of Distance to Subject Another error is pointing the camera to (or away from) the di-rection of movement, or (same thing) changing the distance to the subject between the shots. This changes the size of near versus far objects differently so it cannot be corrected digi-tally. Try to keep the camera perpendicular to the direc-tion of motion and avoid the temptation to turn the camera to-wards the front (or the back) of the airplane. It is OK to tilt it up or down, but not sideways.

3. Gain/Loss of Elevation A final error that cannot be corrected digitally is loss or gain of elevation between the shots. For example, if the plane is gain-ing or losing elevation (during takeoff or landing) the camera should be rotated to follow the plane trajectory. Mentally mark an object in the viewfinder (or screen) and make sure that it stays in place while the plane is moving.
These errors, if small, will most likely be unnoticed. Also, many errors are proportional to the amount of depth (more depth = more error).
Bottom line: It helps to err on the conservative side!
6. How Many Shots to Take?
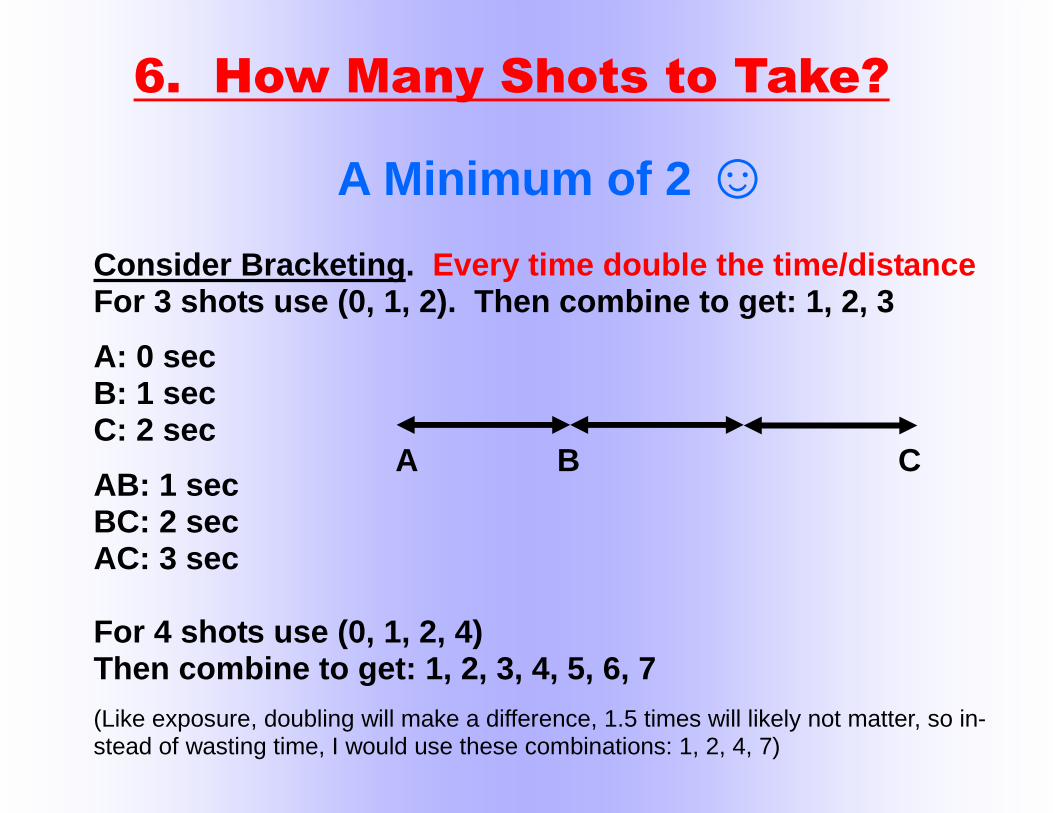
A Minimum of 2 ☺ Consider Bracketing. Every time double the time/distance For 3 shots use (0, 1, 2). Then combine to get: 1, 2, 3
A: 0 sec B: 1 sec C: 2 sec
AB: 1 sec BC: 2 sec AC: 3 sec For 4 shots use (0, 1, 2, 4) Then combine to get: 1, 2, 3, 4, 5, 6, 7
(Like exposure, doubling will make a difference, 1.5 times will likely not matter, so in-stead of wasting time, I would use these combinations: 1, 2, 4, 7)
B A C
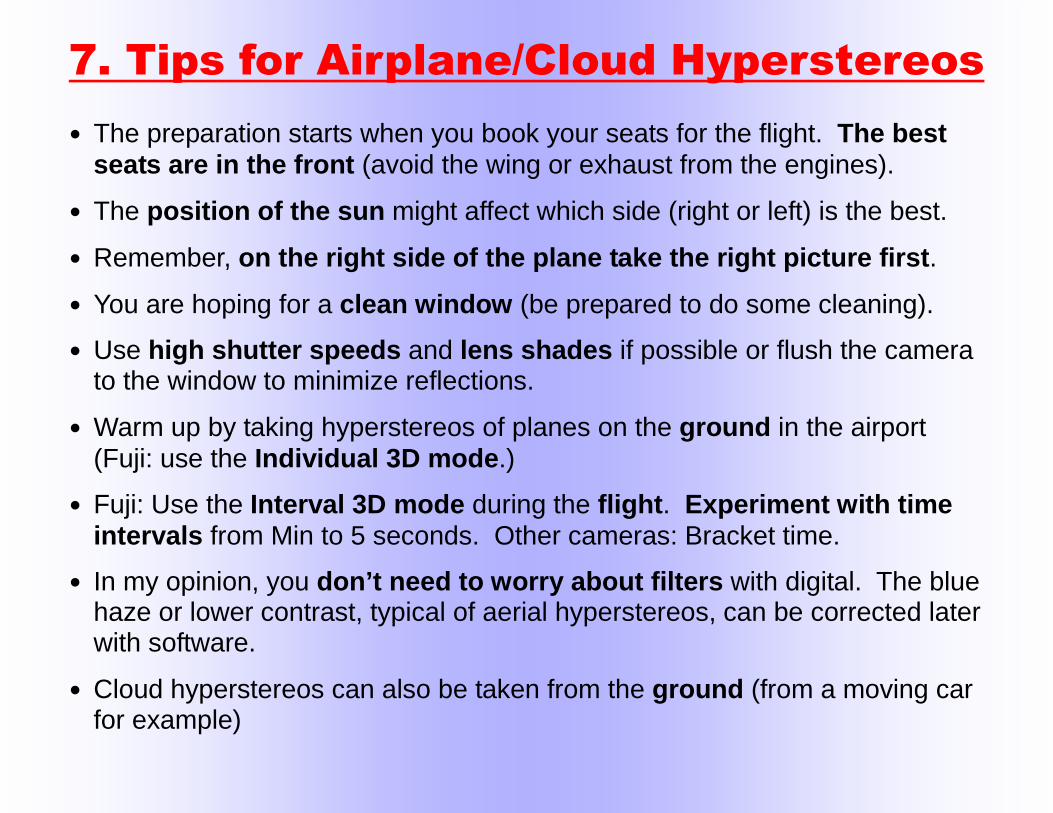
7. Tips for Airplane/Cloud Hyperstereos
• The preparation starts when you book your seats for the flight. The best seats are in the front (avoid the wing or exhaust from the engines).
• The position of the sun might affect which side (right or left) is the best.
• Remember, on the right side of the plane take the right picture first.
• You are hoping for a clean window (be prepared to do some cleaning).
• Use high shutter speeds and lens shades if possible or flush the camera to the window to minimize reflections.
• Warm up by taking hyperstereos of planes on the ground in the airport (Fuji: use the Individual 3D mode.)
• Fuji: Use the Interval 3D mode during the flight. Experiment with time intervals from Min to 5 seconds. Other cameras: Bracket time.
• In my opinion, you don’t need to worry about filters with digital. The blue haze or lower contrast, typical of aerial hyperstereos, can be corrected later with software.
• Cloud hyperstereos can also be taken from the ground (from a moving car for example)

8. How to ORGANIZE the pictures
Fuji—Same procedure as ordinary 3d
• Create Folder—Create subfolder called MPO to hold MPO files
• Call SPM, view MPO files, delete unwanted images
• Use SPM Multiconversion to create aligned (JPG) files
Other Digital Cameras
• Create Folder—Put all images in this folder. Create subfolders R and L to hold R and L images
• Switch Windows Explorer to View Large Icons. Freeview to make sure you have the correct R and L images and transfer to R and L folders. If you have bracketed 3 shots, make duplicates of all 3 and match the pairs in the corresponding folders.
• Use SPM “Open Image File List” to make sure R and L images match
• Use SPM Multiconversion to create aligned (JPG) stereo images
• View these images with SPM, deleted unwanted images
9. Post Processing
• SPM Alignment
• Set Stereo Window
• Use a photo editing program to adjust contrast/brightness (many aerial hyper-stereos have low contrast) and color satu-ration.

10. SPM Clone Brush
The SPM Clone brush removes objects from one image (right) and replaces them with whatever is on the other image (left) at the same depth level. It is useful for removing objects that have moved between shots and are dis-tracting. Follow this procedure: • Make sure that the image you want to change is on the right side (hit X to
swap places if needed) • Press F6 to switch to Gray Anaglyph viewing method • Superimpose the images using the R/L arrow keys to bring the object to
be removed at the window level. Zoom into the working area for a better view (you can do that by using the mouse scroll button)
• Hold the shift button and move the mouse around. Click and hold the left button of the mouse. Cloning takes place when the shift key and the left mouse button are held both down. Cloning only affects the red image. Brush over the subject to be removed and it will slowly disappear and be replaced by whatever is on the other image.
• You can control the size of the cloning brush by going under “Edit” and “Clone brush setting” (Shortcut: Ctrl + N)
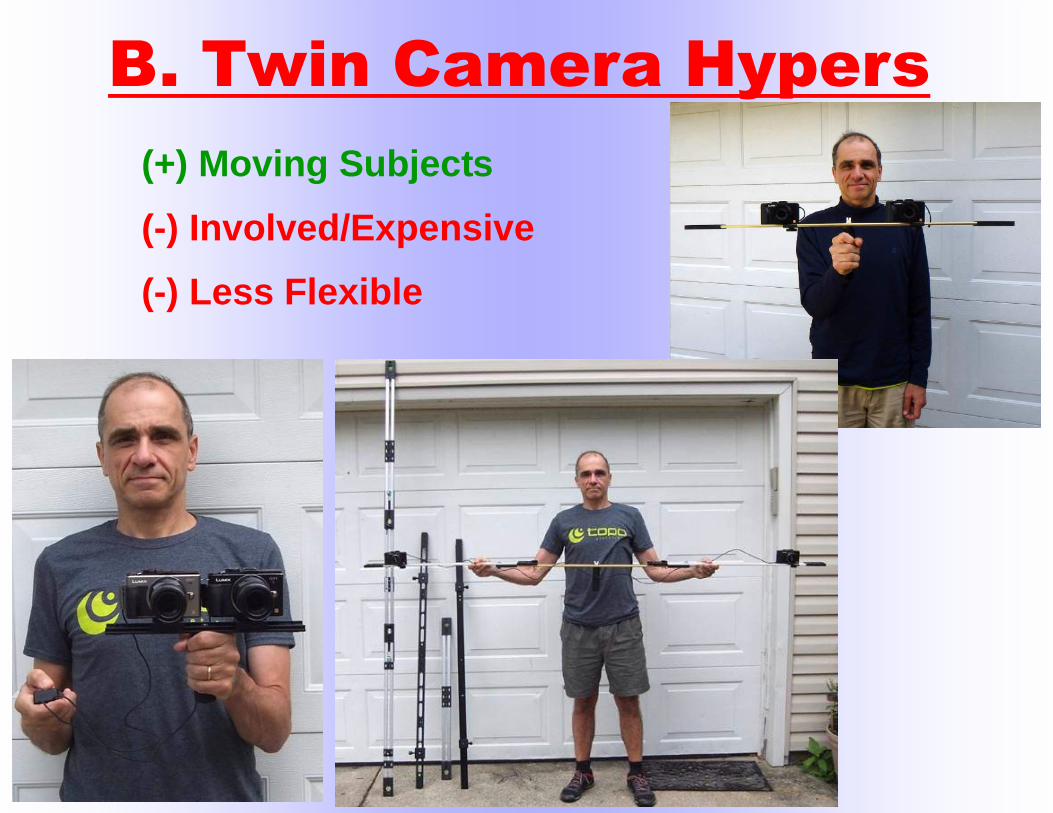
(+) Moving Subjects
(-) Involved/Expensive
(-) Less Flexible
B. Twin Camera Hypers

1. Equipment for Twin Camera Hypers
1. Cameras and Synchronization Equipment
- External Wiring
- Internal Wiring
- StereoData Maker (for certain Canon camera models)
2. Camera Support Bars

2. What Subjects to Photograph?
• Cityscapes with people and traffic
• Nature / Wildlife **
• Sports / Action **
• Fireworks
** With increased focal length for quasi-normal look—
Increase focal length and stereo base proportionally and minimize the background if possible.

So it is possible to take a picture (usually a close-up, in-cluding portraits) using either a short/normal lens and a hypostereo, or a long lens and a hyperstereo. The results will look similar. HC McKay (~1950s) called this the “PePax principle”. According to this principle, if you increase the focal length, you should increase the stereo base proportionally.
Constant Magnification & Convergence
Even though the pictures looks similar, there is a difference in perspective. Short FL/distances result in exaggerated perspective, long FL/long distances result in a a compressed perspective. It is not the focal length (F) but the distance (I) that causes this effect.
Every time the distance (I) is doubled, the focal length (F) is doubled and the stereo base (B) is doubled. These pictures have the same magnifi-cation (F/I) and convergence ratio (B/I) and they look surprisingly similar provided that the background is blocked. Hypostereo
meets Hyperstereo

WILDLIFE Hyperstereo Photography
Standard Stereo camera F= 35 mm, B = 2.5 in Near distance = 7 ft Not a good idea!
Twin cameras F= 135 mm, B = 10 in Near distance = 28 ft Better!
Increase Distance, Focal Length and Stereo Base proportionally to get a similar visual result.
HC McKay (~1950s) called this the “PePax principle”. According to this principle, if you increase the focal length, you should increase the stereo base proportion-ally. Even though the pictures look similar, there is a dif-ference in perspective. Short FL/distances result in ex-aggerated perspective, long FL/long distances result in a compressed perspective. It is not the focal length (F) but the distance (I) that causes this effect.

The short focal length used and the narrow depth of the bursts, makes things even worse (= even more ste-reo base needed).
Personally, I have used 5ft separation with zoom & cropping with good results. Stereoscopic deviation ~ Focal Length, so zooming and cropping (same ef-fect) increases the deviation (depth) in the pictures
FIREWORKS Stereo Photography
300-1000 ft
Assuming that the distance to the fireworks is only 300 ft, then as a guideline, the stereo base should be about 300/30 = 10 ft. This might necessitate the use of two tripods.
Exposure Tip: The fireworks are bright so use a small aperture (f11 to f16) and put the cameras in B to capture from one to several bursts (1-5 seconds, depending on the frequency of bursts)

3. Special Technique—POLE 3D
• High Perspective Photography: Raise camera high to get a “bird’s view”
• Advantages: More impact, avoid near object, con-tinuous depth.
• Examples: Crowds (parade, etc), City/Nature over-view when no high rise is available.
• Pole 3D favors hyperstereos because the near point is far away.
• Equipment: Pole to elevate the camera, twin camera 3d hyper system (two cameras on a bar).
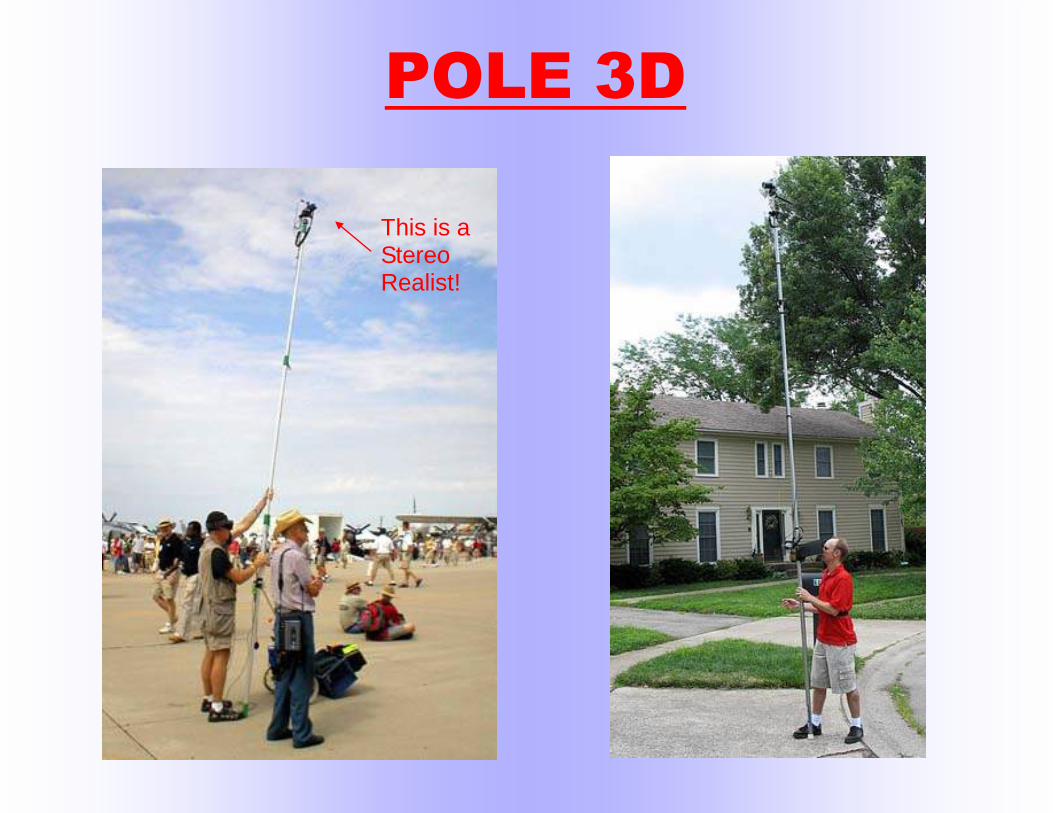
POLE 3D
This is a Stereo Realist!

My Equipment for Pole 3D
• Shotstick Pole (6 sections, 43-220 inches, ~18.5 feet - accidental “ebay find”)
• Twin Panasonic LX5 cameras wired by Ekeren
• Hyperbar & compact tripod head
• Viewplayer mirror to frame by looking at the mirror from the ground (other methods are possible or just take my chances with the wide angle lens)
• Wireless remote (to fire the cameras from the ground)
Concluding Remarks
• Stereo pairs with wide (hyper) stereo base are a very interesting area to explore.
• With digital photography, experimentation has become easier and
less expensive. • The best way to get started in hyper stereos is to use a single camera
and take two consecutive pictures by shifting the camera (~1/30x dis-tance of the nearest far away object)
• Keep and eye open for “moving platform” hyperstereo opportunities. • Explore twin camera hypers with subjects like zoo animals, portraits,
fireworks. • Hyperstereo is not a panacea. It is good for special effects, not a
constant diet. You might find yourself preferring less depth or a nor-mal composition instead of a hyperstereo.
Bonus 3d Videos • Video hyperstereo of Aurora, recorded by Ikuo Nakamura.
Cameras are separated by 3-5km. This is possibly the long-est base twin camera hyperstereo recorded by one person.
• Video of the moon in 3d. Created by Timo Puhakka using a
2d video by NASA, after a discussion in photo-3d. Note that any time a camera is recording video while moving parallel, (filming from a moving plane or helicopter, for example), one can com-bine the 2d video with itself, shifted by a few frames, and create a ste-reo (3d) video. This is a true stereoscopic video, even though it was recorded in 2d. Since the camera is moving, taking two frames will give us a (single camera) hyperstereo. If it also possible to get 3d still images out of these 2d videos.
Related Documents


