How I dyed my 3d Printed Makie Doll By Lorna Hamilton-Brown MBE

How I dyed my Makie Doll
Jul 18, 2015
Welcome message from author
This document is posted to help you gain knowledge. Please leave a comment to let me know what you think about it! Share it to your friends and learn new things together.
Transcript
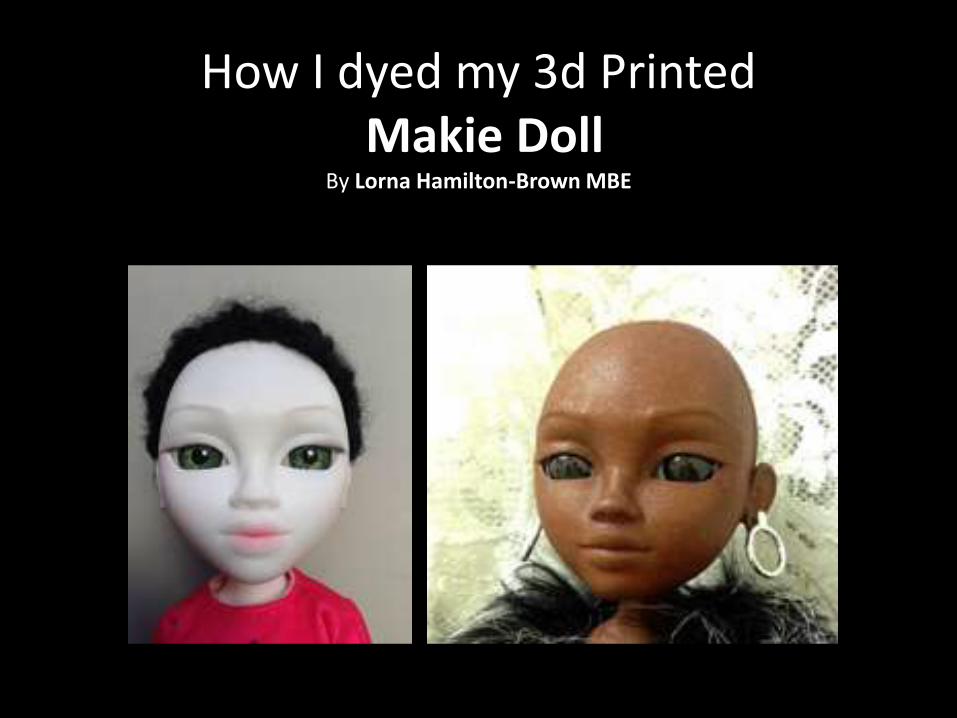
How I dyed my 3d PrintedMakie Doll
By Lorna Hamilton-Brown MBE
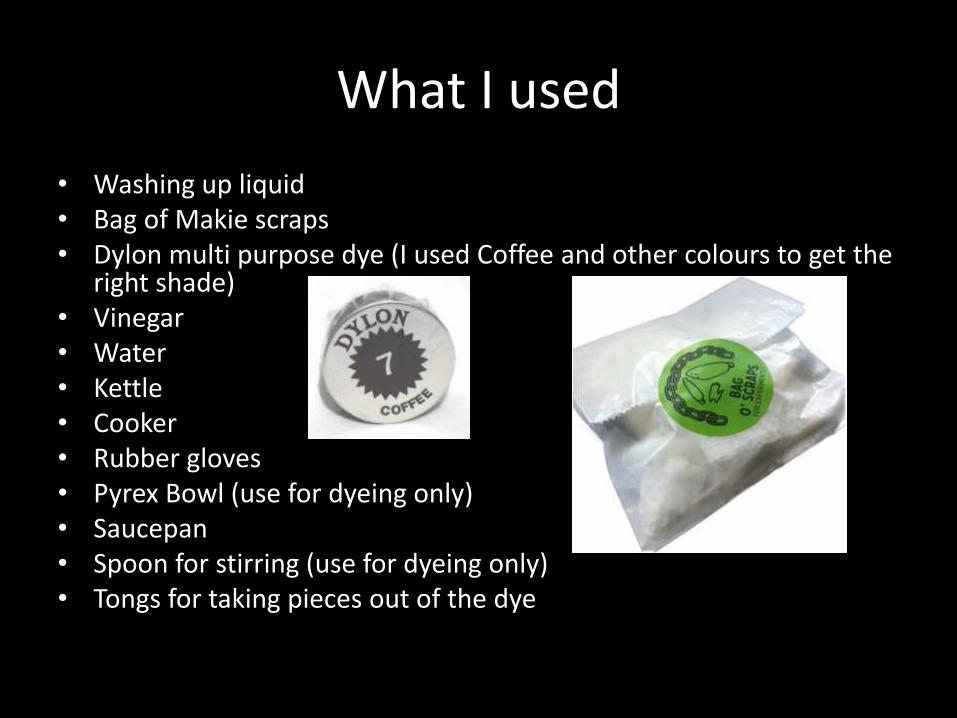
What I used
• Washing up liquid• Bag of Makie scraps• Dylon multi purpose dye (I used Coffee and other colours to get the
right shade)• Vinegar • Water• Kettle• Cooker• Rubber gloves• Pyrex Bowl (use for dyeing only)• Saucepan• Spoon for stirring (use for dyeing only)• Tongs for taking pieces out of the dye
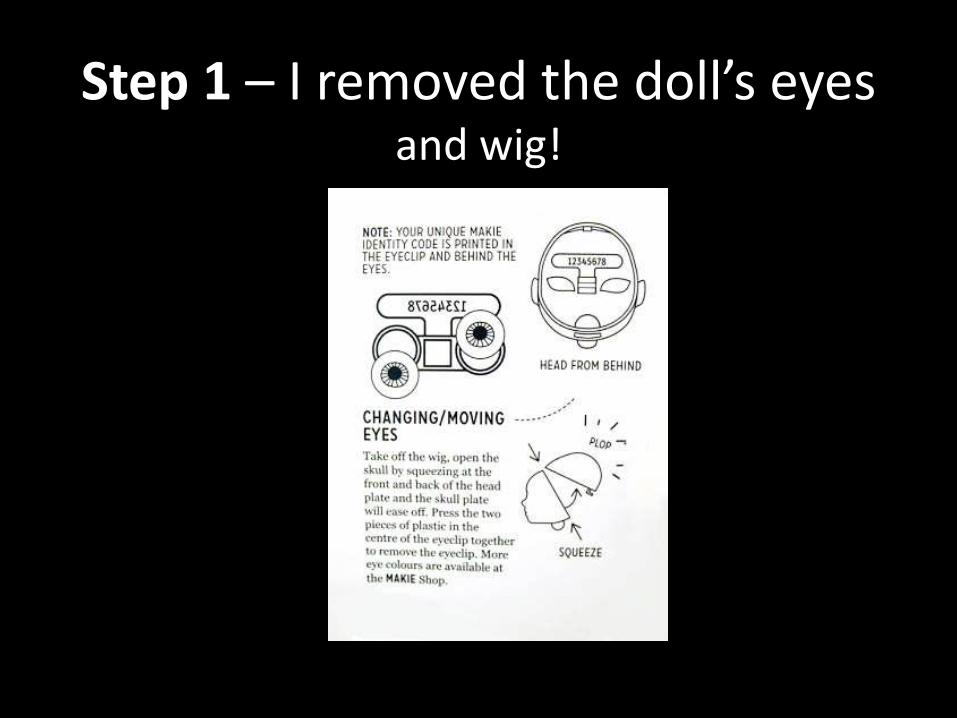
Step 1 – I removed the doll’s eyesand wig!
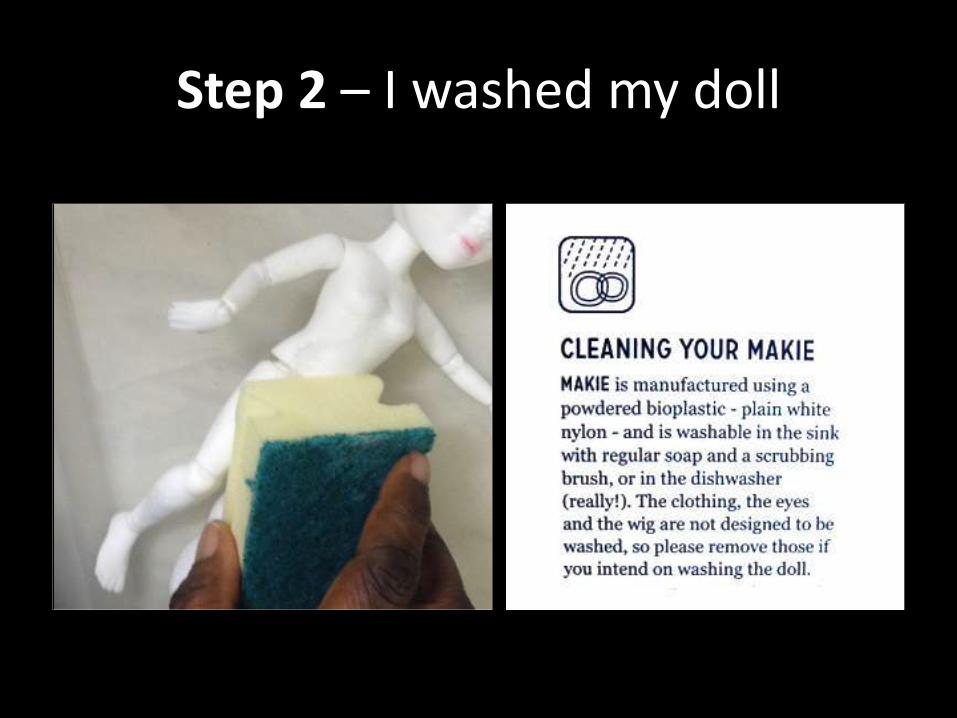
Step 2 – I washed my doll
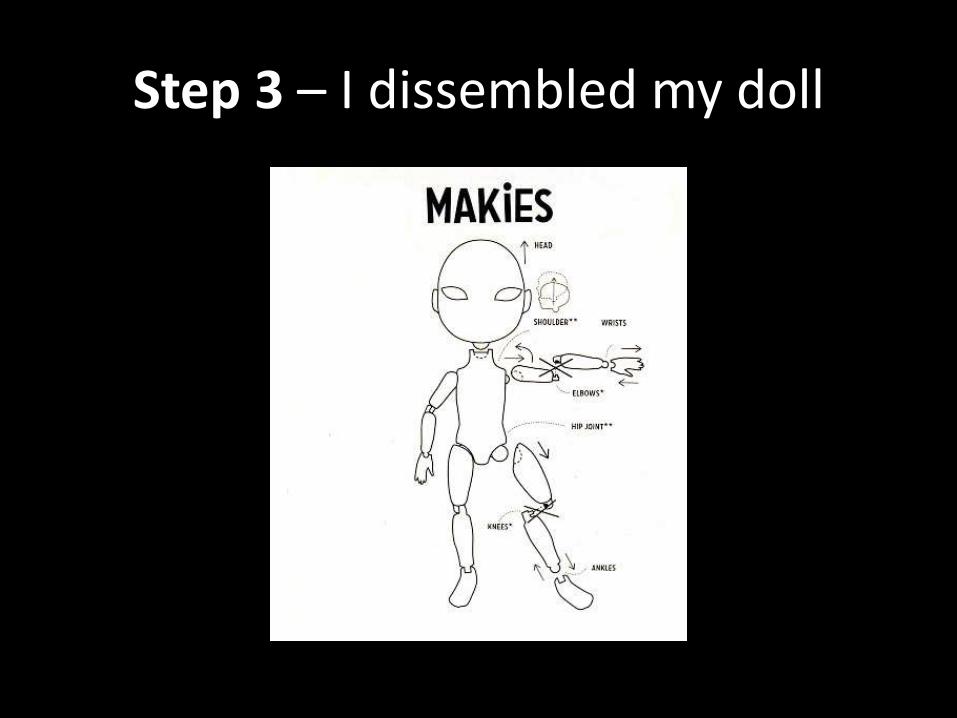
Step 3 – I dissembled my doll
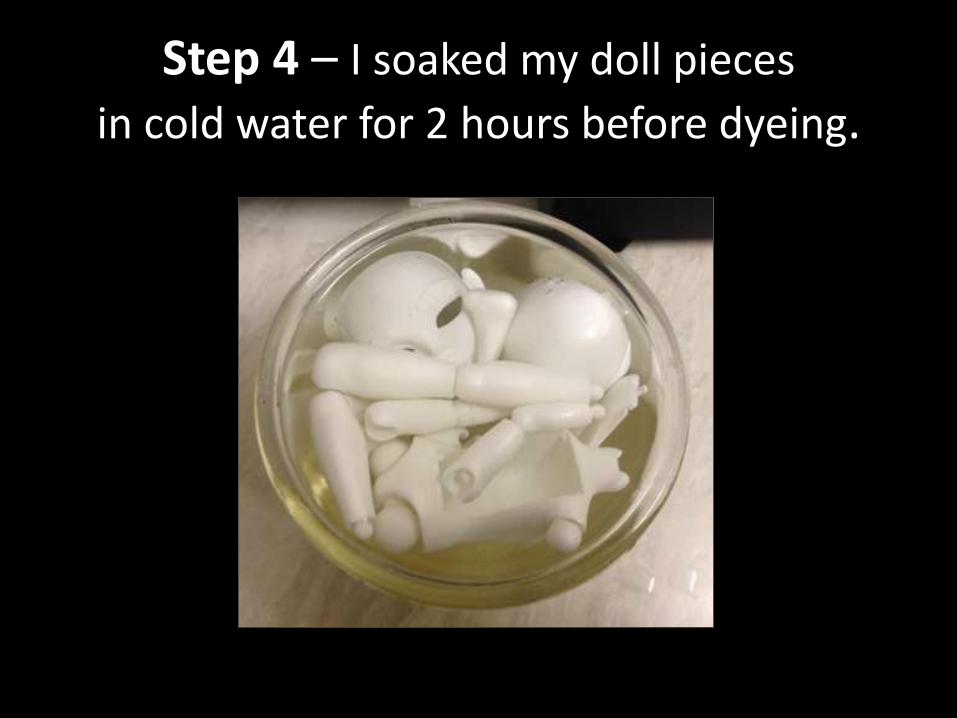
Step 4 – I soaked my doll pieces
in cold water for 2 hours before dyeing.
Step 5 – I mixed the dye
• Pour 400 ml of boiling water into a Pyrex bowl.
• Add ½ tsp of dye and stir well.
• Take your time stirring the dye until is all dissolved. DO NOT RUSH THIS STAGE!!!
• Add 100 ml of vinegar stir well
• Pour boiling water into a large saucepan to about 2 inches in depth. Place Pyrex bowl into the saucepan.
•
Step 6 – I did a test dye on scraps• To get the darker colour took me approx. 20 mins.
• Start timing when you put the pieces into the dye.
• Every 5 mins bring the saucepan to the boil then turn down to a simmer straight away.
• Add more boiling water to the saucepan if need to avoid the pan drying out.
• Continue to stir the pieces until the required colour is achieved.
• If the colour is not right and you need to add more dye remove doll pieces first. Mix dye until it is fully dissolved then add doll pieces.

Step 7 – BEFORE inserting doll pieces into dye
• Make sure the arm joints and leg joints are bent as you place them in the dye to avoid white joints.
• ½ way throughthe dyeing process straightenthe legs and arms in the dye.
This will ensure theball joints dye evenly on both sides, and avoid an un-dyed joint.

Step 8 – insert doll pieces into dyefor the required time. Stir making sure
piece are covered by the dye. Half way through straight arms and legs.
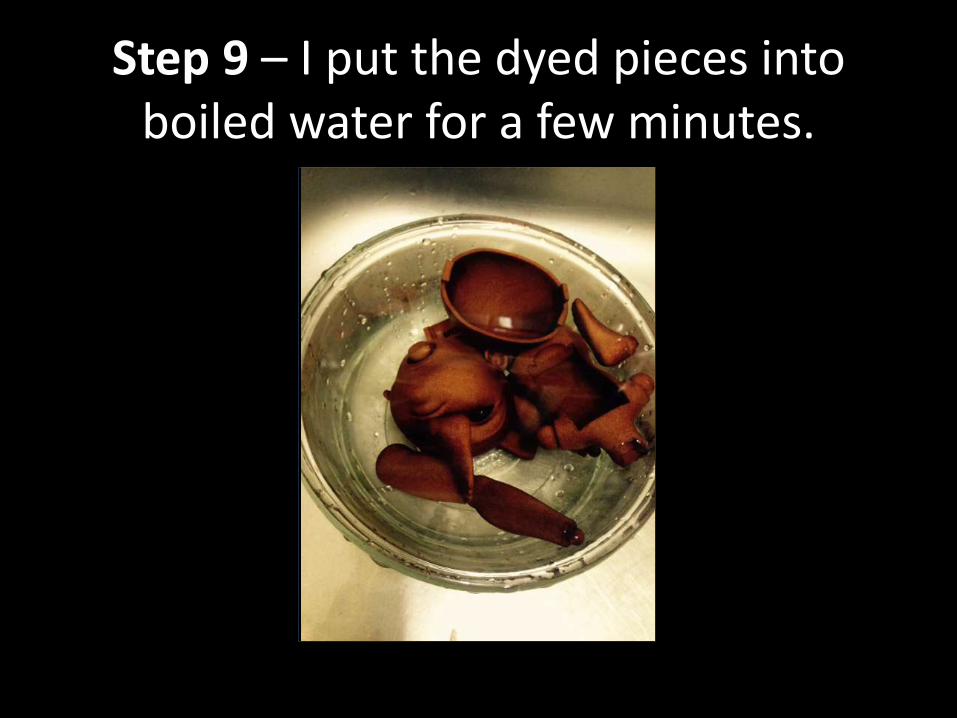
Step 9 – I put the dyed pieces into boiled water for a few minutes.
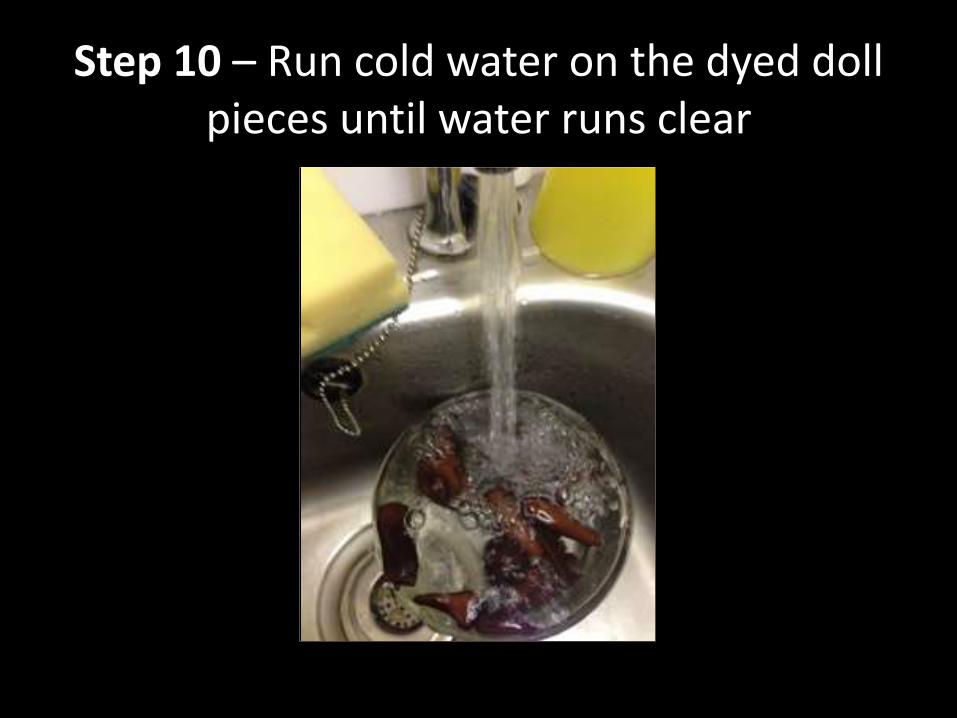
Step 10 – Run cold water on the dyed doll pieces until water runs clear
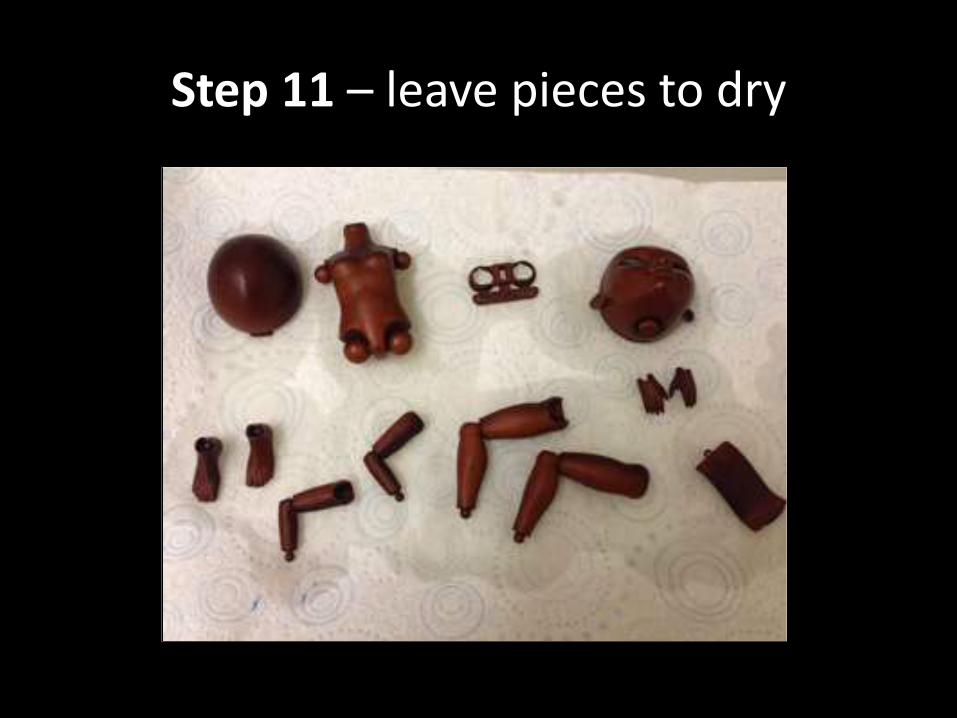
Step 11 – leave pieces to dry
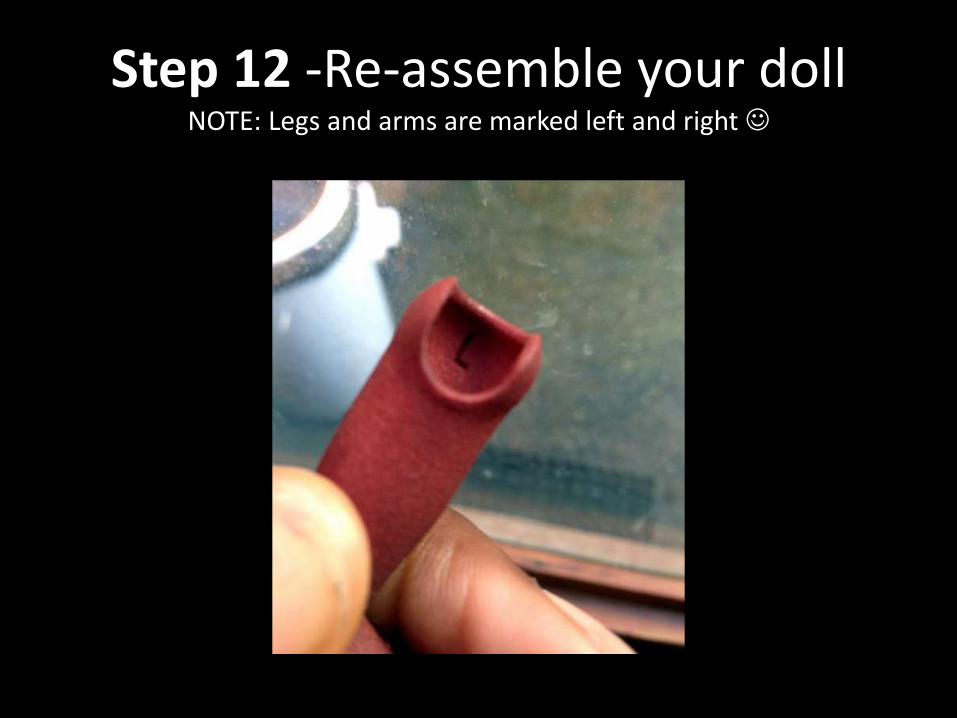
Step 12 -Re-assemble your dollNOTE: Legs and arms are marked left and right
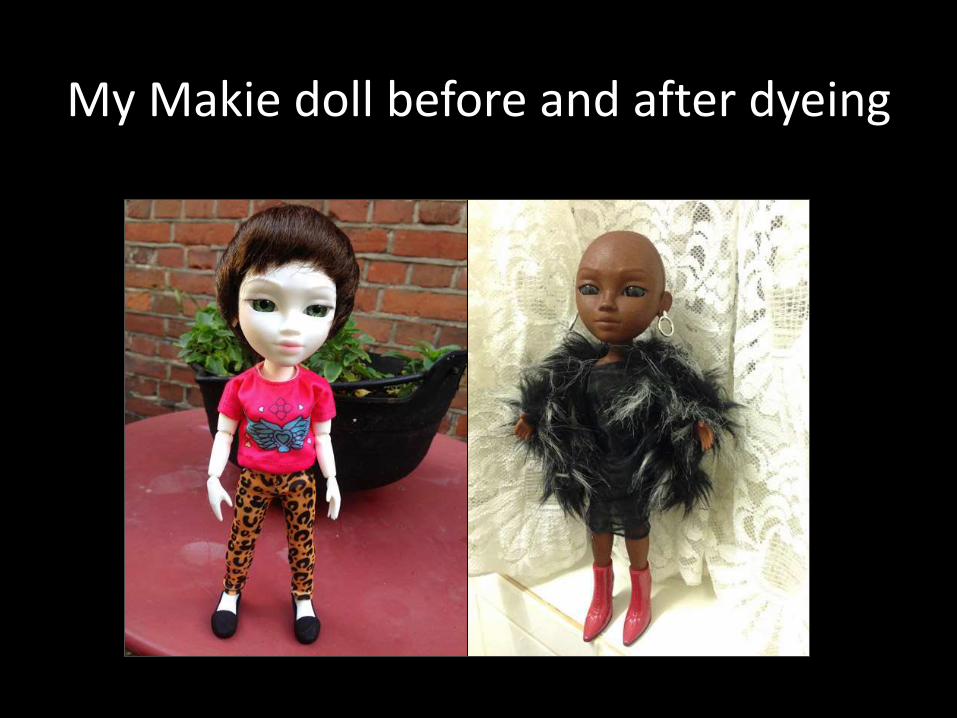
My Makie doll before and after dyeing
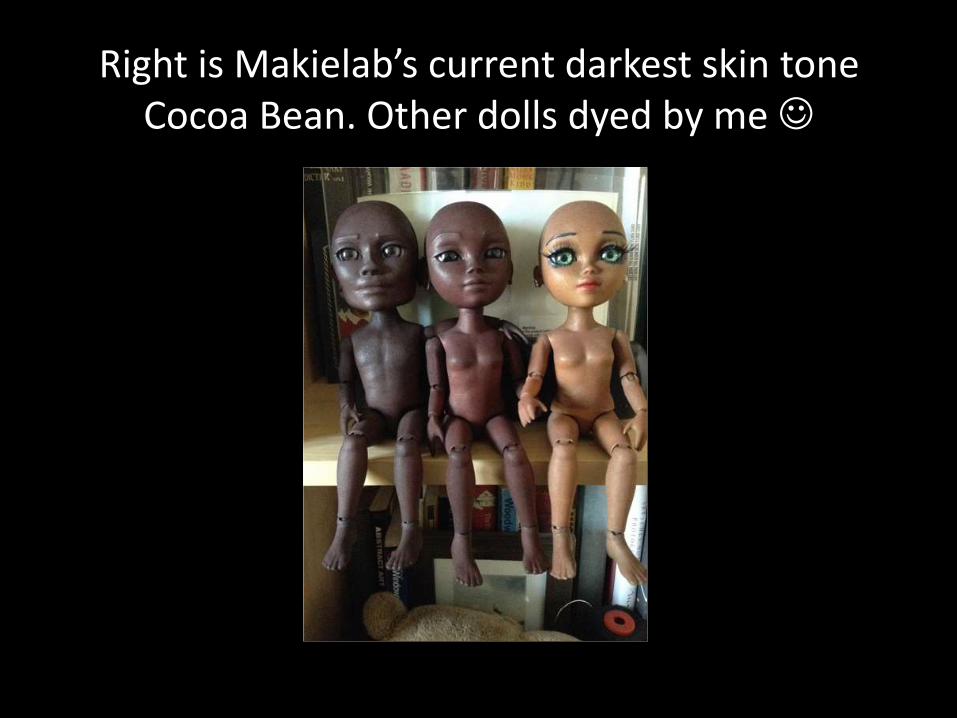
Right is Makielab’s current darkest skin tone Cocoa Bean. Other dolls dyed by me
Related Documents