Water all plants as soon as they arrive. Connue watering daily to keep soil and roots moist unl you plant. If you have any bare root bundles they should be kept in a shady, cool spot. Make sure roots are covered on bare root plants at all mes. INDEX 1.0 Before You Plant 2.0 Preparing the Site 3.0 Bare Root Trees & Shrubs 4.0 B & B Trees & Shrubs 5.0 Containers (Trees, Shrubs, Perennials) 6.0 Ground Covers, Fruits & Vegetables 7.0 Care Aſter Planng HANDLING AND PLANTING GUIDELINES C O LO R I T G R E E N™ Water all Your Plants IMMEDIATELY!

Welcome message from author
This document is posted to help you gain knowledge. Please leave a comment to let me know what you think about it! Share it to your friends and learn new things together.
Transcript
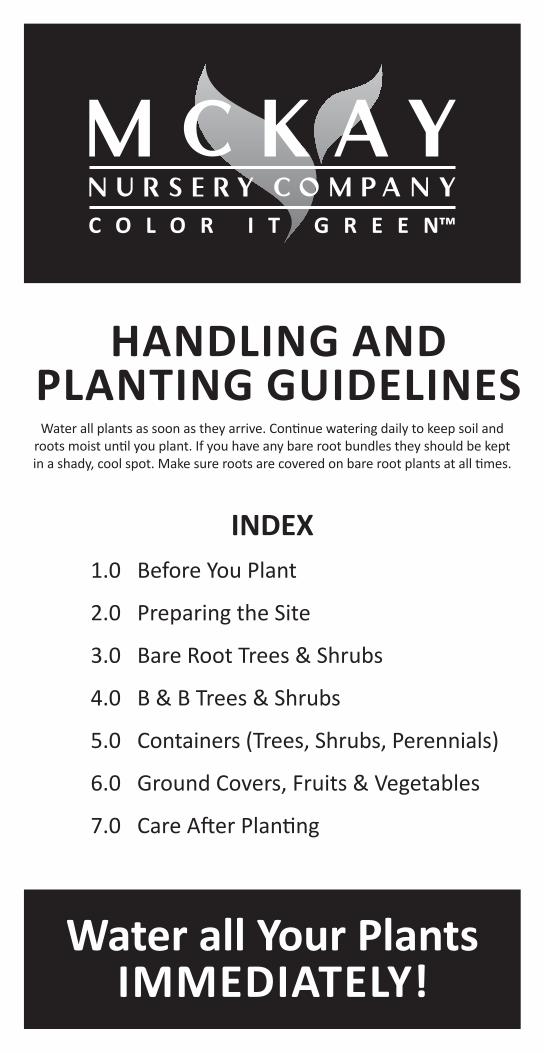
Water all plants as soon as they arrive. Continue watering daily to keep soil and roots moist until you plant. If you have any bare root bundles they should be kept in a shady, cool spot. Make sure roots are covered on bare root plants at all times.
INDEX1.0 Before You Plant
2.0 Preparing the Site
3.0 Bare Root Trees & Shrubs
4.0 B & B Trees & Shrubs
5.0 Containers (Trees, Shrubs, Perennials)
6.0 Ground Covers, Fruits & Vegetables
7.0 Care After Planting
HANDLING AND PLANTING GUIDELINES
C O L O R I T G R E E N™
Water all Your Plants IMMEDIATELY!

Plant nursery stock as soon as possible, preferably within a few days of delivery. Plants delivered early in the week can be stored with proper care until the weekend or longer.
1. UPON ARRIVALStore plants in a shady, cool area with good ventilation. The north side of the house or a cool garage is perfect. Open groundcover boxes immediately.
2. WATER PLANTS IMMEDIATELYWater daily until planting (keep soil and roots moist). 3. WHAT TYPE OF PLANT MATERIAL DID YOU ORDER?Before you open, store or install your plant material, it’s important to know which type you purchased. Follow the planting instructions based on the type purchased.
4. BEFORE YOU DIG CALL 811Contact Diggers Hotline (811) to locate any utilities. Please note it takes up to 3 working days for utilities to be marked and that private utility lines, such as invisible fences will not be marked.
1.0 Before You Plant
Bare Root Balled and Burlapped (B&B)
Container Grown
2.0 Preparing the Site1. GATHER THE NECESSARY TOOLS & SUPPLIES, including: hard rake, garden hose, prun-ing shears, pocketknife, pick, and gloves.
2. LOCATE THE SPOT WHERE THE PLANT WILL GO. Remember to Call Diggers Hotline (811) before you dig!
▪ If you are using a design, transfer the planting beds from the design to the yard. ▪ Use a flexible garden hose or spray paint to lay out bed edges. ▪ Remove grass, weeds and debris from planting area. ▪ Locate and mark where the plants go in your planting beds. ▪ Prepare the soil. Contact your Local Design Pro with questions about your soil
conditions.
Grow Bag

*See section 6.0 for planting rhubarb, grapes, raspberries, asparagus, and ground covers.
1. OPENING THE PLANT MATERIAL. Cut open the bundle (top and roots are tied) and separate all the plants. Soak roots in buckets of water until planted. Each plant type will be labeled separately for identification. Do not expose the roots to sun. They should never dry out. Keep roots covered. All bare-root plants must be trimmed when planted. See pruning.
2. PLANTING ▪ Dig a hole at least 6" wider and the same depth
as the root mass. The crown or graft of the plant should be slightly higher than ground level where it was grown at the nursery.
▪ Trim off the broken roots and branches.▪ Place fertilizer packets in hole (if purchased).
Do not place other fertilizers in the planting hole. *Use Recommended Fertilizer
▪ Spread the roots and fill halfway with soil, then water until soil settles completely saturating the soil and planting pit.
▪ Re-adjust plant and fill the hole with the rest of the soil.▪ Back fill the balance of the soil and water well. ▪ See diagram for proper mulching.
3. PRUNING – Prune ALL bare root plants to reduce transplant shock and ensure success. Pruning should occur either before or as soon after planting as possible. All pruning should be done with a sharp pruning shears.
PRUNING BARE ROOT ORNAMENTAL SHRUBS See illustration
▪ Thin ⅓ to ½ shrub by removing large branches. ▪ Top back some branches to improve general shape.▪ Cut the shrub back to at least ½ its original size to promote
new growth from the base.
PRUNING BARE ROOT SHADE TREES, ORNAMENTAL TREES AND FRUIT TREES See illustration
▪ Prune and remove any broken or damaged branches or roots from shipment.
▪ Remove branches that may be too low. This will also help promote faster top growth.
▪ Additional pruning to help in transplanting can be achieved by selectively removing branches that are too close or otherwise might not be proportionate with the rest of the tree.
3.0 Planting Bare Root Trees & Shrubs*
BRANCHES TOO
CLOSE
BRANCH TOOLOW
UN-PROPORTIONEDBRANCHES
CROWN
SAUCER MULCH AWAY FROM STEM

BACKFILL WITH NATIVE SOIL
ROOT FLAIR AT SOIL LEVEL
REMOVE TOP ⅓ OF WIRE BASKET
CREATE SAUCER FOR WATERING
1. PLANTING ▪ Completely saturate all container plants by putting in a larger con-
tainer of water until stops bubbling, remove. Now ready to plant.▪ Dig a hole no deeper than the depth of the container and 6" or
more wider on the sides.▪ For Containers - Slide plant from pot by tapping on the
bottom of the pot.▪ For Grow Bags - Remove bag by using a utility knife to slit up
the side and peel off the fabric exposing the soil and roots. Plant the root ball just like you would a container plant. No trimming of roots is necessary for grow bags.
▪ With shovel or knife trim bottom 2" off of the root ball for plants in plastic containers.
▪ Rotate the plant to the proper position. Never lift or move plants by the tops.▪ Place the root ball in the hole. ▪ For Shrubs: Adjust the plant height so the root crown is slightly higher than the ground.▪ For Trees: Notice where the base of the trunk flairs out from the tree. This is called the root
flair. This root flair should show when the tree is planted. If necessary, add soil under the ball so the root flair is exposed.
▪ For Perennials: Slide out of pots. Many times perennials have many roots in the pots – Lay the plant on its side and cut off the bottom 2" of roots and soil for quicker establishment in the ground.
▪ Place fertilizer packets into the bottom of the hole (if purchased). *Use Recommended Fertilizer▪ Backfill the hole with soil, making sure the top of the root ball is visible and slightly higher
than the soil around it. ▪ Firm the soil around the plant. Water well to settle soil around the root ball.
2. PRUNING – Although it is not essential for container plants to be pruned after planting, a light pruning to remove any broken branches during shipment and improve shape will help the looks of your new planting.
1. PLANTING ▪ Soak root ball very well.▪ Dig a hole at least 6" wider and no deeper than
the size of the ball on the plant. ▪ Rotate the plant to the proper position. Never
lift or move trees by the tops.▪ Place root ball into hole. ▪ For Shrubs: Adjust the plant height so the root
crown is slightly higher than the ground.▪ For Trees: Notice where the base of the trunk
flairs out from the tree. This is called the root flair. This root flair should show when the tree is planted. If necessary, add soil under the ball so the root flair is exposed.
▪ Place fertilizer packets into the bottom of the hole (if purchased). *Use Recommended Fertilizer
▪ Backfill ½ of the hole with soil and completely saturate the soil with water.
▪ Once the tree is straight and located as desired, ▫ Cut and remove twine ▫ Remove or bend back top ⅓ of metal basket. ▫ Remove exposed burlap from top of ball▪ Fill the hole to the top of the ball with soil, then soak well
with water and let settle. ▪ The top of the root ball should be visible and slightly higher than the soil around it. ▪ Add mulch on top of soil making sure to not put mulch against the trunk or stems.
2. PRUNING – Although it is not essential for B&B plants to be pruned after planting, a light pruning for shape, to remove any broken branches from shipping, or to thin out a heavily branched plant will help in the transplanting process and in the appearance of your new planting.
BACKFILL
2"
6"
GROUND LEVEL
5.0 Planting Container Plants, Plastic Pots & Grow Bags
SOIL LEVEL EVEN WITH CROWN
CUT BURLAP & ROPE AWAY FROM TOP
KEEP MULCH AWAY FROM TRUNK/ STEM
4.0 Planting B&B Trees & Shrubs

1. OPENING THE PLANT MATERIAL – Cut open the bundle (top and roots are tied) and separate all the plants. Each plant type will be labeled separately for identification. Do not expose the roots to sun. They should never dry out. All bare-root plants must be trimmed when planted. See trimming.
GRAPES (soak roots in water overnight before planting, if possible)
▪ Dig a broad and deep hole so roots fit comfortably.▪ Place plant in hole so top of graft stem is at ground
level.▪ Backfill with soil spreading out roots and covering the
top of the graft stem.▪ Cut tops to 4-6" in length
RASPBERRIES (soak roots in water overnight before planting, if possible)
▪ Plant 2 to 3 feet apart in rows 3 to 5 feet apart in well-tilled weed-free soil.
▪ Cut tops to 2" above the ground after planting.
RHUBARB (DO NOT soak roots prior to planting)
▪ Plant Rhubarb 2 feet apart in rows 3 feet apart in rich, well-drained garden soil with the root planted just under the soil. Water well to settle soil in and roots.
▪ Do not put fertilizer in hole when planting. ▪ Fertilize Rhubarb liberally with composted manure
annually.
ASPARAGUS (soak roots in water overnight before planting, if possible)
▪ Prepare a bed of fine, loamy soil to which a liberal dressing of composted manure has been added and tilled in.
▪ Plant 1 foot apart in rows 4 feet apart.▪ To plant, make a trench about 6" to 8" deep. Plant
Asparagus and cover with 3" of soil. Water well.▪ As plants start to grow, fill in trench with the
additional soil until, by mid-summer, the ground is level.▪ Do not cut any new shoots, but allow the "ferny" foliage to grow and store food for
next year.
PLANTING GROUNDCOVERS, such as Pachysandra, Vinca▪ Planting bed should consist of 6-8" of topsoil, well mixed with approximately 2"
of peat moss. ▪ Plant groundcover – spacing as directed on landscape design (6" to 12" apart.) ▪ Water each plant thoroughly after planting, and remember small pots will dry out
quickly in warmer weather – watch closely.
BEFORE
4-6"
AFTER
2"
3"6"
9"
6.0 Ground Covers, Fruits, Etc
2"

1. WATERINGPlants typically take approximately 6 weeks to establish new roots in your soil. During this period, water plants as oft en as every 2-4 days at the start and at least a minimum of once per week. Beyond the 6 week establishment period, water once per week, unless rains occur. Aft er the fi rst season, plants should only be watered during extended periods without rain. How do you know if your plants need water? The easiest way to tell is to touch the soil around the roots. If it is moist, there is no need to water. If it is dry, give it a good soaking with the hose end (no nozzle) watering the soil only, not the leaves.
2. CHECK PLANTING DEPTHAre any plants planted too low or too high? Plants that might have sunk in the hole aft er watering could be in jeopardy. Check to make sure you have no exposed roots on your newly transplanted plants. Also, make sure the crown of the plant is above ground level. Now is the ti me to adjust those plants, simply by lift ing the plant up to the proper level with a shovel and adjusti ng the soil around it.
3. GENERAL TIPSBelow are a few helpful maintenance ti ps. Need additi onal ti ps? Sign up today on mckaynursery.com for our e-newslett er with monthly ti ps to ensure a successful landscape.
▪ Keep a crisp edge between the grass and the planti ng bed. ▪ Maintain 2-4" of shredded bark mulch in your planti ng beds.▪ Stake trees in wind prone areas. Maintain stakes for the fi rst growing season. A stake
using a looped strap of cloth or rubber hose can be used to steady the tree. Never ti e the tree to the stake ti ghtly. Check the ti e during the growing season to be sure it isn’t cutti ng into the tree.
▪ Use tree wrap on young trees during the winter months to protect from rodent damage or splitti ng from sun exposure. It should be removed in spring and replaced in late fall unti l the plants get older. Do not use black drain ti le on the trunks.
Consult with your local McKay Design Pro or call us at 800.236.4242 for all your landscape needs. Are you a do-it-yourselfer? McKay off ers a variety of landscape and maintenance products delivered straight to your door, or sit back and relax and let us do the hard work. Our team of landscape service professionals can take on any job.
THANK YOU for choosing McKay Nursery Company. We trust you will be enjoying your new landscape for years to come. We strive to provide you with top quality plant material. Please follow the cultural practi ces outlined here to assure the full benefi t and enjoyment from your new planti ng.
7.0 Care After Planting
www.mckaynursery.com 920.478.2121800.236.4242
P.O. Box 185750 S. Monroe StreetWaterloo, WI 53594
Related Documents