FORENSIC SCIENCE CHAPTER 4 Fingerprints and Footprints

FORENSIC SCIENCE CHAPTER 4 Fingerprints and Footprints.
Dec 18, 2015
Welcome message from author
This document is posted to help you gain knowledge. Please leave a comment to let me know what you think about it! Share it to your friends and learn new things together.
Transcript

FORENSIC SCIENCECHAPTER 4
Fingerprints and Footprints

Stop at 2:55

History
William Herschel Early 1880’s Used Chinese custom of using thumb print to sign
legal documents Had natives of India use right thumb to sign contracts
http://science.howstuffworks.com/fingerprinting3.htm

History
Alphonse Bertillion First attempt at personal identification 1883 Body measurements & Portrait Parlé
Used theory that dimensions of body remained fixed from age 20 and older
No two skeleton sizes were alike Took 11 measurements – height, reach, width of
head Portrait Parlé – a verbal description of physical
characteristics given by an eye witness Most accurate for 20 years

History
Henry Fauld 1880 Skin ridge patterns – used to identify criminals
First person to solve a crime using prints Tried to “sell” this concept to Scotland Yard –
they rejected

History
Francis Galton 1892 Published the book, Finger Prints Proposed the idea of patterns
and suggested a method of recording Loops, arches, whorls
Demonstrated that no two prints were alike

History
Dr. Juan Vucetich Argentinian police officer 1891 Devised first workable classification system for
logging fingerprints

History
Sir Edward Richard Henry 1897 Proposed another method of classification
Most English speaking countries use a variation of Henry’s system
In 1901, adopted by Scotland Yard
History
1901 – US adopts first official use of fingerprinting (New York City Civil Service Commission)
1924 – FBI adopts fingerprinting1999 – US v Byron C. Mitchell
The first case in which fingerprints were questioned. Judge ruled, according to Daubert, that they were admissible

Principles of Fingerprinting
1. Fingerprints are an individualistic characteristic Study the ridge characteristics (minutiae)
Identity, number, location (as many as 150 individual ridges on one fingerprint!)
Point by point comparison Originally needed 8-16 exact matches 1973 – no numerical requirement – based on
experience/knowledge of expert Ridges (handout)
Bifurcation Ridge ending Enclosure Short ridge (Island) Ridge Dot Ridge crossing

Principles of Fingerprinting

Principles of Fingerprinting

Principles of Fingerprinting
2. Fingerprints do not and cannot change Fingerprints are friction skin ridges
Developed in womb Purpose to give firmer grasp and resistance to slip

Principles of Fingerprinting
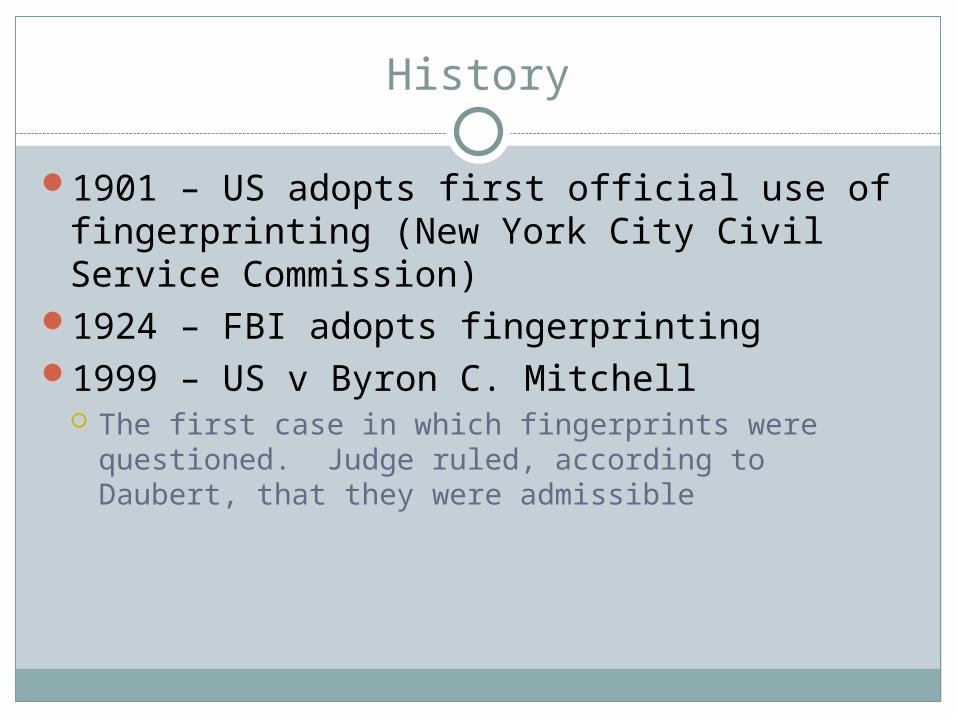
Skin – cells Surface = epidermis Inner skin = dermis Dermal papillae – boundary layer under the epidermis
– shape of this layer determines ridge patterns Remains unchanged throughout life!
Principles of Fingerprinting
Change prints? Must damage dermal papillae – about 1-2mm beneath
skin John Dillinger case
Fingerprint? Oils and perspiration are transferred from finger to a
surface leaving a print Normally “invisible” - latent

Principles of Fingerprinting
3. Fingerprints can be classified by ridge patterns Three classes
Loops (60-65%) Whorls (30-35%) Arches (5%)

Principles of Fingerprinting
Loops Ridge enters from one side,
curves, and exits same side If loop opens toward pinky =
ulnar loop If loop opens toward thumb =
radial loop Core = center of loop

Principles of Fingerprinting
Whorls ALL have two deltas! 4 groups
Plain Central Pocket Loop Double Loop Accidental

Principles of Fingerprinting
Plain Whorl Central Pocket Loop Double Loop

Principles of Fingerprinting
Arches Enters one side, exits other NO deltas!! Two groups
Plain arch Tented arch

Principles of Fingerprinting
Plain Arch Tented Arch

Fingerprint Classification
Henry System 1901 Converted ridge patterns into a series of numbers and
letters to form a fraction Could only classify up to 100,000 sets
Fingerprint Classification
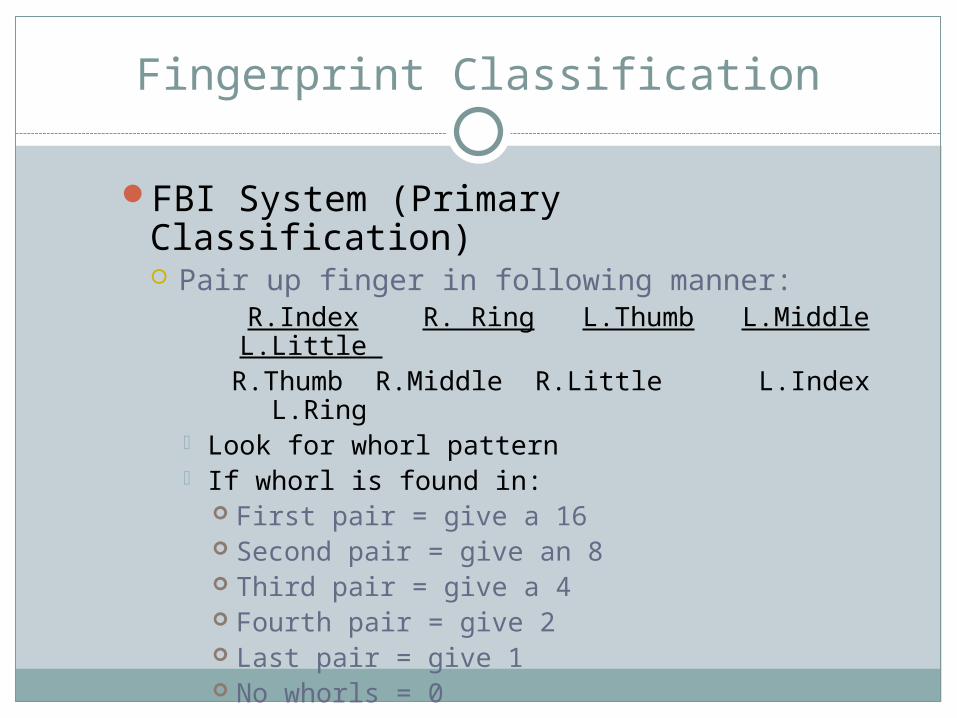
FBI System (Primary Classification) Pair up finger in following manner:
R.Index R. Ring L.Thumb L.Middle L.Little R.Thumb R.Middle R.Little L.Index L.Ring Look for whorl pattern If whorl is found in:
First pair = give a 16 Second pair = give an 8 Third pair = give a 4 Fourth pair = give 2 Last pair = give 1 No whorls = 0
Fingerprint Classification
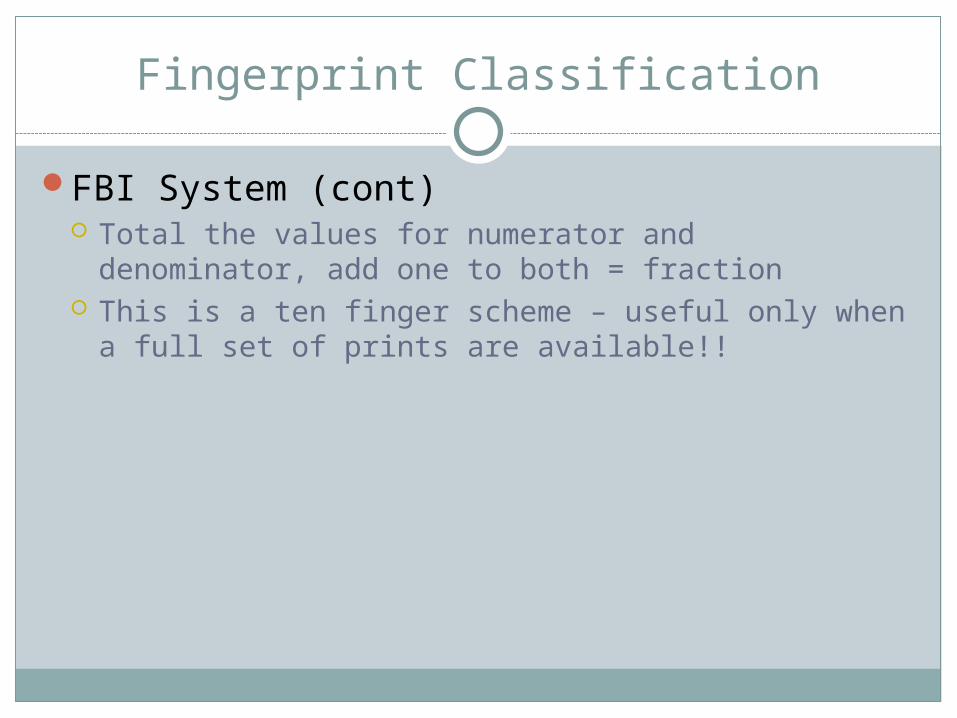
FBI System (cont) Total the values for numerator and denominator, add
one to both = fraction This is a ten finger scheme – useful only when a full
set of prints are available!!
Fingerprint Classification
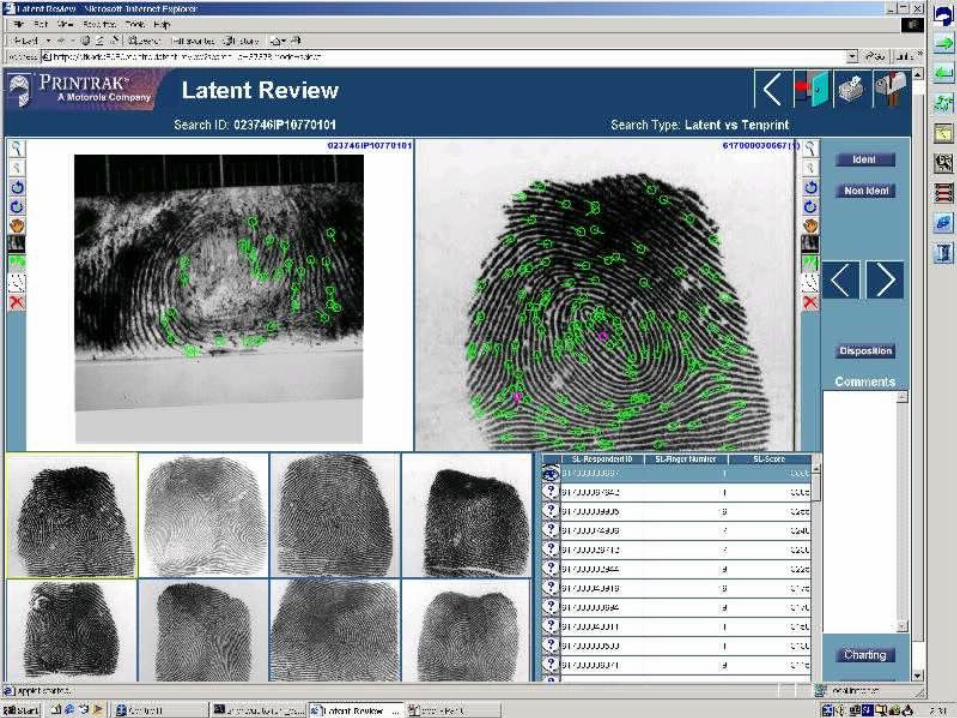
AFIS Automated Fingerprint Identification System 1970 Computer can scan and digitally encode prints Stores as a geometric pattern Compare degree of correlation Can make thousands of comparisons in one
second! “Hit” prints are also visually examined

Fingerprint Classification
AFIS (cont) No final decision Allows search against entire file not just suspects


Fingerprint Classification
IAFIS Integrated Automated Fingerprint Identification
System National system maintained by FBI

Livescan
Livescan – an inkless device that captures the digital images of fingerprints and palm prints and electronically transmits images to AFIS A fingerprint record is made in minutes!

Prints as Evidence
Locate PrintsDevelop PrintsVisualize PrintsPreserve Prints
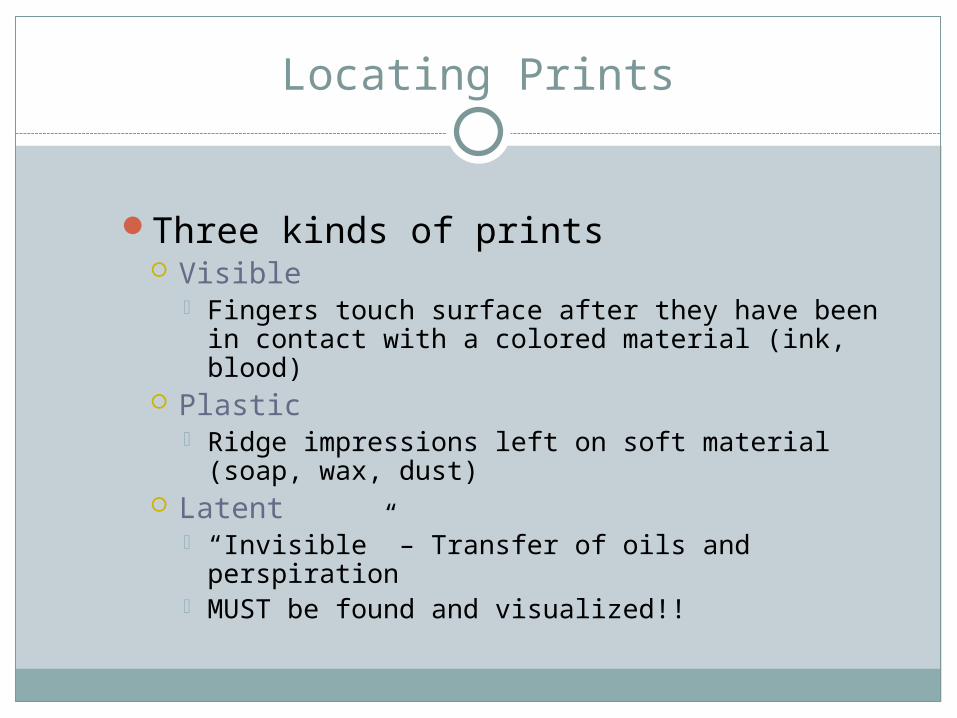
Locating Prints
Three kinds of prints Visible
Fingers touch surface after they have been in contact with a colored material (ink, blood)
Plastic Ridge impressions left on soft material (soap,
wax, dust) Latent
“Invisible” – Transfer of oils and perspiration MUST be found and visualized!!

Locating Prints
RUVIS – Reflected Ultraviolet Imaging System Can locate prints on most non-absorbant surfaces
without aid of any other treatment method Aims UV light at surface

Developing Prints
Methods Available: Powders Iodine Fuming Ninhydrin Physical Developer Super Glue Fuming
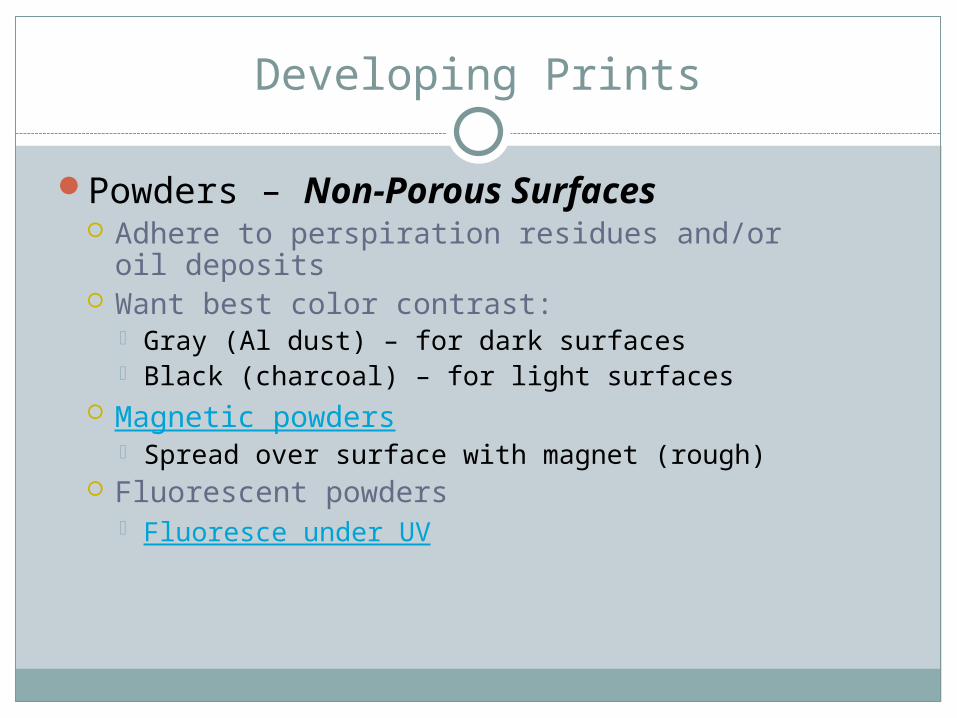
Developing Prints
Powders – Non-Porous Surfaces Adhere to perspiration residues and/or oil
deposits Want best color contrast:
Gray (Al dust) – for dark surfaces Black (charcoal) – for light surfaces
Magnetic powders Spread over surface with magnet (rough)
Fluorescent powders Fluoresce under UV

Developing Prints
Chemical Treatments Iodine fuming
Porous and non-porous surfaces! Heat solid iodine crystals Sublimes (solid gas) Vapors visualize prints – React with either fatty oils or
water from sweat NOT permanent – will fade once sublimation stops
Can “fix” prints by spraying with a starch solution

Developing Prints
Chemical Treatments (cont) Ninhydrin (triketohydrindene hydrate)
Porous materials – paper, cardboard, envelopes Reacts with amino acid deposits Turns a purple-blue color Appear within 1-2 hours after spraying Heating (80-100°C) the print speeds up process DFO (1,8-diazafluoren-9-one)
Newer substitute for ninhydrin Has been shown to develop 2.5 times more latent
prints on paper than ninhydrin

Developing Prints
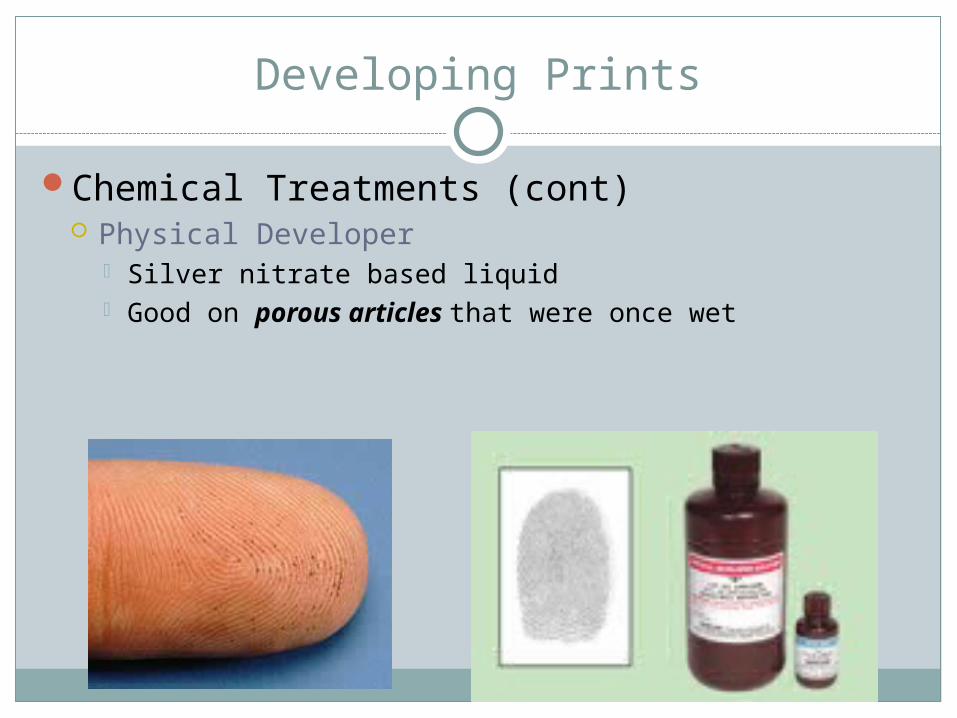
Chemical Treatments (cont) Physical Developer
Silver nitrate based liquid Good on porous articles that were once wet

Developing Prints
Super Glue Fuming 1982 Works on non-porous materials (plastic bags, tape) Super Glue = 98.99% cyanoacrylate ester Heat glue – fumes adhere to print White prints

Developing Prints
Visualize Prints
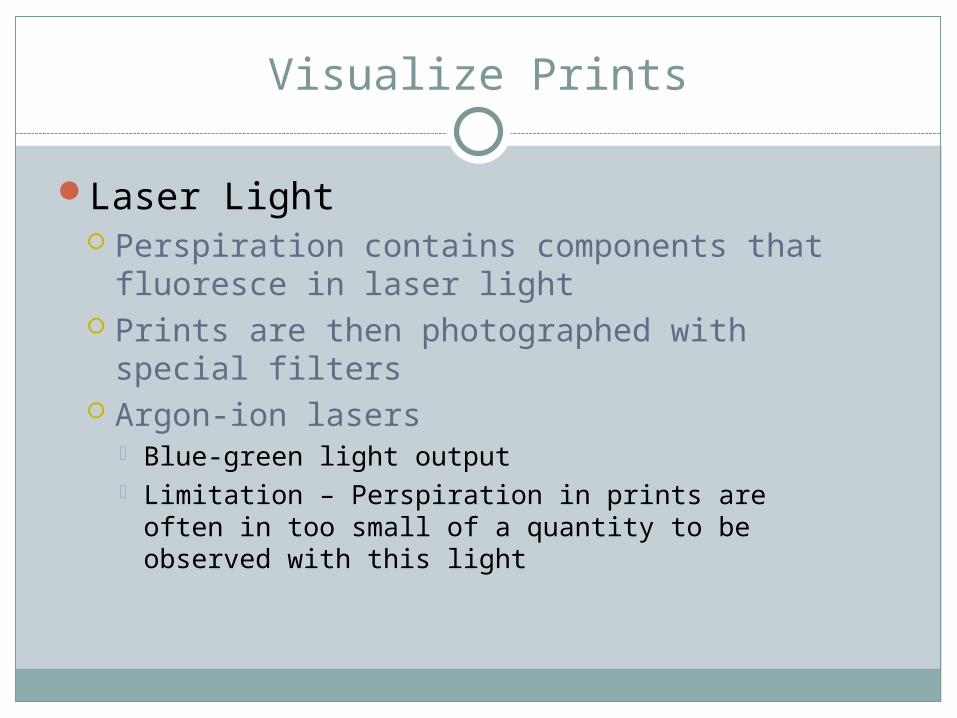
Laser Light Perspiration contains components that
fluoresce in laser light Prints are then photographed with special
filters Argon-ion lasers
Blue-green light output Limitation – Perspiration in prints are often in too
small of a quantity to be observed with this light

Visualize Prints
Alternate Light Sources Has replaced laser lights Quartz Halogen Xenon arc LEDs PORTABLE!!!
Preservation of Prints
PhotographTransport
Entire Object Cover with cellophane and transport
Lifting Adhesive tape Hinged lifters

QUIZ

Footwear Evidence
Two Types 3-dimensional 2-dimensional

Footwear Evidence
3-dimensional Those that remain after the shoe has permanently
deformed surface Exterior surfaces (sand, soil, snow) Quality
Affected by: Amount of moisture Contaminants (sticks, stones, debris) Composition of material

Footwear Evidence
2-dimensional Made on non-giving surfaces (tile, wood, paper,
linoleum) Visible or latent
Significance of Footwear Evidence
Significance of footwear evidence (in other words – why collect footwear evidence?) To identify footwear
Look at class and individual characteristics To prove presence at scene To prove participation in a crime
To eliminate footwear May exonerate suspect
To determine shoe brand Footwear databases - FBI

Significance of Footwear Evidence
To determine shoe size To determine gait characteristics
Gait measurements can indicate:1. Stride Length, which can prove if:
• Carrying something = short stride• Running = long stride• Normal walking = normal stride

Significance of Footwear Evidence
Gait measurements can indicate:2. Angle at which toe points when walking3. If suspect walks with a limp or hitch
Measuring distance from one step to another
4. If suspect is a “Toe” or “Heel” walker Distribution of weight
5. Width between steps6. Approximate size of suspect:
Small but not deep print = short, light Small but deep = short, heavy Large, not deep = tall, light Large, deep = tall, heavy

Using Footwear as Evidence
Steps: Locate Recover Examine Compare
Locate Footwear Evidence
Locate Some obvious – Visual prints (bloody) Latent
Slow search Same search patterns discussed last chapter Use oblique lighting in a dark room
Items to consider: Glass, paper, dust

Recover Footwear Evidence
Recover Photograph, Photograph, Photograph!! 2-dimensional:
Electrostatic Lifting device High voltage power source to create a static electrical charge
that enables the transfer of the print• Used first – will not harm evidence• Very fragile
Dust/Lift Contrasting colors

Footwear Evidence
Recover 3-dimensional:
Casts Dental stone – gypsom product Will harden in approx 20 min

Examine Footwear Evidence
Examine Design Physical size and shape Wear (position and degree) Individual characteristics
Cuts, scratches, tears

Compare Footwear Evidence
Compare Crime scene to known shoes Side-by side comparisons Superimposition method
Related Documents