Basic First Aid Training SRSA training team Darfur Sudan December 2004 - March 2005

First Aid Training
Dec 29, 2015
First Aid Training
Welcome message from author
This document is posted to help you gain knowledge. Please leave a comment to let me know what you think about it! Share it to your friends and learn new things together.
Transcript

Basic First Aid Training
SRSA training teamDarfur Sudan
December 2004 - March 2005

Introduction
Aim of training course -
Timings for course ;
Introduction
Period 1 -
Break
Period 2 -
Break
Conclusion
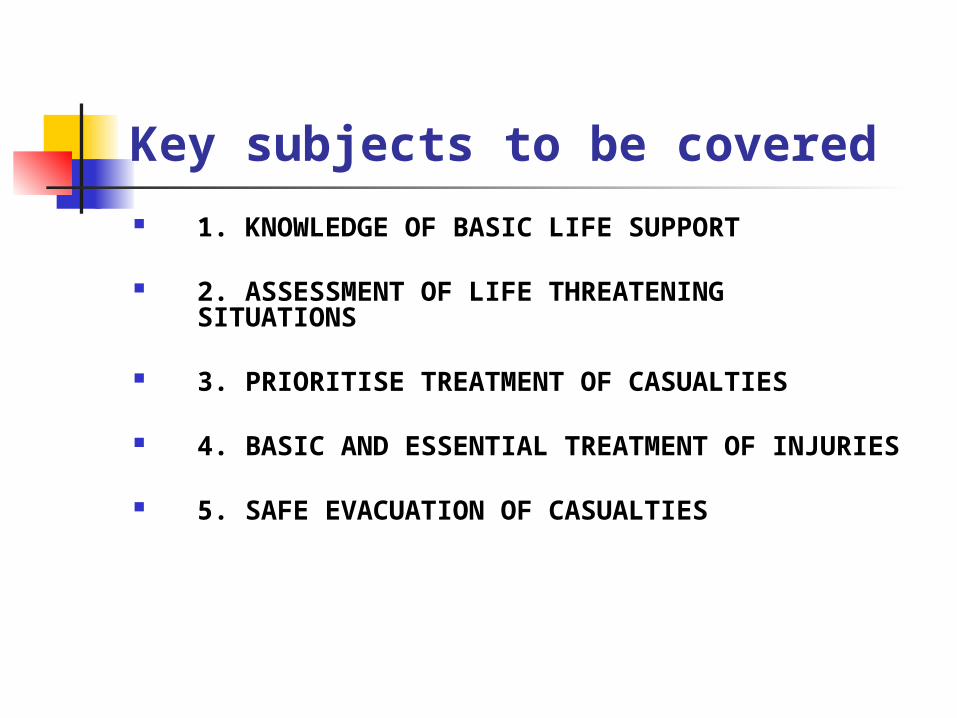
Key subjects to be covered 1. KNOWLEDGE OF BASIC LIFE SUPPORT
2. ASSESSMENT OF LIFE THREATENING SITUATIONS
3. PRIORITISE TREATMENT OF CASUALTIES
4. BASIC AND ESSENTIAL TREATMENT OF INJURIES
5. SAFE EVACUATION OF CASUALTIES

Aims and objectives
The aim and objective of this course is that the participants will be able to carry out the following actions without supervision
Give basic life support Assess life threatening situations Prioritise casualties Give basic and essential treatment of injuries Safely evacuate casualties

1. KNOWLEDGE OF BASIC LIFE
SUPPORT First aid is the treatment of the sick and injured before
professional medical help can be given.
The aims of first aid are to prevent death or further injury, to counteract shock and to relieve pain.
Unconsciousness, severe bleeding or burns require immediate treatment.
Serious trauma is most likely from road traffic accidents, gunshots, stab wounds, fire, or blasts from bombs and land mines.

2. ASSESSMENT OF LIFE
THREATENING SITUATIONS Evaluate the three S´s: Safety Scene
Situation Safety – evaluate all possible threats and
ensure that none still exist.
Scene – evaluate the scene to determine what happened.
Situation – assess if you have to deal with
several casualties

Practical assessment of situation

3. PRIORITISE TREATMENT OF
CASUALTIES DANGER
CHECK FOR CONSCIOUSNESS
PRIORITY

4. BASIC AND ESSENTIAL
TREATMENT OF INJURIES
A – Airway: Clear it if blocked
B – Breathing: Mouth to mouth resuscitation if victim not breathing
C – Circulation: Stop bleeding by applying direct pressure, prevent shock, CPR
Burns Fractures

A - Airway
Check for breathing: put your face close to the casualty’s mouth, and look, listen and feel for breathing:
Look for chest movements. Listen for sounds of breathing. Feel for breath on your cheek.
How to open the airway:
Non trauma patients: Chin liftTrauma patients: Jaw thrust maneuver

Chin lift and Jaw thrust

The recovery position
Unconscious casualties
should be placed in the recovery position to prevent the tongue blocking the throat and allows liquid to drain from the mouth.
This is best learned through
practical exercises.

B - breathing
Artificial breathing: Raise the chin slightly,
pinch the nose and give 2 quick breaths (1-5 seconds/breath) in to the casualty´s mouth.
Evaluate effect by look, listen and feel.

C - circulation
Bleeding is classified according to the type of blood vessel that is damaged: artery or vein.
Arterial bleeding: Spurting of bright red blood (richly oxygenated) under pressure
Venous bleeding: Slow, steady bleeding at low pressure, dark red blood (poorly oxygenated)

Severe external bleeding
The rapid loss can lead to shock or death in a very short period of time so it must be controlled speedily!
Bleeding at the face and neck may obstruct the airway.
Remember that shock may well develop and the casualty may loose consciousness.
Your aims are: to control the bleeding to prevent shock

Control of bleeding

Treatment of bleeding
Remove or cut clothing Apply direct pressure over the wound If the wounding body (i.e. knife or bullet ) is
still incarcerated in the wound, do not extract it
Raise and support an injured limb Apply a clean pad or sterile dressing,
bandage it in place firmly Secure and support the injured part Look for help and check periodically the
circulation

Casualty treatment
It may help to lay the casualty down. This will reduce blood flow to the site of injury, and minimize shock.

Chest injuries and abdominal injuries
Chest injuries: Clear airway if obstructed Seal open sucking wounds with hand or other airtight material
DO NOT try to remove any objects that might be sticking out of the wound
Abdominal injuries: Cover wound with dressings Lay patient on back, with knees up and head and shoulders raised
DO NOT remove debris from the woundDO NOT push in protruding intestinesDO NOT give food, drink or painkillers

Checking of pulse
The preferred method to detect the pulse of a casualty, is on the neck.
1. Feel for the Adam’s apple with two fingers; slide your fingers back towards you into the gap between the Adam’s apple and the strap muscle, and feel for the carotid pulse.
2. Feel for ten seconds before deciding that the pulse is absent.
3. If it is, proceed with C.P.R

CPRCARDIO PULMONARY RESCUSITATION – CPR
If pulse is present and breathing not active, administer ventilations for one minute (ten ventilations), before checking again the carotid pulse.
If pulse is absent, proceed CPR (15/2 compressions/ventilations) - no stop.
If pulse is present check for breathing, ensure free airway.

CPR technique (1 or 2 First-Aiders)
1. Identify the correct position for the hands – follow from the level of the lowest rib, measure upwards a distance of 2 fingers along the chest bone. Place the ball of the hand on this postion and add the other hand on top.
2. Give 15 chest compressions. Return to the head and give 2
ventilations, then 15 further compressions
If there are two first-aiders; the one giving chest compressions should set the rythm by counting out loud the pace.

Correct CPR position

Shock
Clinical shock occurs when there is reduced blood circulating through the body.
The main cause of shock is substantial loss of blood, which results in an inadequate supply of oxygen to the body tissues.
A person suffering from shock needs immediate attention!
Recognition: there may be pallor, cold and clammy skin, rapid and weak pulse, pain, thirst, confusion, restlessness and irritability - possibly leading to collapse and unconsciousness.
Place the casualty in a semi-prone position with the legs elevated
Ensure free airway Keep the casualty warm Act calmly and reassuringly Do not give anything to drink

Burns
The main causes of burns are:
Fire, dry heat, corrosive substances and friction Wet heat, hot liquids and vapors
1. Extinguish the burn with large amount of liquid, 10 minutes or more.2. Check airway, breathing, pulse. Be prepared to resuscitate.3. Gently remove any rings, watches, belts, shoes, or smoldering
clothing 4. Cover the injury with a sterile burns sheet or other suitable
material. Use a clean plastic bag for a burned hand or foot. Do not drain any blister!

Fractures
Fracture recognition:
Difficulty in moving a limb Pain at or near the site of injury Local distortion, swelling and bruising Shortening, bending, or twisting of the limb Signs of shock
Closed fracture treatment:
Do not move the casualty until the injured part is secured and supported Support the injured part Immobilize joints above and below a fracture site with a splint
Open fracture treatment:
Cover the wound and apply pressure to control the bleeding If bone is protruding, build up pads of soft, non fluffy material around the bone Do not press down directly on a protruding bone end Immobilize as for a closed fracture, elevate the injured part Check the circulation beyond the bandaging every 10 minutes

Upper limb fractures
Support the arm against the trunk with a sling and, if necessary, bandaging.
In case of fractured collar bone, dislocated shoulder, severe shoulder sprain, fractured upper arm, injuries around the elbow, and to the forearm and wrist proceed as follows:
Sit the casualty down; gently steady and support the injured site across the chest
Ask him/her to support the arm Support the arm in a sling and secure the limb to the
casualty’s chest Transport the casualty in a sitting position

Stabilization of upper limb fractures

Lower limb fractures
Injuries to the hip, thigh or lower leg:
Lay the casualty gently down: ask another helper to steady and support the injured limbs
Immobilize the limb by splinting it to the uninjured limb Gently bring the casualty’s sound limb alongside the injured one

Stabilization of lower limb fractures

5. SAFE EVACUATION OF THE
CASUALTY FROM DANGER AREA
Remember! Never move a casualty with suspected spinal injury unless assisted by medical personnel.
Exceptions: Life-threatening situation At a mass-casualty incident If the original position of the casualty prevents you from
establishing and ensuring a free airway
Proceed with extreme caution if you suspect a neck or spinal injury!

Human crutch

Dragging method

Concluding remarks

Any questions ?
Related Documents