How to edit your online destination listing.

Edit Your Destination Listing
Jul 14, 2015
Welcome message from author
This document is posted to help you gain knowledge. Please leave a comment to let me know what you think about it! Share it to your friends and learn new things together.
Transcript

How to edit your online destination listing.

Go to MichiganFun.com, scroll down, and click “Members Only Login” on the right side of the screen.

Enter your Username and Password to log in.

After logging in, you will see your profile page. Changes made here will not be visible from your public listing. Any changes you would like to make to your public listing must be made using the following steps.

Click “Destinations” on the left side menu.

On the events page you will see your destination(s). If you do not have any listings on this page, you must send a request to the MFEA
office ([email protected]) to get access to your destination listing.
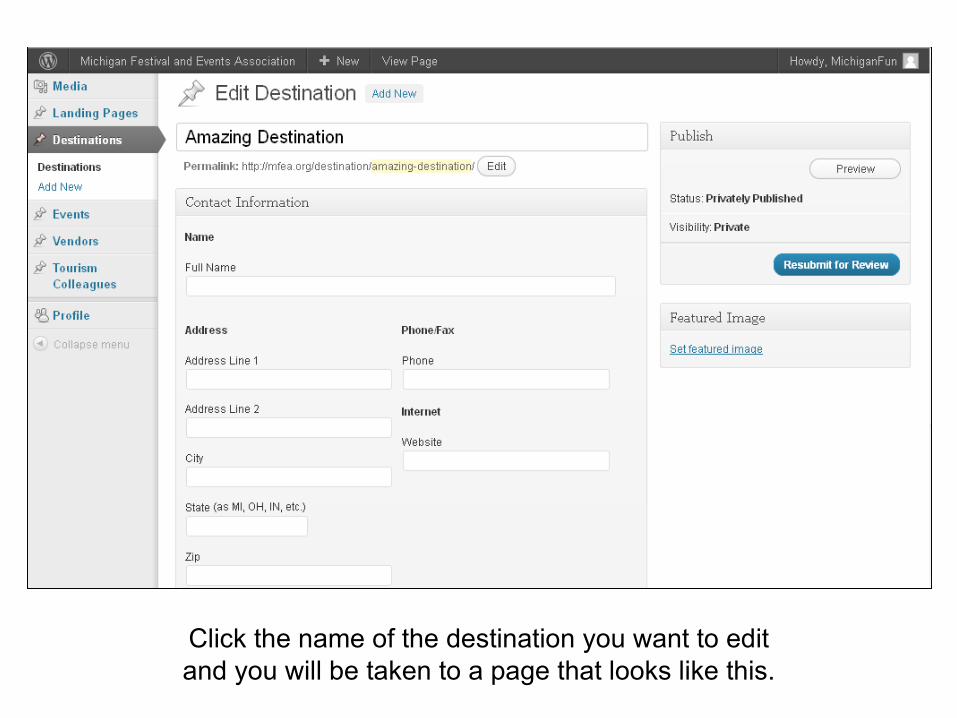
Click the name of the destination you want to editand you will be taken to a page that looks like this.

• You can change the name of your destination in the top text box. The name of this destination is “Amazing Destination.”
• You can change your contact information in the appropriate boxes.• You can add/change the picture that appears next to your listing by
clicking “Set featured image” in the “Featured Image” section.

When you click “Set featured image” in the featured image section, a box will pop up with the option to upload a new picture.
Follow the directions to upload your image.

After uploading an image, you will be presented withan options page similar to this. You could hyperlink the
image to your website using the “Link URL” box.
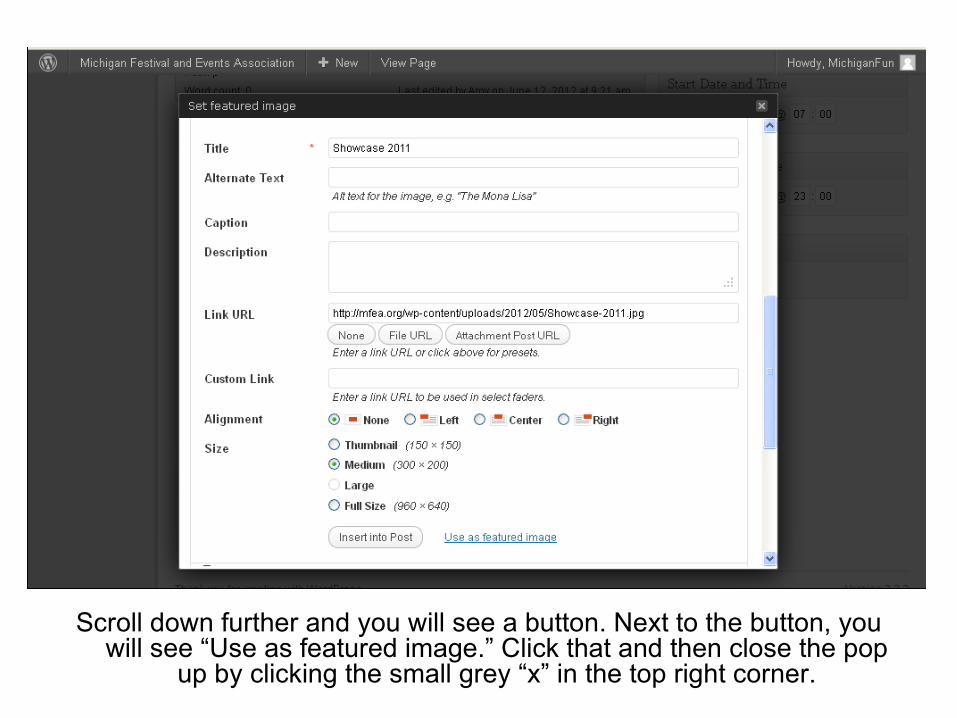
Scroll down further and you will see a button. Next to the button, you will see “Use as featured image.” Click that and then close the pop
up by clicking the small grey “x” in the top right corner.
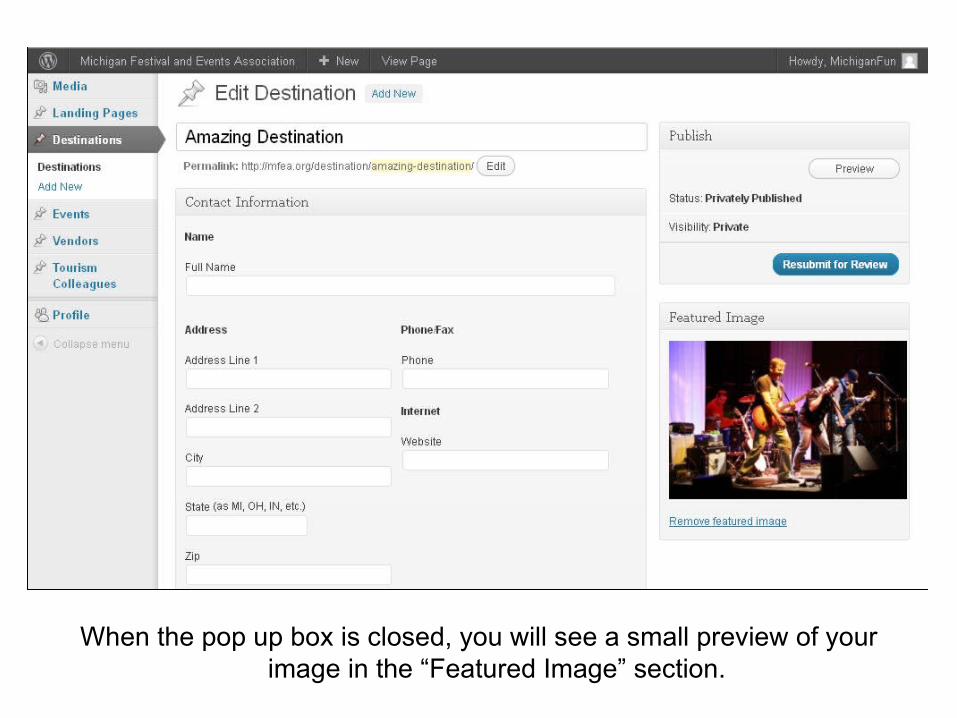
When the pop up box is closed, you will see a small preview of your image in the “Featured Image” section.

Don’t forget go back to the edit page andclick “Resubmit for Review” to save your work.
Related Documents