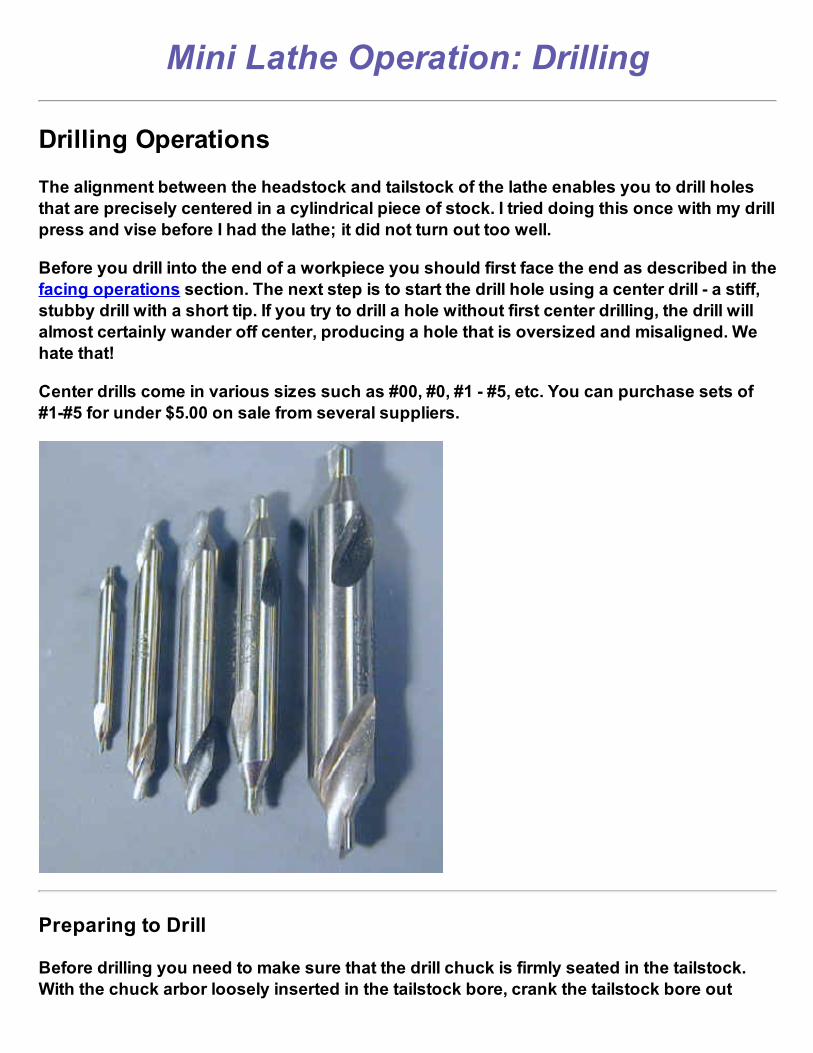
Mini Lathe Operation: Drilling Drilling Operations The alignment between the headstock and tailstock of the lathe enables you to drill holes that are precisely centered in a cylindrical piece of stock. I tried doing this once with my drill press and vise before I had the lathe; it did not turn out too well. Before you drill into the end of a workpiece you should first face the end as described in the facing operations section. The next step is to start the drill hole using a center drill - a stiff, stubby drill with a short tip. If you try to drill a hole without first center drilling, the drill will almost certainly wander off center, producing a hole that is oversized and misaligned. We hate that! Center drills come in various sizes such as #00, #0, #1 - #5, etc. You can purchase sets of #1-#5 for under $5.00 on sale from several suppliers. Preparing to Drill Before drilling you need to make sure that the drill chuck is firmly seated in the tailstock. With the chuck arbor loosely inserted in the tailstock bore, crank the tailstock bore out

Welcome message from author
This document is posted to help you gain knowledge. Please leave a comment to let me know what you think about it! Share it to your friends and learn new things together.
Transcript
Mini Lathe Operation: Drilling
Drilling Operations
The alignment between the headstock and tailstock of the lathe enables you to drill holes
that are precisely centered in a cylindrical piece of stock. I tried doing this once with my drill
press and vise before I had the lathe; it did not turn out too well.
Before you drill into the end of a workpiece you should first face the end as described in the
facing operations section. The next step is to start the drill hole using a center drill - a stiff,
stubby drill with a short tip. If you try to drill a hole without first center drilling, the drill will
almost certainly wander off center, producing a hole that is oversized and misaligned. We
hate that!
Center drills come in various sizes such as #00, #0, #1 - #5, etc. You can purchase sets of
#1-#5 for under $5.00 on sale from several suppliers.
Preparing to Drill
Before drilling you need to make sure that the drill chuck is firmly seated in the tailstock.
With the chuck arbor loosely inserted in the tailstock bore, crank the tailstock bore out

about 1/2". Lock the tailstock to the ways, then thrust the chuck firmly back towards thetailstock to firmly seat the arbor in the Morse taper of the tailstock. (The chuck is removed
from the tailstock by cranking the tailstock ram back until the arbor is forced out).
Choose a center drill with a diameter similar to that of the hole that you intend to drill. Insert
the center drill in the jaws of the tailstock chuck and tighten the chuck until the jaws just
start to grip the drill. Since the goal is to make the drill as stiff as possible, you don't want it
to extend very far from the tip of the jaws. Twist the drill to seat it and dislodge any metalchips or other crud that might keep the drill from seating properly. Now tighten the chuck.
It's good practice to use 2 or 3 of the chuck key holes to ensure even tightening (but all
three may be impossible to reach given the tight confines of the 7x10).
Slide the tailstock along the ways until the tip of the center drill is about 1/4" from the end of
the workpiece and tighten the tailstock clamp nut. The locking lever for the tailstock ram
should be just snug - not enough to impede the movement of the ram, but enough to
ensure that the ram is as rigid as possible.
Cutting Fluid
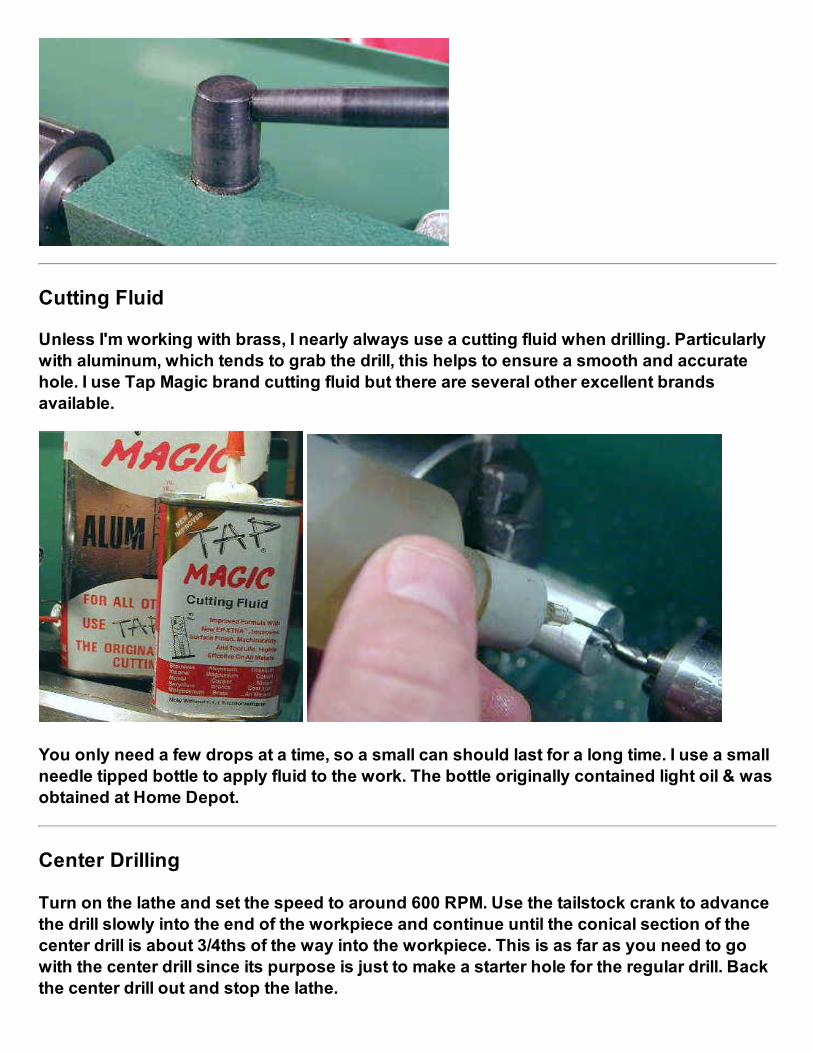
Unless I'm working with brass, I nearly always use a cutting fluid when drilling. Particularlywith aluminum, which tends to grab the drill, this helps to ensure a smooth and accurate
hole. I use Tap Magic brand cutting fluid but there are several other excellent brandsavailable.
You only need a few drops at a time, so a small can should last for a long time. I use a small
needle tipped bottle to apply fluid to the work. The bottle originally contained light oil & wasobtained at Home Depot.
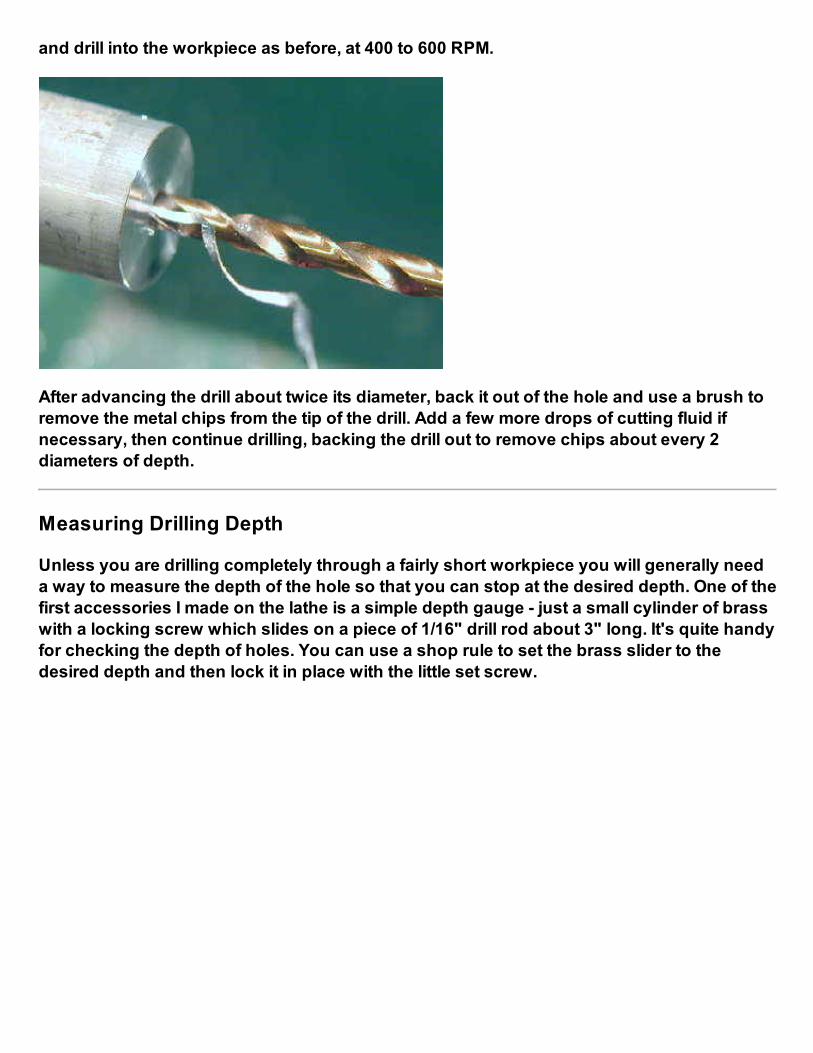
Center Drilling
Turn on the lathe and set the speed to around 600 RPM. Use the tailstock crank to advance
the drill slowly into the end of the workpiece and continue until the conical section of the
center drill is about 3/4ths of the way into the workpiece. This is as far as you need to gowith the center drill since its purpose is just to make a starter hole for the regular drill. Back
the center drill out and stop the lathe.
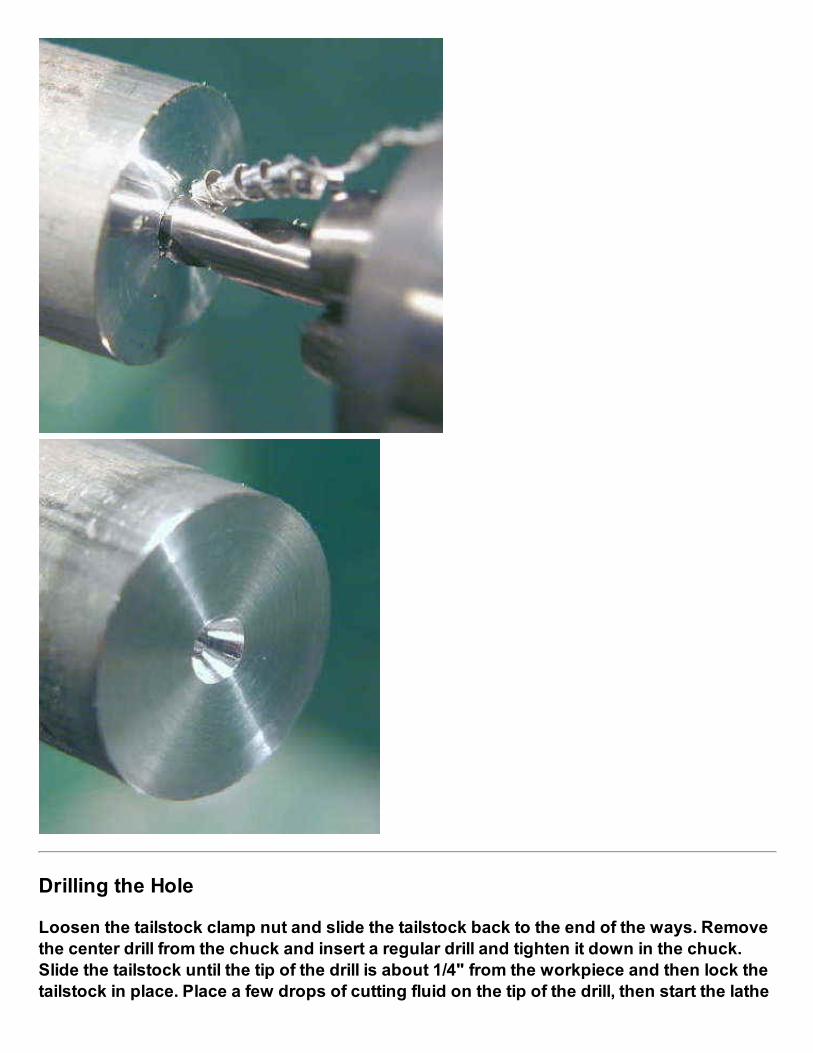
Drilling the Hole
Loosen the tailstock clamp nut and slide the tailstock back to the end of the ways. Remove
the center drill from the chuck and insert a regular drill and tighten it down in the chuck.
Slide the tailstock until the tip of the drill is about 1/4" from the workpiece and then lock the
tailstock in place. Place a few drops of cutting fluid on the tip of the drill, then start the lathe
and drill into the workpiece as before, at 400 to 600 RPM.
After advancing the drill about twice its diameter, back it out of the hole and use a brush to
remove the metal chips from the tip of the drill. Add a few more drops of cutting fluid if
necessary, then continue drilling, backing the drill out to remove chips about every 2diameters of depth.
Measuring Drilling Depth
Unless you are drilling completely through a fairly short workpiece you will generally need
a way to measure the depth of the hole so that you can stop at the desired depth. One of thefirst accessories I made on the lathe is a simple depth gauge - just a small cylinder of brass
with a locking screw which slides on a piece of 1/16" drill rod about 3" long. It's quite handy
for checking the depth of holes. You can use a shop rule to set the brass slider to the
desired depth and then lock it in place with the little set screw.
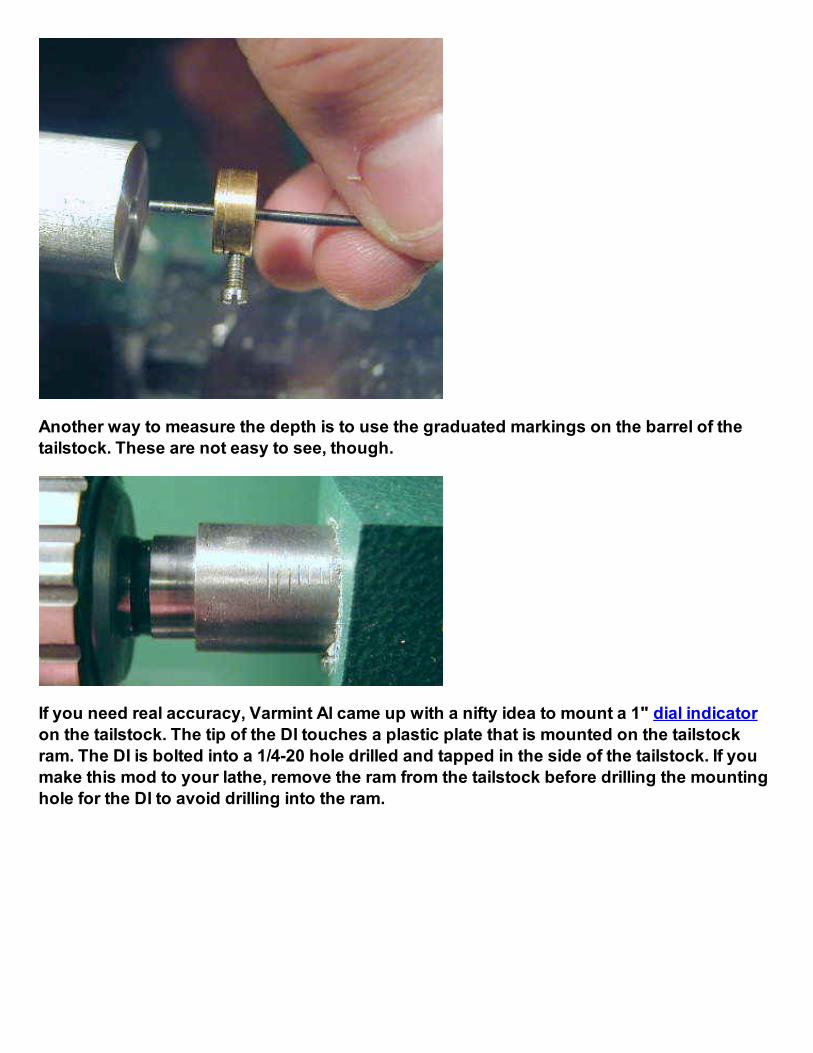
Another way to measure the depth is to use the graduated markings on the barrel of thetailstock. These are not easy to see, though.
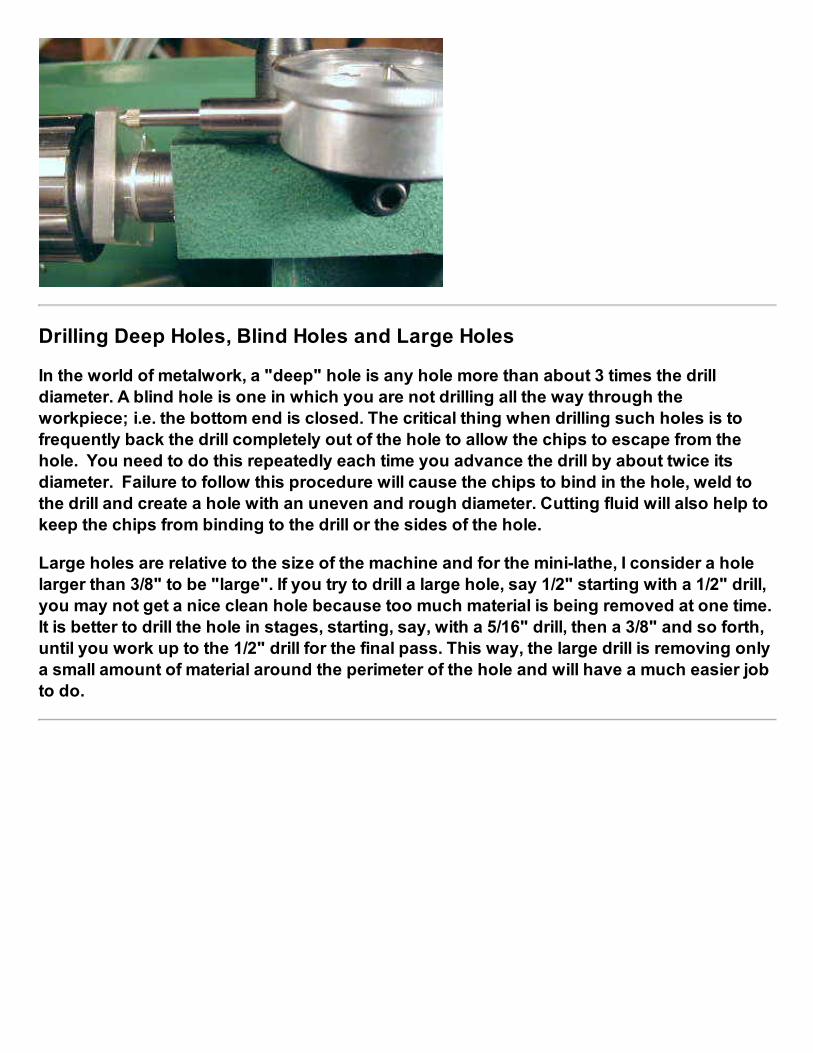
If you need real accuracy, Varmint Al came up with a nifty idea to mount a 1" dial indicator
on the tailstock. The tip of the DI touches a plastic plate that is mounted on the tailstock
ram. The DI is bolted into a 1/4-20 hole drilled and tapped in the side of the tailstock. If you
make this mod to your lathe, remove the ram from the tailstock before drilling the mounting
hole for the DI to avoid drilling into the ram.
Drilling Deep Holes, Blind Holes and Large Holes
In the world of metalwork, a "deep" hole is any hole more than about 3 times the drill
diameter. A blind hole is one in which you are not drilling all the way through the
workpiece; i.e. the bottom end is closed. The critical thing when drilling such holes is to
frequently back the drill completely out of the hole to allow the chips to escape from the
hole. You need to do this repeatedly each time you advance the drill by about twice its
diameter. Failure to follow this procedure will cause the chips to bind in the hole, weld tothe drill and create a hole with an uneven and rough diameter. Cutting fluid will also help to
keep the chips from binding to the drill or the sides of the hole.
Large holes are relative to the size of the machine and for the mini-lathe, I consider a hole
larger than 3/8" to be "large". If you try to drill a large hole, say 1/2" starting with a 1/2" drill,
you may not get a nice clean hole because too much material is being removed at one time.
It is better to drill the hole in stages, starting, say, with a 5/16" drill, then a 3/8" and so forth,until you work up to the 1/2" drill for the final pass. This way, the large drill is removing only
a small amount of material around the perimeter of the hole and will have a much easier job
to do.
Related Documents