DENT 1200 Dental Materials I Lesson 4 Custom Trays

DENT 1200 Dental Materials I Lesson 4 Custom Trays.
Dec 20, 2015
Welcome message from author
This document is posted to help you gain knowledge. Please leave a comment to let me know what you think about it! Share it to your friends and learn new things together.
Transcript

DENT 1200 Dental Materials I
Lesson 4 Custom Trays

Introduction
• Introduction: Custom-made trays are designed to ensure the fit of the tray, and thus use less impression material (elastomeric) and produce the most accurate impressions. Custom trays are made before the teeth are prepared. Several types of materials may be used to construct custom trays. Thermoplastic (hydroplastic) is available in beads that are heated, formed and allowed to cool. Resin ( LC) and vacuum formed trays are popular.

1. 6 Requirements of a custom tray
• 1. Fits area to be covered• not too tight or loose• 2. Covers the area adequately • not too short or long
• 3. Adequate space allowed for the impression material?• 4. Exterior finishing of tray is smooth?• 5. Tray is thick enough to be strong and is not bulky
• 6. The handle is adequate and positioned for effective usage
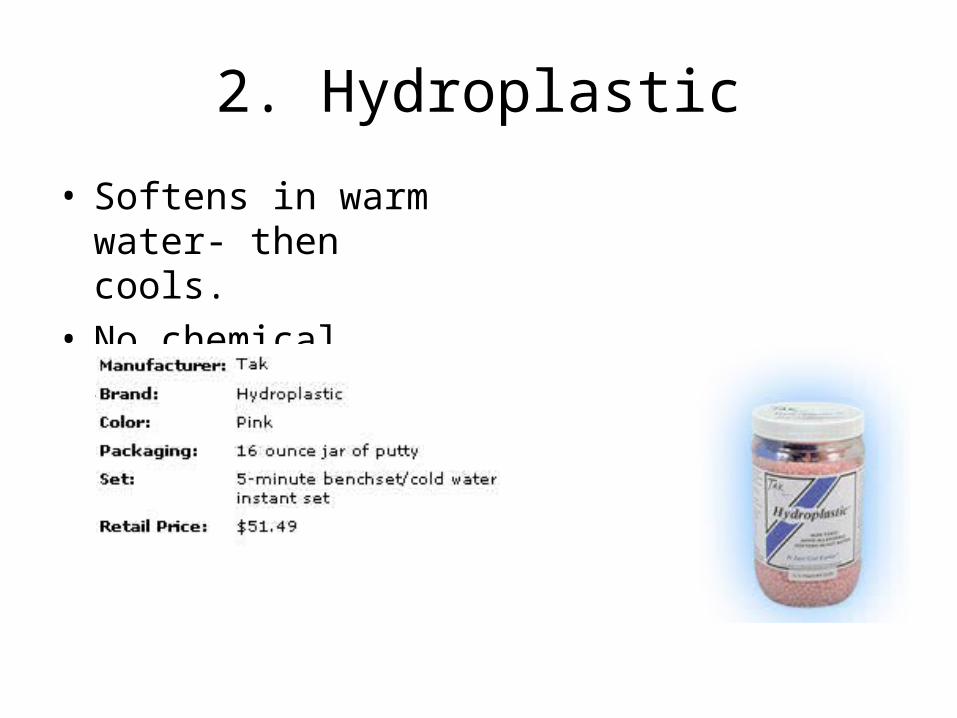
2. Hydroplastic
• Softens in warm water- then cools.
• No chemical reaction

3. Safety & 6. Hazards
• Use caution with the pots of boiling water
• Remove material from pot with an instruments
• Coat hands with vaseline
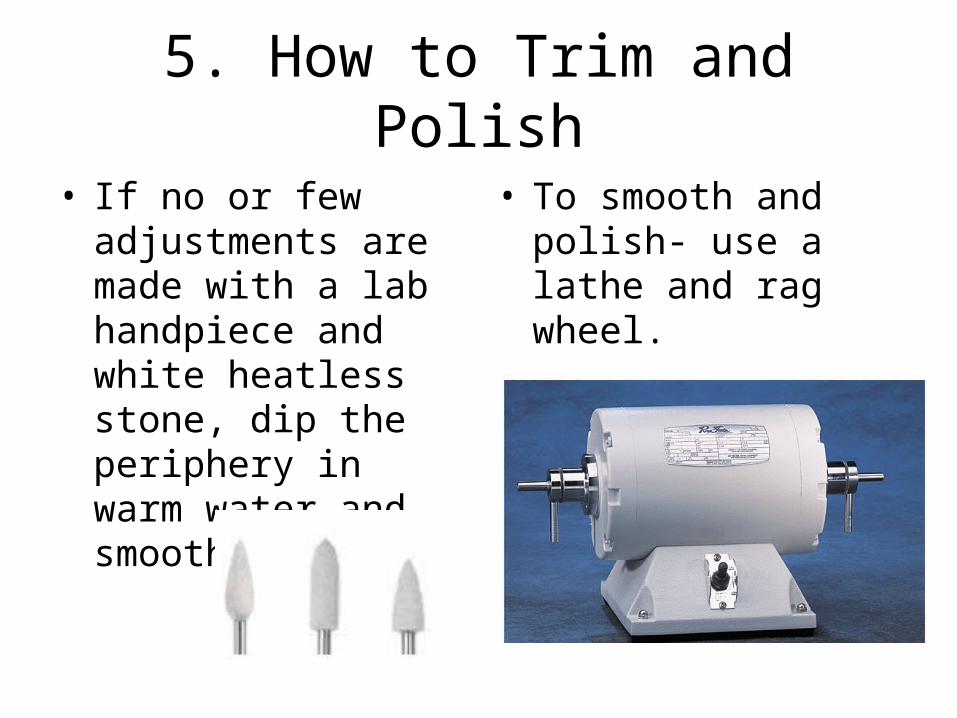
5. How to Trim and Polish
• If no or few adjustments are made with a lab handpiece and white heatless stone, dip the periphery in warm water and smooth by hand.
• To smooth and polish- use a lathe and rag wheel.

The End
Related Documents