DECK PROJECT PHASE II DECK PROJECT PHASE II August 2009 Stephen Parsons

Welcome message from author
This document is posted to help you gain knowledge. Please leave a comment to let me know what you think about it! Share it to your friends and learn new things together.
Transcript

DECK PROJECT PHASE IIDECK PROJECT PHASE II
August 2009Stephen Parsons
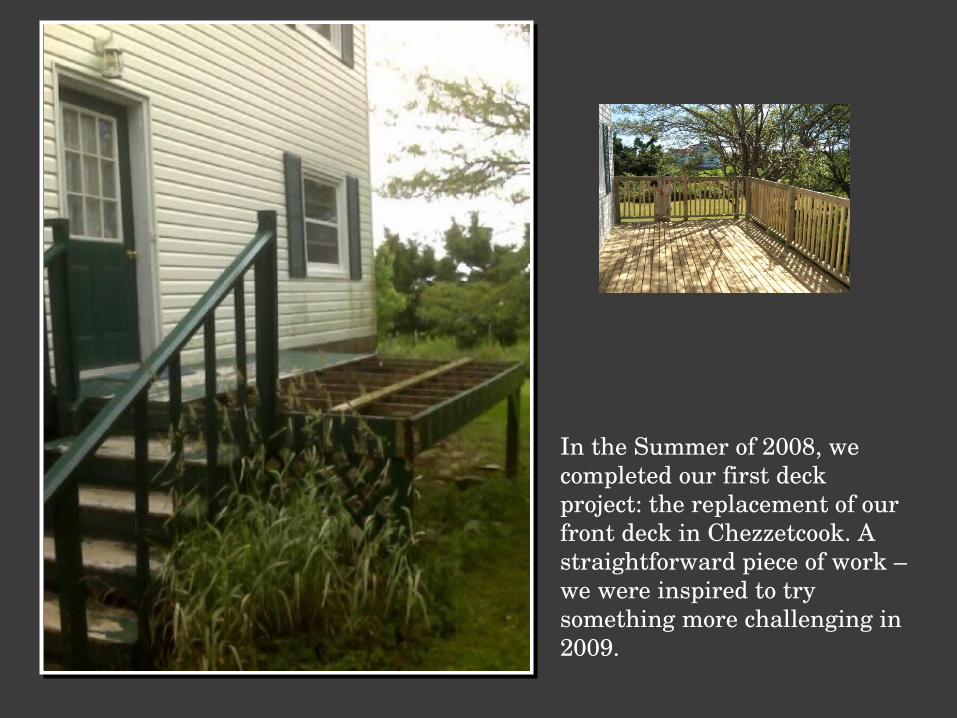
In the Summer of 2008, we completed our first deck project: the replacement of our front deck in Chezzetcook. A straightforward piece of work – we were inspired to try something more challenging in 2009.

SETTING UPSETTING UPThe first task was to receive and verify materials then begin removing the old deck and preparing the ground under the new deck “wraparound”.
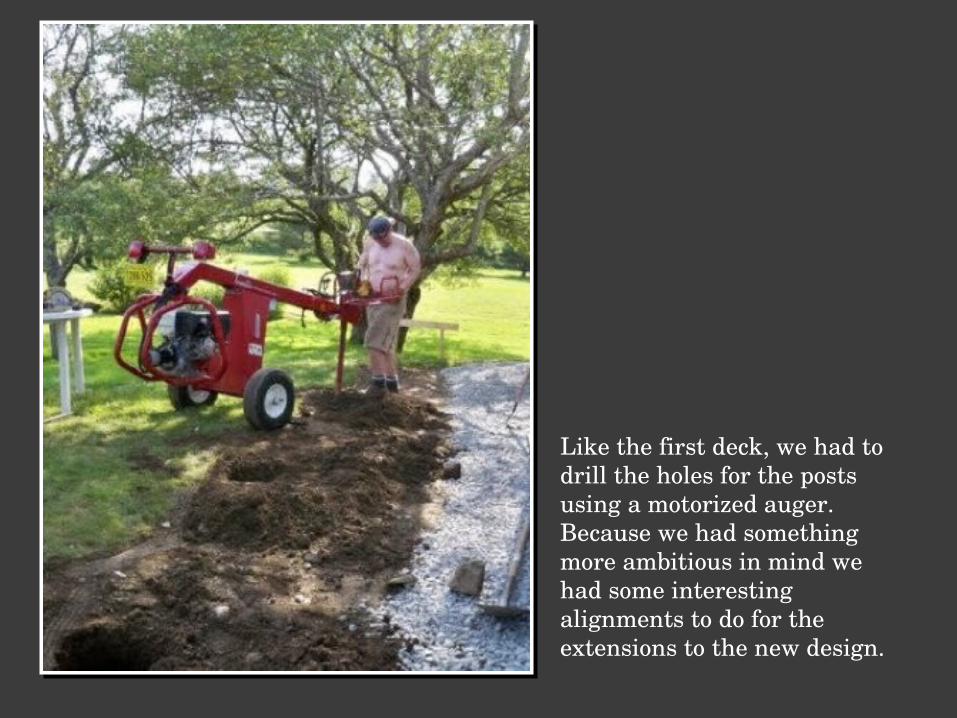
Like the first deck, we had to drill the holes for the posts using a motorized auger. Because we had something more ambitious in mind we had some interesting alignments to do for the extensions to the new design.

After cutting away the siding and cleaning up the underlying wall, we put Blueskin on the wall for insulation and water protection, then attached the ledger. Nest step was to sink the posts (notice the unique pattern) and finish adding the stone around the foundation.
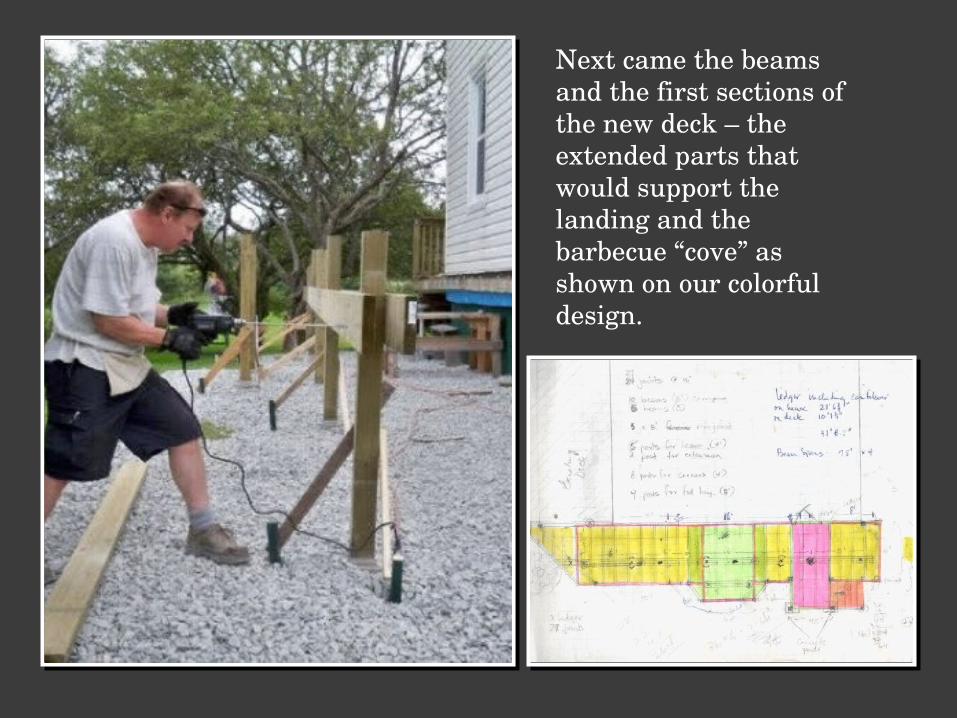
Next came the beams and the first sections of the new deck – the extended parts that would support the landing and the barbecue “cove” as shown on our colorful design.
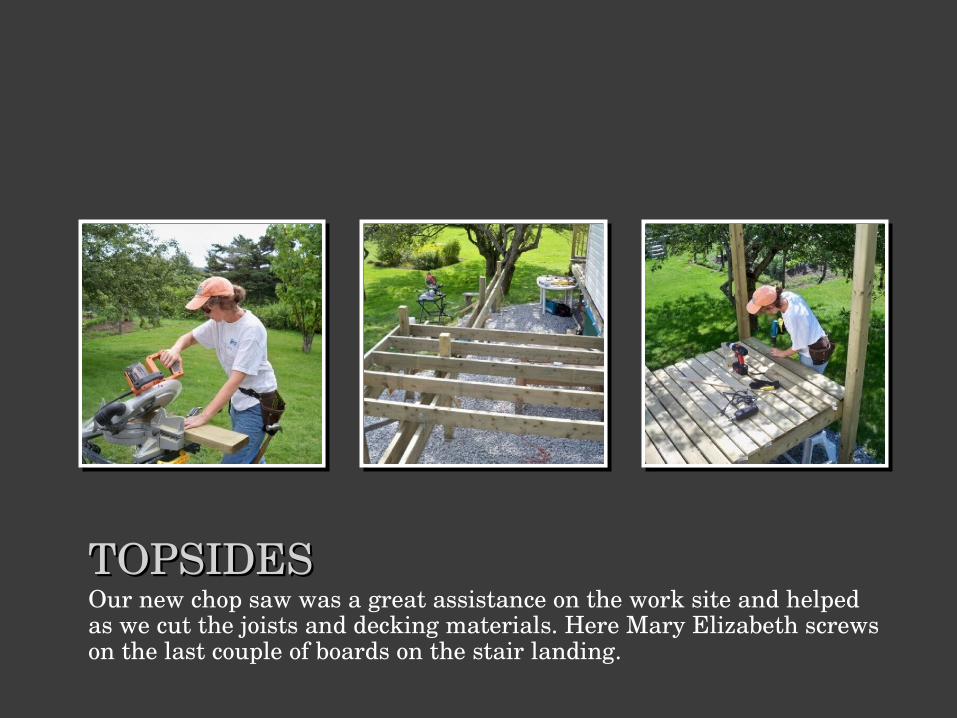
TOPSIDESTOPSIDESOur new chop saw was a great assistance on the work site and helped as we cut the joists and decking materials. Here Mary Elizabeth screws on the last couple of boards on the stair landing.

The decking had to be notched to accept the posts which had been precut using a circular saw. Notching allowed us to bolt the posts in flush to the outside joist.
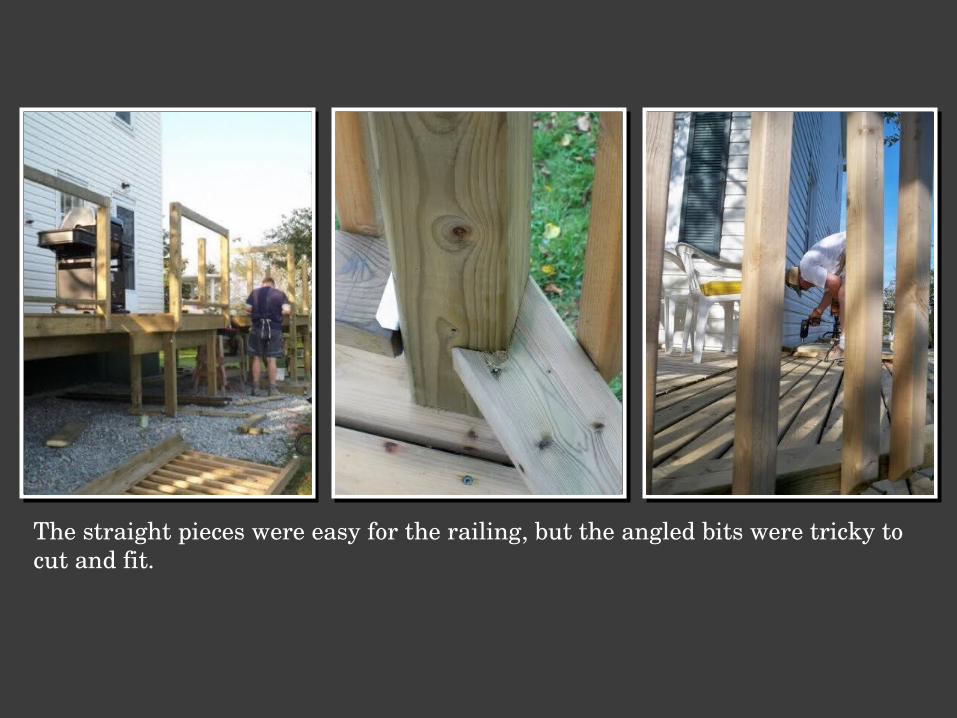
The straight pieces were easy for the railing, but the angled bits were tricky to cut and fit.

We really learned some great tricks about how to line up board for cutting with odd angles. As I said before, this was definitely a more challenging piece than last year’s, but we still used a lot of the techniques we learned there, too.
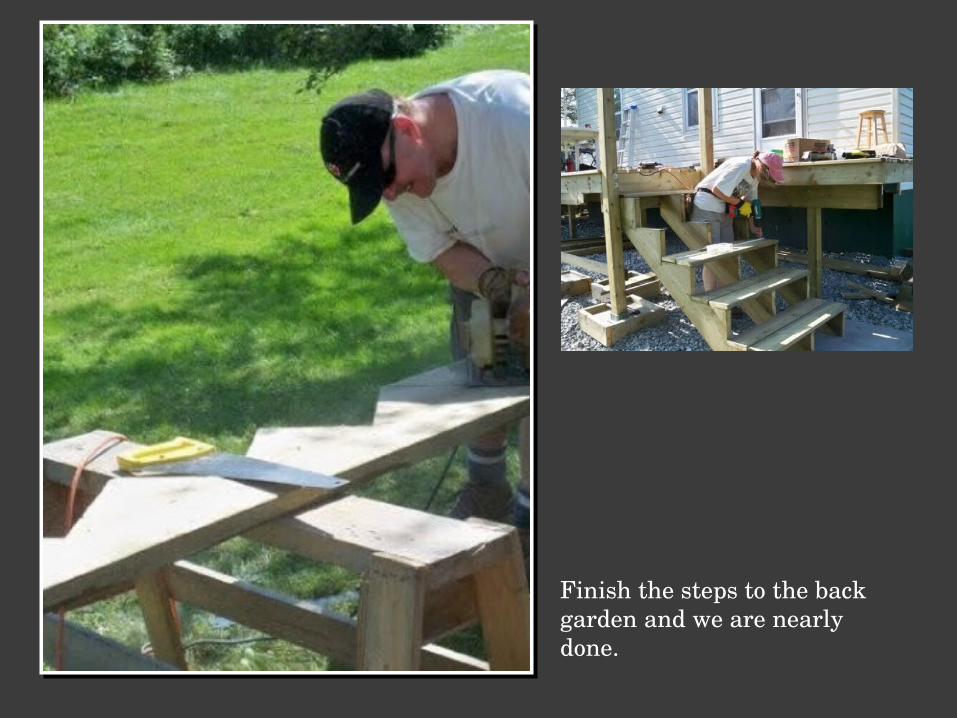
Finish the steps to the back garden and we are nearly done.

Related Documents


