INSTRUCTIONS FOR COLLECTING SYSTEM DATA REQUIRED FOR WINDOWS 7 UPGRADE 2014 Compiled by Lagath Thrimahavithana Page 1 Items Required for the Task 1. Keyboard 2. USB Pen Drive with; a. HWiNFO32 software application b. Windows 7 Upgrade Advisor Setup file c. MS Installer 3.0 d. .Net Framework 2.0 e. Virus Removal Tools 3. 3G Dongle or internet connection by any way 4. Inventory Form 5. Instruction note Collecting Required Software 1. Connect an USB pen drive to your PC or laptop. 2. Log on to Google Drive. Click this mark to see Google Drive icon

Welcome message from author
This document is posted to help you gain knowledge. Please leave a comment to let me know what you think about it! Share it to your friends and learn new things together.
Transcript
INSTRUCTIONS FOR COLLECTING SYSTEM DATA REQUIRED FOR WINDOWS 7 UPGRADE
2014
C o m p i l e d b y L a g a t h T h r i m a h a v i t h a n a Page 1
Items Required for the Task
1. Keyboard
2. USB Pen Drive with;
a. HWiNFO32 software application
b. Windows 7 Upgrade Advisor Setup file
c. MS Installer 3.0
d. .Net Framework 2.0
e. Virus Removal Tools
3. 3G Dongle or internet connection by any way
4. Inventory Form
5. Instruction note
Collecting Required Software
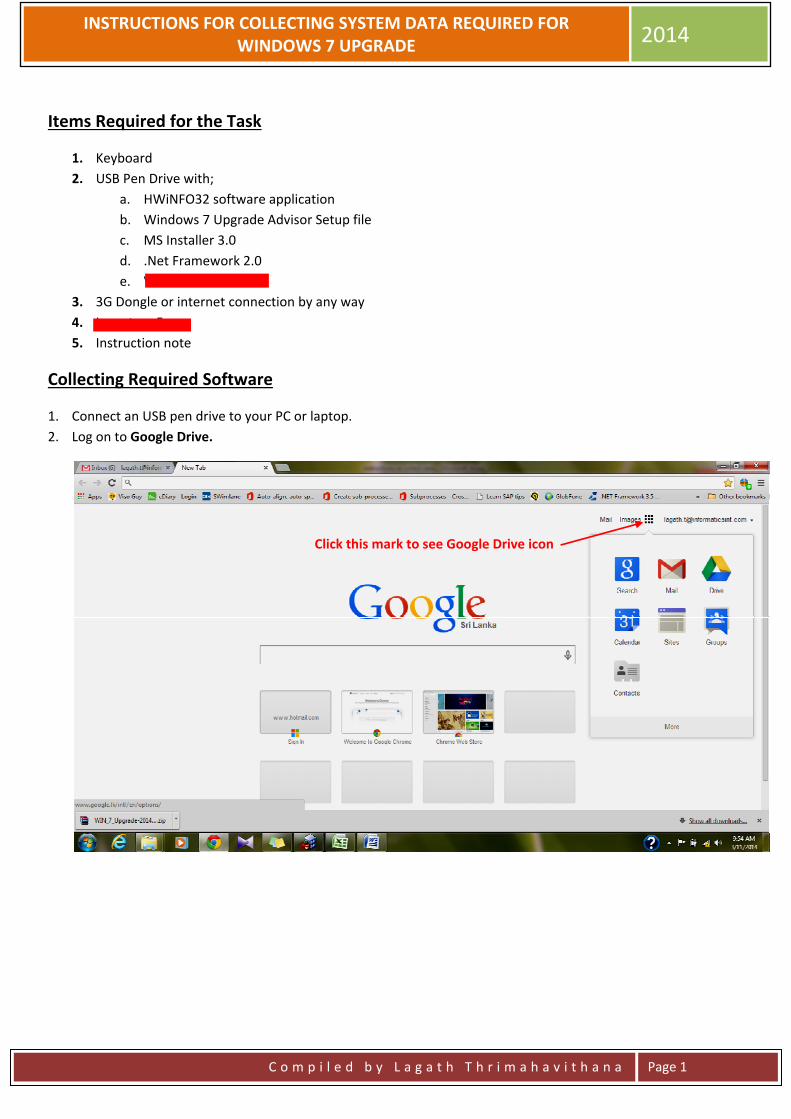
1. Connect an USB pen drive to your PC or laptop.
2. Log on to Google Drive.
Click this mark to see Google Drive icon
INSTRUCTIONS FOR COLLECTING SYSTEM DATA REQUIRED FOR WINDOWS 7 UPGRADE
2014
C o m p i l e d b y L a g a t h T h r i m a h a v i t h a n a Page 2
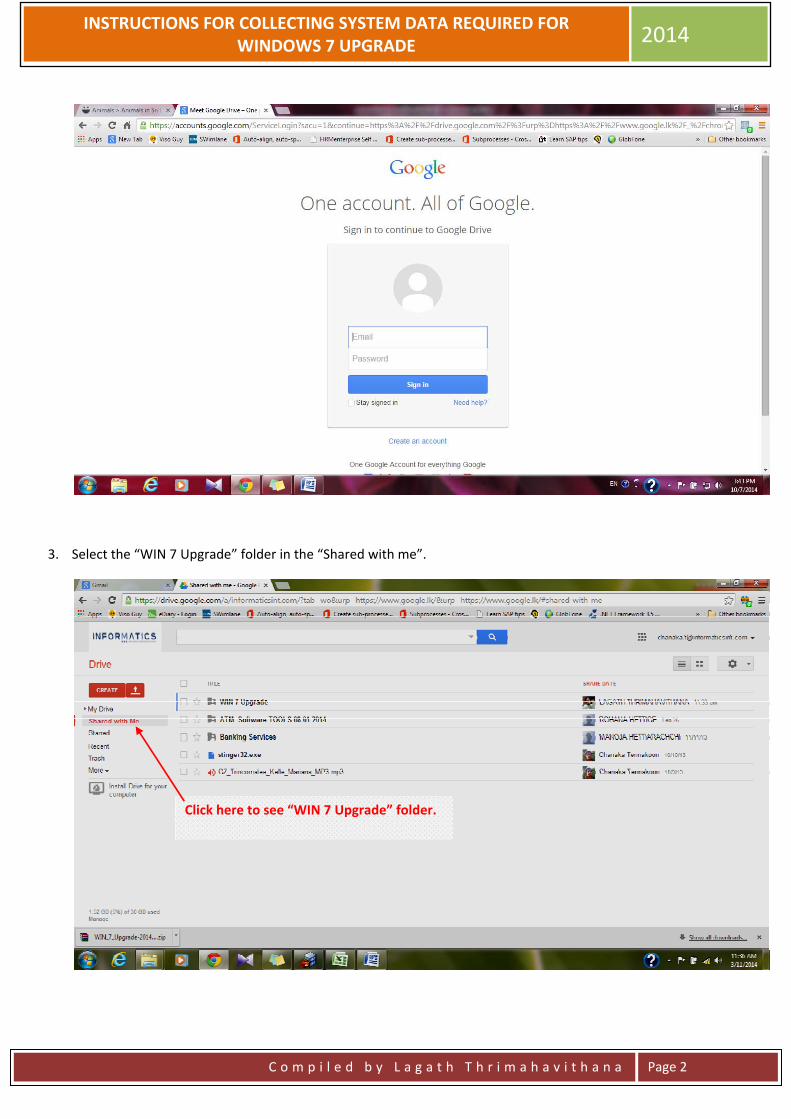
3. Select the “WIN 7 Upgrade” folder in the “Shared with me”.
Click here to see “WIN 7 Upgrade” folder.
INSTRUCTIONS FOR COLLECTING SYSTEM DATA REQUIRED FOR WINDOWS 7 UPGRADE
2014
C o m p i l e d b y L a g a t h T h r i m a h a v i t h a n a Page 3
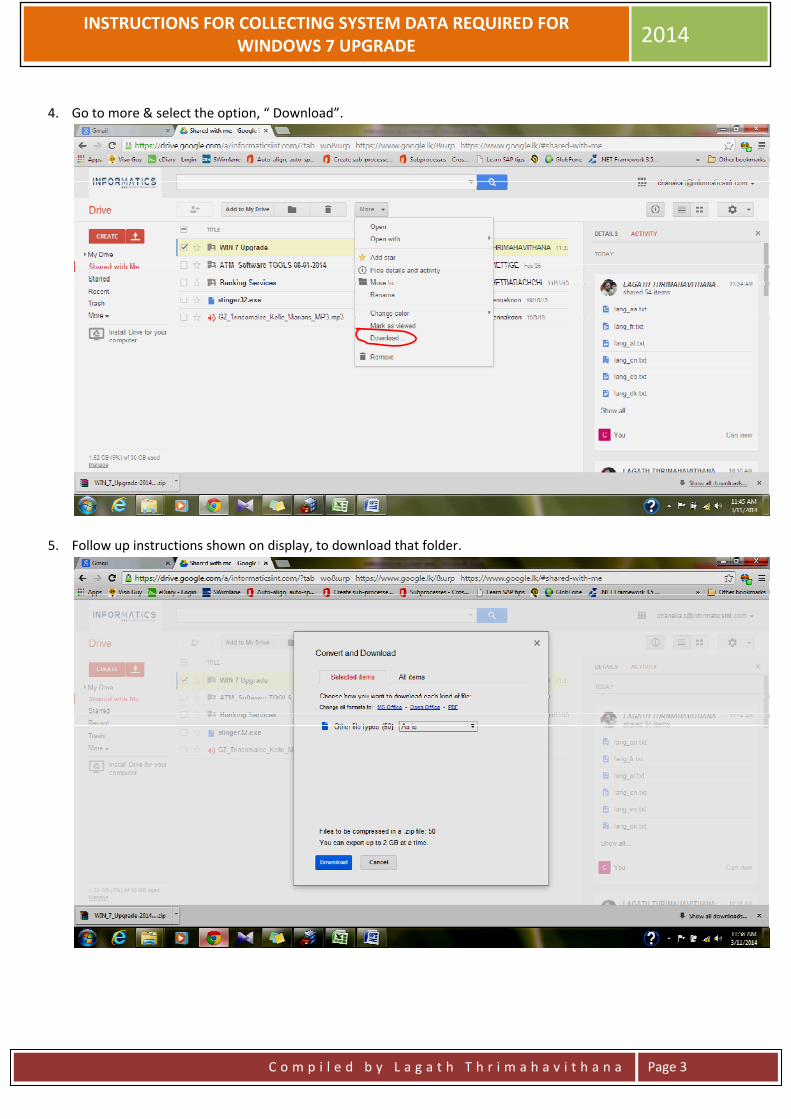
4. Go to more & select the option, “ Download”.
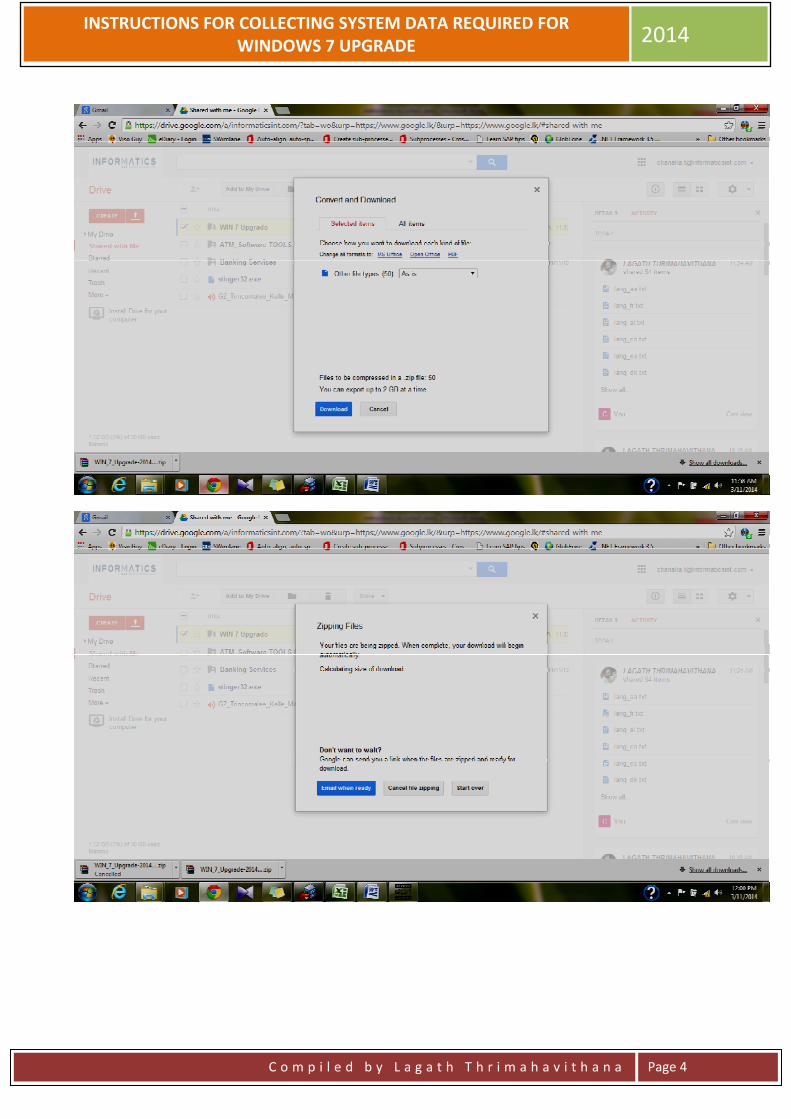
5. Follow up instructions shown on display, to download that folder.
INSTRUCTIONS FOR COLLECTING SYSTEM DATA REQUIRED FOR WINDOWS 7 UPGRADE
2014
C o m p i l e d b y L a g a t h T h r i m a h a v i t h a n a Page 4

INSTRUCTIONS FOR COLLECTING SYSTEM DATA REQUIRED FOR WINDOWS 7 UPGRADE
2014
C o m p i l e d b y L a g a t h T h r i m a h a v i t h a n a Page 5
6. Copy that zipped file into Your USB pen drive & extract it there. The extracted folder is consist of following
folders;
6.1. System Information Utilities
6.2. Win 7 Advisor
6.3. Virus Removal Tools
6.4. Documents
Installing the Windows 7 Upgrade Advisor
1. Shutdown relevant ATM & connect a keyboard to it.
2. Restart the ATM & log on as administrator. After logging, the USB pen drive should be plugged into an USB port
of PC in the ATM.
3. Run the setup file, “Windows7UpgradeAdvisorSetup” in Win 7 Advisor folder in USB pen drive.
4. If it is requested to install the .Net framework 2.0, abort the Windows7 Upgrade Advisor Setup & install the .Net
Framework 2.0 by running the setup file, “dotnetfx” in same folder.
5. If the MS Installer 3.0 is required to install the .NetFramework 2.0, abort the .Net framework 2.0 & install the
WindowsInstaller‐KB884016‐v2‐x86.exe in MS Installer 3.0 folder.
6. After installing the .Net Framework 2.0, again run the setup file, “Windows7UpgradeAdvisorSetup”.
7. Follow up instructions given by that software to complete the software installation.
Downloaded Zipped file
INSTRUCTIONS FOR COLLECTING SYSTEM DATA REQUIRED FOR WINDOWS 7 UPGRADE
2014
C o m p i l e d b y L a g a t h T h r i m a h a v i t h a n a Page 6
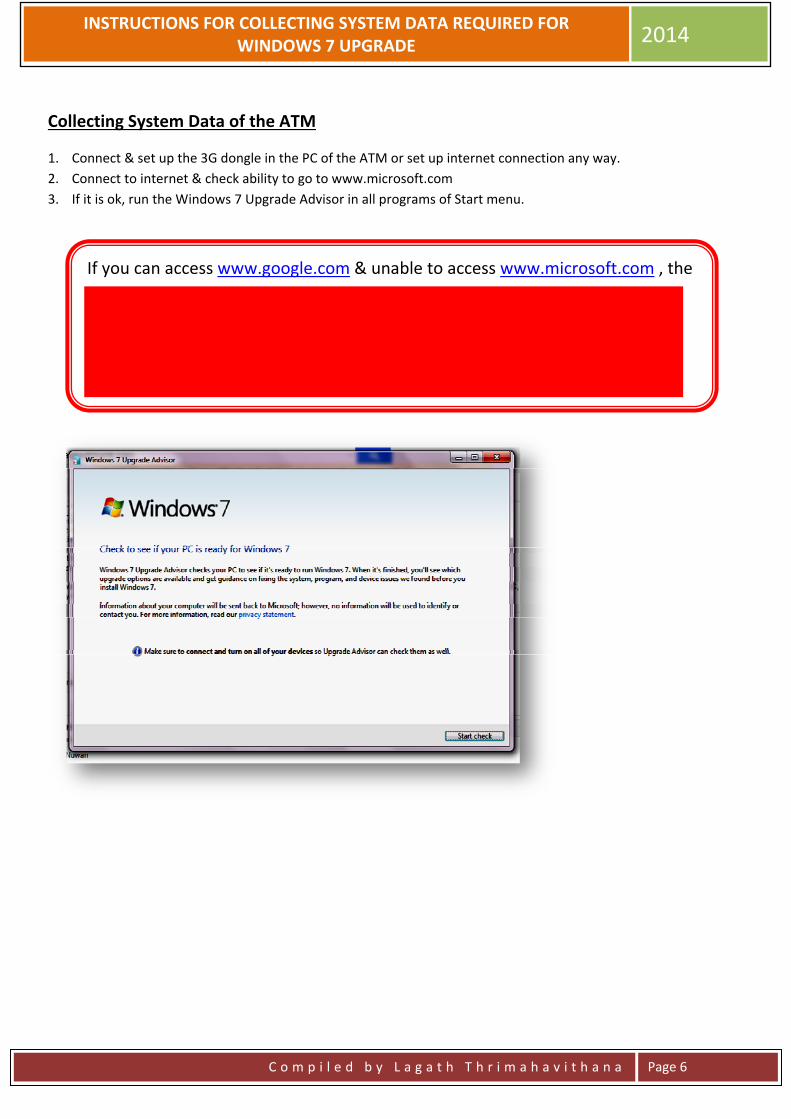
Collecting System Data of the ATM
1. Connect & set up the 3G dongle in the PC of the ATM or set up internet connection any way.
2. Connect to internet & check ability to go to www.microsoft.com
3. If it is ok, run the Windows 7 Upgrade Advisor in all programs of Start menu.
If you can access www.google.com & unable to access www.microsoft.com , the
Win32.Worm.Downadup.Gen virus may be in the PC of the ATM.
First, try to remove this virus by using the “BDRemoval” Tool. But the issue is
not solved; use the “cfremover” tool although that may request restarts few
times.
INSTRUCTIONS FOR COLLECTING SYSTEM DATA REQUIRED FOR WINDOWS 7 UPGRADE
2014
C o m p i l e d b y L a g a t h T h r i m a h a v i t h a n a Page 7
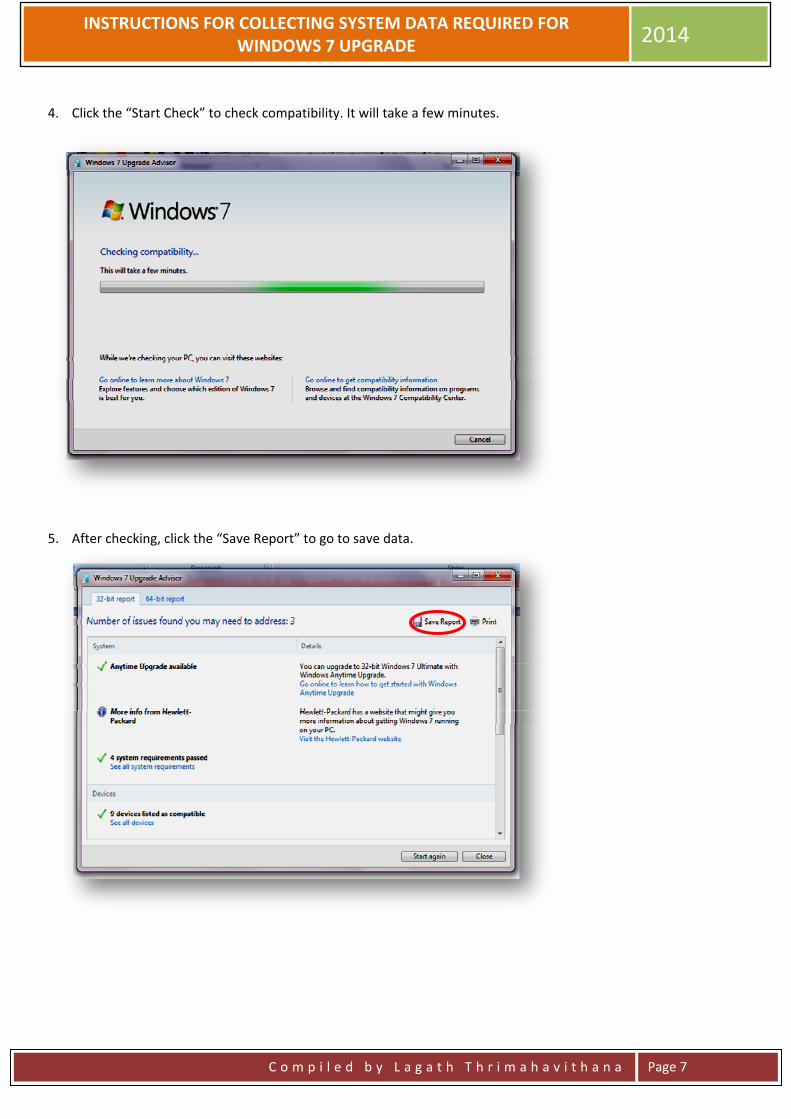
4. Click the “Start Check” to check compatibility. It will take a few minutes.
5. After checking, click the “Save Report” to go to save data.
INSTRUCTIONS FOR COLLECTING SYSTEM DATA REQUIRED FOR WINDOWS 7 UPGRADE
2014
C o m p i l e d b y L a g a t h T h r i m a h a v i t h a n a Page 8
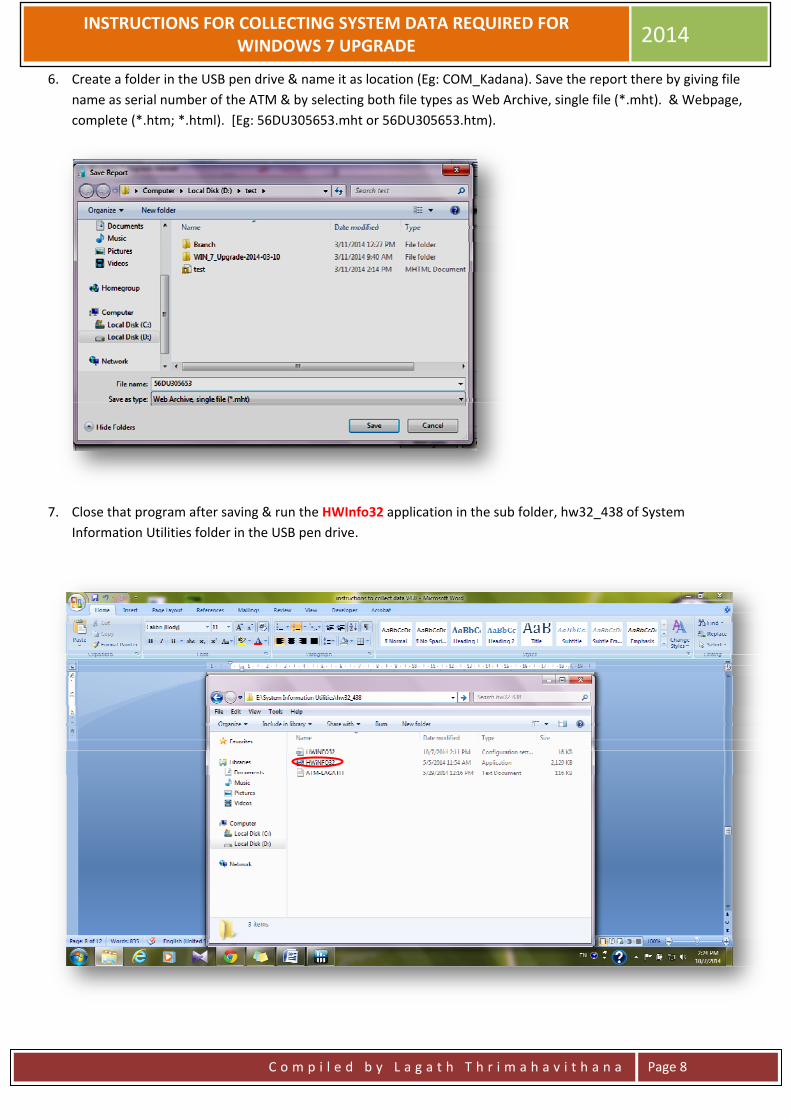
6. Create a folder in the USB pen drive & name it as location (Eg: COM_Kadana). Save the report there by giving file
name as serial number of the ATM & by selecting both file types as Web Archive, single file (*.mht). & Webpage,
complete (*.htm; *.html). [Eg: 56DU305653.mht or 56DU305653.htm).
7. Close that program after saving & run the HWInfo32 application in the sub folder, hw32_438 of System
Information Utilities folder in the USB pen drive.
INSTRUCTIONS FOR COLLECTING SYSTEM DATA REQUIRED FOR WINDOWS 7 UPGRADE
2014
C o m p i l e d b y L a g a t h T h r i m a h a v i t h a n a Page 9
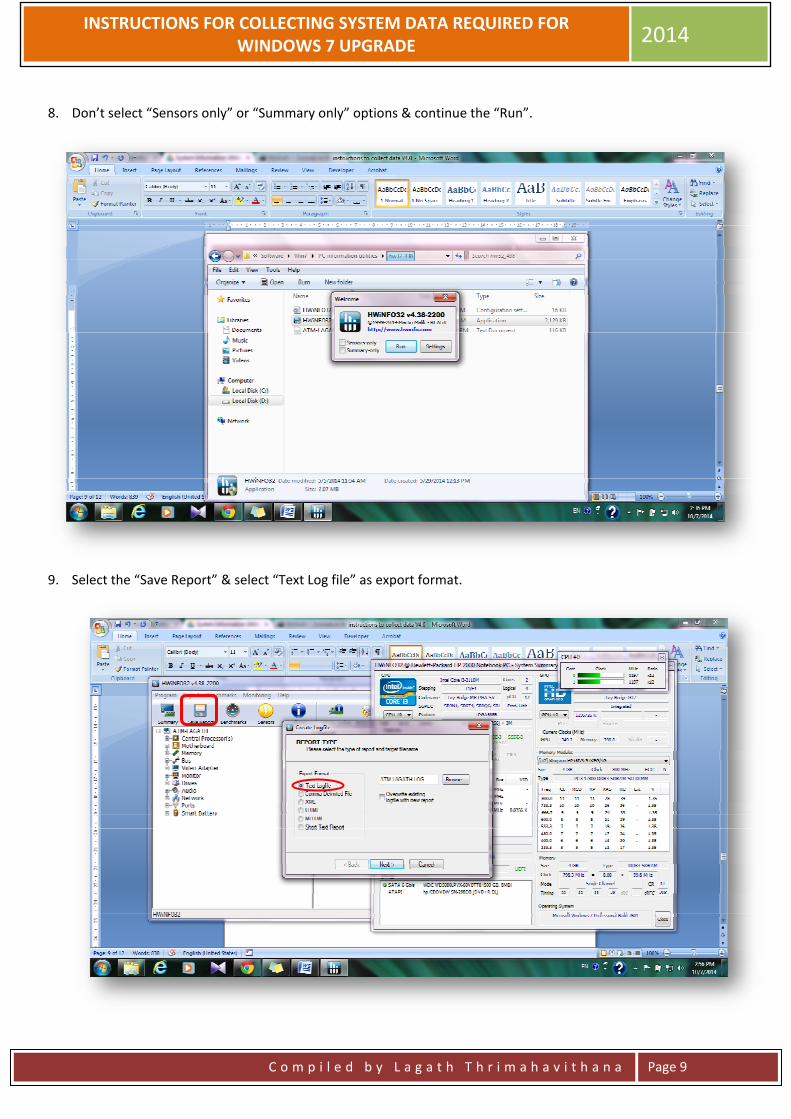
8. Don’t select “Sensors only” or “Summary only” options & continue the “Run”.
9. Select the “Save Report” & select “Text Log file” as export format.
INSTRUCTIONS FOR COLLECTING SYSTEM DATA REQUIRED FOR WINDOWS 7 UPGRADE
2014
C o m p i l e d b y L a g a t h T h r i m a h a v i t h a n a Page 10
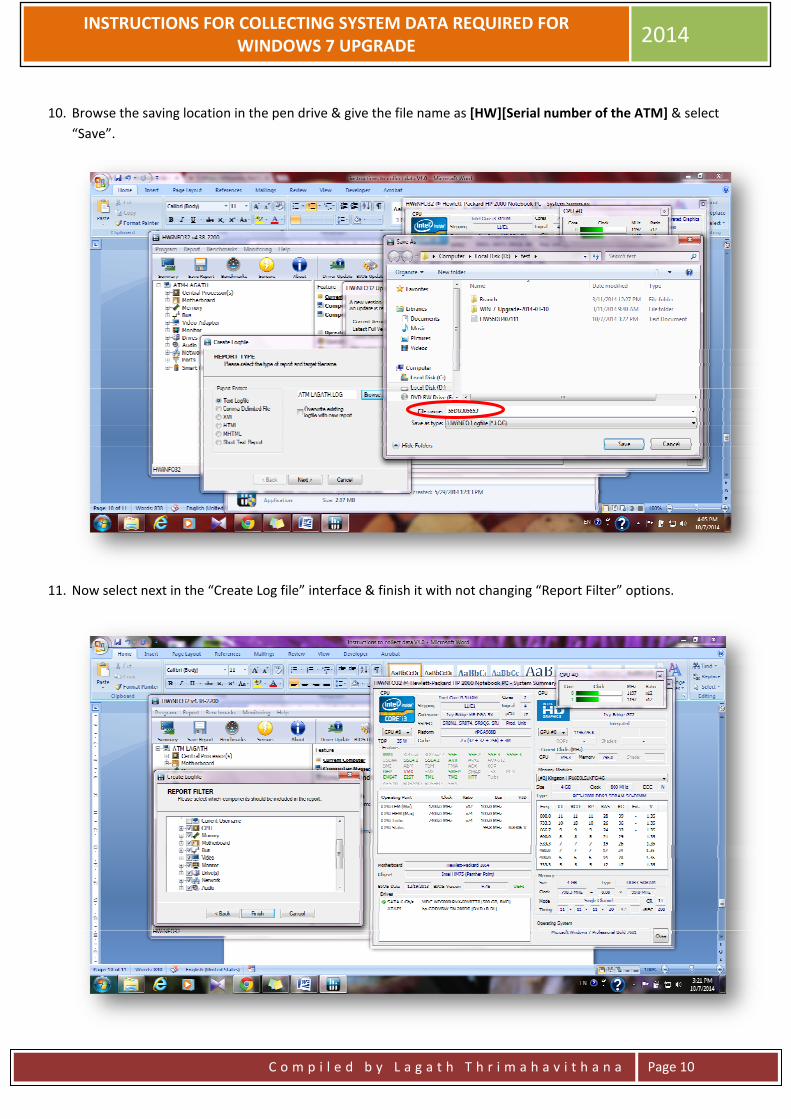
10. Browse the saving location in the pen drive & give the file name as [HW][Serial number of the ATM] & select
“Save”.
11. Now select next in the “Create Log file” interface & finish it with not changing “Report Filter” options.
INSTRUCTIONS FOR COLLECTING SYSTEM DATA REQUIRED FOR WINDOWS 7 UPGRADE
2014
C o m p i l e d b y L a g a t h T h r i m a h a v i t h a n a Page 11
The ATM model should be mentioned in the inventory form exactly as same
as the model mentioned at the label on safe door.
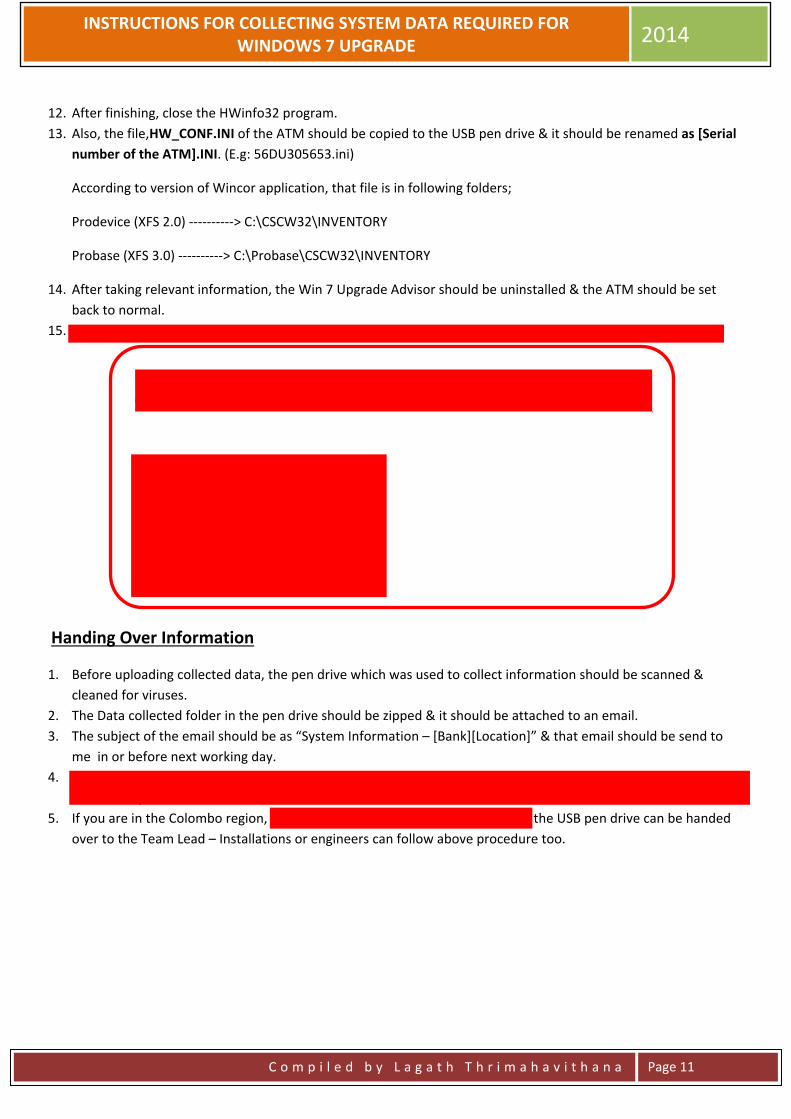
12. After finishing, close the HWinfo32 program.
13. Also, the file,HW_CONF.INI of the ATM should be copied to the USB pen drive & it should be renamed as [Serial
number of the ATM].INI. (E.g: 56DU305653.ini)
According to version of Wincor application, that file is in following folders;
Prodevice (XFS 2.0) ‐‐‐‐‐‐‐‐‐‐> C:\CSCW32\INVENTORY
Probase (XFS 3.0) ‐‐‐‐‐‐‐‐‐‐> C:\Probase\CSCW32\INVENTORY
14. After taking relevant information, the Win 7 Upgrade Advisor should be uninstalled & the ATM should be set
back to normal.
15. By observing the Facia, Installation base, Additional accessories & Communication, fill in the Inventory form.
Handing Over Information
1. Before uploading collected data, the pen drive which was used to collect information should be scanned &
cleaned for viruses.
2. The Data collected folder in the pen drive should be zipped & it should be attached to an email.
3. The subject of the email should be as “System Information – [Bank][Location]” & that email should be send to
me in or before next working day.
4. If you are in a remote location, fill in the inventory form in the “Documents” folder as filled data of the hard copy
of inventory form & attach it to above email too.
5. If you are in the Colombo region, the filled hard copy of the inventory form & the USB pen drive can be handed
over to the Team Lead – Installations or engineers can follow above procedure too.
Related Documents