COSC342: OpenCV Introduction Working with Images, Basic Structures, Filtering Objectives • Use CMake to create either XCode project file or Makefile • Open OpenCV to read and display an image • Access individual pixel values in OpenCV • Apply image filters in OpenCV • Save the resulting images to files in different formats. 1 Getting Started The following tasks will give you a brief introduction to the OpenCV library. OpenCV is widely used for image processing and computer vision, and is freely available for a range of platforms from blah Make sure that you copy the source files from the pickup directory into a directory within your home directory. Otherwise you may not be able to compile the code. You can do this from Finder, or open a terminal window and enter the following commands 1 cd ˜/Documents/cosc342 cp /home/cshome/coursework/342/pickup/lab02a - OpenCV * . There is a CMake project in the directory you just copied, which you can build in the same way as the Matrices code from the last lab assignment. If you look inside CMakeLists.txt there are a few new things: cmake minimum r e q u i r e d (VERSION 2.8) 2 project(openCVFilters) 4 set ( OpenCV DIR /home/cshome/coursework/342/pickup/OpenCV3/build) 6 find package( OpenCV REQUIRED ) 8 add executable( openCVFilters openCVfilters .cpp ) target link libraries( openCVFilters $ { OpenCV LIBS} ) 1

Welcome message from author
This document is posted to help you gain knowledge. Please leave a comment to let me know what you think about it! Share it to your friends and learn new things together.
Transcript
COSC342: OpenCV Introduction
Working with Images, Basic Structures, Filtering
Objectives
• Use CMake to create either XCode project file or Makefile
• Open OpenCV to read and display an image
• Access individual pixel values in OpenCV
• Apply image filters in OpenCV
• Save the resulting images to files in different formats.
1 Getting Started
The following tasks will give you a brief introduction to the OpenCV library.OpenCV is widely used for image processing and computer vision, and is freelyavailable for a range of platforms from blah
Make sure that you copy the source files from the pickup directory into adirectory within your home directory. Otherwise you may not be able to compilethe code.
You can do this from Finder, or open a terminal window and enter thefollowing commands
1 cd ˜/Documents/ cosc342cp /home/cshome/ coursework /342/ pickup/ lab02a−OpenCV ∗ .
There is a CMake project in the directory you just copied, which you canbuild in the same way as the Matrices code from the last lab assignment. Ifyou look inside CMakeLists.txt there are a few new things:
cmake minimum required (VERSION 2 . 8 )2 p ro j e c t ( openCVFilters )
4 s e t (OpenCV DIR /home/cshome/ coursework /342/ pickup/OpenCV3/ bu i ld )
6 f i nd package ( OpenCV REQUIRED )
8 add executab le ( openCVFilters openCVf i l t e r s . cpp )t a r g e t l i n k l i b r a r i e s ( openCVFilters ${OpenCV LIBS} )
1
Line 4 says where the OpenCV libraries are (note, you do not need to copy theseor anything, just use them where they are). Line 6 searches for the OpenCVlibraries and will throw an error if they can’t be found. Finally, line 9 links theprogram against the OpenCV libraries.
You should be able to build the program openCVfilters, but if you run itnothing will happen. To see what’s going on (or not), lets take a look inside thesource code:
1 #inc lude <opencv2/opencv . hpp>#inc lude <iostream>
3
i n t main ( i n t argc , char ∗argv [ ] ) {5 cv : : namedWindow( ”Display ” ) ;
7 f o r ( i n t a = 1 ; a < argc ; ++a ) {cv : : Mat img = cv : : imread ( argv [ a ] ) ;
9
f o r ( i n t y = 0 ; y < img . s i z e ( ) . he ight ; ++y) {11 f o r ( i n t x = 0 ; x < img . s i z e ( ) . width ; ++x) {
cv : : Vec3b bgr = img . at<cv : : Vec3b>(y , x ) ;13 bgr [ 0 ] = 0 .5∗ bgr [ 0 ] ;
bgr [ 1 ] = 0 .5∗ bgr [ 1 ] ;15 bgr [ 2 ] = 0 .5∗ bgr [ 2 ] ;
img . at<cv : : Vec3b>(y , x ) = bgr ;17 }
}19 cv : : imshow( ”Display ” , img ) ;
cv : : waitKey ( ) ;21
}23
r e turn 0 ;25 }
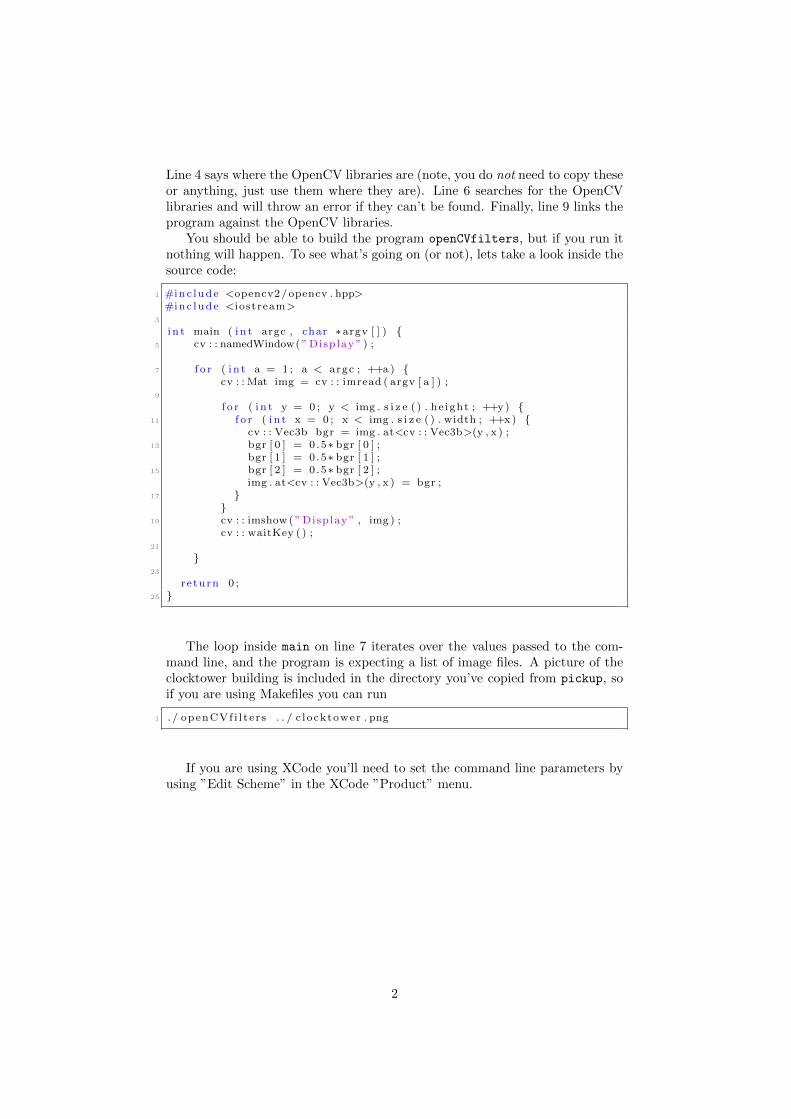
The loop inside main on line 7 iterates over the values passed to the com-mand line, and the program is expecting a list of image files. A picture of theclocktower building is included in the directory you’ve copied from pickup, soif you are using Makefiles you can run
1 . / openCVf i l t e r s . . / c locktower . png
If you are using XCode you’ll need to set the command line parameters byusing ”Edit Scheme” in the XCode ”Product” menu.
2

From the popup window select the ”Arguments” tab and use the + buttonto pass an argument to your application. Since the application will run from thedebug folder in XCode if we do not set a special working directory, we have tomove two directories up in order to access the clocktower.png image. Therefore,we will type ../../clocktower.png.
Again, to run the project, select the scheme you want to use from the pull-down menu. In this case it is called ”openCVFilters”. Then, pess the run buttonto run the application.
3

Now when you run the program it should open up a window with a pictureof the clock tower, although it will be a bit dim. This might be hidden underother windows, so clear them away from the top-left of the screen or presscommand-tab to switch to the openCVfilters program (it’s icon is a grey boxwith exec in the top corner. If you make this the active window, and press anykey, it should close.
2 OpenCV
Let’s take a look through the code listing piece by piece.
1 #inc lude <opencv2/opencv . hpp>#inc lude <iostream>
We start by importing a couple of useful libraries. The important one hereis OpenCV, and CMake has taken care of telling the build system (Make orXCode) where to find the relevant files.
i n t main ( i n t argc , char ∗argv [ ] ) {2 cv : : namedWindow( ”Display ” ) ;
Next we have the main function, which takes argc command line arguments,which are stored in the array argv. Note that argc is at least 1, since argv[0]
is the name of the program being invoked. The first thing the program does isto create an OpenCV window called Display. This window is where we’ll beshowing the images.
f o r ( i n t a = 1 ; a < argc ; ++a ) {2 cv : : Mat img = cv : : imread ( argv [ a ] ) ;
4
The main loop goes over the command line arguments, which should beimage file names which are read in. the function cv::imread() reads an imageand creates a cv::Mat object as the result. There are a few things to note here:
• OpenCV puts its functions etc. in the cv namespace. This avoids collisionswith other libraries which might use the same names.
• The image is read in to a cv::Mat, which is used for matrices (which itgets its name from) as well as images.
• Because a cv::Mat could be an image or a matrix or whatever, it couldcontain floating point numbers, integers, RGB-triples, or a number ofother things. We’ll see how this works soon.
f o r ( i n t y = 0 ; y < img . s i z e ( ) . he ight ; ++y) {2 f o r ( i n t x = 0 ; x < img . s i z e ( ) . width ; ++x) {
Once we’ve loaded our image, we loop over its pixels. The cv::Mat ob-ject has a size() method that returns its width and height. These are fairlystraightforward loops, but note that we loop over y then x. This doesn’t mattertoo much, but images and matrices in OpenCV are stored in row-major order.This means that they are laid out in memory with the first row first, then thenext row, and so on. Because of this it is better to loop over the rows (the y
co-ordinate) first, and then over each column (x co-ordinate) within the rows.This means we access the memory sequentially rather than jumping around,which is easier to mange efficiently.
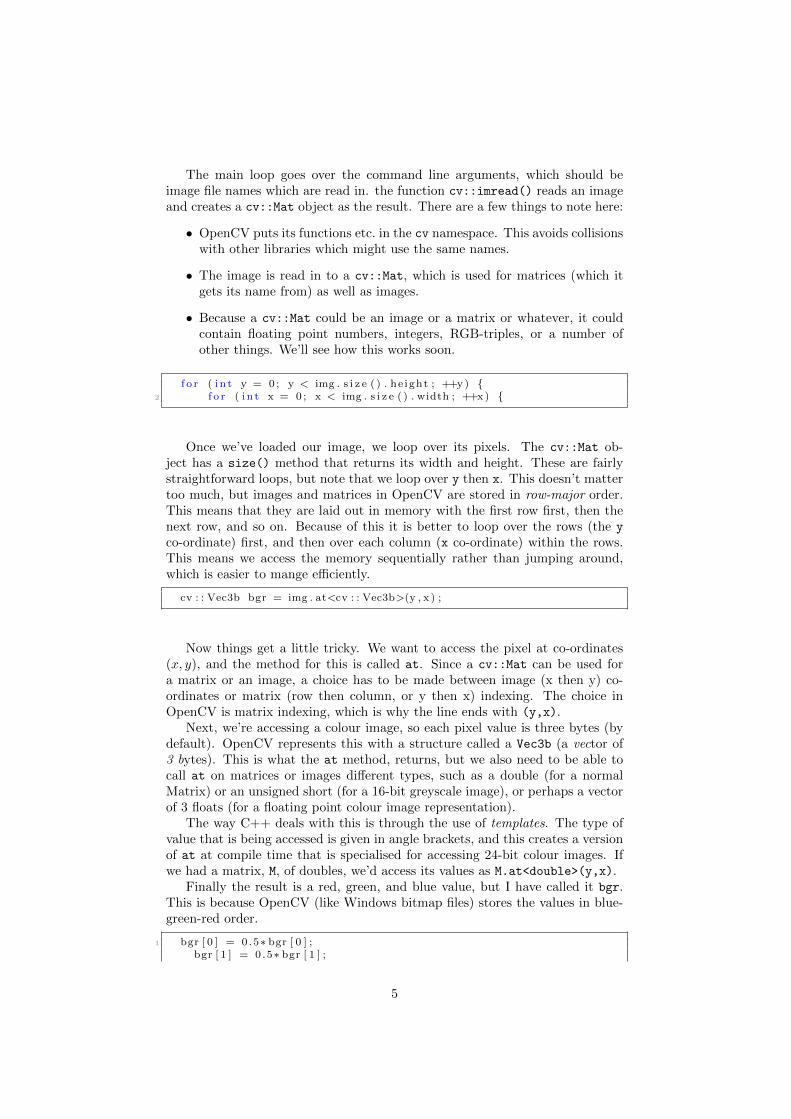
cv : : Vec3b bgr = img . at<cv : : Vec3b>(y , x ) ;
Now things get a little tricky. We want to access the pixel at co-ordinates(x, y), and the method for this is called at. Since a cv::Mat can be used fora matrix or an image, a choice has to be made between image (x then y) co-ordinates or matrix (row then column, or y then x) indexing. The choice inOpenCV is matrix indexing, which is why the line ends with (y,x).
Next, we’re accessing a colour image, so each pixel value is three bytes (bydefault). OpenCV represents this with a structure called a Vec3b (a vector of3 bytes). This is what the at method, returns, but we also need to be able tocall at on matrices or images different types, such as a double (for a normalMatrix) or an unsigned short (for a 16-bit greyscale image), or perhaps a vectorof 3 floats (for a floating point colour image representation).
The way C++ deals with this is through the use of templates. The type ofvalue that is being accessed is given in angle brackets, and this creates a versionof at at compile time that is specialised for accessing 24-bit colour images. Ifwe had a matrix, M, of doubles, we’d access its values as M.at<double>(y,x).
Finally the result is a red, green, and blue value, but I have called it bgr.This is because OpenCV (like Windows bitmap files) stores the values in blue-green-red order.
1 bgr [ 0 ] = 0 .5∗ bgr [ 0 ] ;bgr [ 1 ] = 0 .5∗ bgr [ 1 ] ;
5
3 bgr [ 2 ] = 0 .5∗ bgr [ 2 ] ;
Next we multiply the blue, green, and red values in the Vec3b by half.Note that this does not change the image. When we assigned the Vec3b to thevariable bgr we took a deep copy of the object, unlike Java where references(i.e. pointers) are used for everything but basic types, so shallow copies are thenorm.
1 img . at<cv : : Vec3b>(y , x ) = bgr ;
To get the new pixel value back into the image, we use at again. Just likein the accessors in the Matrix class from last lecture, at returns a reference tothe pixel value, so we can assign to it.
1 cv : : imshow( ”Display ” , img ) ;cv : : waitKey ( ) ;
Finally we show the image in the window we created earlier, and wait for a key.waitKey() doesn’t just wait for a key to be pressed, it also triggers OpenCV’sother event handling routines, including re-drawing the windows. If you don’tcall waitKey(), you won’t see the image.
If you just want to refresh the image (or check for mouse or keyboard events),you can call waitKey() with an optional parameter which is the number ofmilliseconds to wait, so
cv : : waitKey (10) ;
will wait for 1/100th of a second.
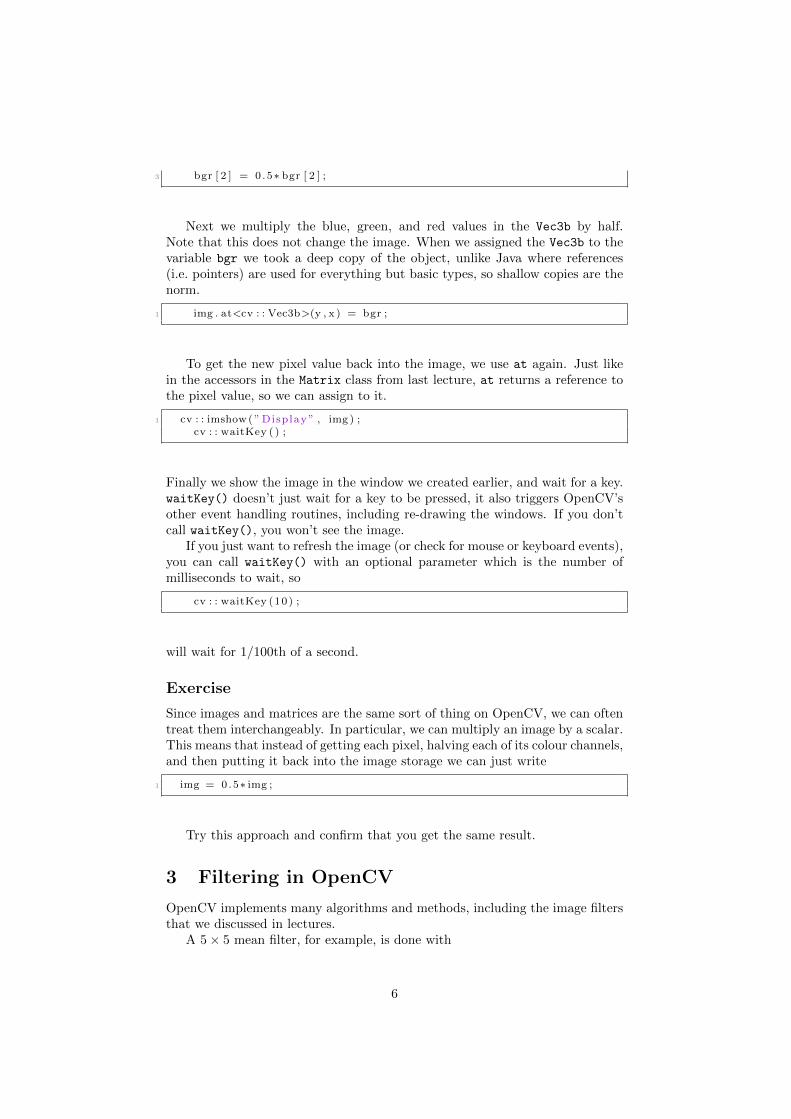
Exercise
Since images and matrices are the same sort of thing on OpenCV, we can oftentreat them interchangeably. In particular, we can multiply an image by a scalar.This means that instead of getting each pixel, halving each of its colour channels,and then putting it back into the image storage we can just write
1 img = 0.5∗ img ;
Try this approach and confirm that you get the same result.
3 Filtering in OpenCV
OpenCV implements many algorithms and methods, including the image filtersthat we discussed in lectures.
A 5 × 5 mean filter, for example, is done with
6
1 cv : : Mat b lur r ed ;cv : : b lur ( img , b lurred , cv : : S i z e (5 , 5 ) ) ;
, while a 9 × 9 Gaussian filter with σ = 2 is
cv : : GaussianBlur ( img , blurred , cv : : S i z e (9 , 9 ) , 2) ;
,
Exercise
Try out the mean and Gaussian blur filters, and see what effect changes to theirparameters has.
The mean and Gaussian filters are fairly straightforward, because they returnvalues in the normal pixel ranges. The Sobel filters we looked at in lectures foredge detection are not so simple. Recall that the kernels for these filters looklike this: −1 0 1
−2 0 −2−1 0 −1
−1 −2 −10 0 01 2 1
.These filters could give negative values, or values much greater than 255. Eitherway, they won’t fit into a normal 8-bit greyscale or 24-bit colour image.
The OpenCV function for Sobel filters takes this into account, by askingwhat sort of output you want. The result of the Sobel filter on an image withvalues in the range [0. . . 255] is going to be an integer, but could be as smallas -1020, or as large as +1020 (imagine 255 under the negative/positive valuesand zeroes everywhere else).
These values won’t all fit into a byte, but they will fit into a 16-bit signedinteger. OpenCV uses a shorthand for these types which is CV_ followed thenumber of bits then one of:
• U for unsigned integer values,
• S for signed integer values, or
• F for floating point values.
For example, 8-bit values are denoted by CV_8U, while doubles are typically64-bit, so CV_64F. Sometimes we’ll have a number of channels after the type,introduced by C, so CV_8UC3 is a 3-channel image with 8 bits for each channel.This is a typical 24-bit colour image (8 bits for Red, Green, and Blue).
Back to the Sobel filters, the OpenCV function takes the following parame-ters:
• The input image
• The destination image
• The type of the destination (e.g.: CV_16S or CV_32F)
7

• The order of the derivative to compute in x – 1 for horizontal edges, 0otherwise
• The order of the derivative to compute in y – 1 for vertical edges, 0otherwise
Exercise
Try computing the vertical and horizontal Sobel filters, and displaying the re-sults.
You should see very faint edges, but nothing really clear. The problem isthat the result has values in the range [-1020,1020], which is too big to displayas a normal 8-bit values. We need to convert the result to an image where thevalues are bytes, or CV-8U. Suppose we have an image, edges, with the result ofthe Sobel filter stored as CV_16S values. We can convert this to an 8-bit imagefor display using
1 cv : : Mat d i sp l ay ;edges . convertTo ( d i sp lay , CV 8U, a , b) ;
where a and b allow you to scale and shift the input values, v, to give the outputvalues v′ by the linear equation
v′ = av + b.
The values we want are roughly a = 18 and b = 127. This creates a new cv::Mat
image, called display, which we can then show in the window.
Exercise
Convert the results of the Sobel filters to a format better for display and showthem on screen. The result of the horizontal filter should look something likethis:
Question: Why are the values of a and b suggested above useful ones totry? How could you determine these if you didn’t know what filter had beenapplied?
Finally (for now at least) OpenCV has a general filtering function, cv::filter2Dwhere you can provide your own filter kernel. It takes as parameters
8
• The input image,
• The destination image,
• The type of the destination image (CV_32F etc.),
• The kernel that you wish to convolve with.
The kernel itself is a matrix of numbers, so you need to create a new cv::Mat
with the appropriate size and type. Suppose you wanted to make a 3 × 3 meanfilter, you could do so with the following code:
cv : : Mat ke rne l ( cv : : S i z e (3 , 3 ) , CV 32F) ;2 f o r ( i n t row = 0 ; row < 3 ; ++row ) {
f o r ( i n t c o l = 0 ; c o l < 3 ; ++co l ) {4 ke rne l . at<f l o a t >(row , c o l ) = 1 . 0 / 9 . 0 ;
}6 }
Exercise
Implement a sharpen filter using cv::filter2D(). The sharpen filter’s kernelis 0 −1 0
−1 5 −10 −1 0
.
9
Related Documents