®

Welcome message from author
This document is posted to help you gain knowledge. Please leave a comment to let me know what you think about it! Share it to your friends and learn new things together.
Transcript

®

Map Intelligence Server Installation Guide ii
Map Intelligence Client – Business Objects: Installation Guide iii
CONTENTS
GETTING STARTED ..................................................................................................... 4
Before Beginning the Installation ........................................................................................................... 4
INSTALLING THE MI CLIENT ...................................................................................... 5
Installing the Agent .................................................................................................................................. 5
Starting and Stopping the Agent ............................................................................................................ 17
To Start the Agent .................................................................................................................................... 17
To Stop the Agent ..................................................................................................................................... 17
Uninstalling the Agent ............................................................................................................................. 17
Installing the MI Connector ..................................................................................................................... 18
APPENDICES ............................................................................................................... 26
Appendix A – Setting the Client and Server to use SSl communications .......................................... 26
Introduction ............................................................................................................................................... 26
Procedure .................................................................................................................................................. 26
Appendix B - Map Intelligence Manuals and Guides ............................................................................ 29
Map Intelligence Client – Business Objects: Installation Guide 4
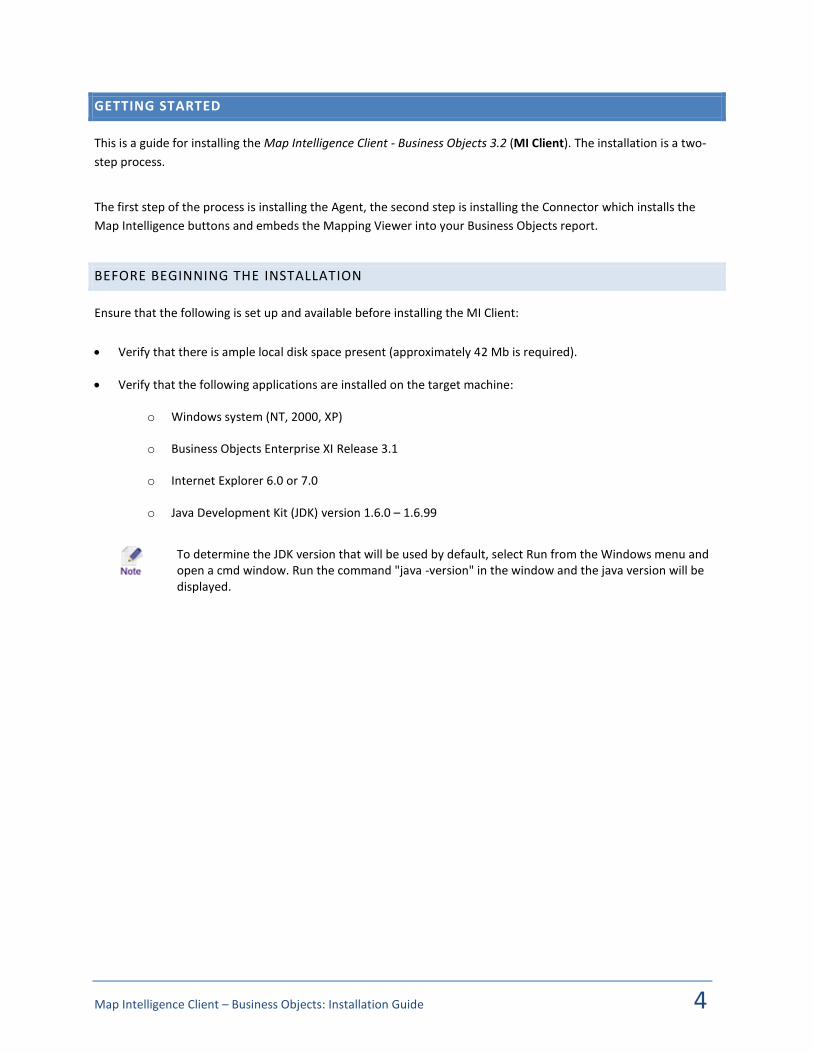
GETTING STARTED
This is a guide for installing the Map Intelligence Client - Business Objects 3.2 (MI Client). The installation is a two-
step process.
The first step of the process is installing the Agent, the second step is installing the Connector which installs the
Map Intelligence buttons and embeds the Mapping Viewer into your Business Objects report.
BEFORE BEGINNING THE INSTALLATION
Ensure that the following is set up and available before installing the MI Client:
Verify that there is ample local disk space present (approximately 42 Mb is required).
Verify that the following applications are installed on the target machine:
o Windows system (NT, 2000, XP)
o Business Objects Enterprise XI Release 3.1
o Internet Explorer 6.0 or 7.0
o Java Development Kit (JDK) version 1.6.0 – 1.6.99
To determine the JDK version that will be used by default, select Run from the Windows menu and open a cmd window. Run the command "java -version" in the window and the java version will be displayed.
Map Intelligence Client – Business Objects: Installation Guide 5
INSTALLING THE MI CLIENT
INSTALLING THE AGENT
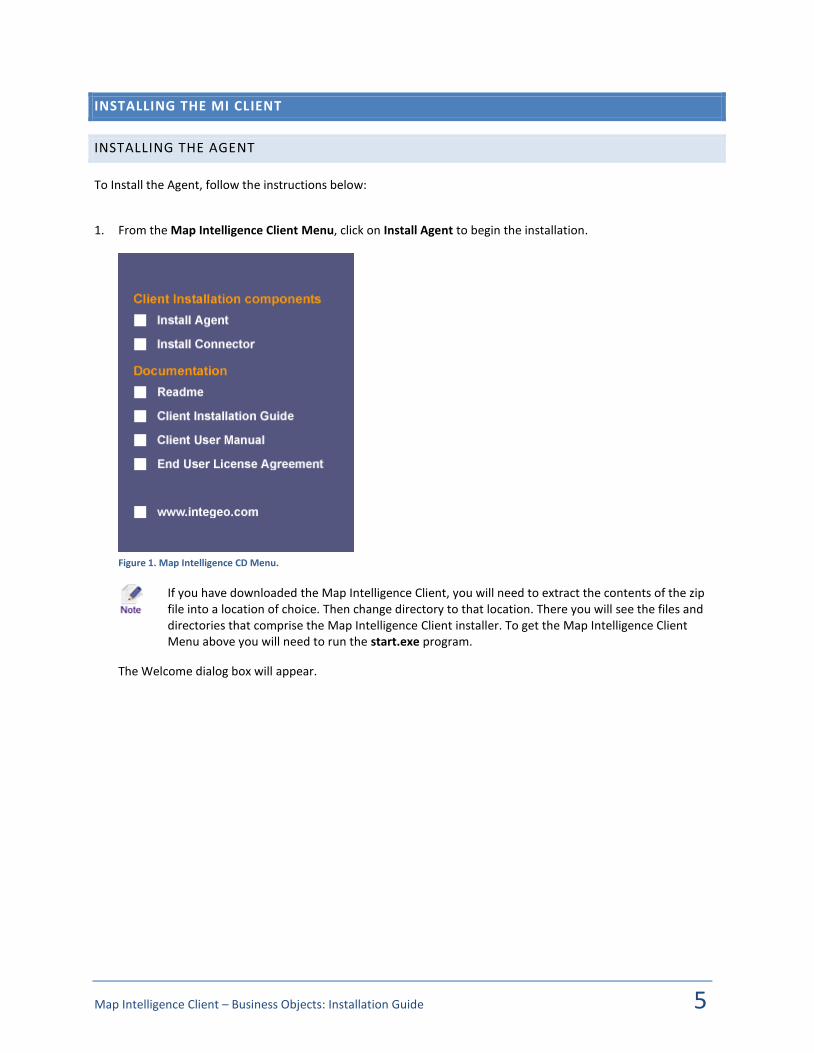
To Install the Agent, follow the instructions below:
1. From the Map Intelligence Client Menu, click on Install Agent to begin the installation.
Figure 1. Map Intelligence CD Menu.
If you have downloaded the Map Intelligence Client, you will need to extract the contents of the zip file into a location of choice. Then change directory to that location. There you will see the files and directories that comprise the Map Intelligence Client installer. To get the Map Intelligence Client Menu above you will need to run the start.exe program.
The Welcome dialog box will appear.
Map Intelligence Client – Business Objects: Installation Guide 6
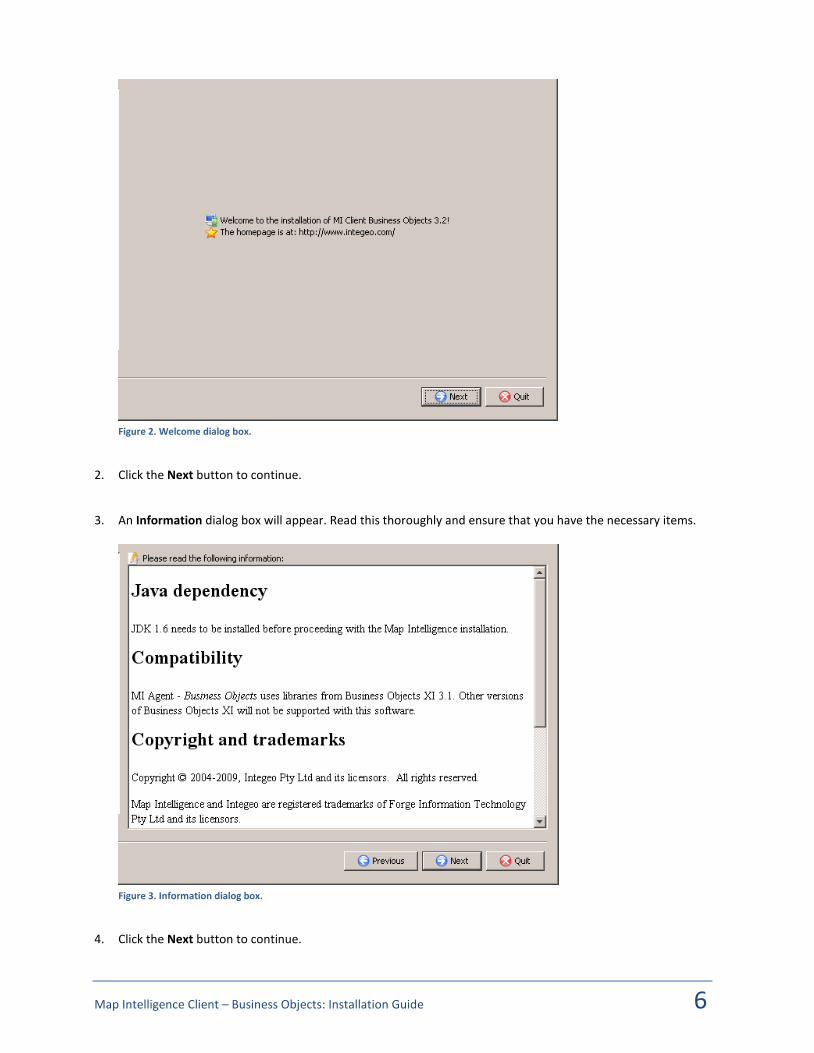
Figure 2. Welcome dialog box.
2. Click the Next button to continue.
3. An Information dialog box will appear. Read this thoroughly and ensure that you have the necessary items.
Figure 3. Information dialog box.
4. Click the Next button to continue.
Map Intelligence Client – Business Objects: Installation Guide 7
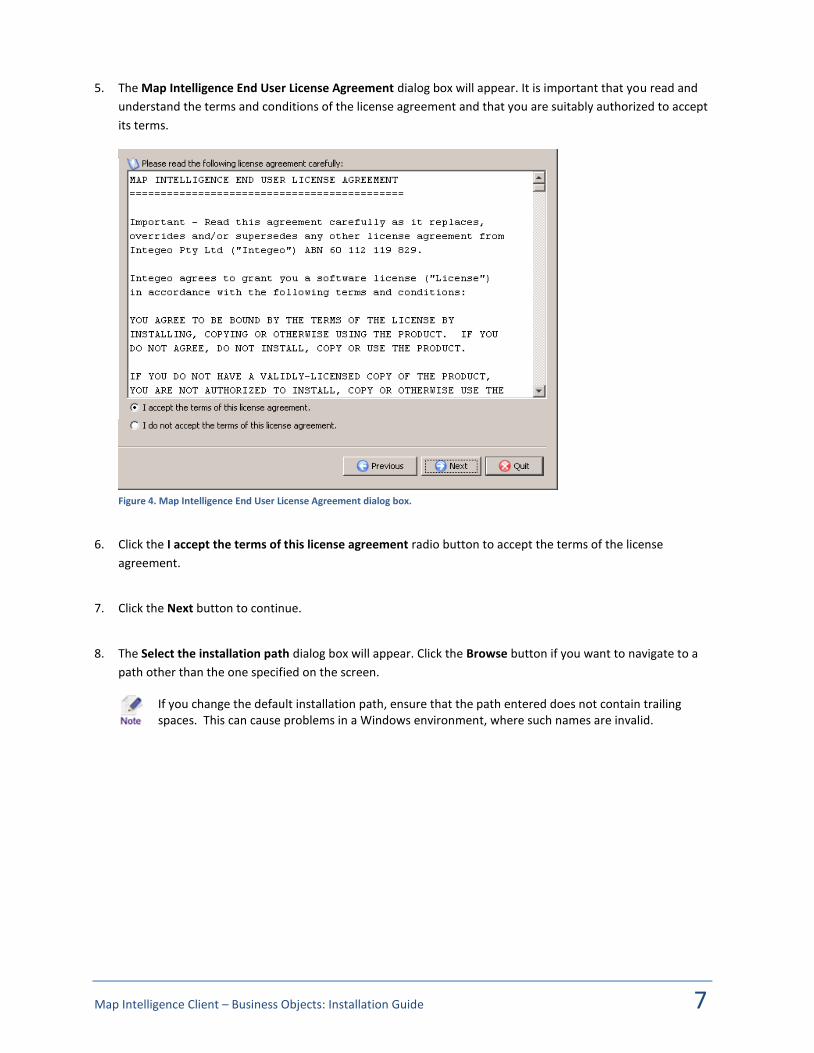
5. The Map Intelligence End User License Agreement dialog box will appear. It is important that you read and
understand the terms and conditions of the license agreement and that you are suitably authorized to accept
its terms.
Figure 4. Map Intelligence End User License Agreement dialog box.
6. Click the I accept the terms of this license agreement radio button to accept the terms of the license
agreement.
7. Click the Next button to continue.
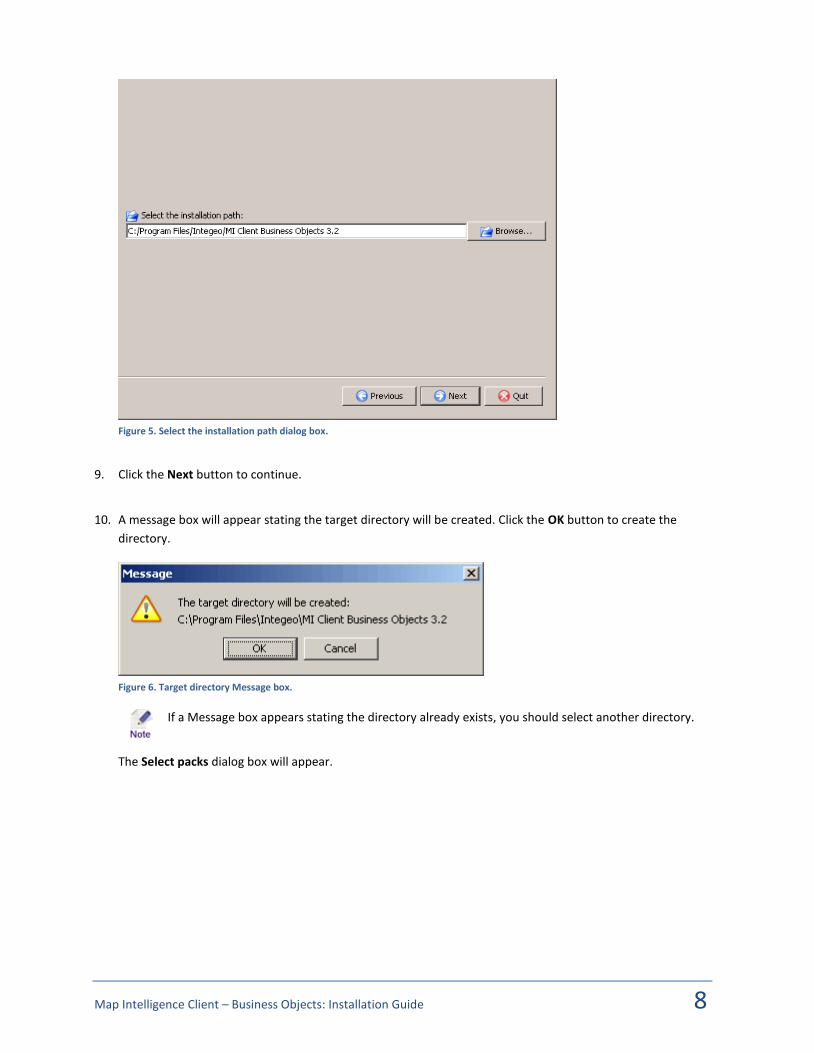
8. The Select the installation path dialog box will appear. Click the Browse button if you want to navigate to a
path other than the one specified on the screen.
If you change the default installation path, ensure that the path entered does not contain trailing spaces. This can cause problems in a Windows environment, where such names are invalid.
Map Intelligence Client – Business Objects: Installation Guide 8
Figure 5. Select the installation path dialog box.
9. Click the Next button to continue.
10. A message box will appear stating the target directory will be created. Click the OK button to create the
directory.
Figure 6. Target directory Message box.
If a Message box appears stating the directory already exists, you should select another directory.
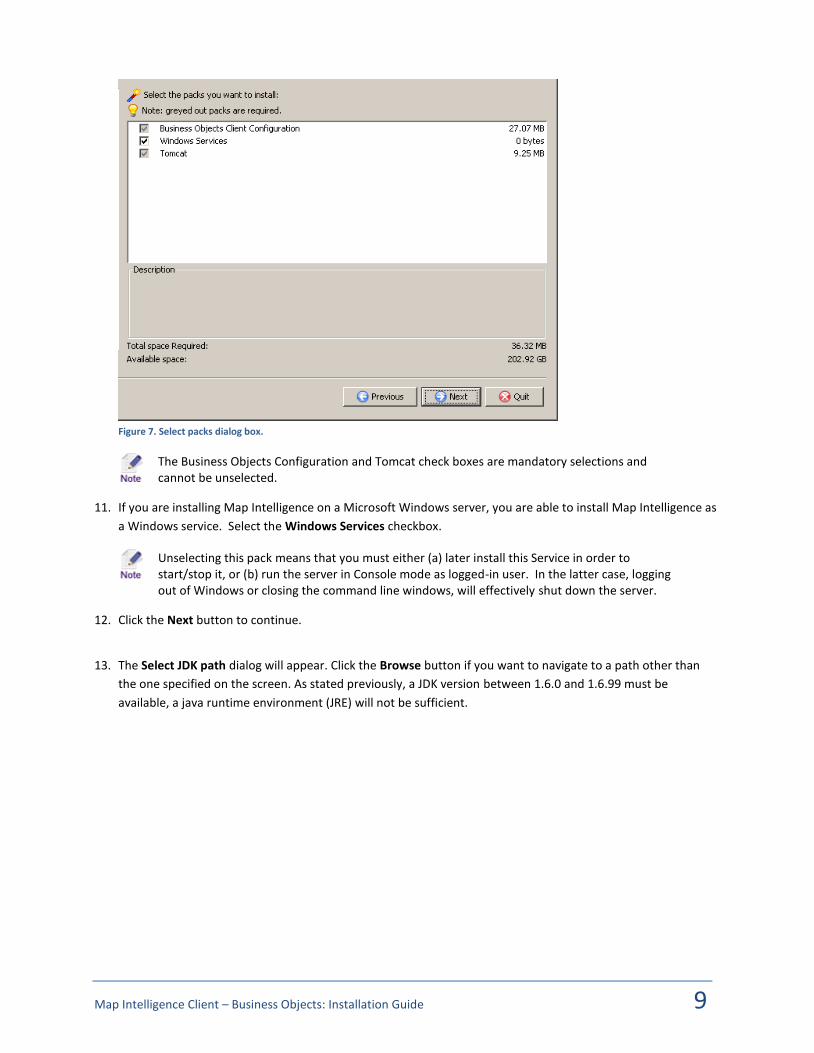
The Select packs dialog box will appear.
Map Intelligence Client – Business Objects: Installation Guide 9
Figure 7. Select packs dialog box.
The Business Objects Configuration and Tomcat check boxes are mandatory selections and cannot be unselected.
11. If you are installing Map Intelligence on a Microsoft Windows server, you are able to install Map Intelligence as
a Windows service. Select the Windows Services checkbox.
Unselecting this pack means that you must either (a) later install this Service in order to start/stop it, or (b) run the server in Console mode as logged-in user. In the latter case, logging out of Windows or closing the command line windows, will effectively shut down the server.
12. Click the Next button to continue.
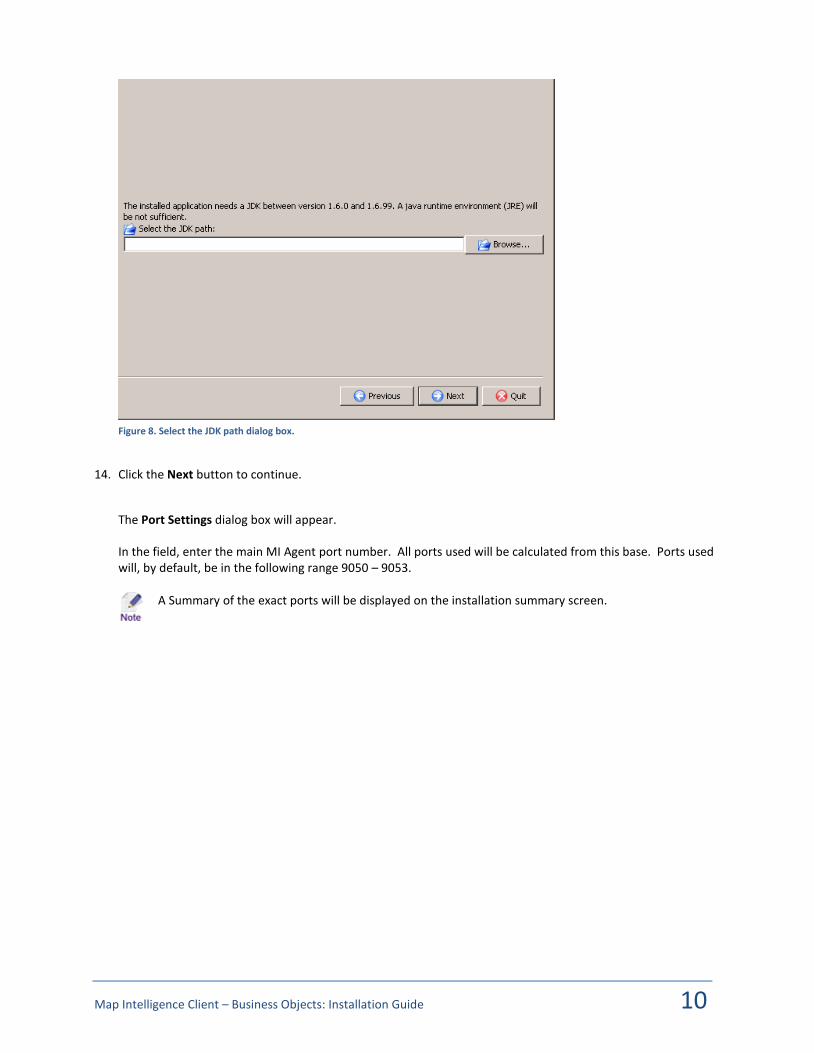
13. The Select JDK path dialog will appear. Click the Browse button if you want to navigate to a path other than
the one specified on the screen. As stated previously, a JDK version between 1.6.0 and 1.6.99 must be
available, a java runtime environment (JRE) will not be sufficient.
Map Intelligence Client – Business Objects: Installation Guide 10
Figure 8. Select the JDK path dialog box.
14. Click the Next button to continue.
The Port Settings dialog box will appear.
In the field, enter the main MI Agent port number. All ports used will be calculated from this base. Ports used will, by default, be in the following range 9050 – 9053.
A Summary of the exact ports will be displayed on the installation summary screen.

Map Intelligence Client – Business Objects: Installation Guide 11
Figure 9. Port Settings dialog box.
15. Click the Next button to continue.
The Memory Allocation dialog box will appear.
16. In the Specify the total memory for the MI Agent field, enter the maximum amount of memory in MB (to a
maximum of 1536 MB) the Agent will use.

Map Intelligence Client – Business Objects: Installation Guide 12
Figure 10. Memory Allocation dialog box.
17. Click the Next button to continue.
The Business Objects Server Settings dialog box will appear.
18. In the System fields, enter the System and Port of your Business Objects installation.
19. In the Authentication field, enter the authentication plugin used. These can be “secEnterprise”,
“secLDAPConfig”, secWindowsNT or “secWinAD”.
20. In the HTTP URL fields enter the URL to your Business Objects installation.
The hostname must be changed to reflect the actual server on which Business Objects is running.
Figure 11. Business Objects Server Configuration dialog box.
21. Click the Next button to continue.
The Map Intelligence Server Configuration dialog box will appear.
22. In the Host field, enter the host name of your Map Intelligence Server installation.
23. In the Port field, enter the port number of your Map Intelligence Server installation.

Map Intelligence Client – Business Objects: Installation Guide 13
Figure 12. Map Intelligence Server Configuration dialog box.
24. The Ready to install dialog box will appear detailing the items to be installed. Ensure that these are correct
before proceeding.
Figure 13. Ready to install dialog box.
25. Click the Next button to begin the installation.
Map Intelligence Client – Business Objects: Installation Guide 14
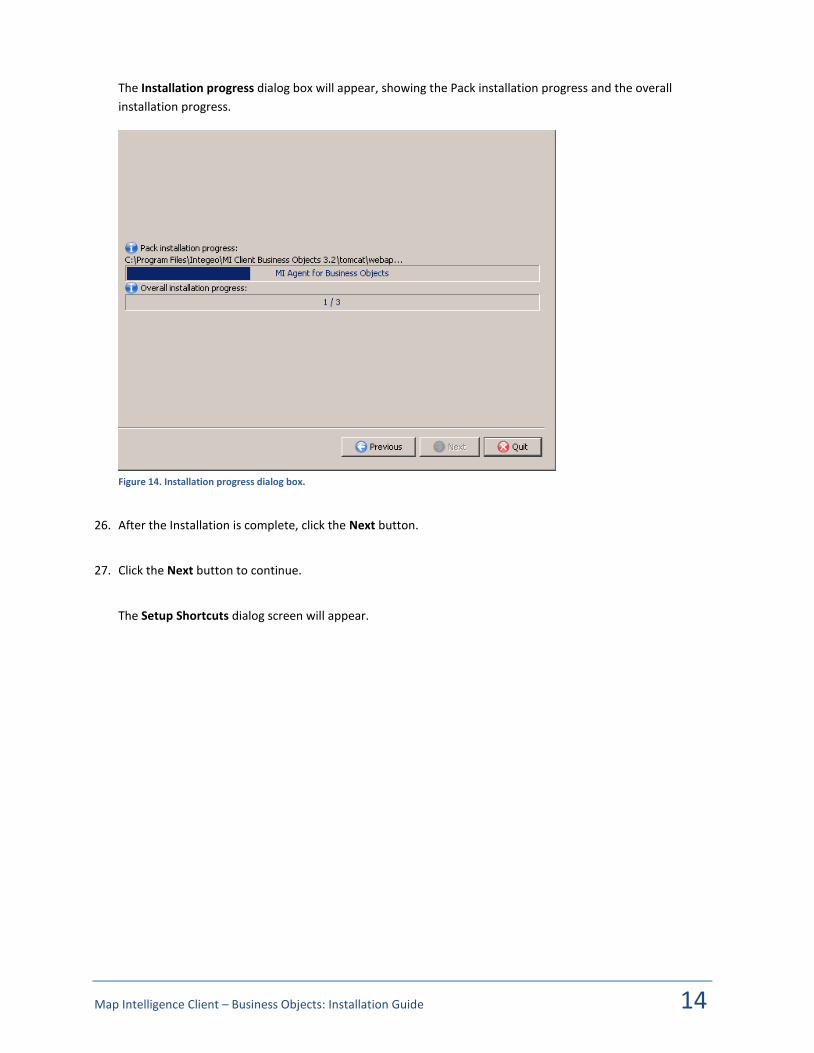
The Installation progress dialog box will appear, showing the Pack installation progress and the overall
installation progress.
Figure 14. Installation progress dialog box.
26. After the Installation is complete, click the Next button.
27. Click the Next button to continue.
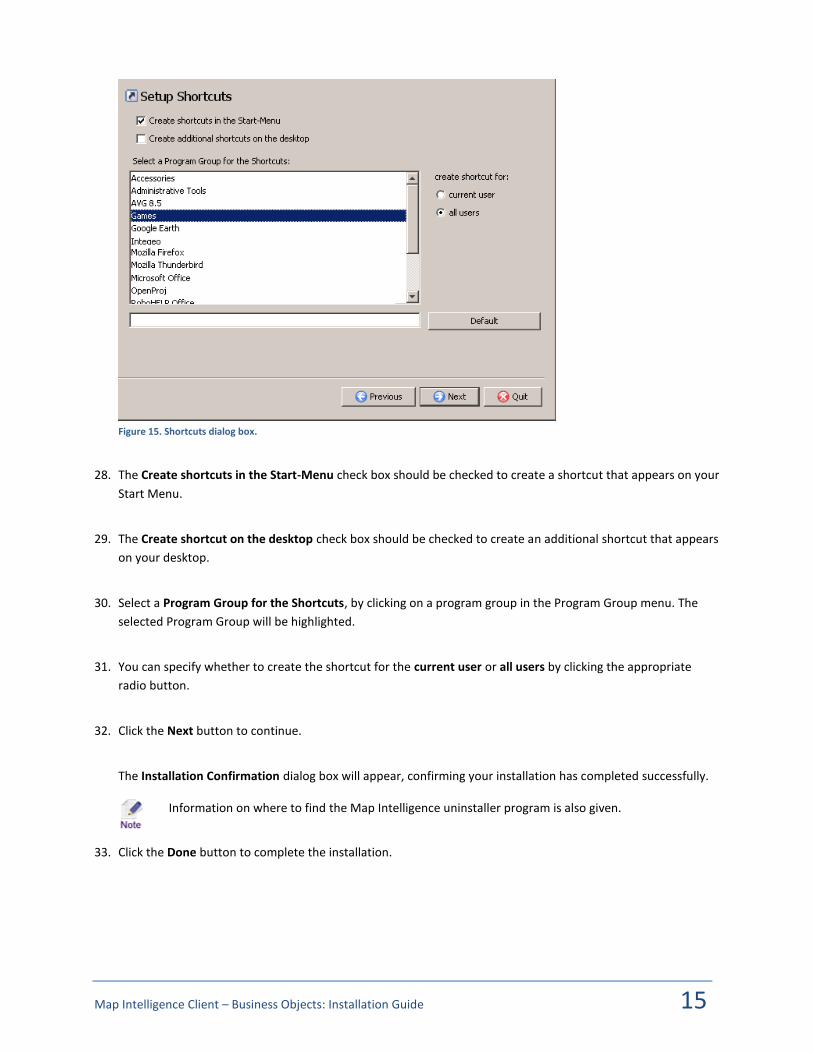
The Setup Shortcuts dialog screen will appear.
Map Intelligence Client – Business Objects: Installation Guide 15
Figure 15. Shortcuts dialog box.
28. The Create shortcuts in the Start-Menu check box should be checked to create a shortcut that appears on your
Start Menu.
29. The Create shortcut on the desktop check box should be checked to create an additional shortcut that appears
on your desktop.
30. Select a Program Group for the Shortcuts, by clicking on a program group in the Program Group menu. The
selected Program Group will be highlighted.
31. You can specify whether to create the shortcut for the current user or all users by clicking the appropriate
radio button.
32. Click the Next button to continue.
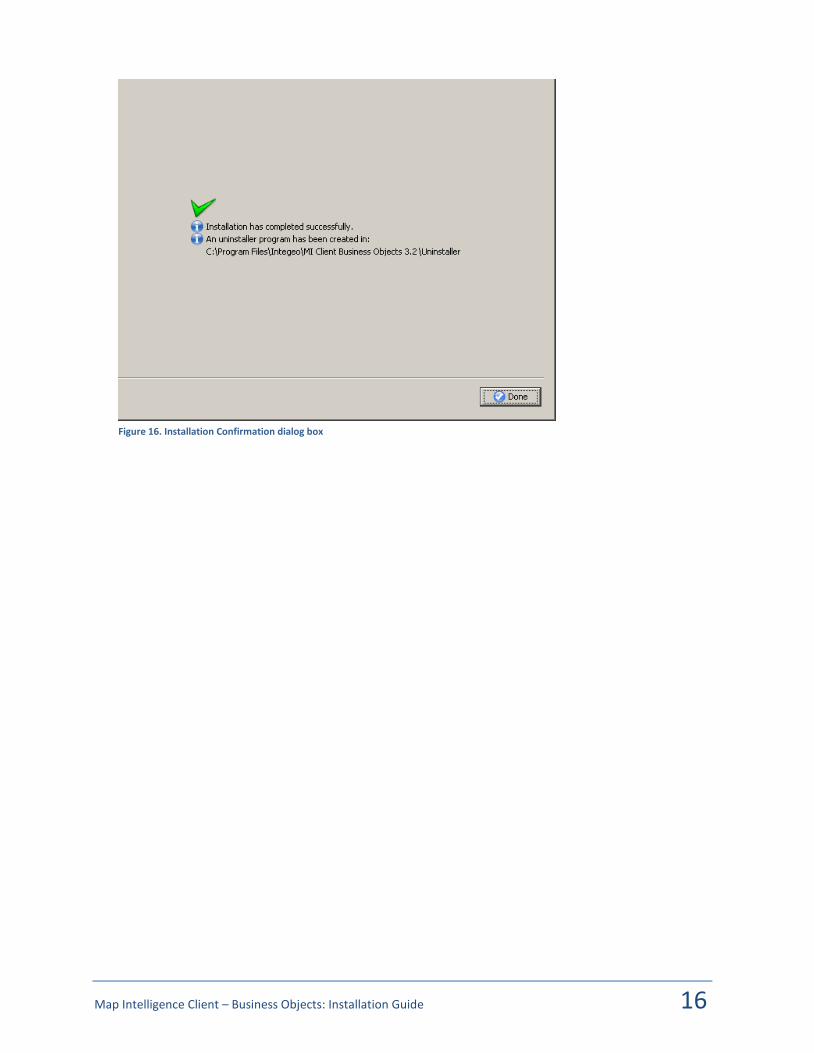
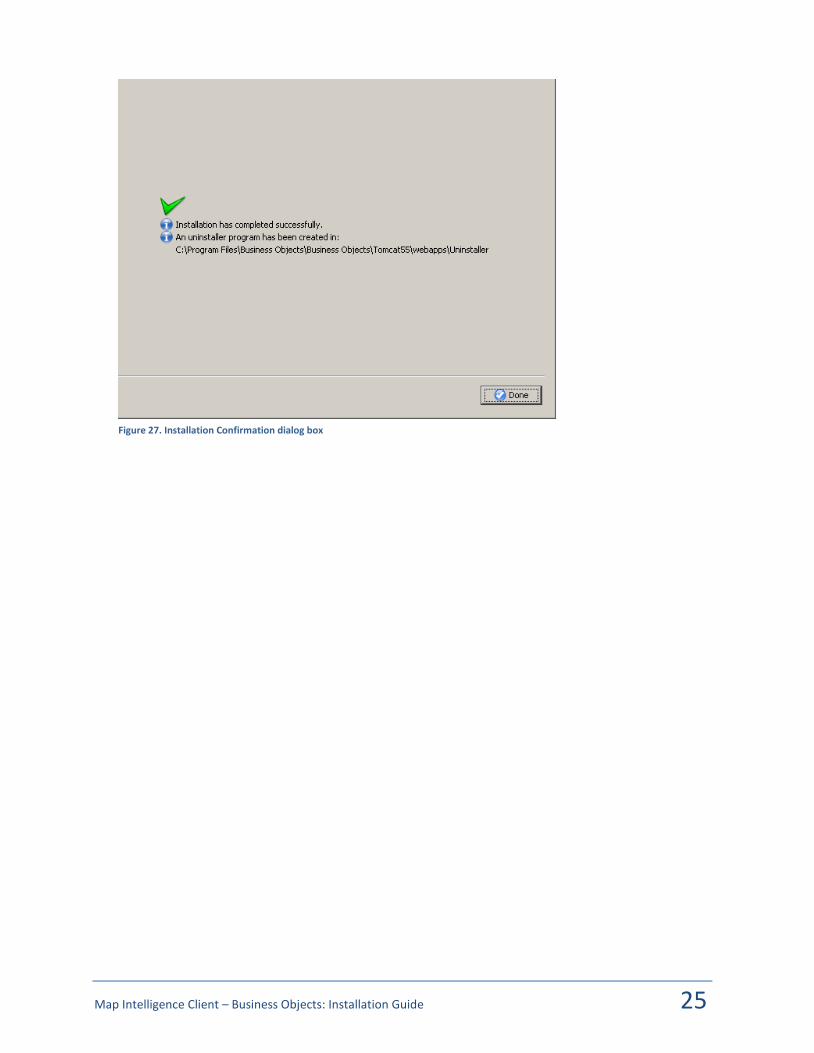
The Installation Confirmation dialog box will appear, confirming your installation has completed successfully.
Information on where to find the Map Intelligence uninstaller program is also given.
33. Click the Done button to complete the installation.
Map Intelligence Client – Business Objects: Installation Guide 16
Figure 16. Installation Confirmation dialog box
Map Intelligence Client – Business Objects: Installation Guide 17
STARTING AND STOPPING THE AGENT
TO START THE AGENT
1. From Start > Programs > Map Intelligence for Business Objects 3.2, select Run MI Agent (BOBJ).
The exact path may vary depending on the path selected during installation.
TO STOP THE AGENT
To stop the Agent that is running in a console window, use “CTRL-C” in the console window.
UNINSTALLING THE AGENT
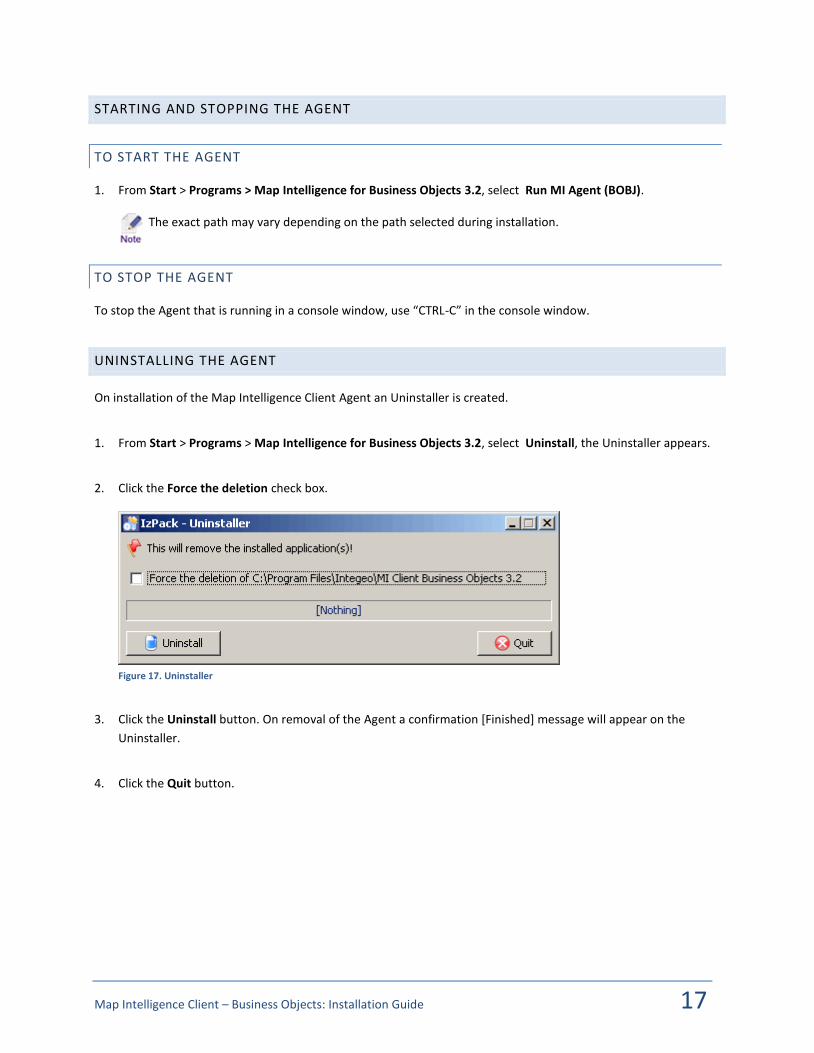
On installation of the Map Intelligence Client Agent an Uninstaller is created.
1. From Start > Programs > Map Intelligence for Business Objects 3.2, select Uninstall, the Uninstaller appears.
2. Click the Force the deletion check box.
Figure 17. Uninstaller
3. Click the Uninstall button. On removal of the Agent a confirmation [Finished] message will appear on the
Uninstaller.
4. Click the Quit button.

Map Intelligence Client – Business Objects: Installation Guide 18
INSTALLING THE MI CONNECTOR
To Install the MI Connector (‘Connector’), follow the instructions below:
1. From the Map Intelligence Client Menu, click on Install Connector, to begin the installation.
Figure 18. Map Intelligence CD Menu
If you have downloaded the Map Intelligence Client, you will need to extract the contents of the zip file into a location of choice. Then change directory to that location. There you will see the files and directories that comprise the Map Intelligence Client Installer. To get the Map Intelligence Client Menu above you will need to run the start.exe program.
The Welcome dialog box will appear.
Map Intelligence Client – Business Objects: Installation Guide 19
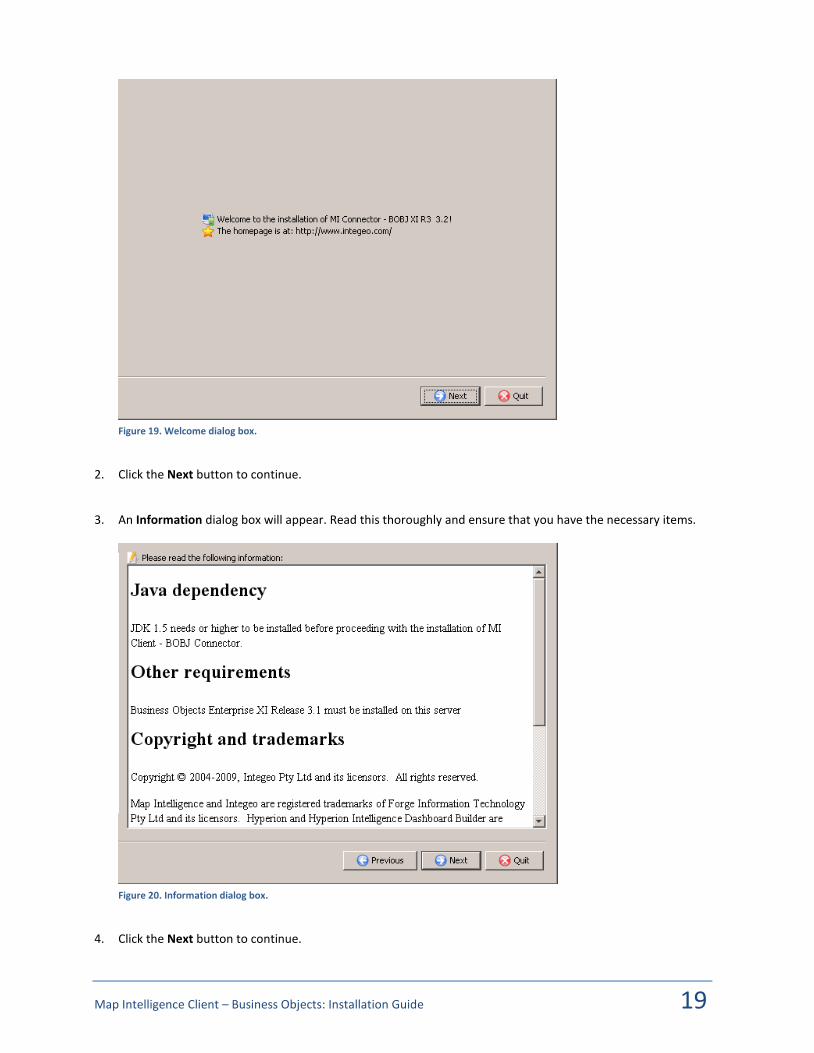
Figure 19. Welcome dialog box.
2. Click the Next button to continue.
3. An Information dialog box will appear. Read this thoroughly and ensure that you have the necessary items.
Figure 20. Information dialog box.
4. Click the Next button to continue.

Map Intelligence Client – Business Objects: Installation Guide 20
5. The Map Intelligence End User License Agreement dialog box will appear. It is important that you read and
understand the terms and conditions of the license agreement and that you are suitably authorized to accept
its terms.
Figure 21. Map Intelligence End User License Agreement dialog box.
6. Click the I accept the terms of this license agreement radio button to accept the terms of the license
agreement.
7. Click the Next button to continue.
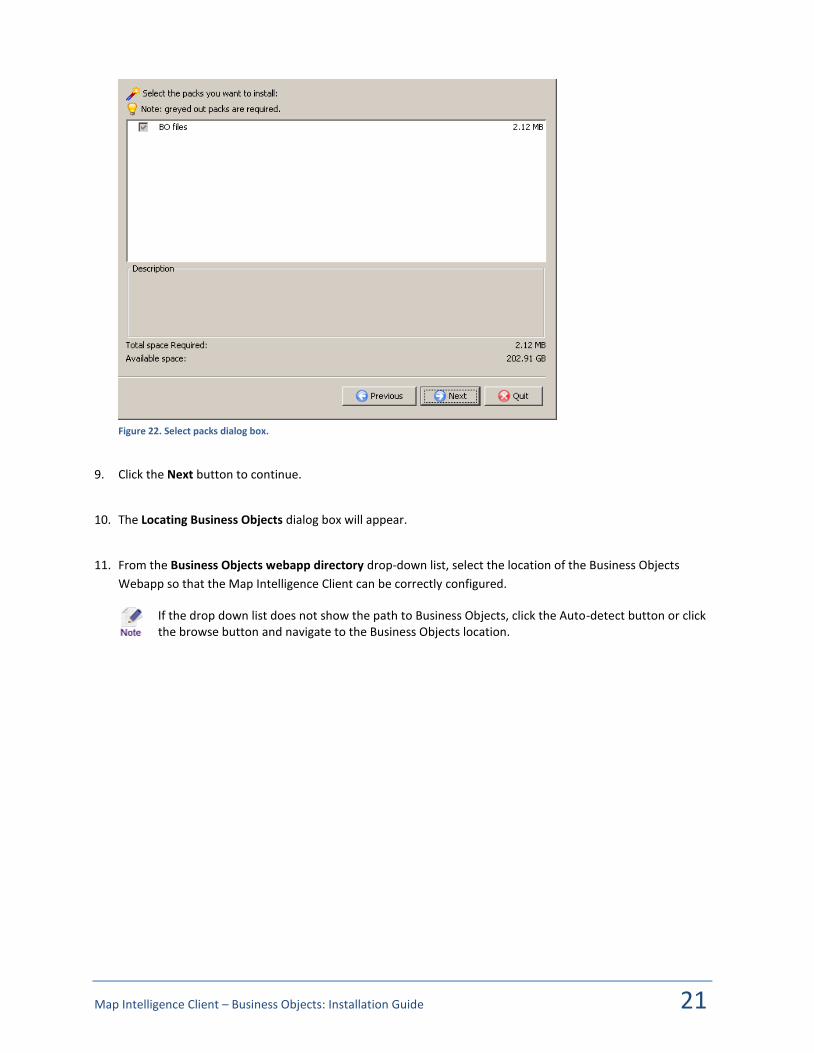
8. The Select packs dialog box will appear.
The BO files is a mandatory selection and cannot be unselected
Map Intelligence Client – Business Objects: Installation Guide 21
Figure 22. Select packs dialog box.
9. Click the Next button to continue.
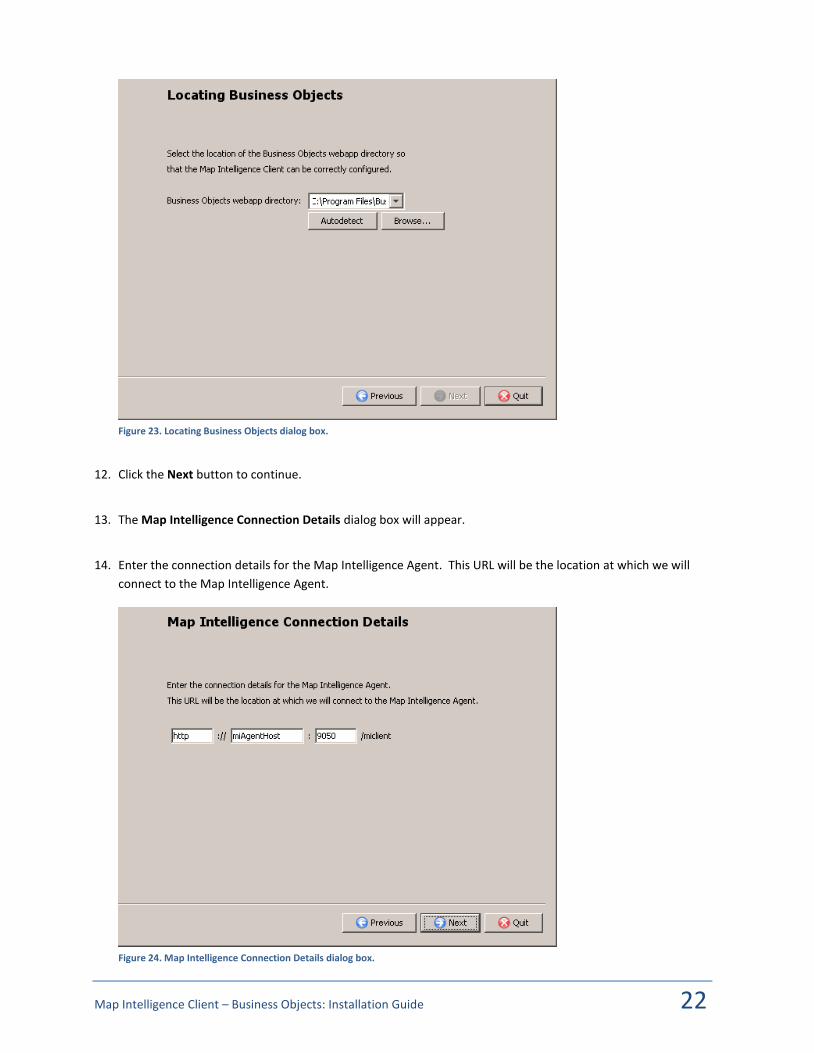
10. The Locating Business Objects dialog box will appear.
11. From the Business Objects webapp directory drop-down list, select the location of the Business Objects
Webapp so that the Map Intelligence Client can be correctly configured.
If the drop down list does not show the path to Business Objects, click the Auto-detect button or click the browse button and navigate to the Business Objects location.
Map Intelligence Client – Business Objects: Installation Guide 22
Figure 23. Locating Business Objects dialog box.
12. Click the Next button to continue.
13. The Map Intelligence Connection Details dialog box will appear.
14. Enter the connection details for the Map Intelligence Agent. This URL will be the location at which we will
connect to the Map Intelligence Agent.
Figure 24. Map Intelligence Connection Details dialog box.
Map Intelligence Client – Business Objects: Installation Guide 23
15. Click the Next button to continue
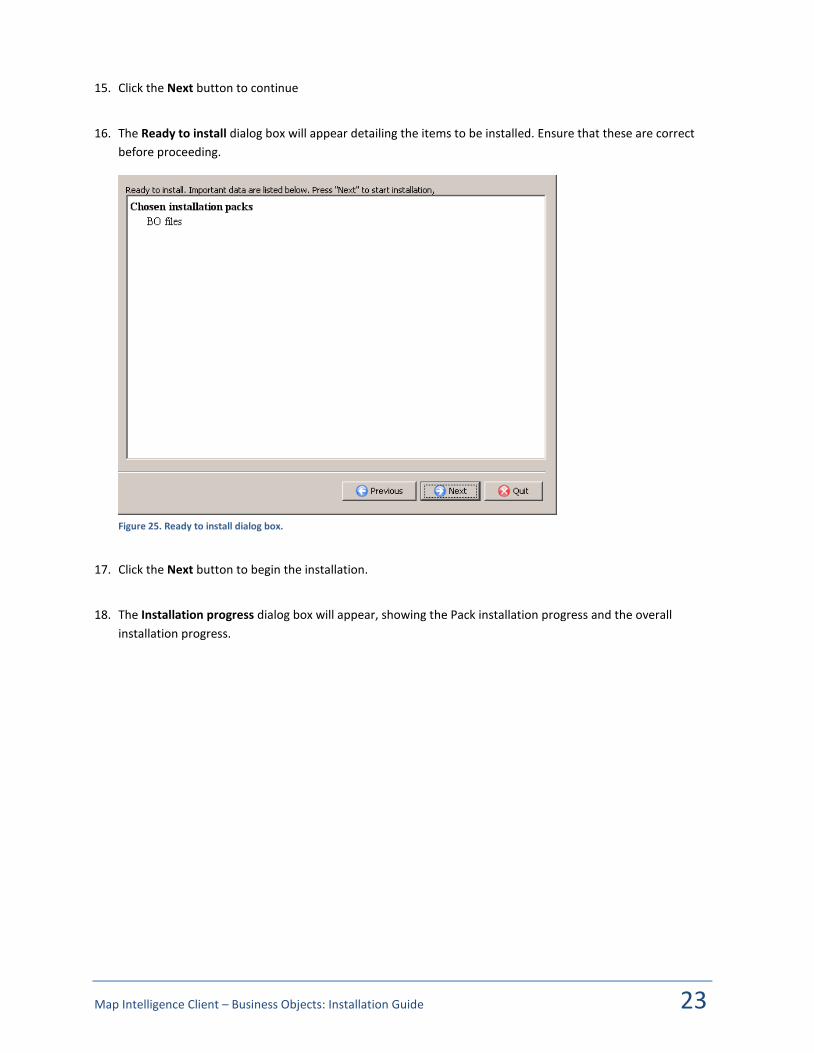
16. The Ready to install dialog box will appear detailing the items to be installed. Ensure that these are correct
before proceeding.
Figure 25. Ready to install dialog box.
17. Click the Next button to begin the installation.
18. The Installation progress dialog box will appear, showing the Pack installation progress and the overall
installation progress.

Map Intelligence Client – Business Objects: Installation Guide 24
Figure 26. Installation progress dialog box.
19. After the Installation is complete, click the Next button.
The Installation Confirmation dialog box will appear, confirming your installation has completed successfully.
Information on where to find the Map Intelligence uninstaller program is also given.
20. Click the Done button to complete the installation.
Map Intelligence Client – Business Objects: Installation Guide 25
Figure 27. Installation Confirmation dialog box

Map Intelligence Client – Business Objects: Installation Guide 26
APPENDICES
APPENDIX A – SETTING THE CLIENT AND SERVER TO USE SSL COMMUNICATIONS
INTRODUCTION
The Agent component of the Map Intelligence Client allows end-user browsers to establish an SSL connection with
the Map Intelligence Server. The SSL URL is ONLY available to end-users and the connection between the Agent
and the Server is still in plaintext to retrieve configuration information. Hence the Map Intelligence server must
have a standard HTTP connector open as well as the SSL connector.
PROCEDURE
The procedure to activate SSL is this:
1. Give both the MI Agent and MI Server Tomcats an SSL connector by editing their server.xml files (with a
different port for each). If the Tomcats are virtual servers behind an SSL secured Web server then this step
is not necessary.
2. Edit the MI Agent client.properties file, located here:
<installation location>\tomcat\webapps\miclient\WEB-INF\properties
by adding the following lines, with the correct values substituted:
# If ssl is required for making requests, this is the url that will be used
ssl-url=https://<host name>:<port>
If you are using a virtual server behind an SSL secured Web server then the URL would be that of the
virtual SSL server.
3. Re-start the MI Agent and the MI Server
4. In the BOBJ installation, if you have already installed the MI Connector for BOBJ then you will need to edit
the following file and substitute the current URL for the SSL URL of the Agent with the port that you set in
step 1 (if required):
<installation location>\Tomcat55\webapps\AnalyticalReporting\viewers\cdz_adv\mihost.jsp
Remember that the URL will now use “https” instead of “http” as its protocol identifier.
OR,
if you have not yet installed the MI Connector for BOBJ then you can insert the SSL URL for the MI Agent
into the field when the installer requests it.
Map Intelligence Client – Business Objects: Installation Guide 27
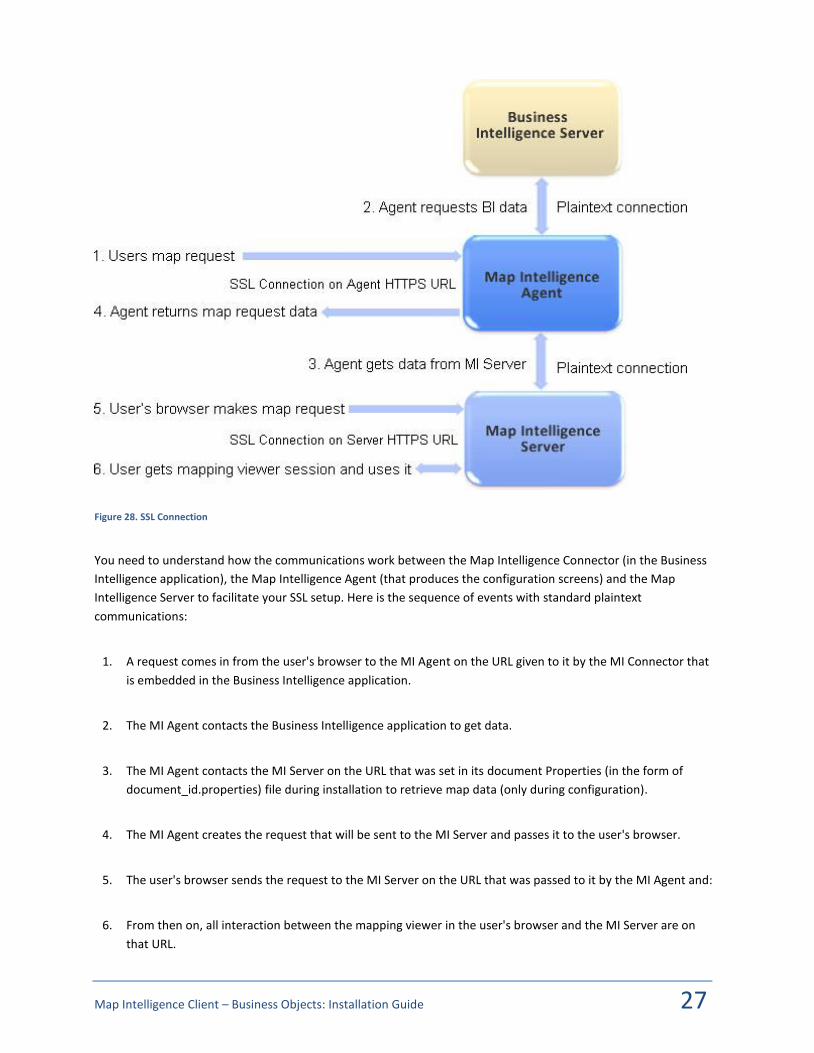
Figure 28. SSL Connection
You need to understand how the communications work between the Map Intelligence Connector (in the Business
Intelligence application), the Map Intelligence Agent (that produces the configuration screens) and the Map
Intelligence Server to facilitate your SSL setup. Here is the sequence of events with standard plaintext
communications:
1. A request comes in from the user's browser to the MI Agent on the URL given to it by the MI Connector that
is embedded in the Business Intelligence application.
2. The MI Agent contacts the Business Intelligence application to get data.
3. The MI Agent contacts the MI Server on the URL that was set in its document Properties (in the form of
document_id.properties) file during installation to retrieve map data (only during configuration).
4. The MI Agent creates the request that will be sent to the MI Server and passes it to the user's browser.
5. The user's browser sends the request to the MI Server on the URL that was passed to it by the MI Agent and:
6. From then on, all interaction between the mapping viewer in the user's browser and the MI Server are on
that URL.

Map Intelligence Client – Business Objects: Installation Guide 28
The sequence of events is more or less the same when using SSL and here is the sequence with notes about what is
SSL and what is not SSL communication (numbered points relate to the diagram):
1. An SSL request comes in from the user's browser to the MI Agent on the URL given to it by the MI Connector
that is embedded in the Business Intelligence application. This SSL URL will be set during installation of the
connector and replaces the plaintext URL that would have been set.
2. The MI Agent contacts the Business Intelligence application to get data in plaintext.
3. The MI Agent contacts the MI Server on the URL that was set in its client.properties file during installation to
retrieve map data (only during configuration). This is the plaintext URL of the MI Server.
4. The MI Agent creates the request that will be sent to the MI Server and passes it to the user's browser. This
contains the SSL URL that was set in the "ssl-url" property above.
5. The user's browser sends the request to the MI Server on the SSL URL that was passed to it by the MI Agent
and:
6. From then on, all interaction between the mapping viewer in the user's browser and the MI Server are on
that SSL URL.
So, the only thing to be aware of is that the MI Server must expose both SSL and plaintext connectors for
operations 2 and 4 above.
If a proxy is in place between the external user's browser and the internal MI Agent and Server then the URLs in 1.
and 3. must be the URLs that are visible to that external user and not the URLs on the internal network. A firewall
must allow both MI Agent SSL and MI Server SSL URLs through and the proxy must re-direct any SSL requests made
to the external SSL URLs (set in 1. and 3.) on the internal network back to the internal servers.

Map Intelligence Client – Business Objects: Installation Guide 29
APPENDIX B - MAP INTELLIGENCE MANUALS AND GUIDES
Product documentation for Spectrum Spatial for Business Intelligence, including Map Intelligence SP and the clients
are located here:
support.pb.com/spectrum
All documentation can be found under the Solution Guides section of the Product Documentation.
Related Documents