[email protected] 1 CIS 5930-04 – Spring 2001 Part 4: GUIs and Events http://aspen.csit.fsu.edu/it1spring01 Instructors: Geoffrey Fox , Bryan Carpenter Computational Science and Information Technology Florida State University Acknowledgements: Nancy McCracken Syracuse University

CIS 5930-04 – Spring 2001 Part 4: GUIs and Events
Jan 13, 2016
CIS 5930-04 – Spring 2001 Part 4: GUIs and Events. http://aspen.csit.fsu.edu/it1spring01 Instructors: Geoffrey Fox , Bryan Carpenter Computational Science and Information Technology Florida State University Acknowledgements: Nancy McCracken Syracuse University. - PowerPoint PPT Presentation
Welcome message from author
This document is posted to help you gain knowledge. Please leave a comment to let me know what you think about it! Share it to your friends and learn new things together.
Transcript
CIS 5930-04 – Spring 2001
Part 4: GUIs and Events
http://aspen.csit.fsu.edu/it1spring01
Instructors: Geoffrey Fox , Bryan CarpenterComputational Science and Information
TechnologyFlorida State University
Acknowledgements: Nancy McCrackenSyracuse University

GUI Components and Events
In the standard Java windowing toolkits, the GUI (Graphical User Interface) is built hierarchically in terms of components—one component nested inside another starting with the smallest buttons, including menus, text fields etc. and ending with full window divided into frames, menu bars, etc.
The user can interact with the GUI on many of its components, by clicking a button, typing in text, etc. These actions cause an event to be generated, which will be reported by the system to a class that is an event listener. The event listener will have an event handler method for the event. This method will provide the appropriate response to the user's action.
AWT vs. Swing AWT (Abstract Windowing Toolkit) was the original
windowing toolkit shipped with Java. AWT components were designed to take on the
“look and feel” of the underlying window system in which they are displayed. For applets—wherever the browser is running.
With the advent of the Java 2 platform, AWT is gradually being replaced by Swing—part of JFC.
Swing components are designed to have a fixed “look and feel” on all platforms. They are less prone to windowing system dependency bugs.
The default “platform look and feel”, abbreviated plaf, is called Metal. Others available include Motif and Windows.
In this tutorial, where there is a choice, we will use Swing components in preference to AWT.
Creating a Frame
A top-level window is called a frame. In Swing, it is represented by a class JFrame. To display a frame, simply create an instance of
the JFrame class, optionally set a few parameters, then invoke the show() method.
First few examples here are adapted from the Core Java book.
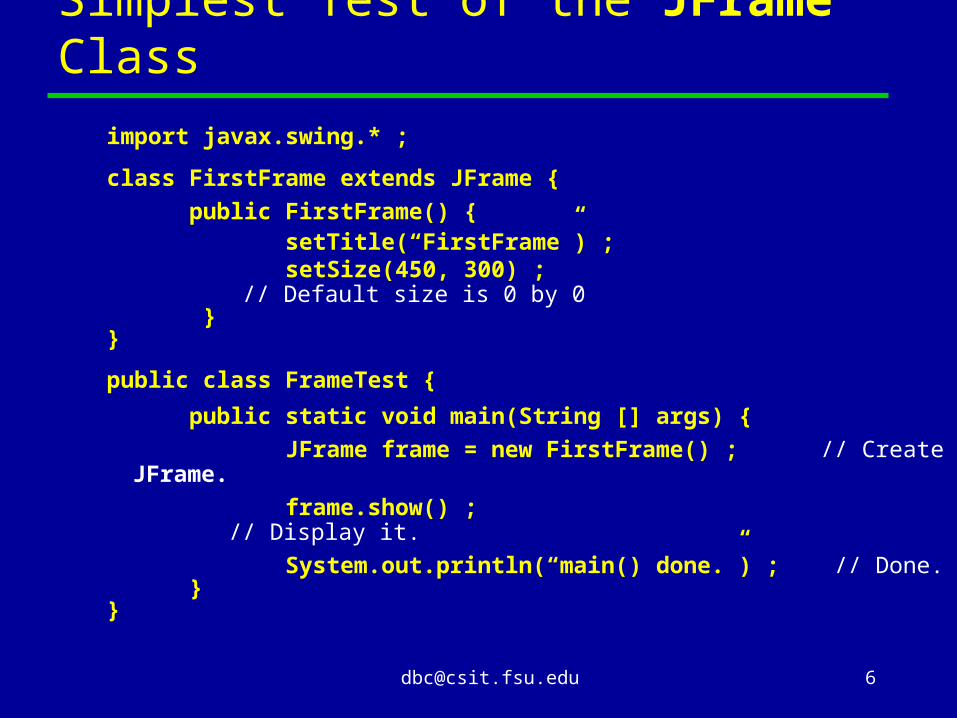
Simplest Test of the JFrame Class
import javax.swing.* ;
class FirstFrame extends JFrame { public FirstFrame() { setTitle(“FirstFrame”) ; setSize(450, 300) ; // Default
size is 0 by 0 }}
public class FrameTest {
public static void main(String [] args) { JFrame frame = new FirstFrame() ; // Create
JFrame. frame.show() ; // Display it.
System.out.println(“main() done.”) ; // Done. }}

. . . the Window Vanishes, but . . .
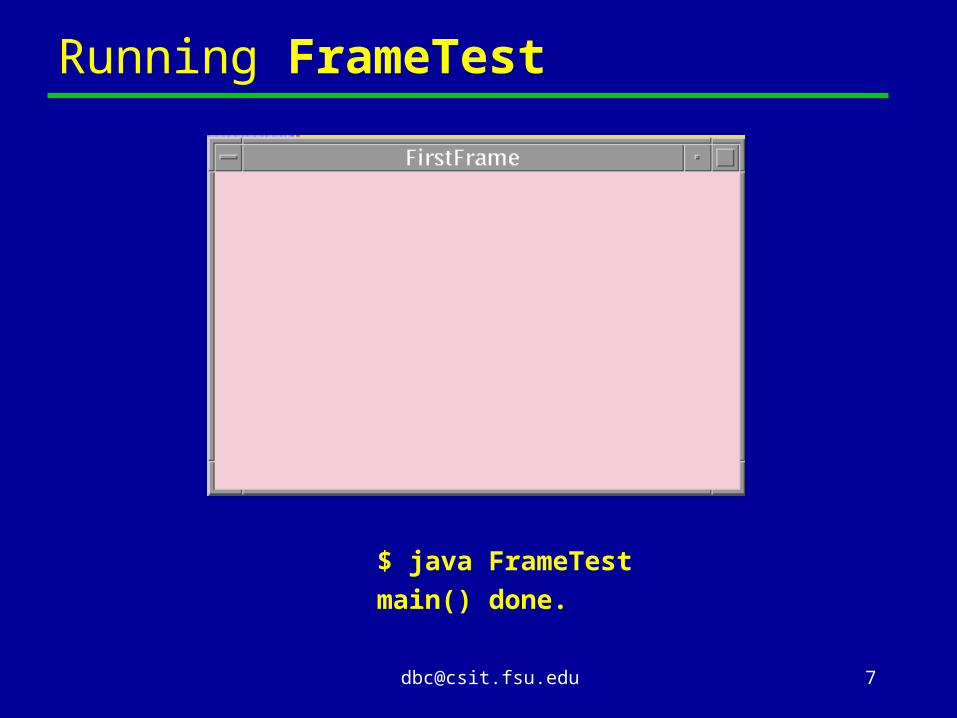
$ java FrameTestmain() done. Still no
prompt!

What Happened?
We notice that the main() method ends as soon as the window appears. But the command java FrameTest does not terminate. There is no new command prompt.
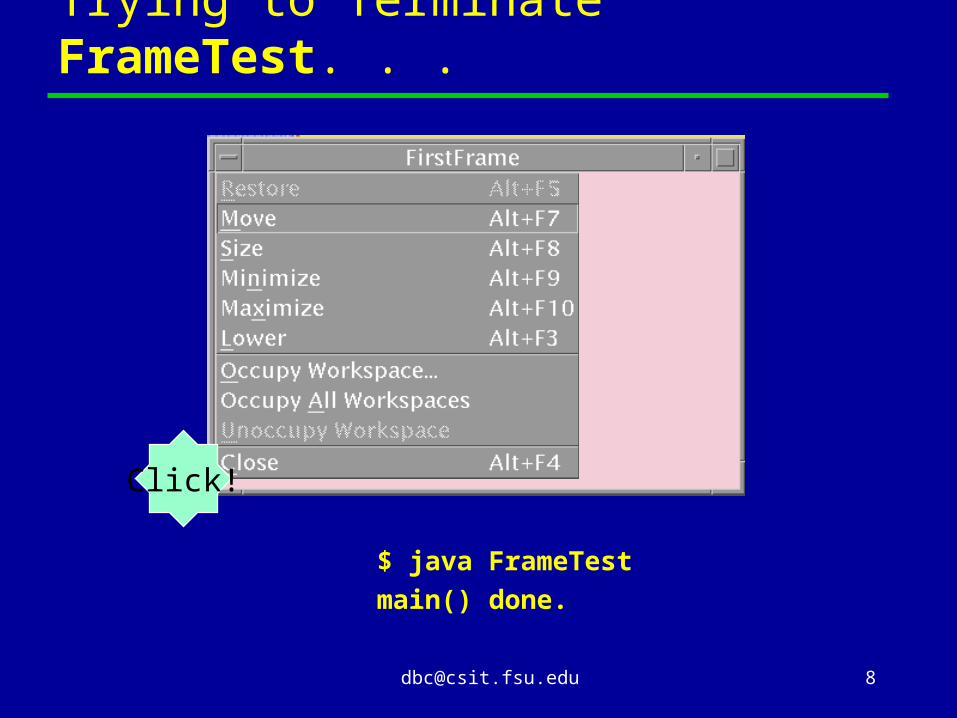
Closing the window using its system menu doesn’t change this. The command still does not terminate.
Why?
Threads and Termination
To explain this behavior, we should look to threads. As will be discussed in detail later, a Java program
can start extra threads during its execution. These run concurrently with the original thread (the thread in which the system started the main() method).
The JVM, and thus the java command, terminates when the main() method has terminated and all threads the main() method created, directly or indirectly, have also terminated.
We can guess that FrameTest started one or more additional threads running, and those threads don’t terminate.
What were those threads?
The Event-dispatching Thread
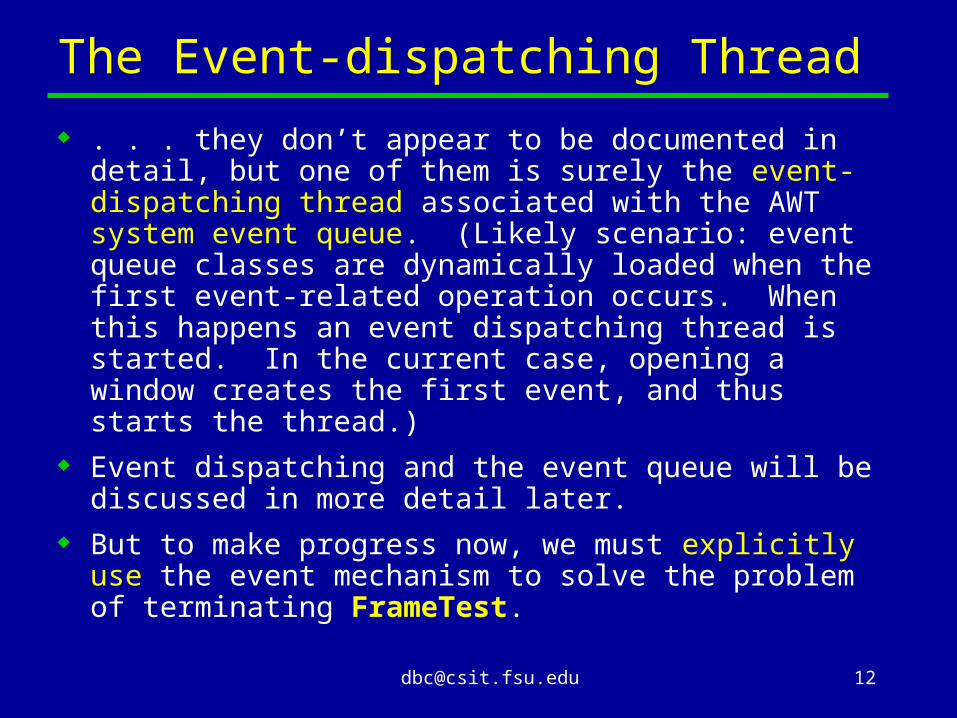
. . . they don’t appear to be documented in detail, but one of them is surely the event-dispatching thread associated with the AWT system event queue. (Likely scenario: event queue classes are dynamically loaded when the first event-related operation occurs. When this happens an event dispatching thread is started. In the current case, opening a window creates the first event, and thus starts the thread.)
Event dispatching and the event queue will be discussed in more detail later.
But to make progress now, we must explicitly use the event mechanism to solve the problem of terminating FrameTest.

Strategy for Termination
In our example, we would like the java FrameTest command to terminate when the window is closed.
When the user closes a window (e.g. by clicking the “close” item in the window’s system menu), the AWT system generates a WindowEvent.
A program (or part of a program) will be notified of this event if it has registered a listener for the window involved.
A listener is an instance of some programmer-defined class. The programmer defines methods in this class for handling all relevant events.
In our case, we want the listener to shut down the JVM when a window-closing event happens.
The WindowListener Interface
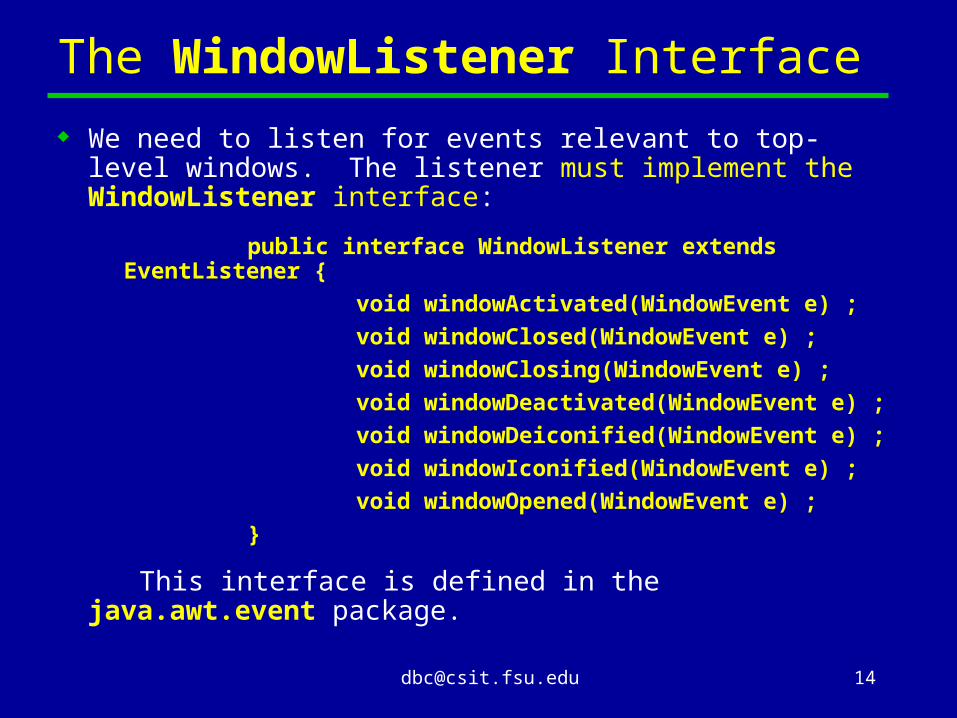
We need to listen for events relevant to top-level windows. The listener must implement the WindowListener interface:
public interface WindowListener extends EventListener {
void windowActivated(WindowEvent e) ; void windowClosed(WindowEvent e) ; void windowClosing(WindowEvent e) ; void windowDeactivated(WindowEvent e) ; void windowDeiconified(WindowEvent e) ; void windowIconified(WindowEvent e) ; void windowOpened(WindowEvent e) ; }
This interface is defined in the java.awt.event package.
A Simple Listener Class
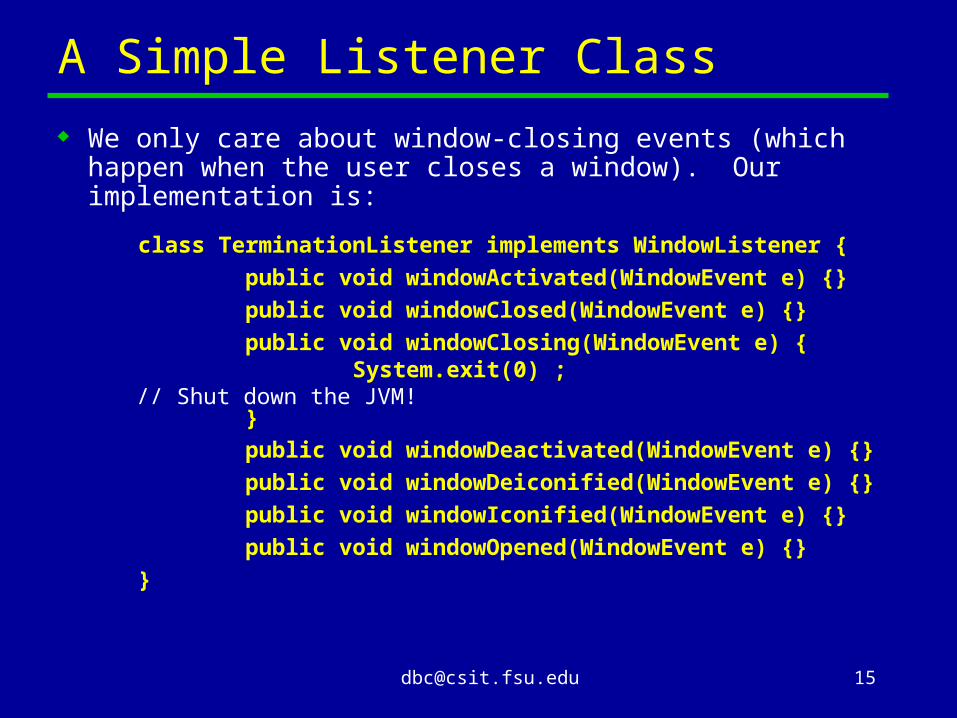
We only care about window-closing events (which happen when the user closes a window). Our implementation is:
class TerminationListener implements WindowListener {
public void windowActivated(WindowEvent e) {} public void windowClosed(WindowEvent e) {} public void windowClosing(WindowEvent e) { System.exit(0) ; // Shut down the
JVM! } public void windowDeactivated(WindowEvent e) {} public void windowDeiconified(WindowEvent e) {} public void windowIconified(WindowEvent e) {} public void windowOpened(WindowEvent e) {} }

A Windowing Program that Terminatesimport javax.swing.* ;import java.awt.event.* ;
. . . Declaration of TerminationListener (previous slide) . . .
class SimpleFrame extends JFrame { public SimpleFrame() { setTitle(“SimpleFrame”) ; setSize(450, 300) ; addWindowListener(new TerminationListener()) ; // Register listener for this
window }}
public class TerminationTest { public static void main(String [] args) { JFrame frame = new SimpleFrame() ; // Create
JFrame. frame.show() ; // Display it. }}

Internal Structure of a JFrame
A Swing frame has a fairly complicated structure, with several panes. Some of these are used to implement pluggable look and feel. We will only directly use the Content Pane.
TitleJFrame
JRoot
Optional menu bar
Content pane
Glass pane

Swing Component HierarchyJComponent
JLabel
JButtonJComboBox
JScrollbar
JTextComponent
JTextArea JTextfield
JPanel
JList
AbstractButton
JMenuItem JToggleButton
JMenu
JCheckbox
JRadioButtonJMenuBar
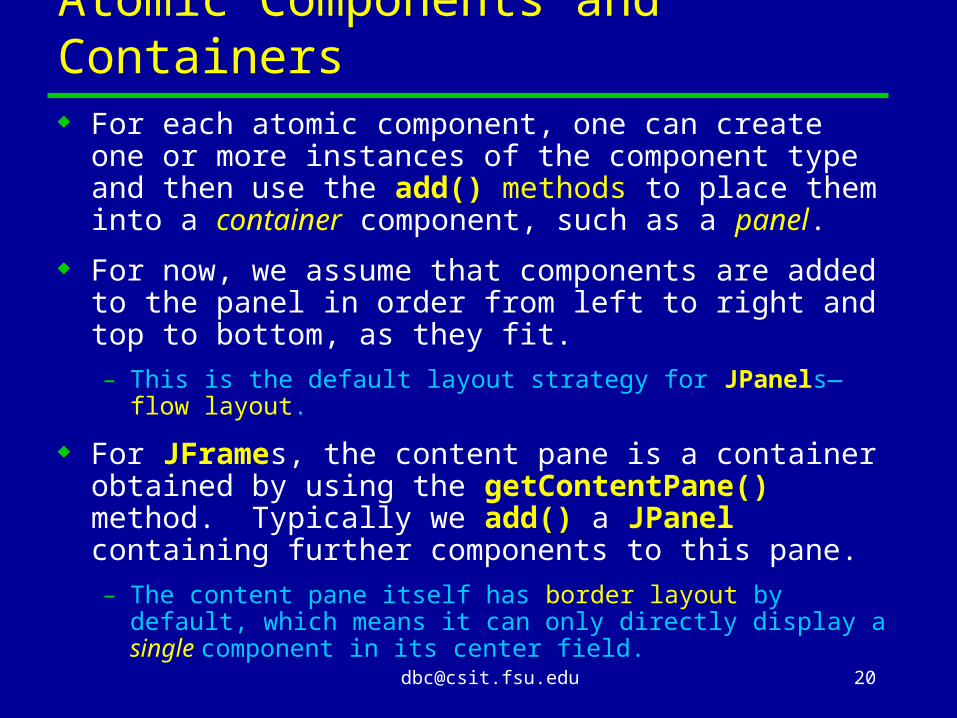
Atomic Components and Containers For each atomic component, one can create one
or more instances of the component type and then use the add() methods to place them into a container component, such as a panel.
For now, we assume that components are added to the panel in order from left to right and top to bottom, as they fit.– This is the default layout strategy for JPanels—flow
layout.
For JFrames, the content pane is a container obtained by using the getContentPane() method. Typically we add() a JPanel containing further components to this pane.– The content pane itself has border layout by default,
which means it can only directly display a single component in its center field.
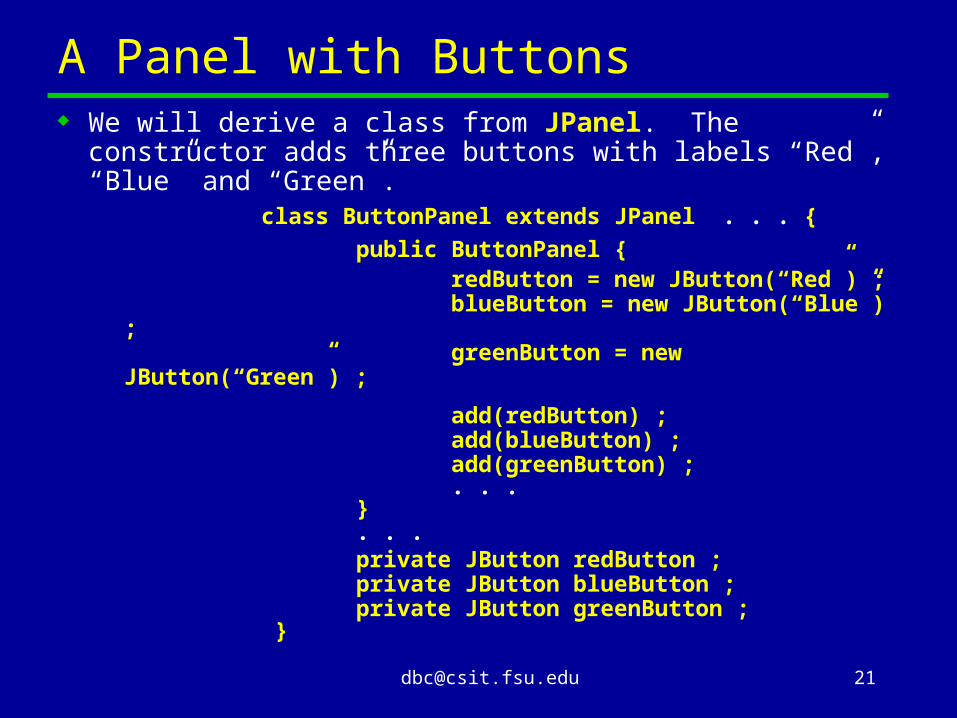
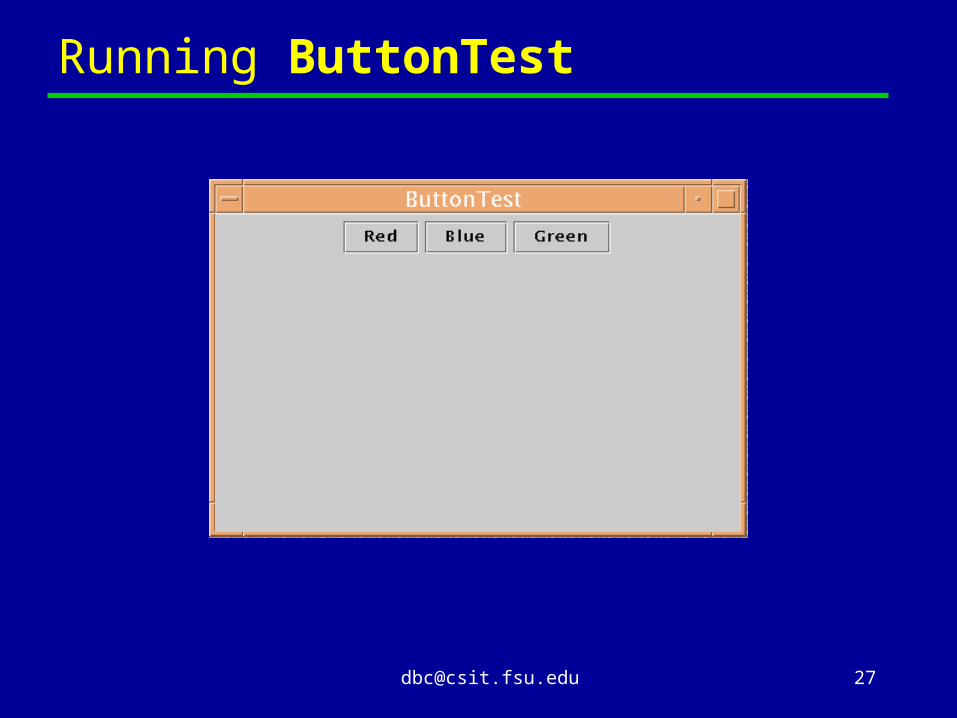
A Panel with Buttons We will derive a class from JPanel. The
constructor adds three buttons with labels “Red”, “Blue” and “Green”. class ButtonPanel extends JPanel . . . { public ButtonPanel { redButton = new JButton(“Red”) ; blueButton = new JButton(“Blue”) ; greenButton = new JButton(“Green”)
;
add(redButton) ; add(blueButton) ; add(greenButton) ; . . . } . . . private JButton redButton ; private JButton blueButton ; private JButton greenButton ; }
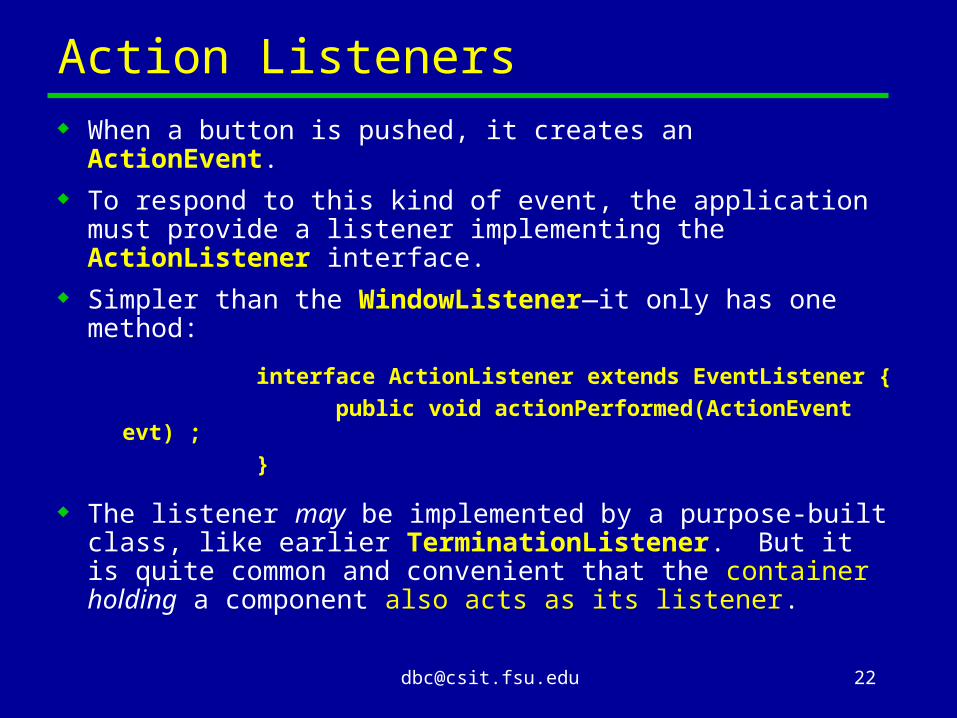
Action Listeners When a button is pushed, it creates an ActionEvent. To respond to this kind of event, the application
must provide a listener implementing the ActionListener interface.
Simpler than the WindowListener—it only has one method:
interface ActionListener extends EventListener { public void actionPerformed(ActionEvent evt)
; }
The listener may be implemented by a purpose-built class, like earlier TerminationListener. But it is quite common and convenient that the container holding a component also acts as its listener.
L
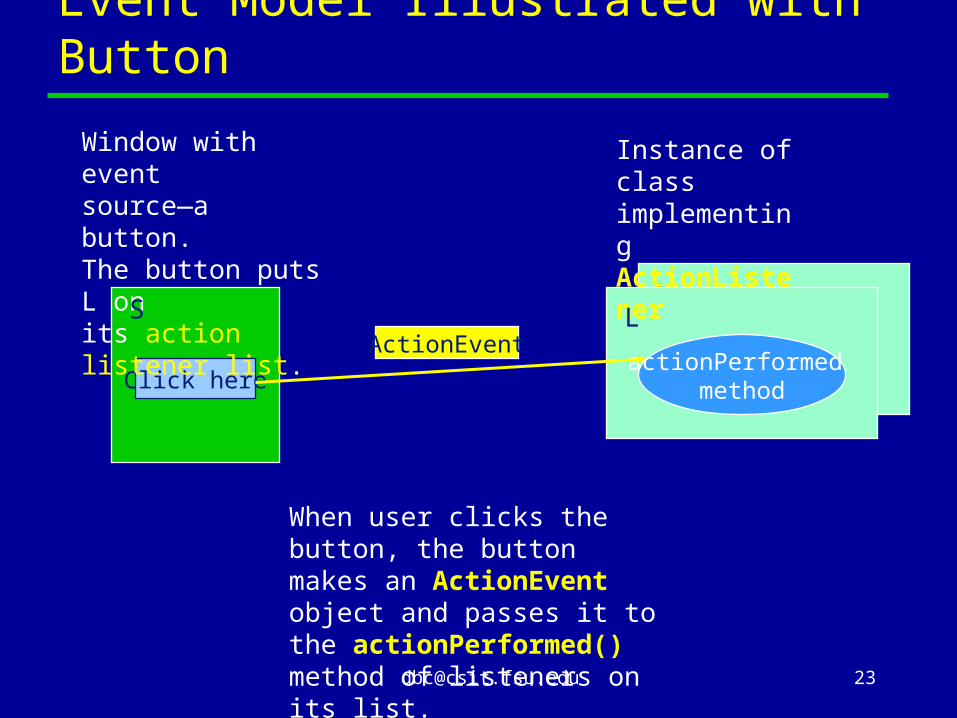
Event Model Illustrated with Button
Click here
Window with eventsource—a button.The button puts L onits action listener list.
Instance of class implementing ActionListener
actionPerformed method
S L
When user clicks the button, the button makes an ActionEvent object and passes it to the actionPerformed() method of listeners on its list.
ActionEvent
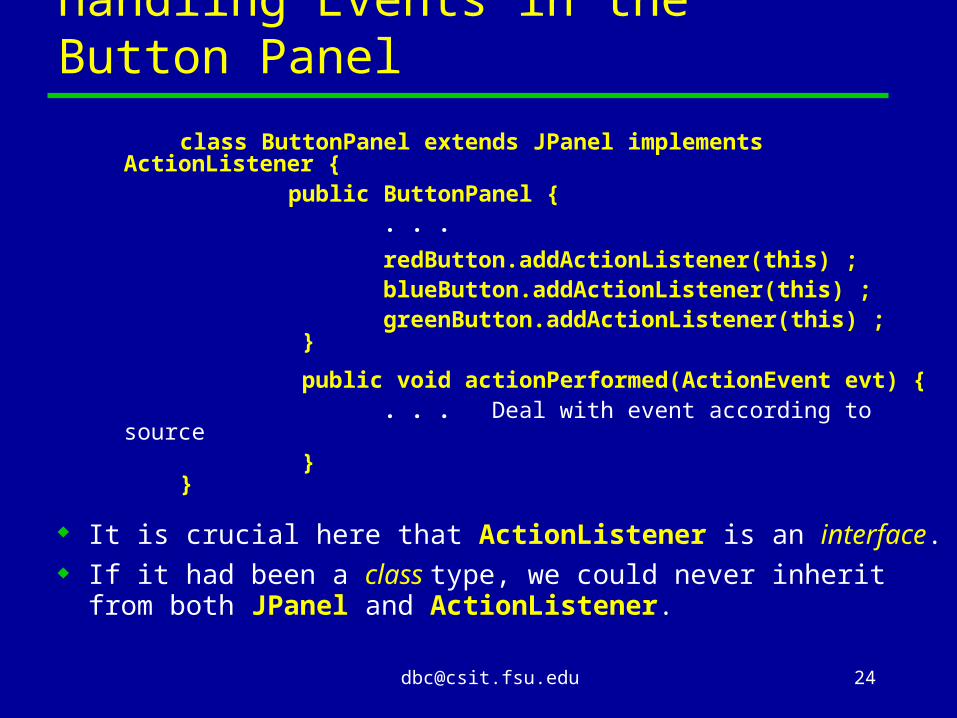
Handling Events in the Button Panel
class ButtonPanel extends JPanel implements ActionListener {
public ButtonPanel { . . .
redButton.addActionListener(this) ; blueButton.addActionListener(this) ; greenButton.addActionListener(this) ; }
public void actionPerformed(ActionEvent evt) { . . . Deal with event according to source } }
It is crucial here that ActionListener is an interface. If it had been a class type, we could never inherit from
both JPanel and ActionListener.

Handling Events from Multiple Sources Our ButtonPanel is now listener for three different
sources of action events. All three buttons will invoke the same event-
handling method, which must be implemented to distinguish the cases, eg:
public void actionPerformed(ActionEvent evt) { if(evt.getSource() == redButton) setBackGround(Color.red) ; else if(evt.getSource() == blueButton) setBackground(Color.blue) ; else if(evt.getSource() == greenButton) setBackground(Color.green) ; repaint() ; }
Note setBackground() and repaint() are relatively low-level graphics comands.
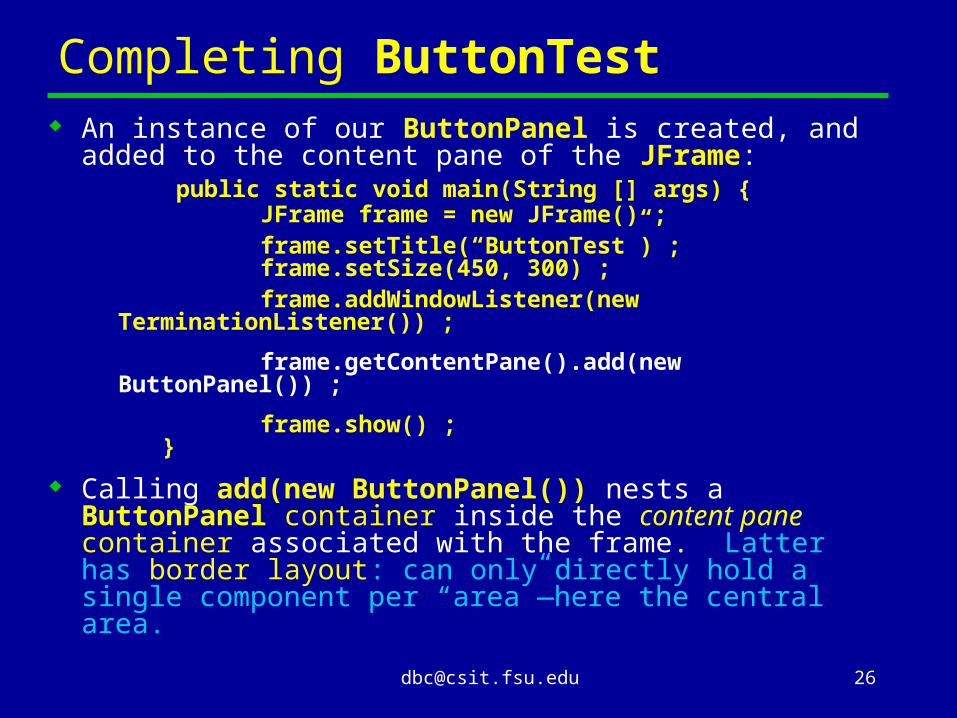
Completing ButtonTest An instance of our ButtonPanel is created, and
added to the content pane of the JFrame: public static void main(String [] args) { JFrame frame = new JFrame() ; frame.setTitle(“ButtonTest”) ; frame.setSize(450, 300) ; frame.addWindowListener(new
TerminationListener()) ;
frame.getContentPane().add(new ButtonPanel()) ;
frame.show() ; }
Calling add(new ButtonPanel()) nests a ButtonPanel container inside the content pane container associated with the frame. Latter has border layout: can only directly hold a single component per “area”—here the central area.


Check Boxes and Radio Buttons Check boxes and radio buttons are variations on
the stateless, clickable button we have just seen. The new versions have a definite (and clearly displayed) internal state. This state is toggled by clicking them.
At any time, a check box is either selected, or not selected (checked or unchecked). Radio buttons come in groups, and only one member of the group can be selected at a time. “Switching on” a new member of the group causes its predecessor to automatically be “switched off”.
Like JButton, the associated JCheckBox and JRadioButton components generate an ActionEvent when they are clicked. If the buttons demand immediate action (not always the case) these events may be handled by action listeners.
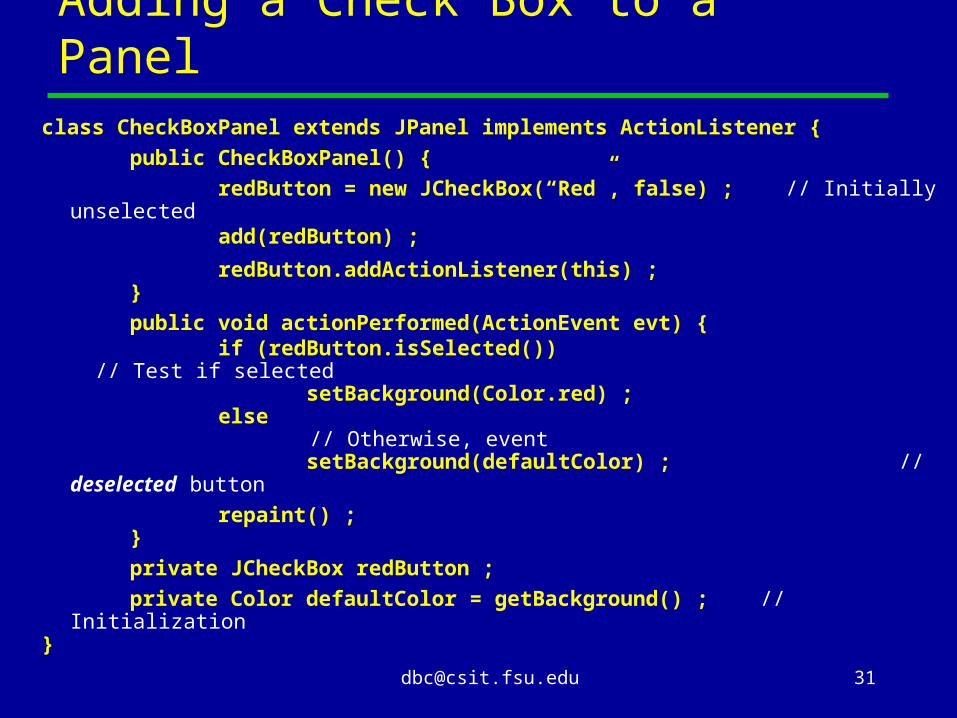
Adding a Check Box to a Panelclass CheckBoxPanel extends JPanel implements ActionListener { public CheckBoxPanel() { redButton = new JCheckBox(“Red”, false) ; // Initially
unselected add(redButton) ;
redButton.addActionListener(this) ; } public void actionPerformed(ActionEvent evt) { if (redButton.isSelected()) // Test if
selected setBackground(Color.red) ; else // Otherwise,
event setBackground(defaultColor) ; // deselected
button
repaint() ; } private JCheckBox redButton ; private Color defaultColor = getBackground() ; // Initialization}


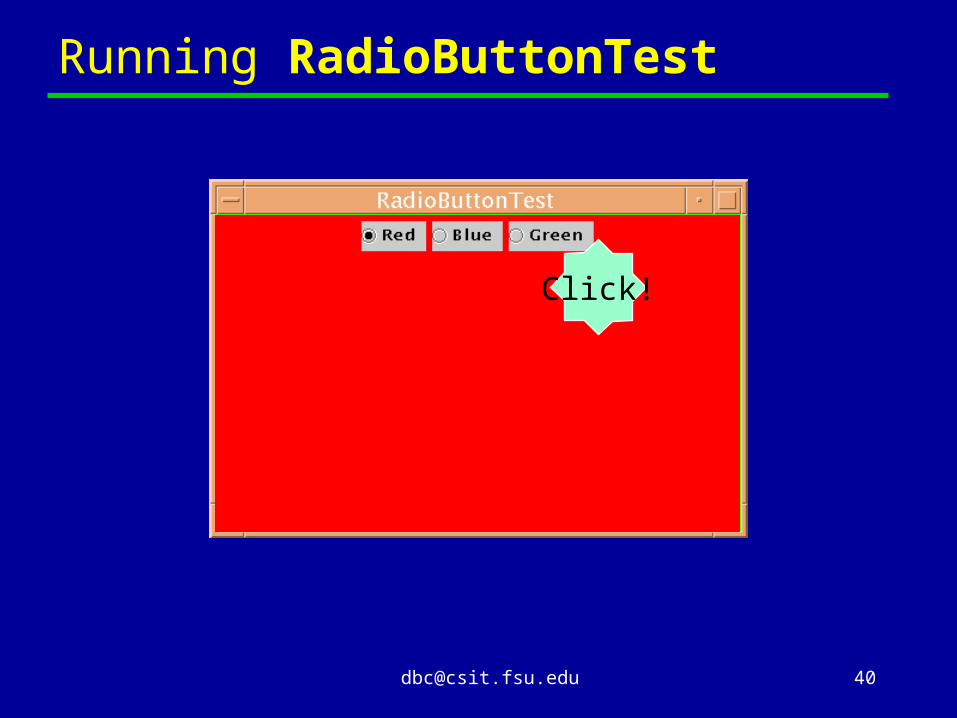
Adding a Radio Button Group to a Panelpublic RadioButtonPanel() { redButton = new JRadioButton(“Red”, true) ; // Initially
selected blueButton = new JRadioButton(“Blue”, false) ; // Initially
unselected greenButton = new JRadioButton(“Green”, false) ; // . . .
. . . add(redButton) ; // Add all three buttons add(blueButton) ; // to the panel (for display) add(greenButton) ; redButton.addActionListener(this) ; blueButton.addActionListener(this) ; greenButton.addActionListener(this) ;
ButtonGroup group = new ButtonGroup() ; // A group of buttons
group.add(redButton) ; // Add all three buttons to group.add(blueButton) ; // the button group (for control) group.add(greenButton) ;
setBackground(Color.red) ;}
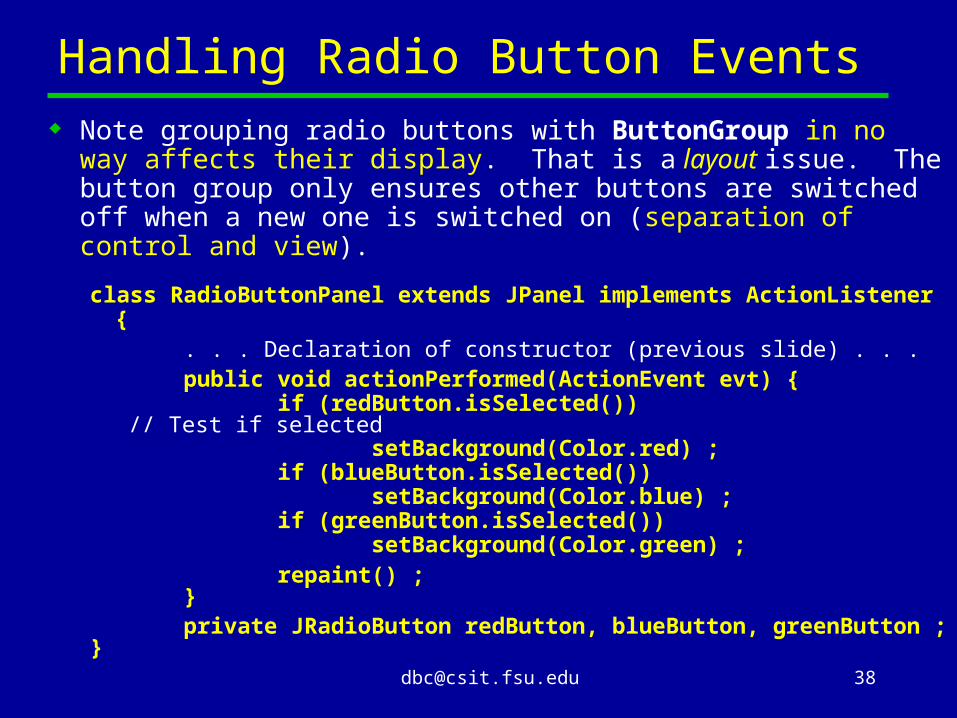
Handling Radio Button Events Note grouping radio buttons with ButtonGroup in no way
affects their display. That is a layout issue. The button group only ensures other buttons are switched off when a new one is switched on (separation of control and view).
class RadioButtonPanel extends JPanel implements ActionListener {
. . . Declaration of constructor (previous slide) . . . public void actionPerformed(ActionEvent evt) { if (redButton.isSelected()) // Test if
selected setBackground(Color.red) ; if (blueButton.isSelected()) setBackground(Color.blue) ; if (greenButton.isSelected()) setBackground(Color.green) ; repaint() ; } private JRadioButton redButton, blueButton,
greenButton ;}


Model-view-controller Design Pattern
Swing components are considered to have three aspects:– Contents, e.g., the state of a button, text string in a text
field.– Visual appearance, e.g., colour, size and shape of a button.– Behavior, e.g, response to events such as mouse clicks.
Swing attempts to keep these aspects separate—it tries to follow a model-view-controller design pattern, as far as practical.
In practice the interaction between behavior and visual appearance usually needs to be quite strongly coupled, e.g. to meet the requirements of a custom look and feel.
However Swing components do normally provide well-defined, well-separated, model classes.

The ButtonModel Interface Used for simple buttons, check boxes and radio
buttons—their getModel() methods will return an object (actually an instance of DefaultButtonModel) that presents interface:
public interface ButtonModel extends ItemSelectable {
String getActionCommand() ; int getMnemonic() ; . . . boolean isSelected() ; boolen isArmed() ; boolean isEnabled() ; boolean isPressed() ; . . . void addActionListener(ActionListener l) . . . }
The Text Field Component
A text field is a component used for inputting a small amount of text—it only accepts a single line. It automatically takes care of normal line-editing, as determined by whatever look-and-feel is in effect.
The associated class is JTextField. For larger amounts of text you should use a text
area. A text field might also be used for displaying a short
amount of text—not allowing editing. The model associated with a text field (or a text
area) is a, document model, implementing DocumentModel.
For these components, listeners are usually added to the model, rather than the component itself.

Document Listeners The DocumentListener interface has three
event handling methods: interface DocumentListener extends
EventListener { void insertUpdate(DocumentEvent evt) ; void removeUpdate(DocumentEvent evt) ; void changedUpdate(DocumentEvent evt) ; }
Insert and remove updates have straightforward meaning. Changed updates not generated by the plain documents we discuss (but by style documents with embedded formatting).
In simple cases may not care which method was invoked—may simply reread whole string from field every time it is updated.
Note this interface is in javax.swing.event (not java.awt.event)
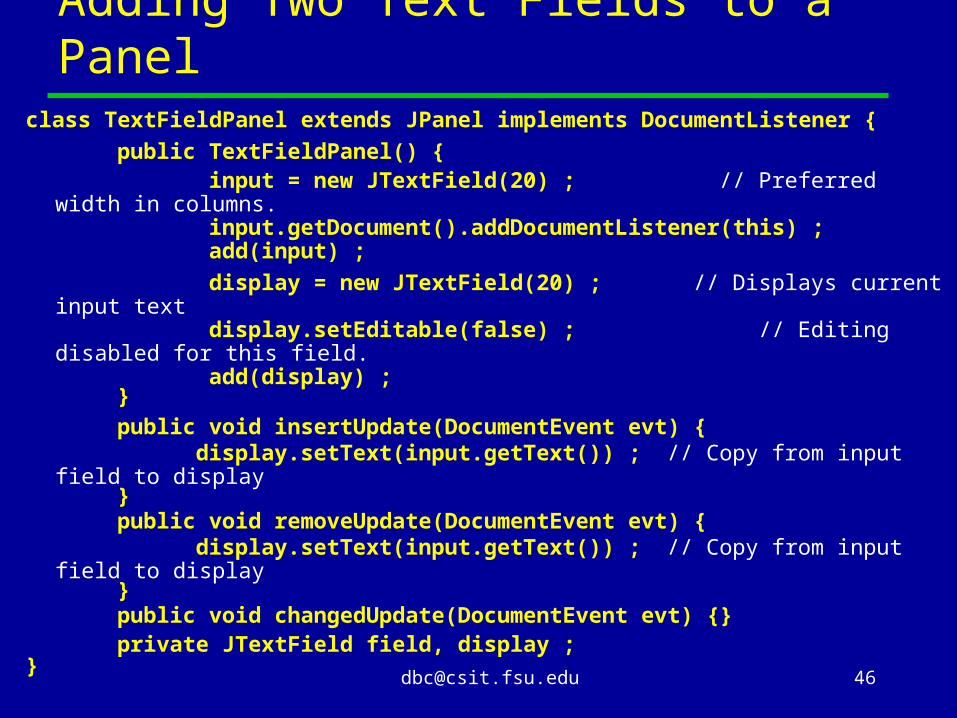
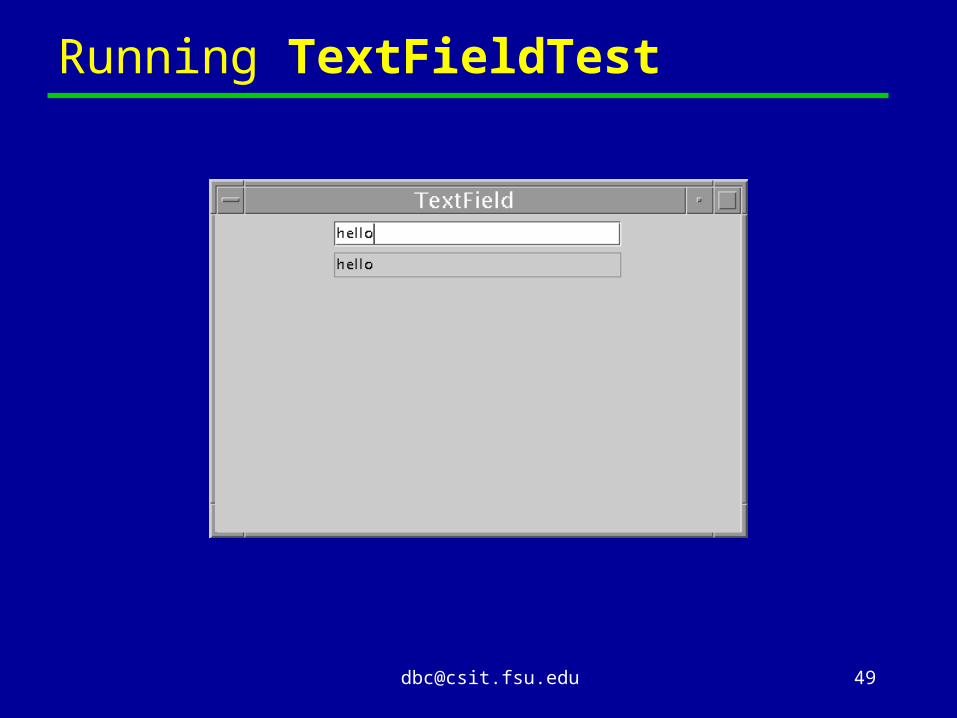
Adding Two Text Fields to a Panel
class TextFieldPanel extends JPanel implements DocumentListener { public TextFieldPanel() { input = new JTextField(20) ; // Preferred width in
columns. input.getDocument().addDocumentListener(this) ; add(input) ; display = new JTextField(20) ; // Displays current input text display.setEditable(false) ; // Editing disabled for this
field. add(display) ; } public void insertUpdate(DocumentEvent evt) { display.setText(input.getText()) ; // Copy from input field to
display } public void removeUpdate(DocumentEvent evt) { display.setText(input.getText()) ; // Copy from input field to
display } public void changedUpdate(DocumentEvent evt) {} private JTextField field, display ;}


Dialog Boxes
Buttons and text fields allow input from the user. But they cannot force the user to do anything. The program simply reacts to whatever component the user is focused on.
Sometimes you need to insist the user makes a choice before anything else can proceed.
Scenario:– The user clicks a button to change something in the
display (e.g. an entry in a list). At that point you need to enter into a dialog with the user to establish exactly what is required, before user’s attention goes elsewhere.
Following example illustrates a new way of getting text input from user. User clicks change button, then is prompted with a dialog box.

A Panel that Uses a Dialogclass DialogPanel extends JPanel implements ActionListener { public DialogPanel() { display = new JTextField(20) ; display.setEditable(false) ; add(display) ; JButton button = new JButton(“change”) ; button. addActionListener(this) ; add(button) ; } public void actionPerformed(ActionEvent evt) { String text = JOptionPane.showInput(this, “Input new text”, “Change
Displayed Text”,
JOptionPanel.QUESTION_MESSAGE) ; if (text != null) display.setText(text) ; // (null if
cancelled). } private JTextField display ;}


JOptionPane
Note because of the “synchronous” (or “modal”) nature of the interaction, don’t need listeners.
Because of temporary nature of dialog box, don’t need to add it to our panel.
Instead JOptionPane is a class with a series of static methods: showConfirmDialog() asks e.g., yes/no/cancel,
showInputDialog() prompt for input,
showMessageDialog() tell the user something happened,
showOptionDialog() combination of above.

Editing Larger Areas of Text
The text field allows the user to enter or edit a single line of text.
A text area has almost identical behavior, but it holds multiple lines of text.
Creation and handling of a raw text area is almost the same as a text field, except you have to specify the number of rows, and you can optionally set wrapping policies for long lines. The class is JTextArea:
JTextArea input = new JTextArea(8, 10) ; // rows and columns
input.setLineWrap(true) ; // wrap long lines.
By itself this component responds inconveniently when text gets too long to fit in the specified area. The area just grows in an antisocial way.

Scroll Panes
In practice a text area will usually be enclosed in a specialized container called a scroll pane, class JScrollPane.
In general a scroll pane can include any large component. It adds vertical and horizontal scroll bars, that allow the whole of the component to be traversed.
Components that are especially likely to appear in scroll panes may implement the Scrollable interface. This allows them to provide extra information to control scrolling.
These “scroll-savvy” components include JTextField, JTextArea, JList, JTable, and JTree.

Scroll Bar Policies
The policy for the vertical scroll bar on a scroll pane is one of: VERTICAL_SCROLLBAR_ALWAYS VERTICAL_SCROLLBAR_NEVER VERTICAL_SCROLLBAR_AS_NEEDED
Similarly the policy for the horizontal scroll bar is one of: HORIZONTAL_SCROLLBAR_ALWAYS HORIZONTAL_SCROLLBAR_NEVER HORIZONTAL_SCROLLBAR_AS_NEEDED
The default for both is “as-needed”: the scrollbars only appear if the component dimensions grow larger than the view area.
Don’t particularly recommend these defaults. Sudden appearance of scrollbars can affect global layout (and currently the response of text areas seems somewhat buggy).

A Panel with a Scrollable Text Area
class TextAreaPanel extends JPanel implements DocumentListener {
public TextAreaPanel() { JTextArea edit = new JTextArea(8, 15) ; // Rows and
columns. edit.getDocument().addDocumentListener(this) ; edit.setLineWrap(true) ; add(new JScrollPane(edit, JScrollPane.VERTICAL_SCROLLBAR_ALWAYS,
JScrollPane.HORIZONTAL_SCROLLBAR_NEVER)) ; } public void insertUpdate(DocumentEvent evt) { updated = true ; // Flag changes: perhaps save updated text
later. } public void removeUpdate(DocumentEvent evt) { updated = true ; } public void changedUpdate(DocumentEvent evt) {} private boolean updated = false ;}
Text Area Example
In this example we set a line wrapping policy in the text area, and disabled the horizontal scrollbar.
Another reasonable policy would be to leave line wrapping disabled, and set HORIZONTAL_SCROLLBAR_ALWAYS instead.
Since this is a potentially large document, we just set a flag if text is changed. The text can be saved later by using edit.getText().


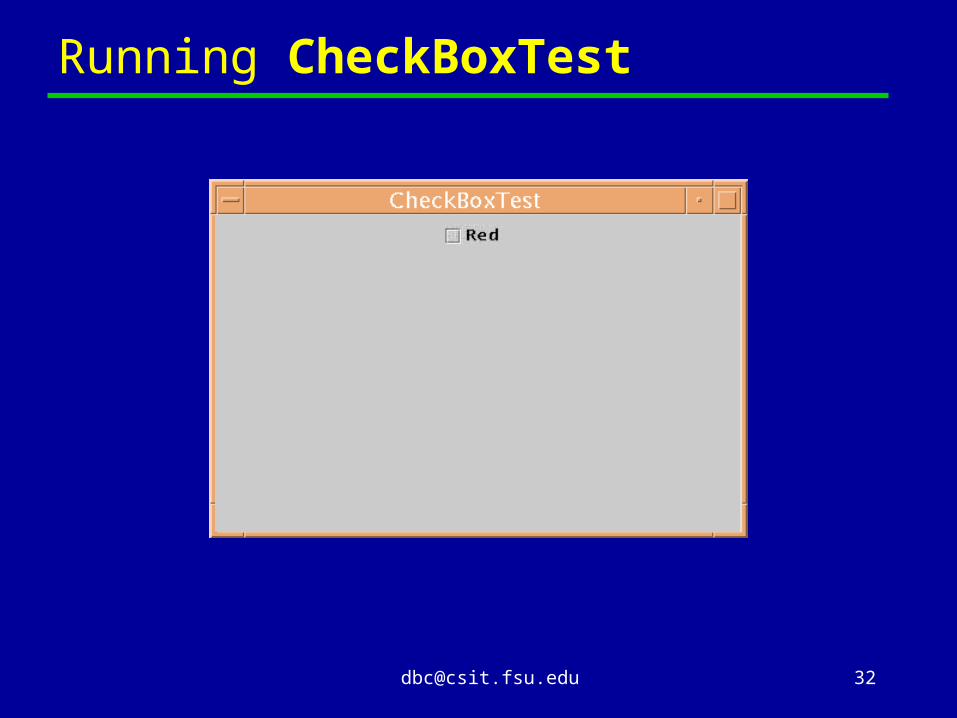
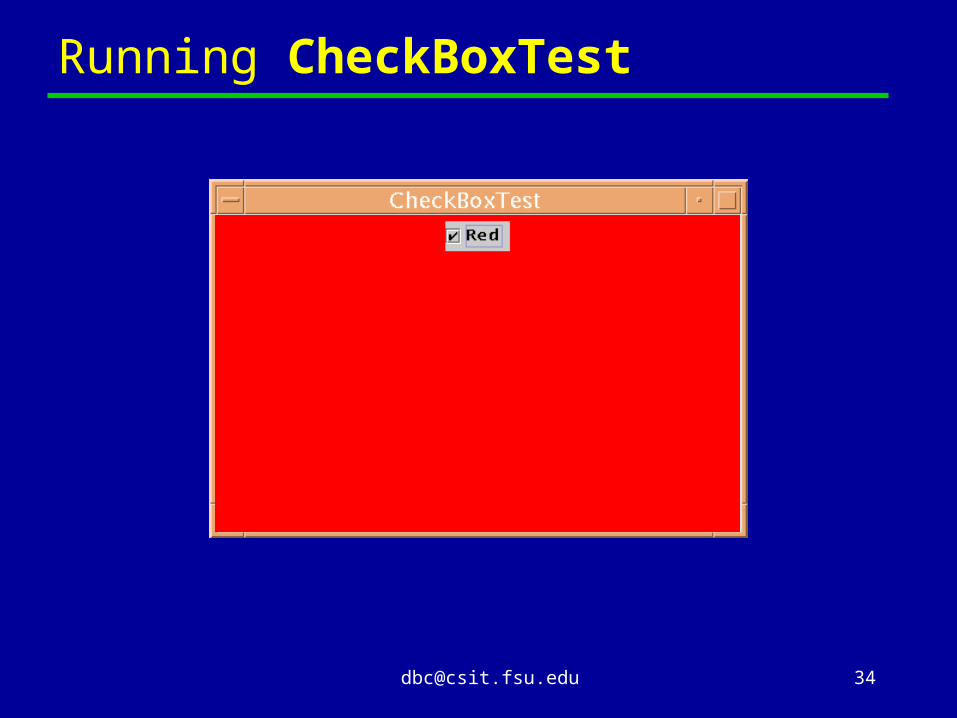
Running TextAreaTest
Type!
(Quote from “Communicating Sequential Processes”, C.A.R. Hoare, 1985)
Lists
Groups of buttons can be used to select from a small, usually static, set of behaviors, e.g. toggling between three primary colors.
If we have a larger set of options to choose between, especially if those options are likely to change dynamically in the course of the program, a list component is likely to be a more suitable device.
The class of the Swing list component is JList. In the display, the elements of a list are stacked
vertically in a column. As with text areas, you will nearly always want
to enclose a list component in a scroll pane.

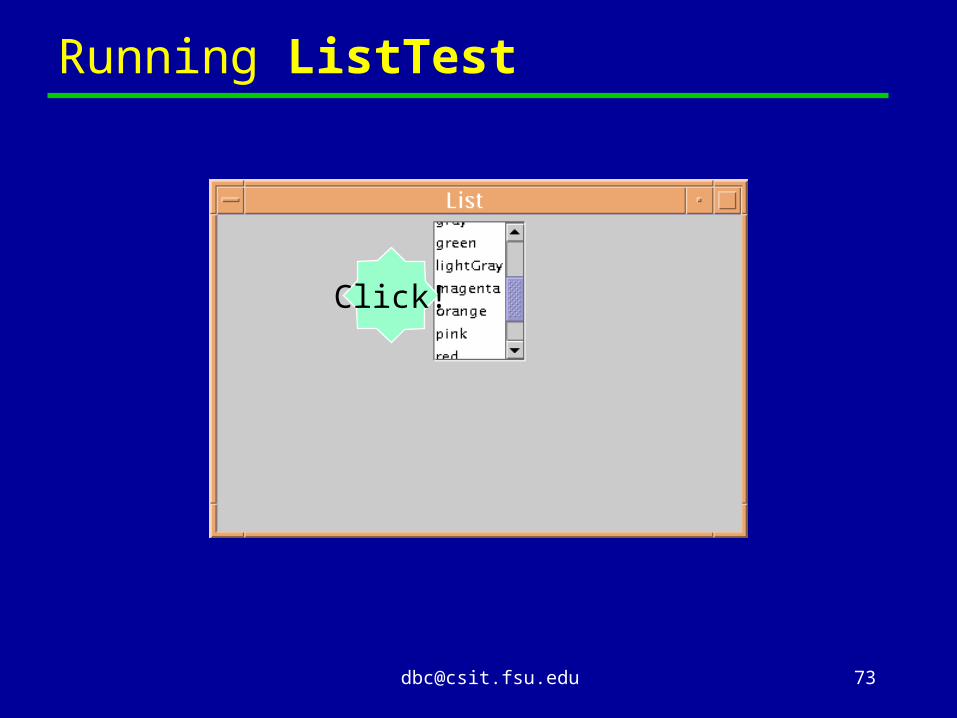
Adding a Static List to a Panel
public ListPanel() { String [] colors = {“black”, “blue”, “cyan”, “darkGrey”, “gray”, “green”, “lightGray”, “magenta”, “orange”, “pink”, “red”, “white”, “yellow”}
; list = new JList(colors) ; list.setVisibleRowCount(6) ; // Default is 8
list.setSectionModel(ListSelectionModel.SINGLE_SELECTION) ;
add(new JScrollPane(list, JScrollPane.VERTICAL_SCROLLBAR_ALWAYS,
JScrollPane.HORIZONTAL_SCROLLBAR_NEVER)) ; . . .}


Responding to Selections
List components require a new kind of listener: interface ListSelectionListener extends
EventListener { void valueChanged(ListSelectionEvent evt) ; }
In full generality, modes of selection are fairly complex. User may select multiple entries from list by CTRL-left-button and CTRL-right-button.
Can set selection mode to SINGLE_SELECTION to disable this feature.
Then the event-handling method can simply apply getSelectedValue() to the list to discover the selection.

Listening for List Selection Events
class ListPanel extends JPanel implements ListSelectionListener {
public ListPanel () { . . .
list.setSelectionModel(ListSelectionModel.SINGLE_SELECTION) ;
list.addListSelectionListener(this) ; } public void valueChanged(ListSelectionEvent evt) { . . . Deal with selection
} private JList list ;}
Handling List Selections
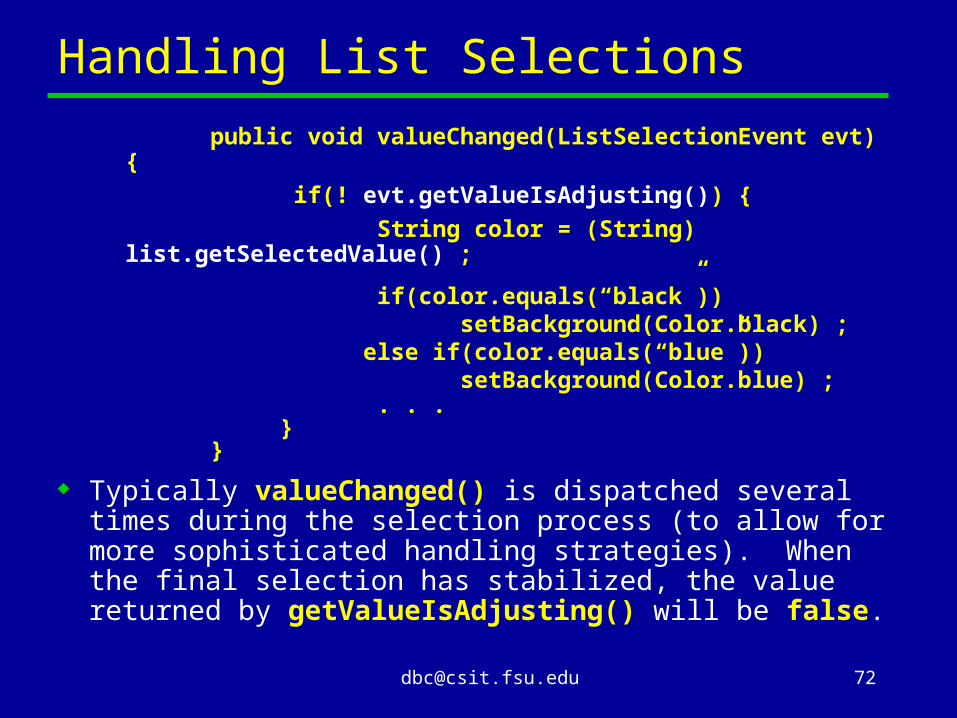
public void valueChanged(ListSelectionEvent evt) {
if(! evt.getValueIsAdjusting()) { String color = (String)
list.getSelectedValue() ;
if(color.equals(“black”)) setBackground(Color.black) ; else if(color.equals(“blue”)) setBackground(Color.blue) ; . . . } }
Typically valueChanged() is dispatched several times during the selection process (to allow for more sophisticated handling strategies). When the final selection has stabilized, the value returned by getValueIsAdjusting() will be false.


Dynamic Lists
It is fairly common to want to change the contents of lists on the fly, for example in response to input and commands from the user.
To do this we must deal directly with the model associated with a list.
Models for JList components only have to implement the fairly minimal ListModel interface.
Unless you need to do something very clever, you should probably stick to the DefaultListModel implementation of this interface, provided with Swing.

The Default List Model
The class DefaultListModel object generally behaves like (a slightly out of date) java.util.Vector object.
You can, for example, create a DefaultListModel, add initial list elements to this object as if it was a Vector, then create a JList component containing this model.
The most important special property of a DefaultListModel is that it will automatically generate events to update the JList display, whenever the model’s contents are changed.
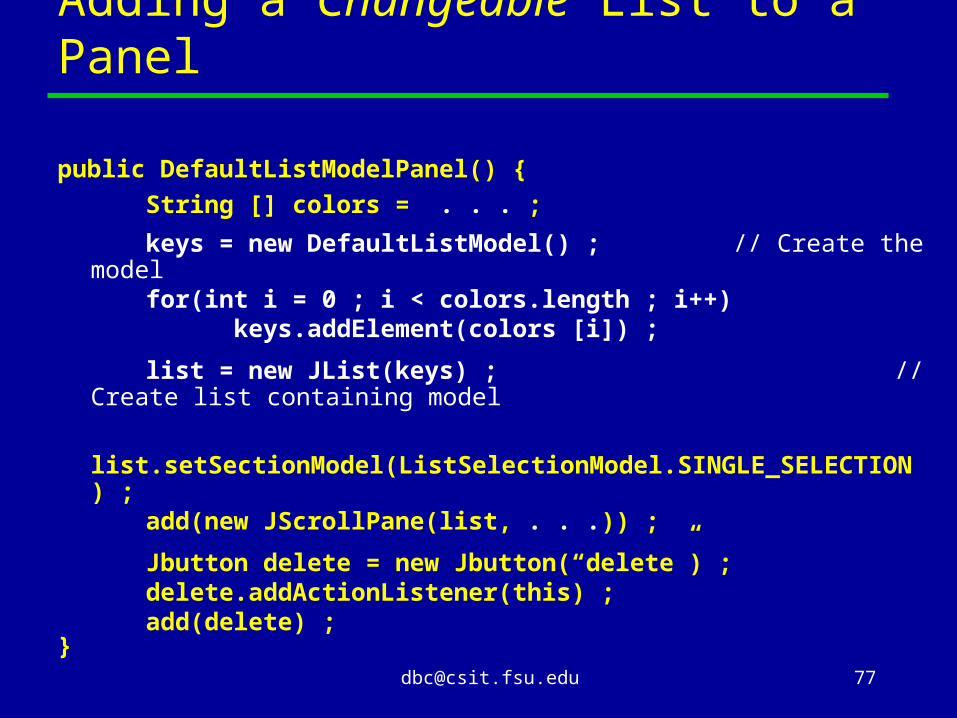
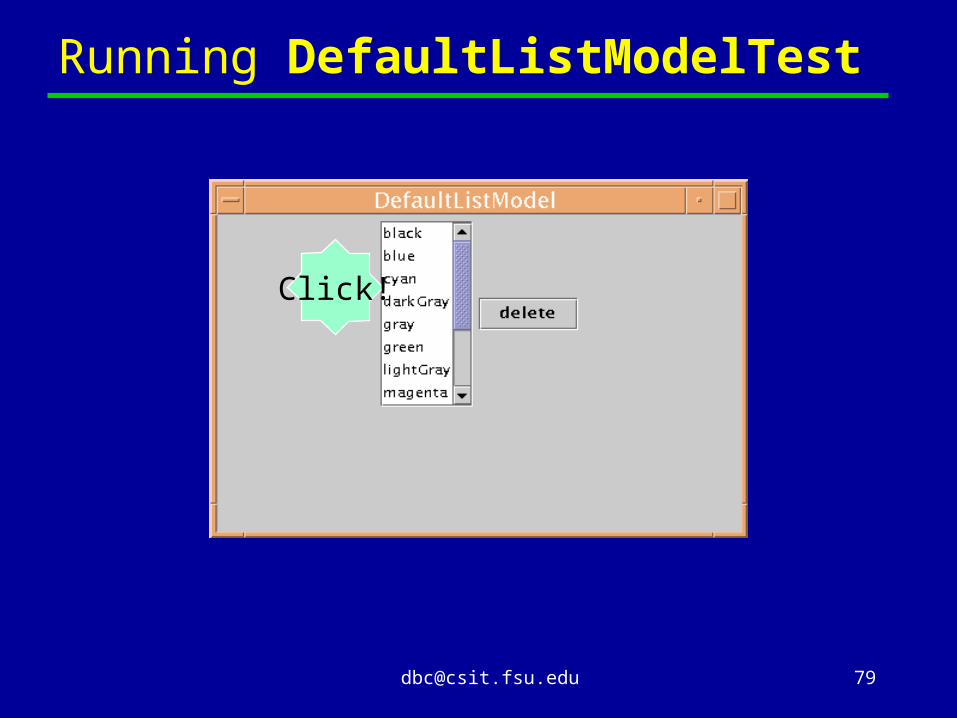
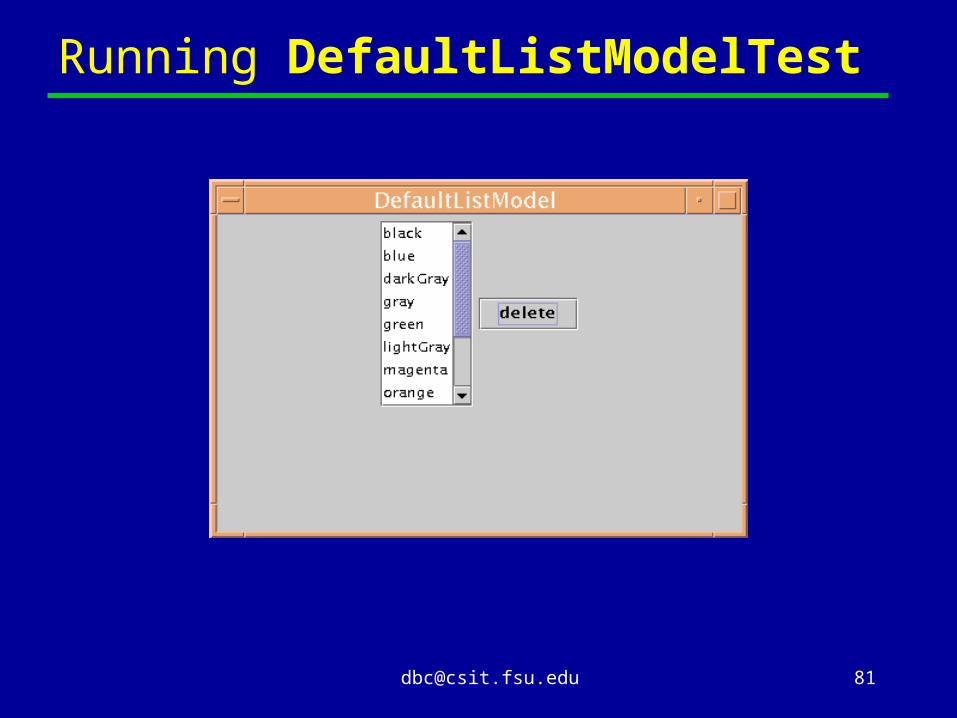
Adding a Changeable List to a Panel
public DefaultListModelPanel() { String [] colors = . . . ;
keys = new DefaultListModel() ; // Create the model for(int i = 0 ; i < colors.length ; i++) keys.addElement(colors [i]) ;
list = new JList(keys) ; // Create list containing model
list.setSectionModel(ListSelectionModel.SINGLE_SELECTION) ;
add(new JScrollPane(list, . . .)) ;
Jbutton delete = new Jbutton(“delete”) ; delete.addActionListener(this) ; add(delete) ;}
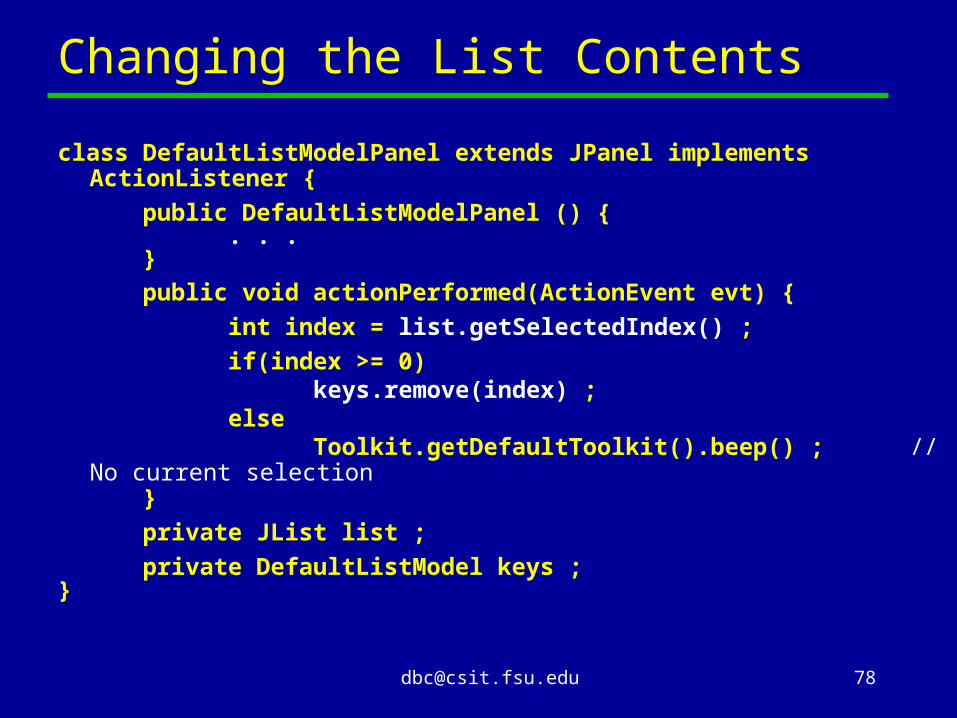
Changing the List Contents
class DefaultListModelPanel extends JPanel implements ActionListener {
public DefaultListModelPanel () { . . . } public void actionPerformed(ActionEvent evt) { int index = list.getSelectedIndex() ; if(index >= 0) keys.remove(index) ; else Toolkit.getDefaultToolkit().beep() ; // No current
selection } private JList list ; private DefaultListModel keys ;}


Not Listening
Don’t assume that you must listen to every component that can generate events. You only need to set up a listener for a particular kind of event if an immediate programmatic response is needed. – In the immediately preceding example we did not have
to listen for list selection events; nothing happened until a button was pressed.
– You may not need to listen for updates to a document; again, perhaps the text is only saved when some button is pressed (but be careful not to lose user’s inputs!)
– A checkbox or radio button may only need to be interrogated for its selection status when a form is submitted, say. In this case there is no need for immediate response at the time of selection.
Menus
Menus are conceptually easy, although the programming tends to get verbose (in general, GUI programming tends to get verbose. . .)
They have a hierarchical organization:– Add a menu bar (JMenuBar) to a JFrame– Add one or more menus (JMenu) to a menu bar– Add one or more menu items (JMenuItem), or sub-
menus (JMenu again) to each menu.
Each menu item is handled simply like a button, by adding an ActionListener to it.
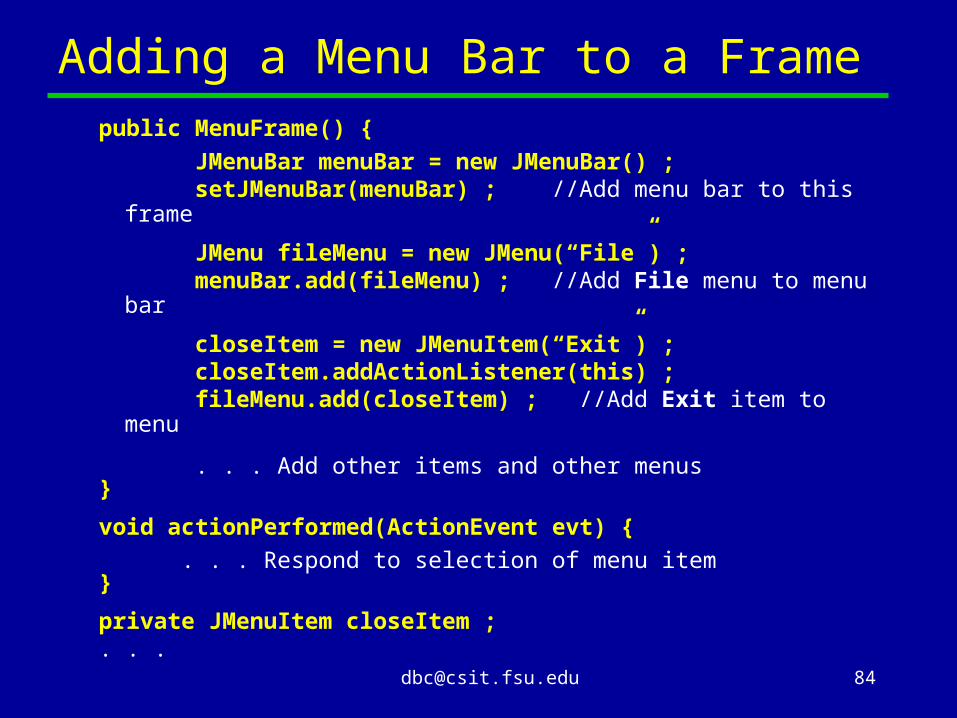
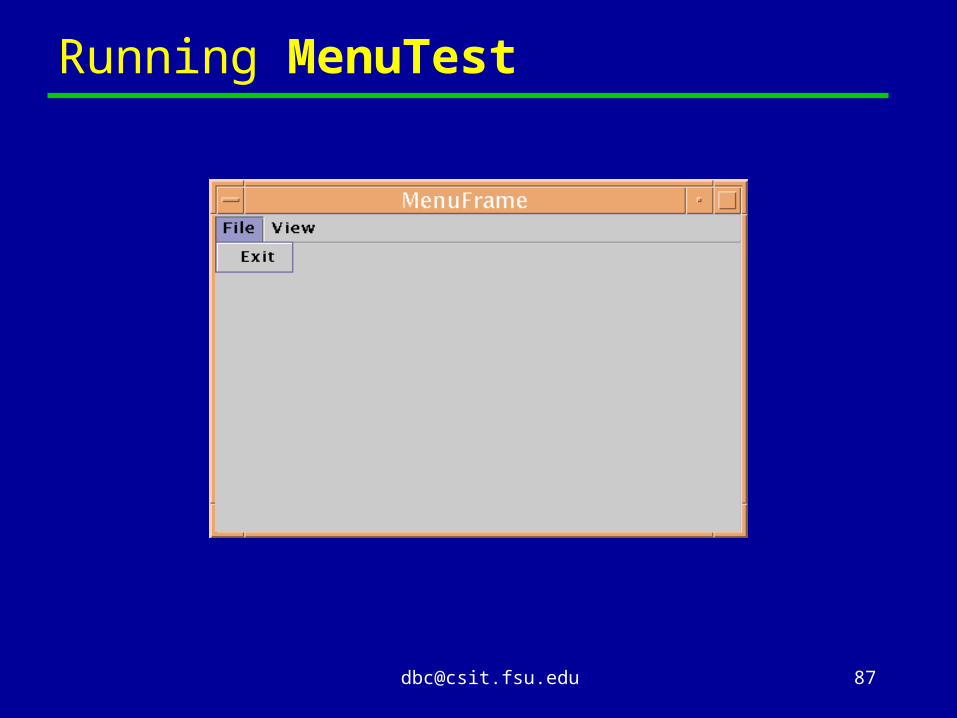
Adding a Menu Bar to a Framepublic MenuFrame() { JMenuBar menuBar = new JMenuBar() ; setJMenuBar(menuBar) ; //Add menu bar to this
frame
JMenu fileMenu = new JMenu(“File”) ; menuBar.add(fileMenu) ; //Add File menu to menu
bar
closeItem = new JMenuItem(“Exit”) ; closeItem.addActionListener(this) ; fileMenu.add(closeItem) ; //Add Exit item to menu
. . . Add other items and other menus}
void actionPerformed(ActionEvent evt) { . . . Respond to selection of menu item}
private JMenuItem closeItem ;. . .


File Choosers
Swing has a powerful built-in component for choosing files.
JFileChooser is a new kind of dialog. It provides a functionality expected in a modern
GUI: traversing a directory or folder hierarchy using the mouse.

Using a File Chooservoid actionPerformed(ActionEvent evt) {
if(evt.getSource() == openItem) {
JFileChooser c = new JFileChooser() ; c.setCurrentDirectory(new File(“.”)) ;
c.showOpenDialogue() ; File f = c.getSelectedFile() ;
if(f != null) field.setText(f.getName()) ; } . . .}
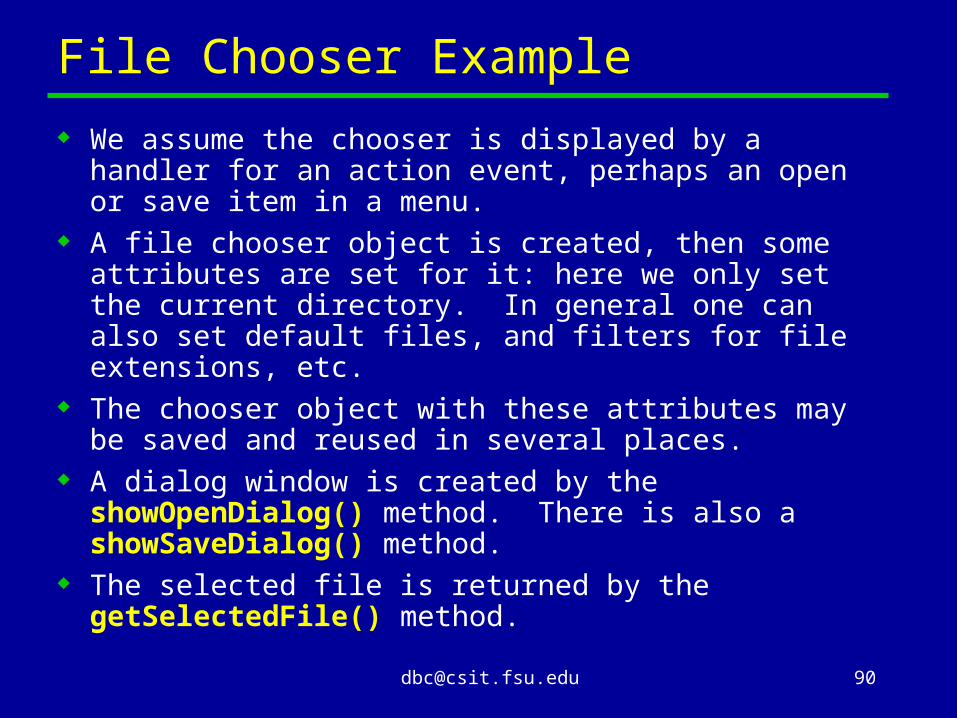
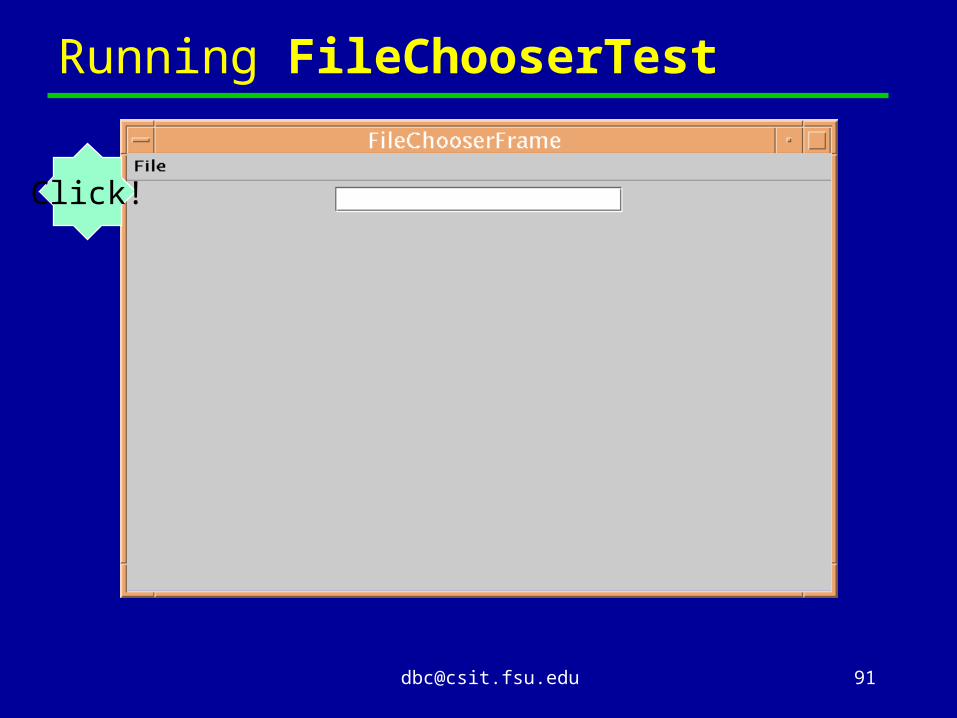
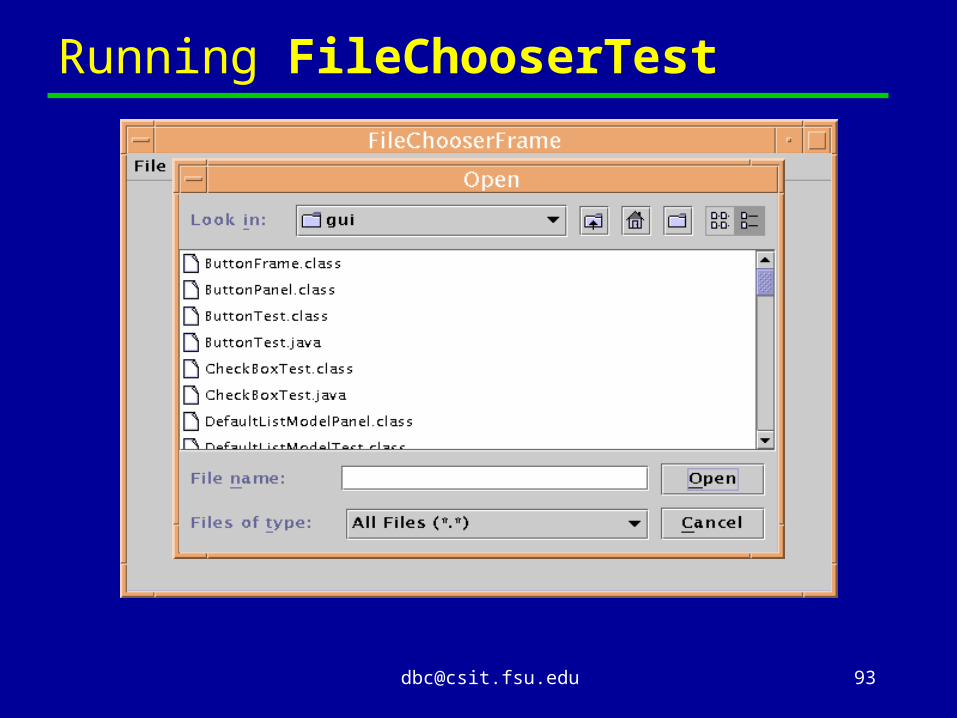
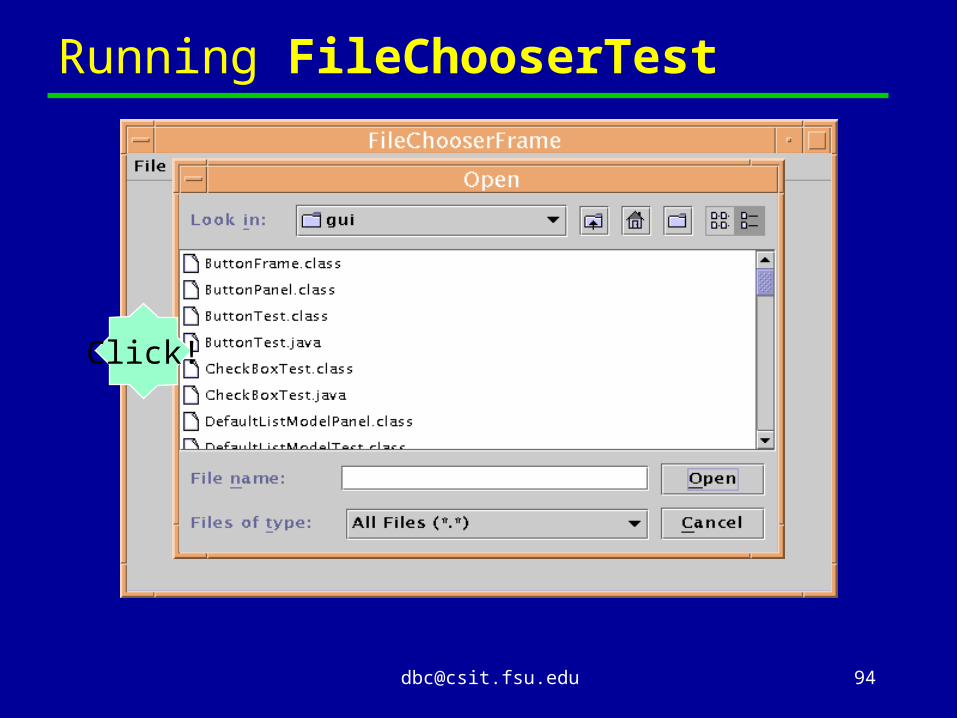
File Chooser Example
We assume the chooser is displayed by a handler for an action event, perhaps an open or save item in a menu.
A file chooser object is created, then some attributes are set for it: here we only set the current directory. In general one can also set default files, and filters for file extensions, etc.
The chooser object with these attributes may be saved and reused in several places.
A dialog window is created by the showOpenDialog() method. There is also a showSaveDialog() method.
The selected file is returned by the getSelectedFile() method.


Miscellaneous other Components
A label, class JLabel, is what it says: a text label usually describing another component or group of components. No listener is required.
A combo-box, class JComboBox, is a drop-down “menu”, usually placed in a panel. Reminiscent of a list, but programmatically different—generates action events on selection—can use getSelectedItem() to discover choice.
A slider, class JSlider, is similar to a scroll bar. It is a convenient way of inputting analogue data. Uses a new kind of listener—a change listener.

More Information
Can only cover a limited selection of Swing components in these lectures. For further components, and more details on using the components already covered, see for example:
– Core Java 2, Volume I, Chapter 9: “User Interface Components with Swing”,
– Core Java 2, Volume II, Chapter 6: “Advanced Swing”,
– packages javax.swing, java.awt, and their sub-packages, at:
http://java.sun.com/products/jdk/1.2/docs/api
and– “The JFC Swing Tutorial”, at:
http://java.sun.com/docs/books/javatutorial/jfc.html

Layout of Components in a Panel
If a container contains nested panels, the subcomponents in each panel are laid out independently.
One can lay components out “by hand”, with positioning in pixel space.
However it is very difficult to make this machine independent. Instead one tends to use general strategies embodied in several layout managers. These all implement the LayoutManager interface.
To specify a layout, such as flow layout, in your panel use the setLayout() method: setLayout(new FlowLayout()) ;
This particular layout is the default.

Some Available Layout Managers FlowLayout is a one-dimensional layout where
components are “flowed” into panel in order they were added. When a row is full up, it is wrapped onto next row.
BorderLayout arranges the components into five areas called North, South, East, West and Center.
GridLayout is a two-dimensional layout where you define a N by M set of cells and again the components are assigned sequentially to cells starting at top left hand corner—one component is in each cell. The cells are the same size.
BoxLayout is a one-dimensional layout where you have more control over the spacing and sizing of the components.
GridBagLayout uses a class GridBagConstraints to customize positioning of individual components in one or more cells.
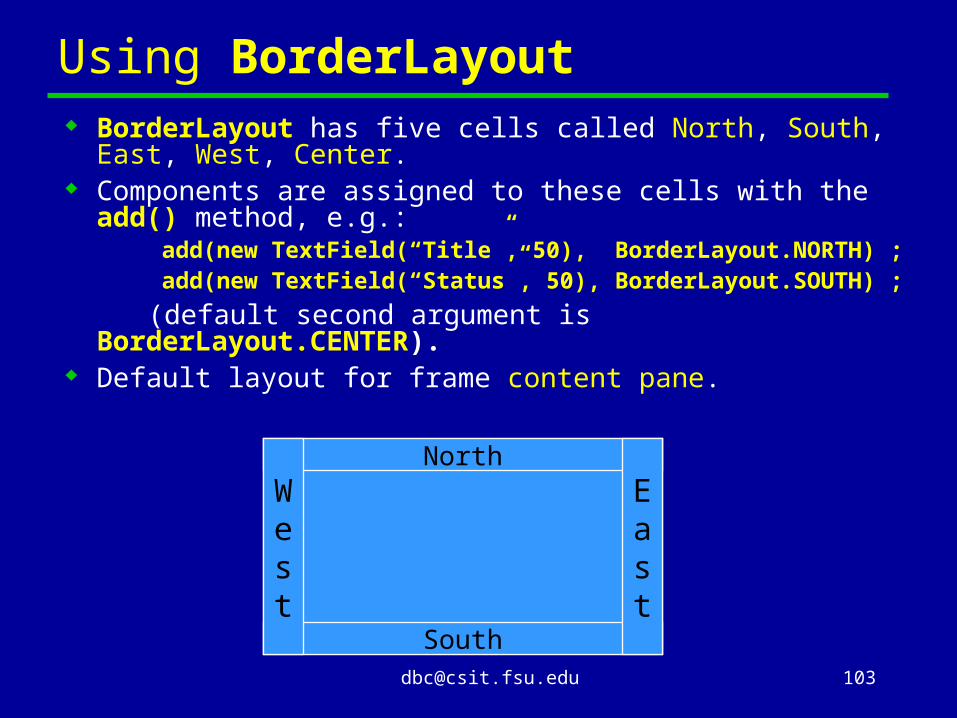
Using BorderLayout BorderLayout has five cells called North, South, East,
West, Center. Components are assigned to these cells with the add()
method, e.g.: add(new TextField(“Title”, 50), BorderLayout.NORTH) ; add(new TextField(“Status”, 50),
BorderLayout.SOUTH) ;
(default second argument is BorderLayout.CENTER).
Default layout for frame content pane.
North
South
West
East

Using FlowLayout This simple layout manager “flows” components
into the window. Row “justification”, and space between components
specified, by optional align, hgap and vgap arguments of constructor, e.g.: setLayout(new FlowLayout(FlowLayout.LEFT, 5, 2))
; setLayout(new FlowLayout(FlowLayout.CENTER)) ; setLayout(new FlowLayout(FlowLayout.RIGHT)) ;
The flow layout manager’s strategy includes trying to make each component its “preferred size”.

Using GridLayout The first two arguments of the GridLayout
constructor specify the number of rows of cells and the number of columns of cells, e.g: setLayout(new GridLayout (2, 3)) ;
Optional additional arguments hgap and vgap specify
the number of pixels between columns and rows: setLayout(new GridLayout (2, 3, 10, 15 ));
The grid layout manager’s strategy is to make each cell exactly the same size, so rows and columns line up in a regular grid.
Using BoxLayout As usual, may setLayout() on a panel to box layout. Alternatively can use a special container called Box
whose default layout is a vertical or horizontal box layout, e.g.: Box b = Box.createHorizontalBox( ) ;
or Box b = Box.createVerticalBox( ) ;
You can add components to a box in the usual way They are flowed into the one dimension. The
strategy is to make them fit into one row or column, using the preferred size and alignment if possible, but growing them to maximum size if necessary.
There are invisible fillers available to space the components.

Fillers in Box Layout
There are three kinds of fillers:
– A strut adds some space between components, e.g.:
b.add(button1) ; b.add( Box.createHorizontalStrut(8) ) ; b.add(button2) ; adds 8 pixels between these buttons in a horizontal box.
– A rigid area also adds a fixed amount of space between components, but may also specify a second dimension, affecting the height of a horizontal box and the width of a vertical box e.g.:
b.add ( Box.createRigidArea( new Dimension (10, 20) ) ;
– Adding glue separates the components as much as possible, e.g.:
b.add(button1) ; b.add( Box.createGlue( ) ) ; b.add(button2) ;
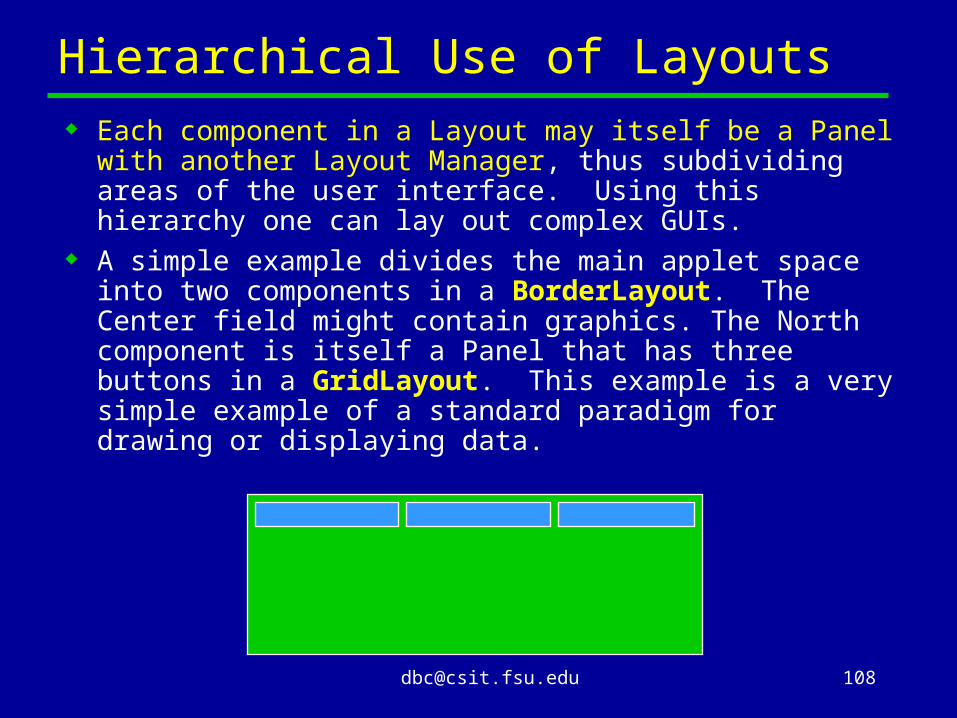
Hierarchical Use of Layouts Each component in a Layout may itself be a Panel
with another Layout Manager, thus subdividing areas of the user interface. Using this hierarchy one can lay out complex GUIs.
A simple example divides the main applet space into two components in a BorderLayout. The Center field might contain graphics. The North component is itself a Panel that has three buttons in a GridLayout. This example is a very simple example of a standard paradigm for drawing or displaying data.

Miscellaneous other Stylistic Features
These can improve the appearance and usability of your interface. We will briefly discuss:– Borders– Labels– Use of Icons– Tool tips

Borders
In a hierarchical layout, you might put a border around a panel to visibly group together the set of components it contains. The border can optionally include a title for the panel.
You might also put an empty border around a component, simply to create extra space around it.
You create a border using static methods of the BorderFactory class, then add it to a panel or other component using the setBorder() method of JComponent.
BorderFactory
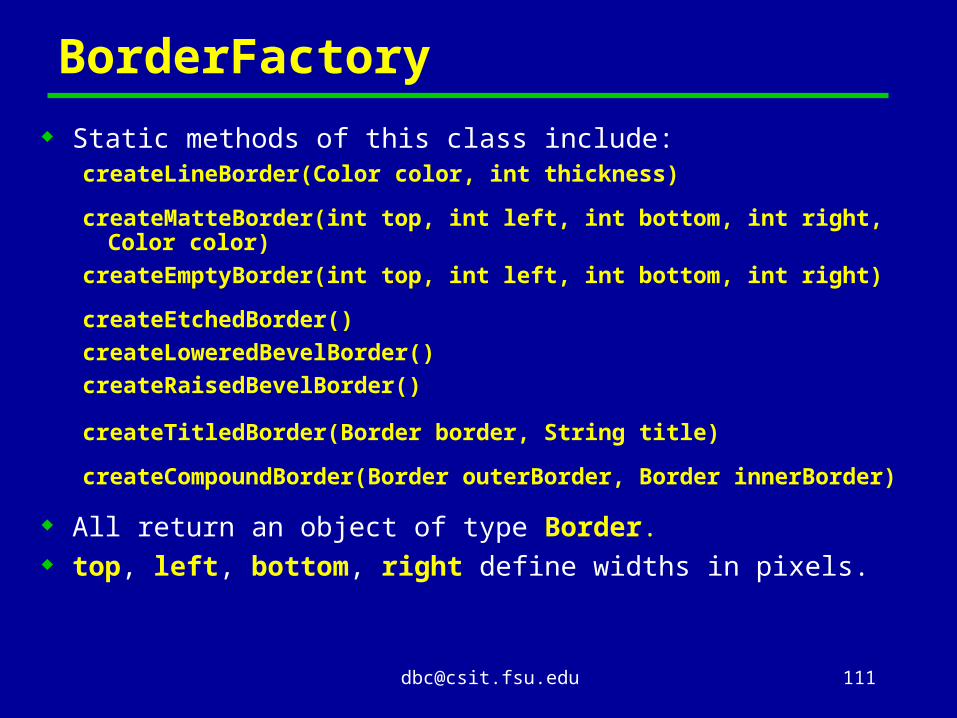
Static methods of this class include:createLineBorder(Color color, int thickness)
createMatteBorder(int top, int left, int bottom, int right, Color color)
createEmptyBorder(int top, int left, int bottom, int right)
createEtchedBorder()createLoweredBevelBorder()createRaisedBevelBorder()
createTitledBorder(Border border, String title)
createCompoundBorder(Border outerBorder, Border innerBorder)
All return an object of type Border. top, left, bottom, right define widths in pixels.

A Panel With a Bordered Group
public BorderPanel { . . . JPanel buttons = new JPanel() ; buttons.add(redButton) ; buttons.add(blueButton) ; buttons.add(greenButton) ;
Border untitled = BorderFactory.createEtchedBorder() ;
Border border = BorderFactory.createTitledBorder(untitled,
“Etched Border”) ;
buttons.setBorder(border) ;
add(buttons) ; . . .}

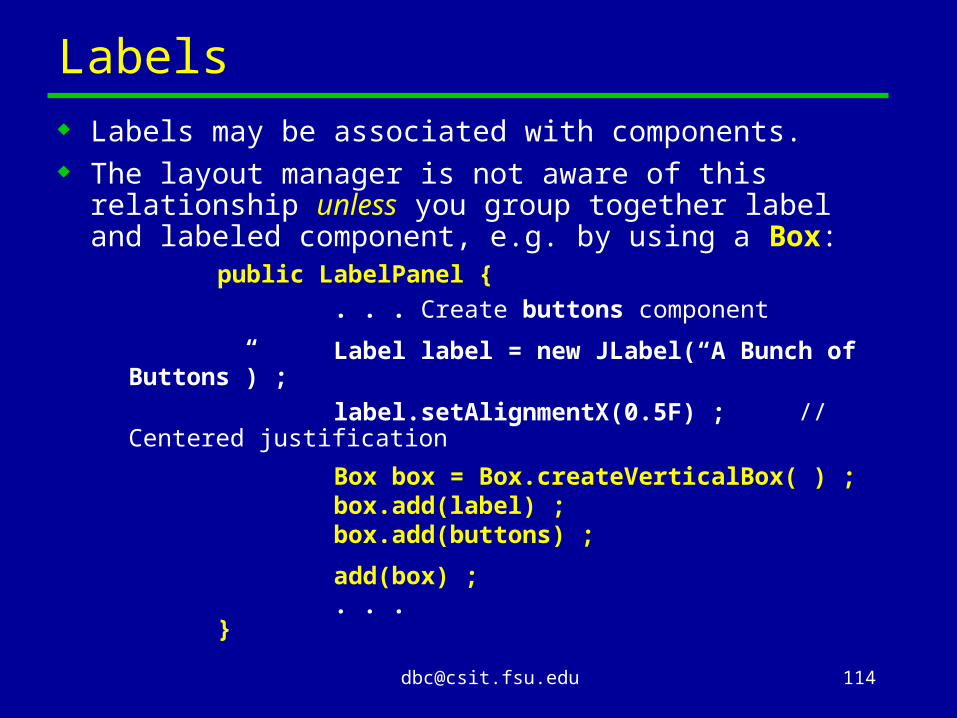
Labels Labels may be associated with components. The layout manager is not aware of this
relationship unless you group together label and labeled component, e.g. by using a Box: public LabelPanel { . . . Create buttons component
Label label = new JLabel(“A Bunch of Buttons”) ;
label.setAlignmentX(0.5F) ; // Centered justification
Box box = Box.createVerticalBox( ) ; box.add(label) ; box.add(buttons) ;
add(box) ; . . . }


Features of Alignment (JDK 1.2.2)
The constructor of JLabel has an optional align argument, which ought to make the setAlignmentX(0.5F) invocation unnecessary—it didn’t work for me.
If you setAlignmentX(0.0F) (the default), Box treats this as right alignment. If you setAlignmentX(1.0F), Box treats it as left alignment. This is the opposite of what you might have guessed (and what the documentation suggests).
Finally, note the API documentation says setAlignmentX() sets vertical alignment. Actually (more logically) it sets horizontal alignment.

Use of Icons
Icons can be used in various places. Buttons, labels and related components generally allow an icon to be displayed in addition to or in place of a text label:
JButton(String label, Icon icon) // Text and icon
JMenuItem(String label, Icon icon) // Text and icon
JLabel(Icon icon) // Just icon
Icons are usually loaded from image files, e.g. Icon icon = new ImageIcon(“icon.gif”) ;
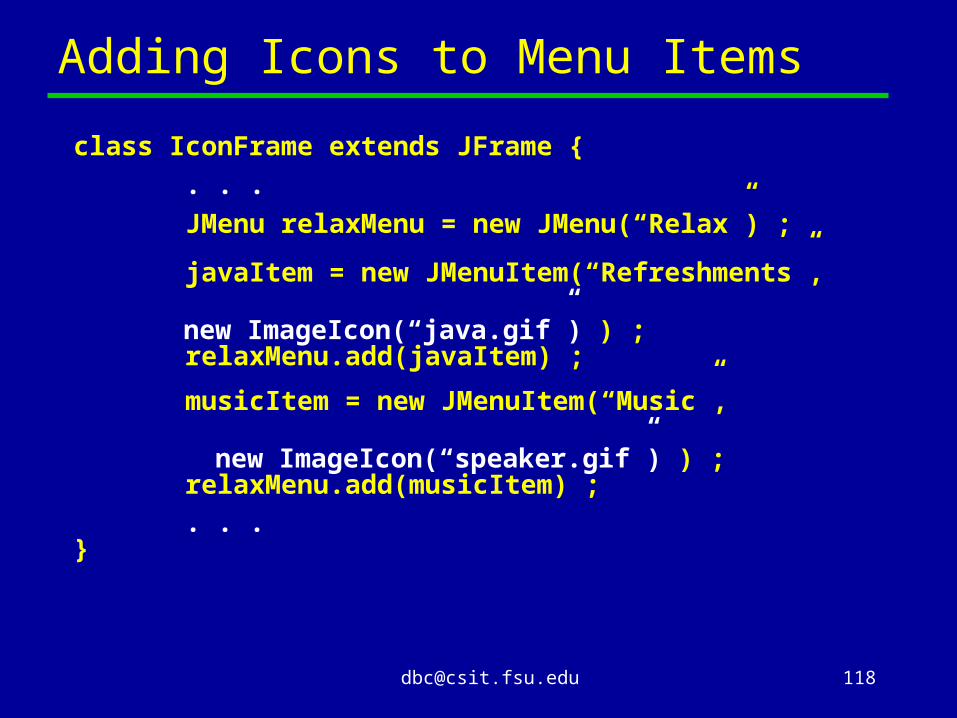
Adding Icons to Menu Items
class IconFrame extends JFrame { . . . JMenu relaxMenu = new JMenu(“Relax”) ;
javaItem = new JMenuItem(“Refreshments”, new
ImageIcon(“java.gif”) ) ; relaxMenu.add(javaItem) ;
musicItem = new JMenuItem(“Music”, new
ImageIcon(“speaker.gif”) ) ; relaxMenu.add(musicItem) ; . . .}

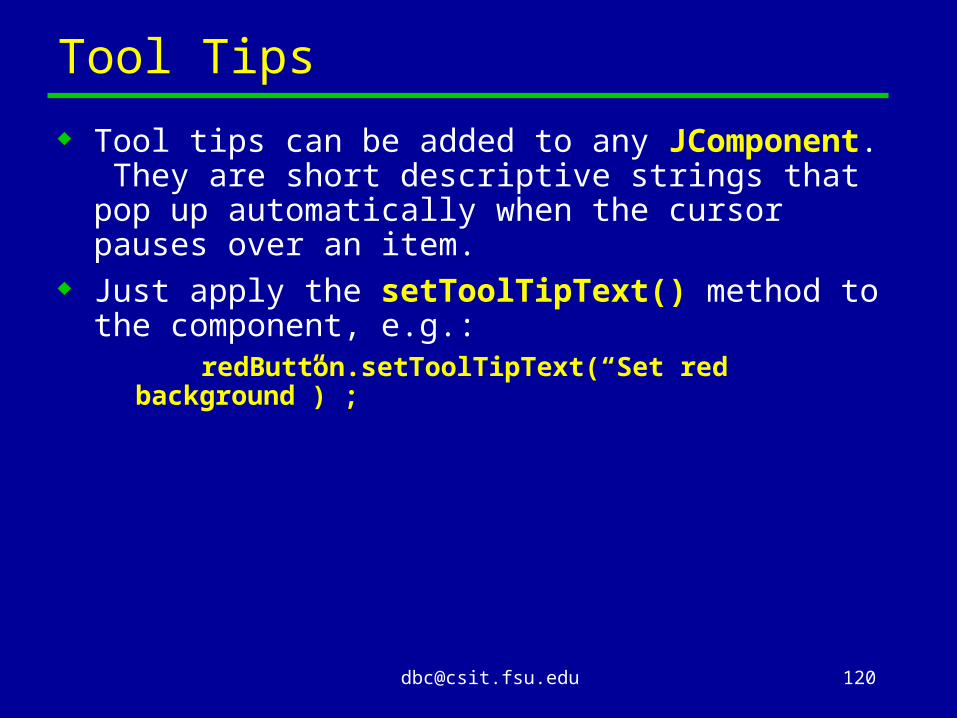
Tool Tips
Tool tips can be added to any JComponent. They are short descriptive strings that pop up automatically when the cursor pauses over an item.
Just apply the setToolTipText() method to the component, e.g.: redButton.setToolTipText(“Set red
background”) ;


The Event Dispatching Thread
As briefly mentioned earlier in this lecture set, any AWT program typically involves at least two concurrent threads. Both of these will access components of the GUI at some point:
The “original” thread, in which
main() is invoked
The AWT event-dispatching
thread
Componentsof the GUI
Avoiding Interference
Allowing multiple threads to access the same data structures is always a potentially dangerous situation. To avoid unexpected effects some mutual exclusion strategy is required.
In fact (we will see later) Java provides synchronized methods to support this kind of mutual exclusion.
Unfortunately synchronized methods come with some overhead, and Swing components generally do not use synchronized methods.
Instead there is an assumption that essentially all operations on GUI components should occur in the event dispatching thread.
Initialization
This implies that all dynamic modifications and operations on the GUI should occur in event-handling methods.
This creates a paradox, because there is no way to get started!
Therefore an exception is made: before any part of the GUI is displayed (in practice this means before the event-dispatching thread is even started), the main thread is allowed to work on the GUI—to create it!

Using the Event-Dispatching Thread
Sometimes another thread really must do something to the GUI. It can achieve this by using invokeLater(): Runnable task = new MyTask() ; SwingUtilities.invokeLater(task) ;
The Runnable interface defines one method—run(). MyTask should overload this method with the code that manipulates the GUI.
MyTask is put in the event queue just as if it was an external event. When it reaches the front, it is executed in the event-dispatching thread.
Note this is essentially like a batch processing system with a job queue.
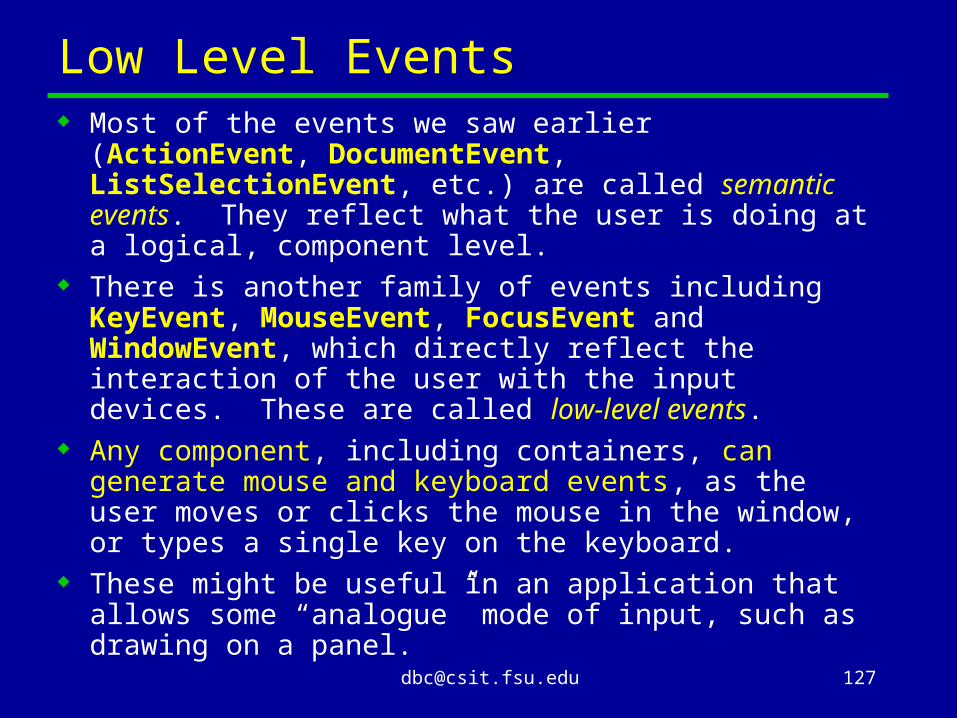
Low Level Events Most of the events we saw earlier (ActionEvent,
DocumentEvent, ListSelectionEvent, etc.) are called semantic events. They reflect what the user is doing at a logical, component level.
There is another family of events including KeyEvent, MouseEvent, FocusEvent and WindowEvent, which directly reflect the interaction of the user with the input devices. These are called low-level events.
Any component, including containers, can generate mouse and keyboard events, as the user moves or clicks the mouse in the window, or types a single key on the keyboard.
These might be useful in an application that allows some “analogue” mode of input, such as drawing on a panel.

Keyboard Events
Typing a single key generates a KeyEvent. These events may be monitored directly by
implementing the KeyListener interface (in java.awt.event): interface KeyListener extends EventListener void keyPressed (KeyEvent evt) ; void keyReleased (KeyEvent evt) ; void keyTyped (KeyEvent evt) ; }
In the first two cases, evt.getKeyCode() returns a virtual key code—an int encoding of the key, e.g. VK_SHIFT, VK_A, . . .
In the third case the character on the key is returned by evt.getKeyChar()
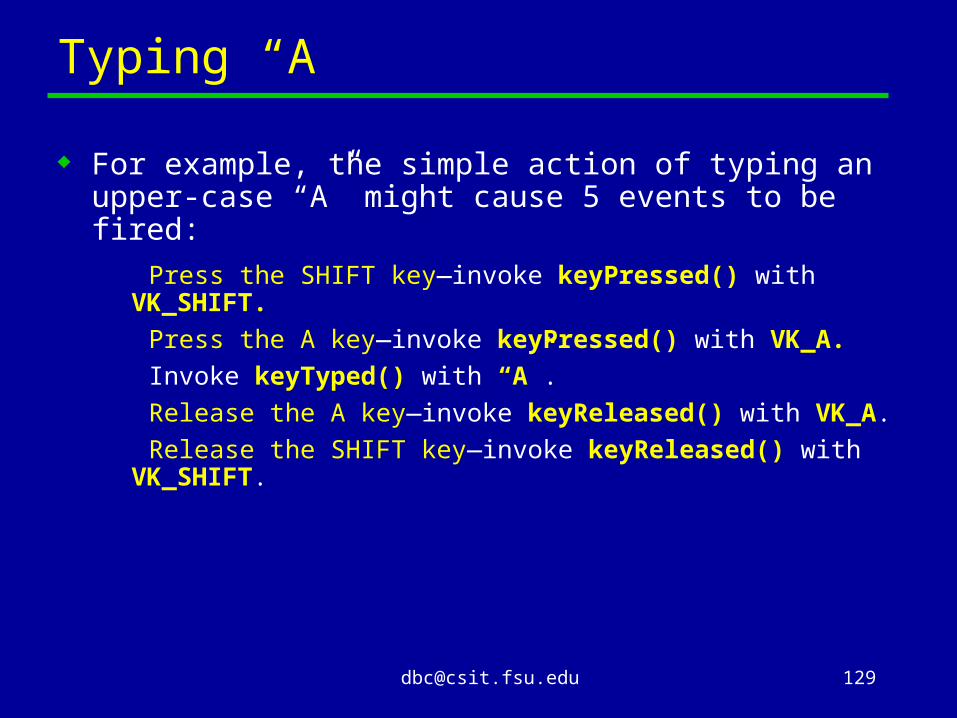
Typing “A”
For example, the simple action of typing an upper-case “A” might cause 5 events to be fired:
Press the SHIFT key—invoke keyPressed() with VK_SHIFT.
Press the A key—invoke keyPressed() with VK_A. Invoke keyTyped() with “A”.
Release the A key—invoke keyReleased() with VK_A.
Release the SHIFT key—invoke keyReleased() with VK_SHIFT.
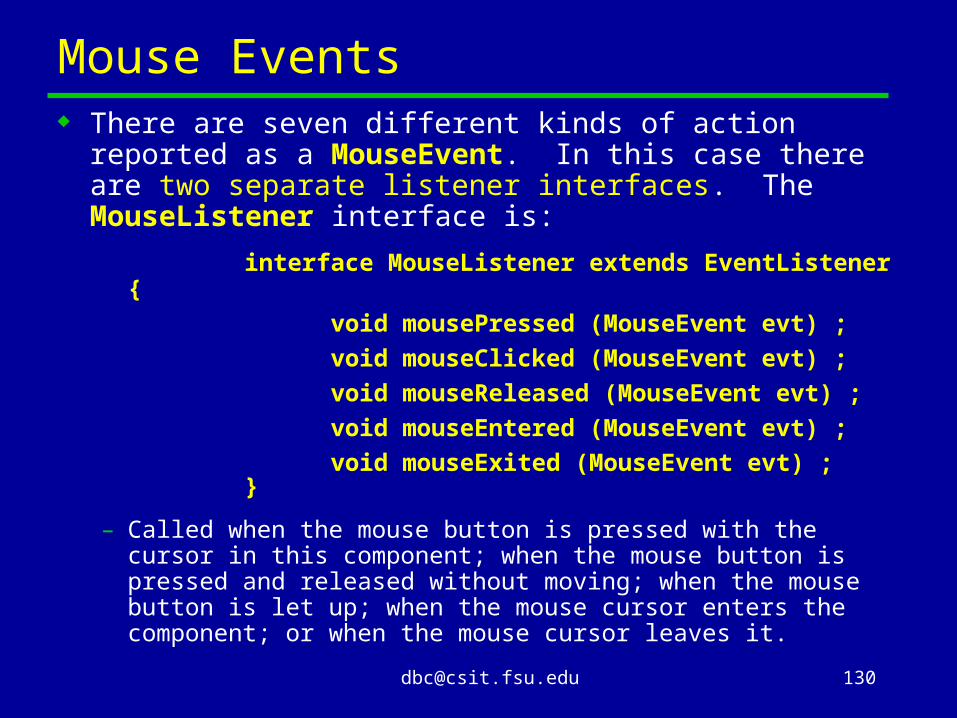
Mouse Events There are seven different kinds of action reported
as a MouseEvent. In this case there are two separate listener interfaces. The MouseListener interface is:
interface MouseListener extends EventListener { void mousePressed (MouseEvent evt) ; void mouseClicked (MouseEvent evt) ; void mouseReleased (MouseEvent evt) ; void mouseEntered (MouseEvent evt) ; void mouseExited (MouseEvent evt) ; }
– Called when the mouse button is pressed with the cursor in this component; when the mouse button is pressed and released without moving; when the mouse button is let up; when the mouse cursor enters the component; or when the mouse cursor leaves it.

Listening for Mouse Motion The second interface is:
class MouseMotionListener { public void mouseDragged (MouseEvent evt)
; public void mouseMoved (MouseEvent evt) ; }
Methods respectively called when the mouse is moved with the button held down, or when the mouse moves without holding the button.
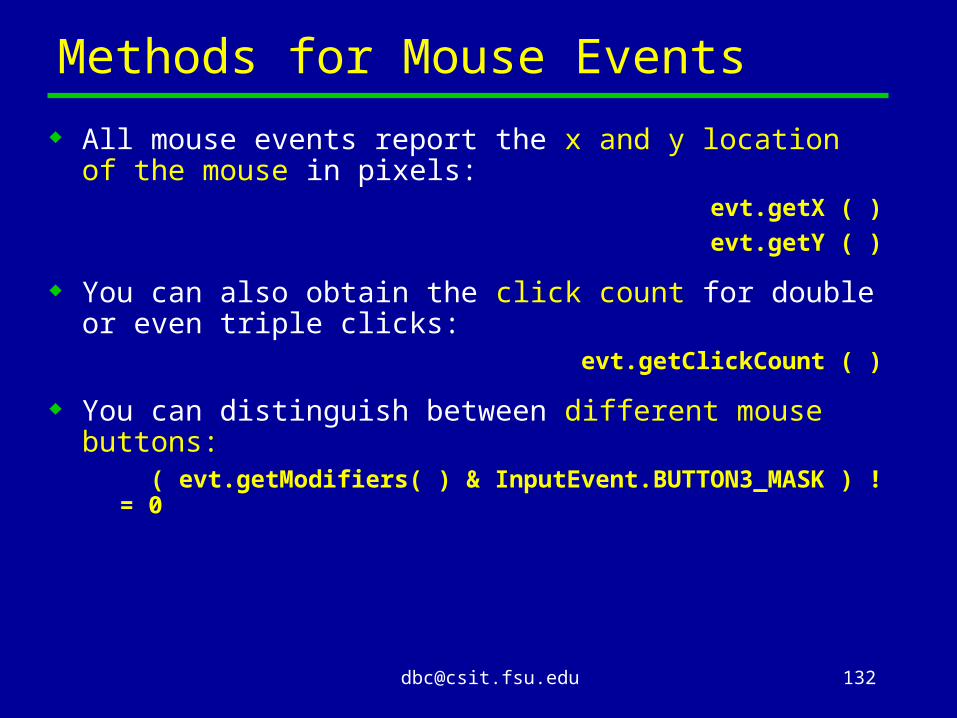
Methods for Mouse Events
All mouse events report the x and y location of the mouse in pixels: evt.getX ( ) evt.getY ( )
You can also obtain the click count for double or even triple clicks: evt.getClickCount ( )
You can distinguish between different mouse buttons: ( evt.getModifiers( ) &
InputEvent.BUTTON3_MASK ) != 0


Custom Graphics
Will discuss graphics in the context of Swing components (rather than, say, AWT Canvas).
You can customize the display of any Swing component by overriding its paintComponent() method.
It may be wiser to limit low-level graphics drawing to a dedicated JPanel, and not try to mix high-level components with low-level graphics.

Graphics is Event-Driven The windowing system creates an image with a
Graphics object to keep track of the state of the window.
In order to draw or directly write text to the window, you override the paintComponent() method: public void paintComponent(Graphics g)
This is essentially an event-handling method.
The window can be interrupted for various reasons—the user resized it or some other window was put on top of it and then removed. The system does not save a copy of the pixels. Instead it calls the paintComponent() method. So even if you only draw a window once, paint can be called many times.
Changing Graphics: the repaint() method Many graphics applications will want to change
what is drawn on the screen during their lifetime—to display a sequenced animation, to respond to low-level user keyboard input and mouse events, etc.
Don’t try call to paintComponent() directly! Whenever you want to redraw the screen, apply public void repaint()
to the component. The call to repaint() does not immediately paint
the component—it schedules an event to do it later. Hence it is safe to call repaint() from any thread (e.g. a thread driving an animation).
When the event is dispatched, the graphics context g is obtained and paintComponent(g) is called.
The java.awt.Graphics class
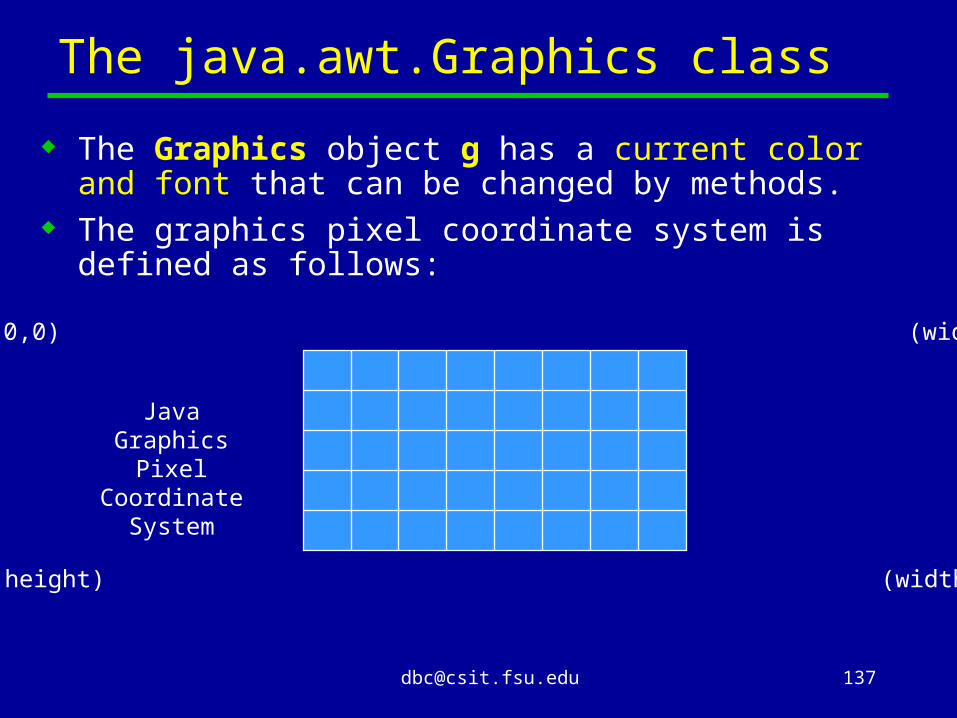
The Graphics object g has a current color and font that can be changed by methods.
The graphics pixel coordinate system is defined as follows:
(0,0) (width,0)
(0,height) (width,height)
Java Graphics
Pixel Coordinate
System

Some Methods for Drawing These are methods in Graphics. int x, y pixel
locations refer to the upper left corner of the object to be drawn:
drawString(String text, x, y) drawLine (x1, y1, x2, y2) drawRect(x, y, width, height) fillRect(. . .) drawOval(. . .) fillOval(. . .) drawRoundRect (x, y, width, height, arcWidth,
arcHeight) draw3DRect (x, y, width, height, Boolean b) drawArc (x, y, width, height, startAngle, arcAngle) fillArc(. . .) drawPolygon(int [] xPoints, int [] yPoints, n)
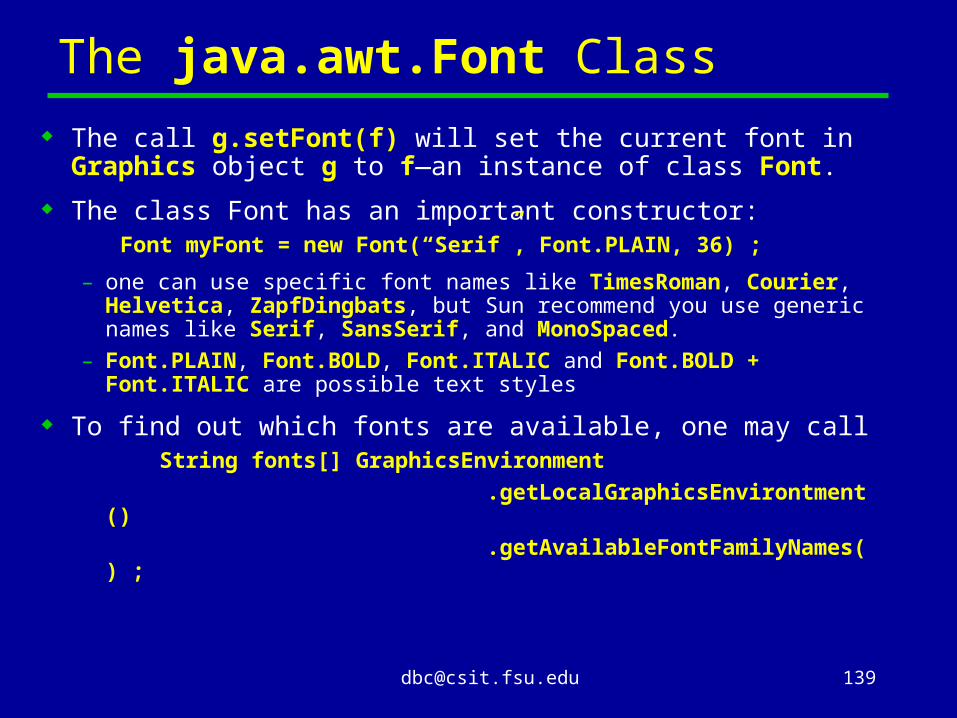
The java.awt.Font Class
The call g.setFont(f) will set the current font in Graphics object g to f—an instance of class Font.
The class Font has an important constructor: Font myFont = new Font(“Serif”, Font.PLAIN, 36) ;
– one can use specific font names like TimesRoman, Courier, Helvetica, ZapfDingbats, but Sun recommend you use generic names like Serif, SansSerif, and MonoSpaced.
– Font.PLAIN, Font.BOLD, Font.ITALIC and Font.BOLD + Font.ITALIC are possible text styles
To find out which fonts are available, one may call String fonts[] GraphicsEnvironment .getLocalGraphicsEnvirontment() .getAvailableFontFamilyNames() ;

The FontMetrics Class Get instance by
FontMetrics fm = getFontMetrics(particularFont); Methods:
fm.stringWidth("text"); // pixel width of string "text"
fm.getHeight(); // total height of highest Font character
getAscent(), getDescent(), getLeading(),
Drawstring uses leftmost baseline point as (x,y)
Nancyleadingascent
descentbaseline }height
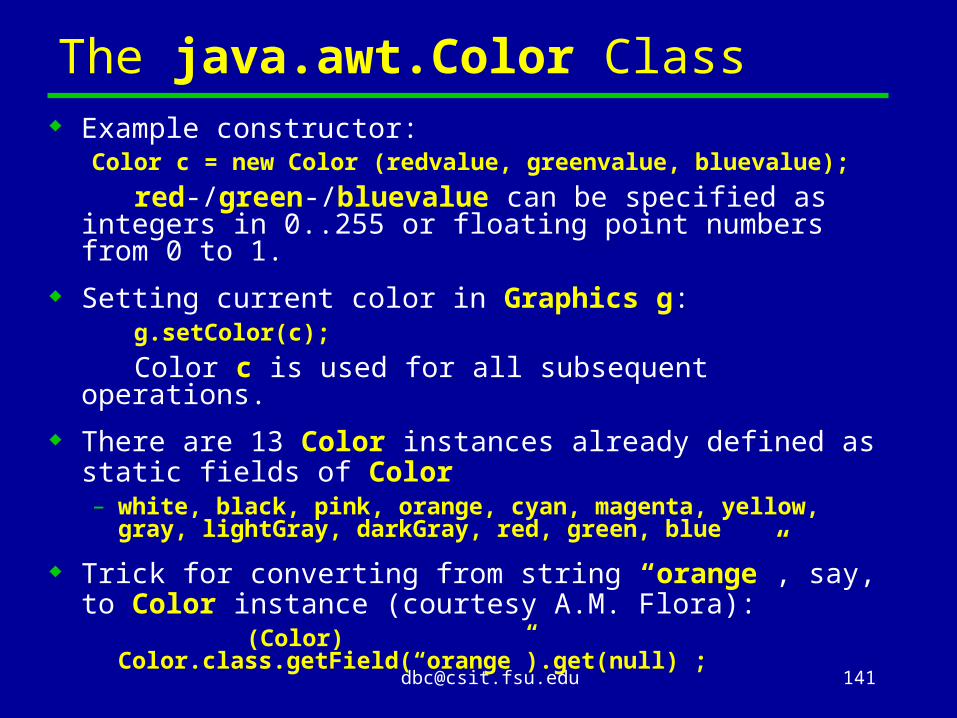
The java.awt.Color Class Example constructor:
Color c = new Color (redvalue, greenvalue, bluevalue);
red-/green-/bluevalue can be specified as integers in 0..255 or floating point numbers from 0 to 1.
Setting current color in Graphics g: g.setColor(c);
Color c is used for all subsequent operations.
There are 13 Color instances already defined as static fields of Color– white, black, pink, orange, cyan, magenta, yellow,
gray, lightGray, darkGray, red, green, blue
Trick for converting from string “orange”, say, to Color instance (courtesy A.M. Flora): (Color) Color.class.getField(“orange”).get(null)
;

Images
An Image represents a complex image, such as a photograph.
Getting an image from a file: Image img =
Toolkit.getDefaultToolkit()getImage(“image.gif”)
Getting an image from the Net: URL u = new URL(http://www.someplace.com/image.gif) ; Image img = Toolkit.getDefaultToolkit()getImage(u) ;
The Image class in java.awt has many methods for images, such as getWidth(imageobserver) and getHeight(imageobserver), which return the width and height in pixels.
Images can be created from either gifs or jpegs.
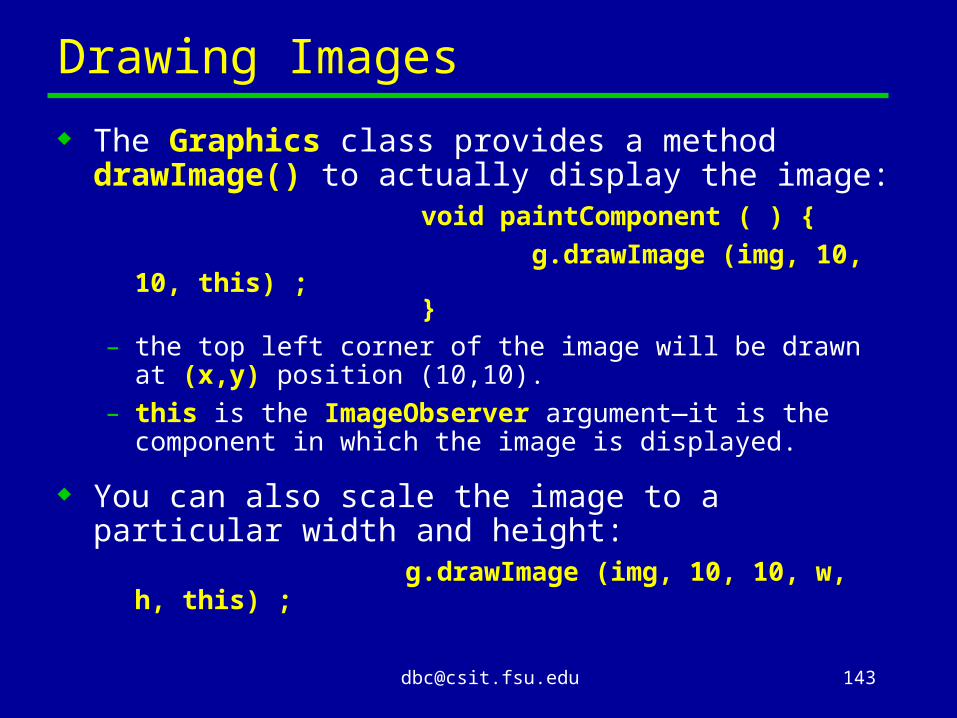
Drawing Images
The Graphics class provides a method drawImage() to actually display the image: void paintComponent ( ) { g.drawImage (img, 10, 10, this) ; }– the top left corner of the image will be drawn at (x,y)
position (10,10).– this is the ImageObserver argument—it is the
component in which the image is displayed.
You can also scale the image to a particular width and height: g.drawImage (img, 10, 10, w, h, this) ;

Image Downloading: MediaTracker
When drawImage() is called, it draws only the pixels of the image that are already available.
It creates a thread for the ImageObserver. Whenever more of the image becomes available, it activates the method imageUpdate(), which in turn call paint() and drawImage(), so that more of the image will show on the screen.
More control over showing the image as it downloads can be obtained by working with the MediaTracker class, using methods that tell you when the image has fully arrived.

The Graphics2D Class Additional graphics 2D drawing capabilities are
found in the Graphics2D class. Graphics2D is a subclass of the Graphics class,
and the argument passed to paintComponent() is actually an instance of this subclass. Converting the graphics context to this class allows additional methods to be called.
public void paintComponent(Graphics g) { Graphics2D g2d = (Graphics2D) g ; . . . }
Note that there are also packages for 3D graphics and other media frameworks not covered in the current lectures.

The Paint Interface for Filling Objects
With Graphics2D, the current graphics context includes the current “paint”: g2d.setPaint (p) ;
where p is anything that implements the interface Paint.
The Color class implements Paint. New classes include GradientPaint, SystemColor, and TexturePaint:new GradientPaint (x1, y1, color1, x2, y2, color2, boolval)– colors a gradient which starts at the first coordinate and
shades in the direction of the second coordinate, shading from the first color to the second color. The boolean value determines whether the shading is cyclic (true) or acyclic (false).
new TexturePaint (image, rectangle)– where the image is cropped to the size of the rectangle
argument, and used to tile the space.

The Stroke Interface for Lines
With Graphics2D, the current graphics context includes the current “stroke”: g2d.setStroke(s) ;
where s is anything that implements the interface Stroke.
Class BasicStroke provides a variety of constructors to specify the width of the line, how the line ends (the end caps), how lines join together (join lines), and the dash attributes of the line:new BasicStroke (width, endcaps, joins, mitrelimit, dasharray, dashphase)– where dasharray gives the lengths of a sequence of
dashes and dashphase gives which dash to start with.
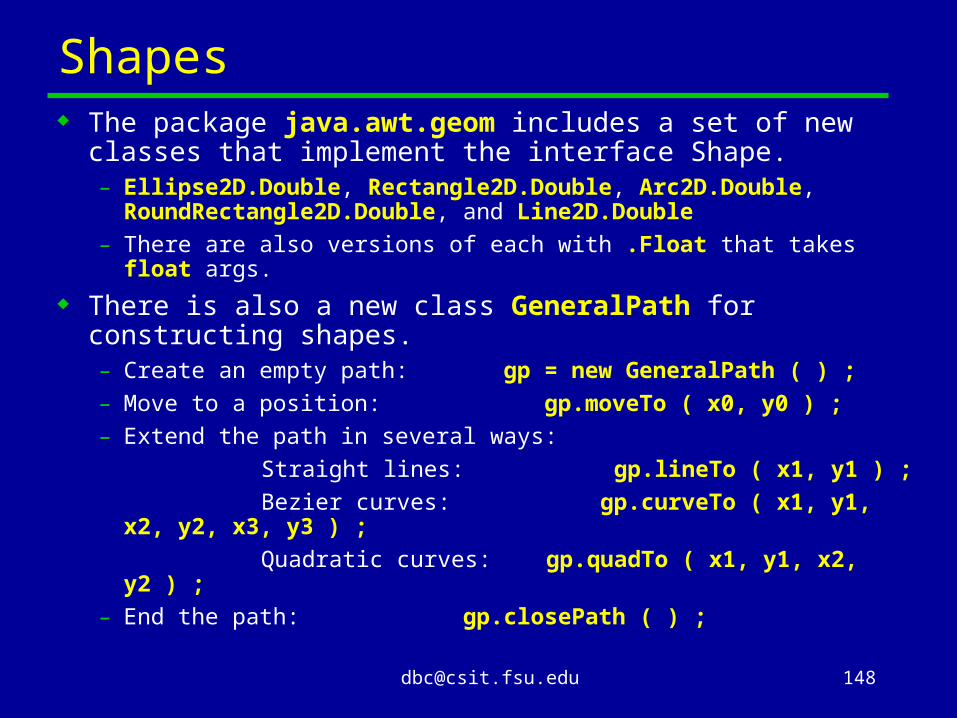
Shapes The package java.awt.geom includes a set of new
classes that implement the interface Shape.– Ellipse2D.Double, Rectangle2D.Double, Arc2D.Double,
RoundRectangle2D.Double, and Line2D.Double– There are also versions of each with .Float that takes float
args. There is also a new class GeneralPath for
constructing shapes.– Create an empty path: gp = new GeneralPath ( ) ;– Move to a position: gp.moveTo ( x0, y0 ) ;– Extend the path in several ways: Straight lines: gp.lineTo ( x1, y1 ) ; Bezier curves: gp.curveTo ( x1, y1, x2, y2, x3,
y3 ) ; Quadratic curves: gp.quadTo ( x1, y1, x2, y2 ) ;– End the path: gp.closePath ( ) ;
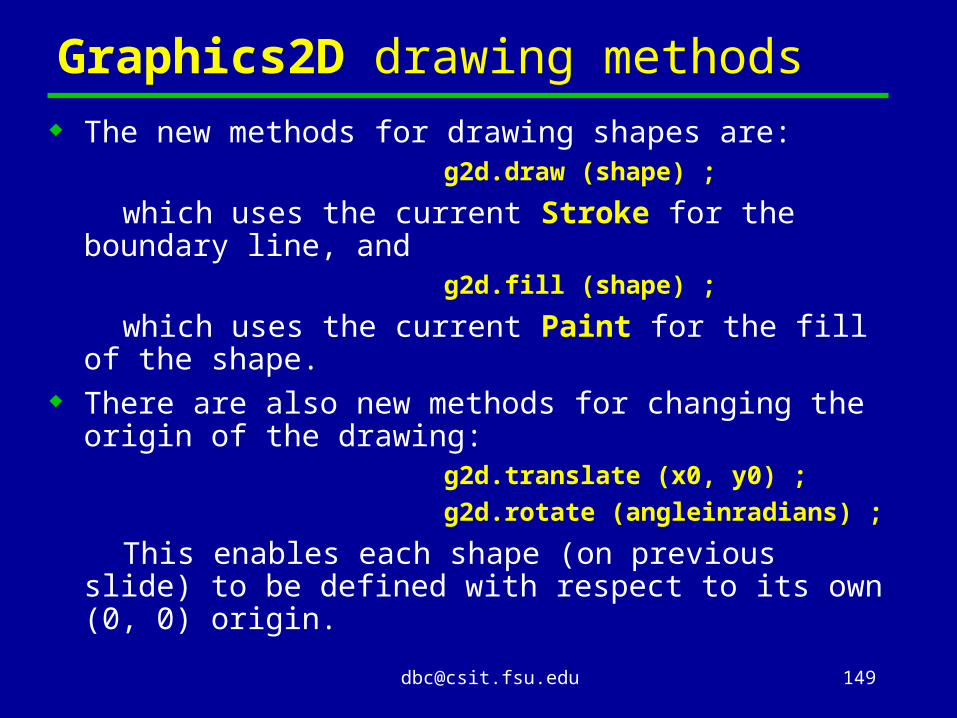
Graphics2D drawing methods The new methods for drawing shapes are:
g2d.draw (shape) ;
which uses the current Stroke for the boundary line, and g2d.fill (shape) ;
which uses the current Paint for the fill of the shape.
There are also new methods for changing the origin of the drawing: g2d.translate (x0, y0) ; g2d.rotate (angleinradians) ;
This enables each shape (on previous slide) to be defined with respect to its own (0, 0) origin.
Related Documents