Chest Drain Checklist for GoogleGlass Beta Version 8 Authors: Tudor Toma, University Hospital Lewisham & Greenwich, London, UK. Open Source: please use and quote this source; please contribute with feedback. Methods: review of pre-published guidelines, beta versions, formation of an expert panel and repeat pilot-testing with googleglass on a simulator Methodological Reference: Int J Qual Health Care. 2008;20(1):22-30. Please email your comments to [email protected]

Welcome message from author
This document is posted to help you gain knowledge. Please leave a comment to let me know what you think about it! Share it to your friends and learn new things together.
Transcript

Chest Drain Checklist for GoogleGlassBeta Version 8
Authors: Tudor Toma, University Hospital Lewisham & Greenwich, London, UK.Open Source: please use and quote this source; please contribute with feedback.Methods: review of pre-published guidelines, beta versions, formation of an expert panel and repeat pilot-testing with googleglass on a simulatorMethodological Reference: Int J Qual Health Care. 2008;20(1):22-30.Please email your comments to [email protected]
Settings
• Prism: adjust • Tap once to next steps• Slide finger for forward• Read then do• Questions: ask

Five Main Domains
Prepare & Local anaestheticSet SeldingerInsert drainSecure Clean & Check CXR

Warnings! One.
• Always use ultrasound• Stay in safe triangle

Warnings! Two.
• Skin incision: cut only skin• Dilator does not dilate skin• Perpendicular direction to pleura • Measure distance to pleura with ultrasound

Warnings! Three.
• Large patients - longer needle for anaesthetic• Visualize your actions beyond skin

Very serious warnings!
• No aspirate? Stop• Go perpendicularly, or call for help• Keep a hand on the guide wire at all times
Start procedure
• Please follow the checklist

Prepare yourself and patient
• Indications: check. • Drain necessary?• Clotting (<1.5) & platelets (>90): check• Info: explain• Consent

Check equipment. Set trolley.
• Betadine. Dressing. Gown. Gloves• Drape. Lignocaine. Suture. Mefix• 2-3 10ml syringes. 2 orange 3 green needles• Large syringe-cytology. Specimen bottles.• Seldinger pack. Drain bottle. Sterile water.

Finalise preparations
• Bottle: fill• Patient: set. All sterile • Seldinger pack: do not open• Sharps: beware of injuries

Local anaesthetic
• Skin: clean; orange-infiltrate. • Below skin & around pleura: infiltrate. Green
needle.• Aspiration from the pleural space?• Do not inject pleural fluid.• Remember direction and depth

Set Seldinger pack in the order of use
1. Scalpel2. Needle: attach to syringe3. Wire: blue tip off. Set dilator4. Drain: remove stiffener5. Tap: off. Check attachment

Insert drain
• Proceed

Skin incision & insert needle
• Skin: cut 0.5 cm. Insert needle• Keep direction like green needle• Advance- Aspirate –Advance• When fluid/air advance further 1cm• Free aspiration: check
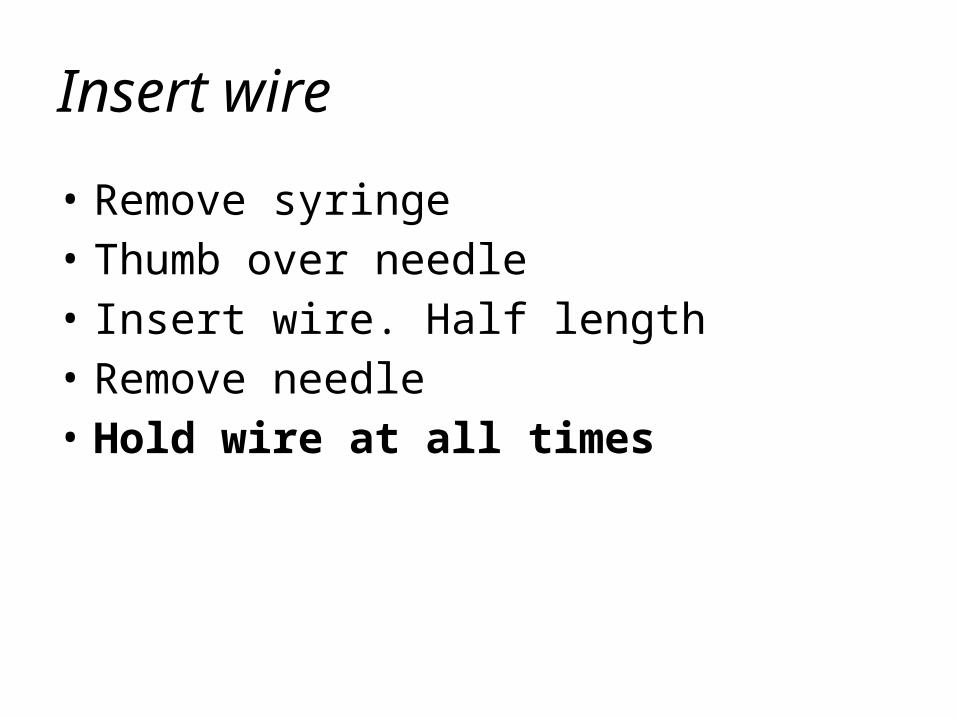
Insert wire
• Remove syringe• Thumb over needle• Insert wire. Half length• Remove needle • Hold wire at all times
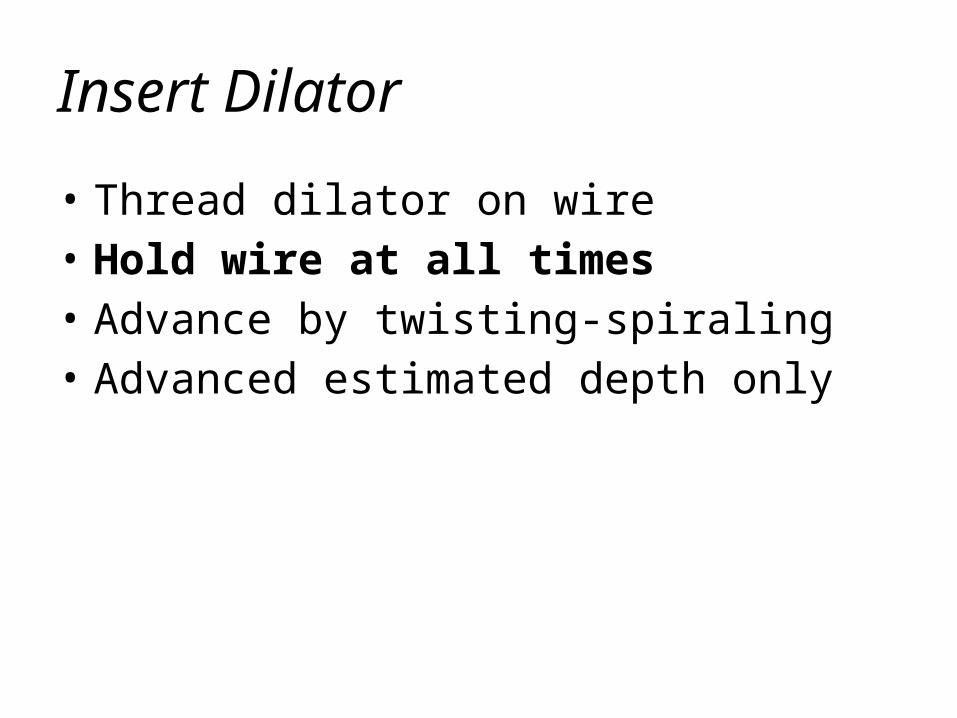
Insert Dilator
• Thread dilator on wire• Hold wire at all times• Advance by twisting-spiraling• Advanced estimated depth only
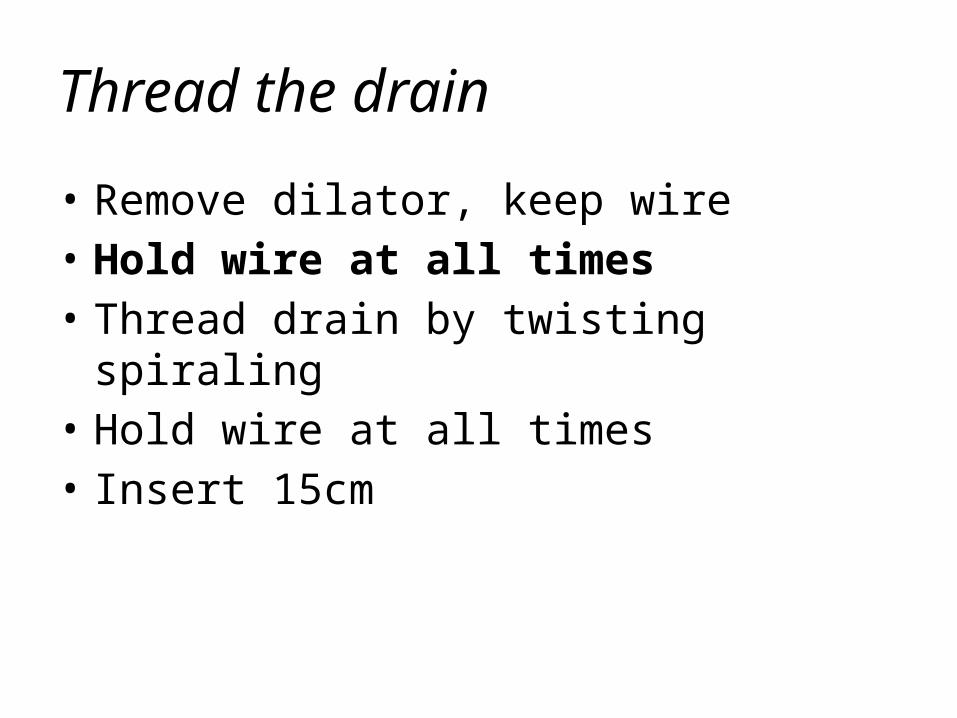
Thread the drain
• Remove dilator, keep wire • Hold wire at all times• Thread drain by twisting spiraling • Hold wire at all times• Insert 15cm

Remove guide wire
• Remove wire • Wire outside chest? Check - Check• 3-way tap: attach

Secure & Connect the drain
• Proceed

Suture
• Skin: 2 cm needle bite• Skin other side: come down 2 cm bite.• Tie flat to the skin.• Secure drain: crossover, double knots• Check fixation

Connect drain to bottle
• Cut & place a gauze• Secure gauze with tape• Connect drain to bottle • Aspirate more fluid/samples

Set a plan
• 1.5 litre then clamp• Iatrogenic pneumothorax and a clamped
drain?• Reopen after 4h• Free drainage for slower flows

Clean & check the CXR
• You only dispose ALL sharps • Clean bed space• Check swinging

Document & Check
• Document procedure• Label & send fluid• CXR. Check the CXR• Check drain position and swinging• Communicate to nurse & docs

Procedure Finished
• Document in your log book• Follow up patient
Related Documents