Linux file system administration

Chapter 4
Dec 30, 2015
Chapter 4. Linux file system administration. Directory structure. Linux organizes its files differently from Windows First the directory structure may seem unlogical and strange and you have no idea where all the programs, icons, config files, and others are. - PowerPoint PPT Presentation
Welcome message from author
This document is posted to help you gain knowledge. Please leave a comment to let me know what you think about it! Share it to your friends and learn new things together.
Transcript
Linux file system administration
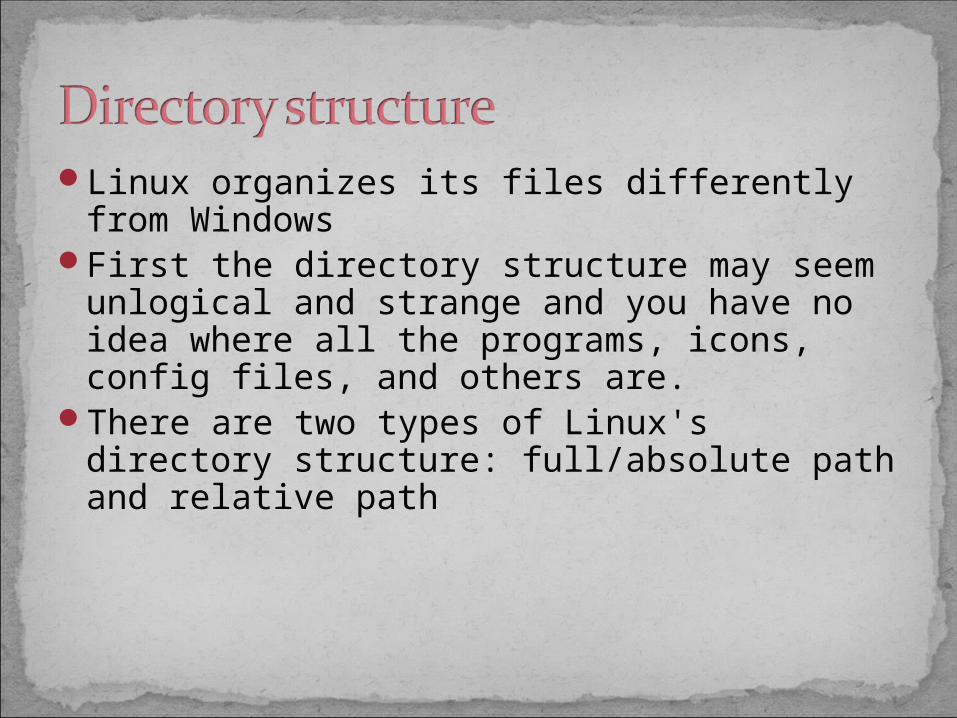
Linux organizes its files differently from Windows
First the directory structure may seem unlogical and strange and you have no idea where all the programs, icons, config files, and others are.
There are two types of Linux's directory structure: full/absolute path and relative path

When you request to open or save a file, your shell uses the current directory as the point of reference.
Simply provide a filename when you save a file, and it is placed in the current directory.
Alternatively, you can identify a file by its relation to the current directory (relative path), or you can ignore the current directory and identify a file by the full directory hierarchy that locates it (absolute path/full path).

File systems are organized differently in Linux than they are in Microsoft Windows operating systems.
Instead of drive letters (for example, A:, B:, C:) for each local disk, network file system, CD-ROM, or other type of storage medium, everything fits neatly into the directory structure.
Some drives are connected (mounted) automatically into the file system. For example, a CD might be mounted on /media/cdrom. If the drive isn’t mounted automatically, it is up to an administrator to create a mount point in the file system and then connect the disk to that point.

Although similar in many ways, the Linux file system has some striking differences from file systems used in MS-DOS and Windows operating systems. Here are a few:In MS-DOS and Windows file systems, drive
letters represent different storage devices (for example, A: is a floppy drive and C: is a hard disk). In Linux, all storage devices are fit into the file system hierarchy. So, the fact that all of /usr may be on a separate hard disk or that /mnt/rem1 is a file system from another computer is invisible to the user.
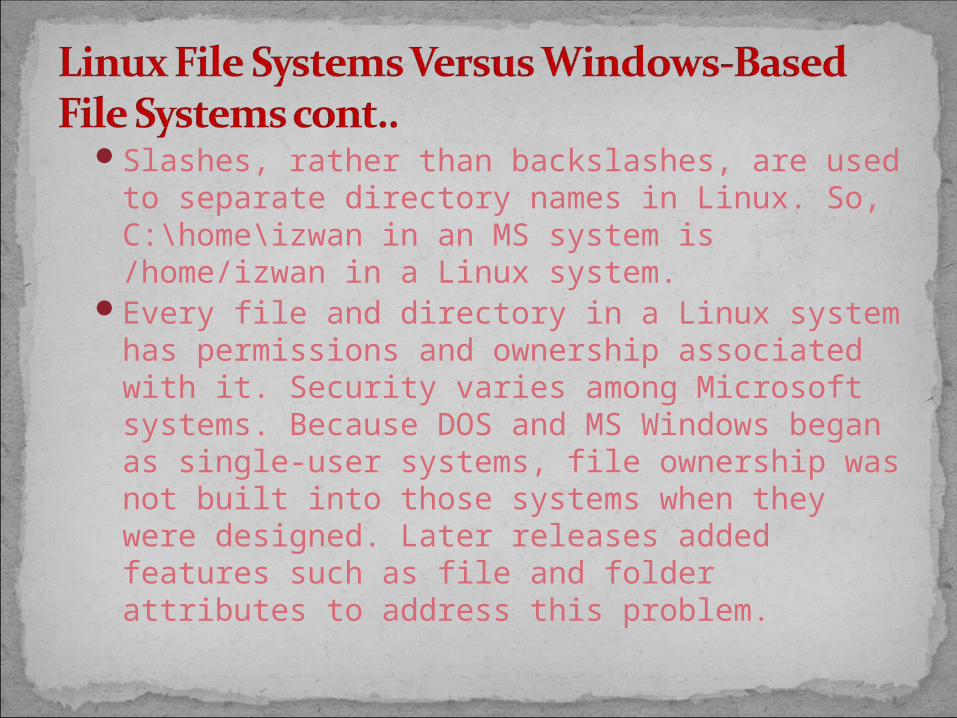
Slashes, rather than backslashes, are used to separate directory names in Linux. So, C:\home\izwan in an MS system is /home/izwan in a Linux system.
Every file and directory in a Linux system has permissions and ownership associated with it. Security varies among Microsoft systems. Because DOS and MS Windows began as single-user systems, file ownership was not built into those systems when they were designed. Later releases added features such as file and folder attributes to address this problem.
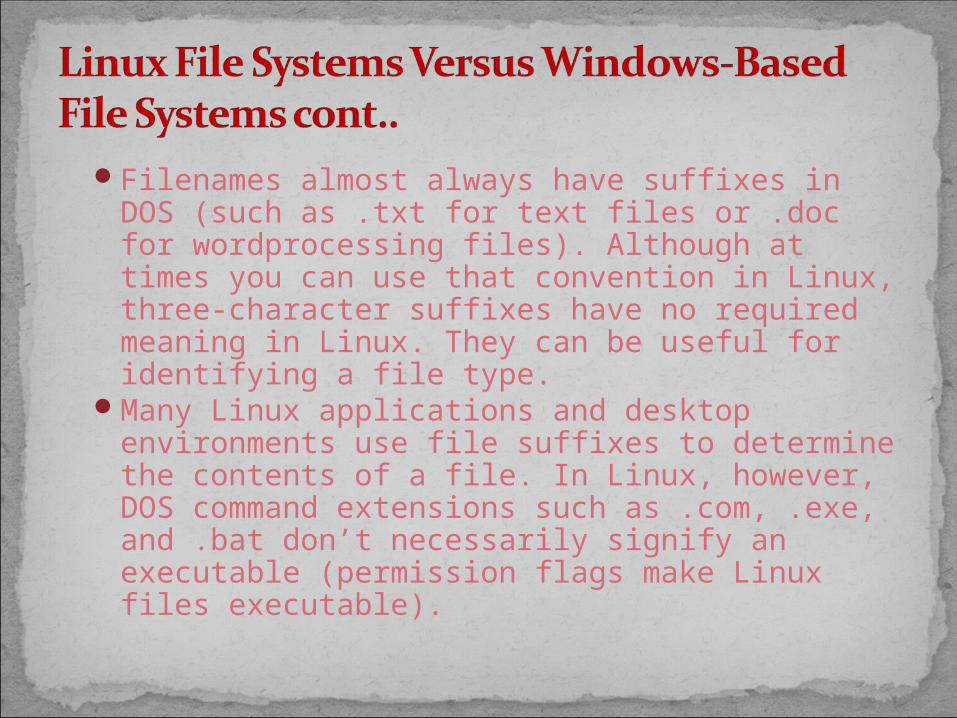
Filenames almost always have suffixes in DOS (such as .txt for text files or .doc for wordprocessing files). Although at times you can use that convention in Linux, three-character suffixes have no required meaning in Linux. They can be useful for identifying a file type.
Many Linux applications and desktop environments use file suffixes to determine the contents of a file. In Linux, however, DOS command extensions such as .com, .exe, and .bat don’t necessarily signify an executable (permission flags make Linux files executable).
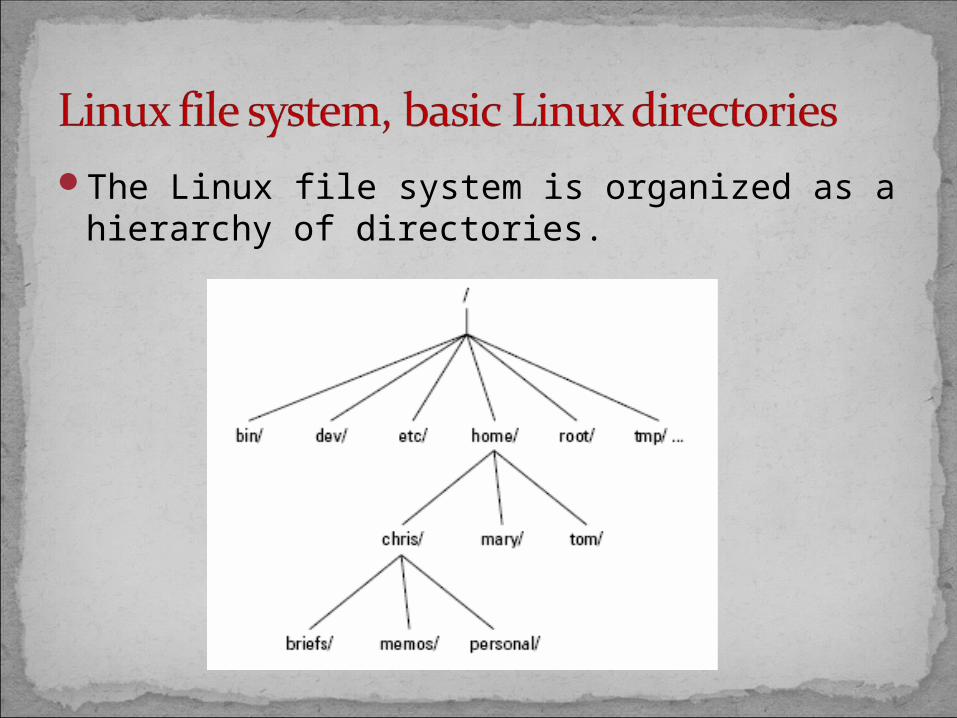
The Linux file system is organized as a hierarchy of directories.

/bin—Contains common Linux user commands, such as ls, sort, date, and chmod.
/dev—Contains files representing access points to devices on your systems. These include terminal devices (tty*), floppy disks (fd*), hard disks (hd*), RAM (ram*), and CD-ROM (cd*). (Users normally access these devices directly through the device files.)
/etc—Contains administrative configuration files.

/home—Contains directories assigned to each user with a login account (with the exception of root).
/lib —The shared libraries for programs that are dynamically linked. The shared libraries are similar to DLL's on Winblows.
/mnt—A common mount point for many devices before it was supplanted by the standard /media directory. Some bootable Linux systems still used this directory to mount hard disk partitions and remote file systems.

/proc—Contains information about system resources.
/root—Represents the root user’s home directory. The home directory for root does not reside beneath /home for security reasons.
/sbin—Contains administrative commands and daemon processes.
/tmp—Contains temporary files used by applications.
/usr—Contains user documentation, games, graphical files (X11), libraries (lib), and a variety of other user and administrative commands and files.
/var—Contains directories of data used by various applications. In particular, this is where you would place files that you share as an FTP server (/var/ftp) or a Web server (/var/www). It also contains all system log files (/var/log) and spool files in /var/spool (such as mail, cups, and news).
ls - List the contents of a directory.ps - see which programs are running, the
resources they are using, and who is running them.
usermod - to modify settings for an existing account
id - To find out information about your identity,
who - You can see information about your current login session
echo – To find out the name of your home directory,
pwd - To find out what your current directory (the present working directory)
cd - To get back to your home directory, just type the change directory (cd) command. (Although cd followed by a directory name changes the current directory to the directory that you choose, simply typing cd with no directory name takes you to your home directory.)

df - display the space available in your file systems
du - To find out how much space is being consumed by a particular directory (and its subdirectories)
man - To learn more about a particular command, type man command. (Replace command with the command name you want.) A description of the command and its options appears on the screen.
You also can always see other option for every command by typing command --help, e.g. ls --help
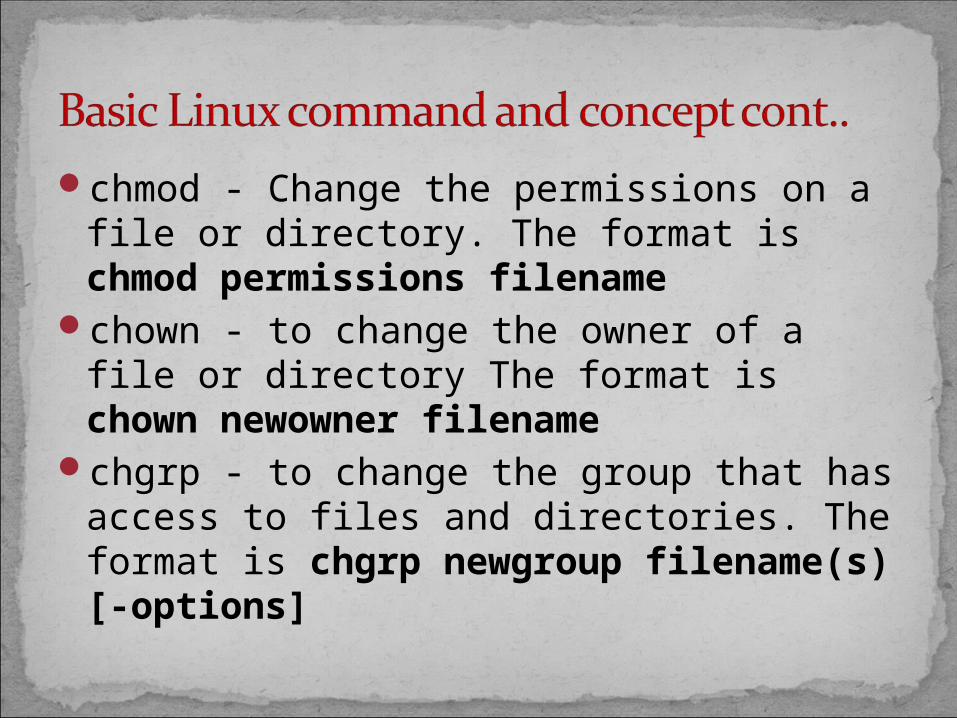
chmod - Change the permissions on a file or directory. The format is chmod permissions filename
chown - to change the owner of a file or directory The format is chown newowner filename
chgrp - to change the group that has access to files and directories. The format is chgrp newgroup filename(s) [-options]
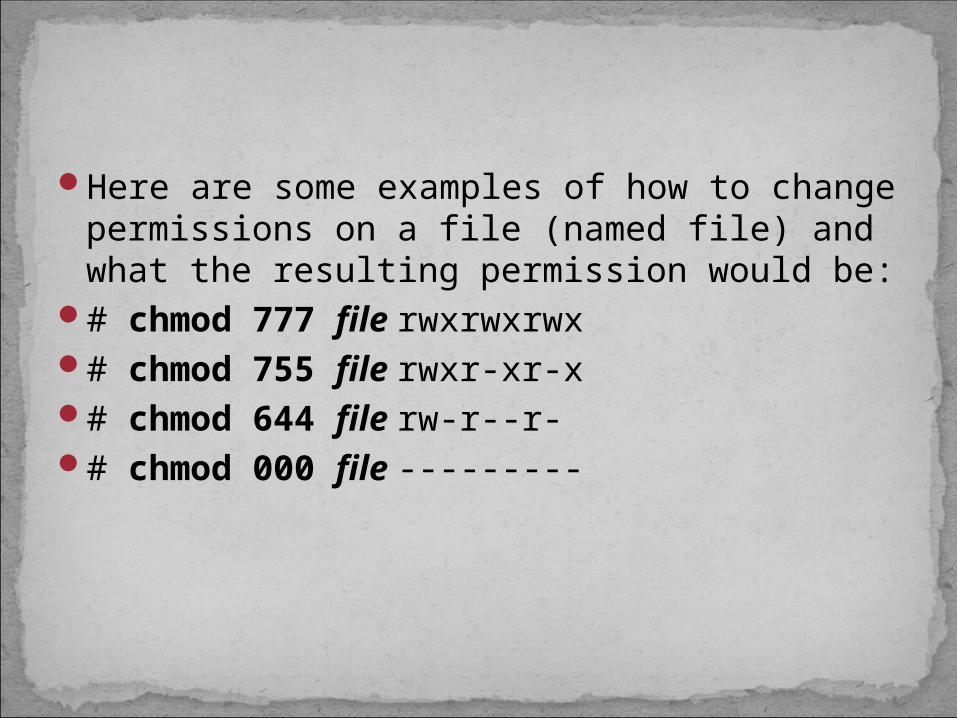
Here are some examples of how to change permissions on a file (named file) and what the resulting permission would be:
# chmod 777 file rwxrwxrwx# chmod 755 file rwxr-xr-x# chmod 644 file rw-r--r-# chmod 000 file ---------

chmod> ls -l
-rwxr--r-- 1 root root 765 Apr 23 09:22 file.txt > chmod 755 file.txt
The permissions are the first 10 characters of the line (-rwxrwx---) and can be broken down as follows.
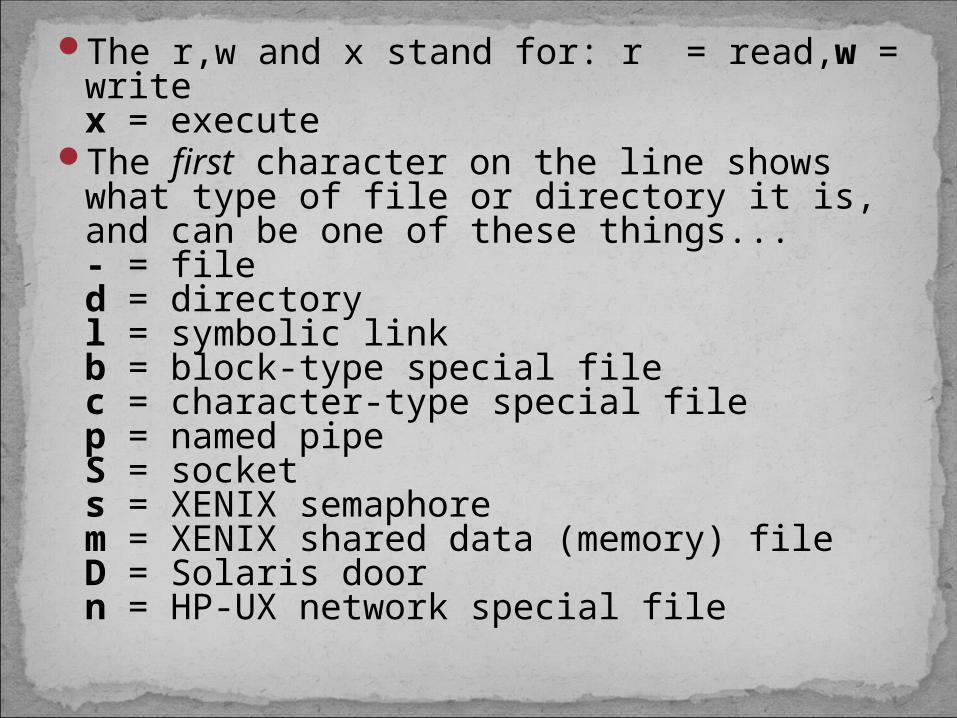
The r,w and x stand for: r = read,w = writex = execute
The first character on the line shows what type of file or directory it is, and can be one of these things...- = filed = directoryl = symbolic linkb = block-type special filec = character-type special filep = named pipeS = sockets = XENIX semaphorem = XENIX shared data (memory) fileD = Solaris doorn = HP-UX network special file

The remaining 9 characters are broken down into 3 groups of 3 characters. The first three are the permissions for the owner, the middle three are permissions for the group which has access to the file and the last three are the permissions for everybody else.
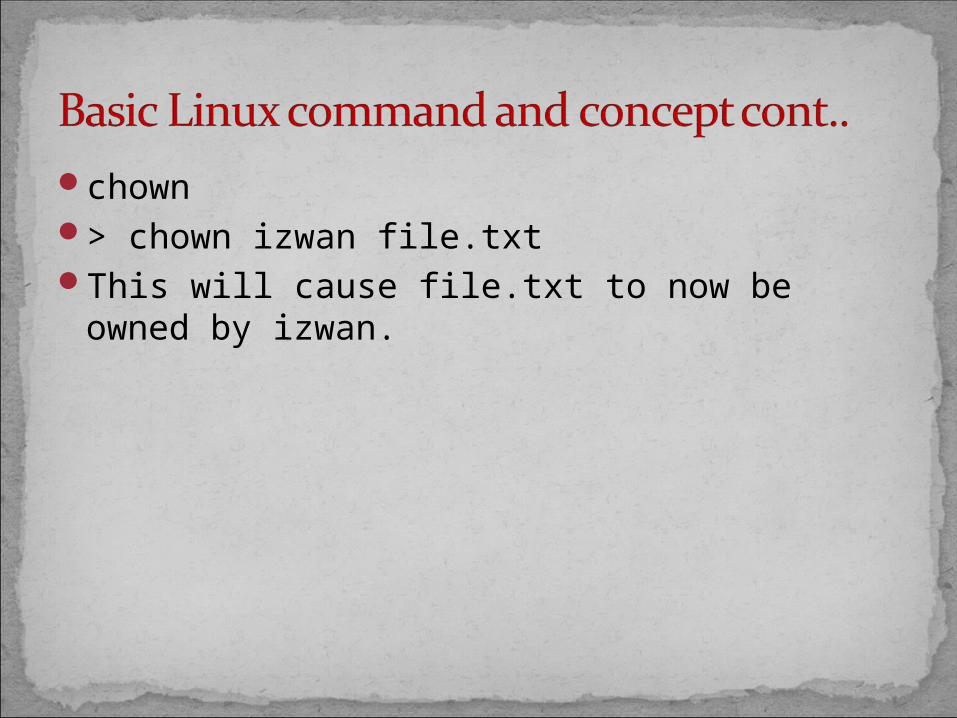
chown> chown izwan file.txt This will cause file.txt to now be owned by
izwan.
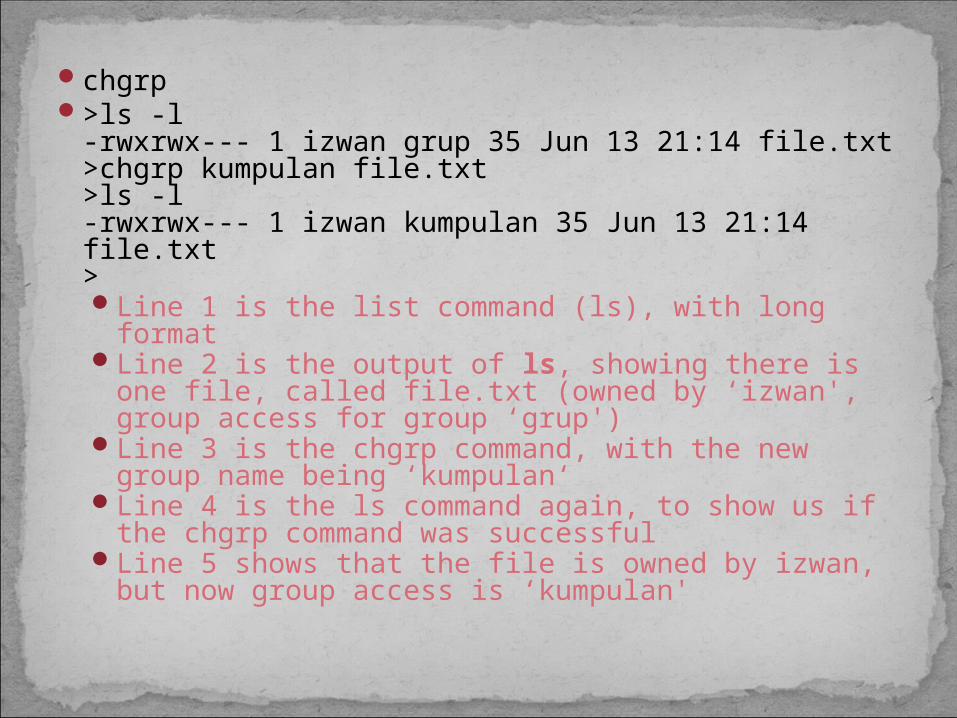
chgrp>ls -l
-rwxrwx--- 1 izwan grup 35 Jun 13 21:14 file.txt>chgrp kumpulan file.txt>ls -l-rwxrwx--- 1 izwan kumpulan 35 Jun 13 21:14 file.txt> Line 1 is the list command (ls), with long formatLine 2 is the output of ls, showing there is one
file, called file.txt (owned by ‘izwan', group access for group ‘grup')
Line 3 is the chgrp command, with the new group name being ‘kumpulan‘
Line 4 is the ls command again, to show us if the chgrp command was successful
Line 5 shows that the file is owned by izwan, but now group access is ‘kumpulan'

mv - Move files to directory / Move or rename files.
E.g. mv file1 file3 – rename file1 to file3mv file3 home/user/directory – move file 3 into
directory
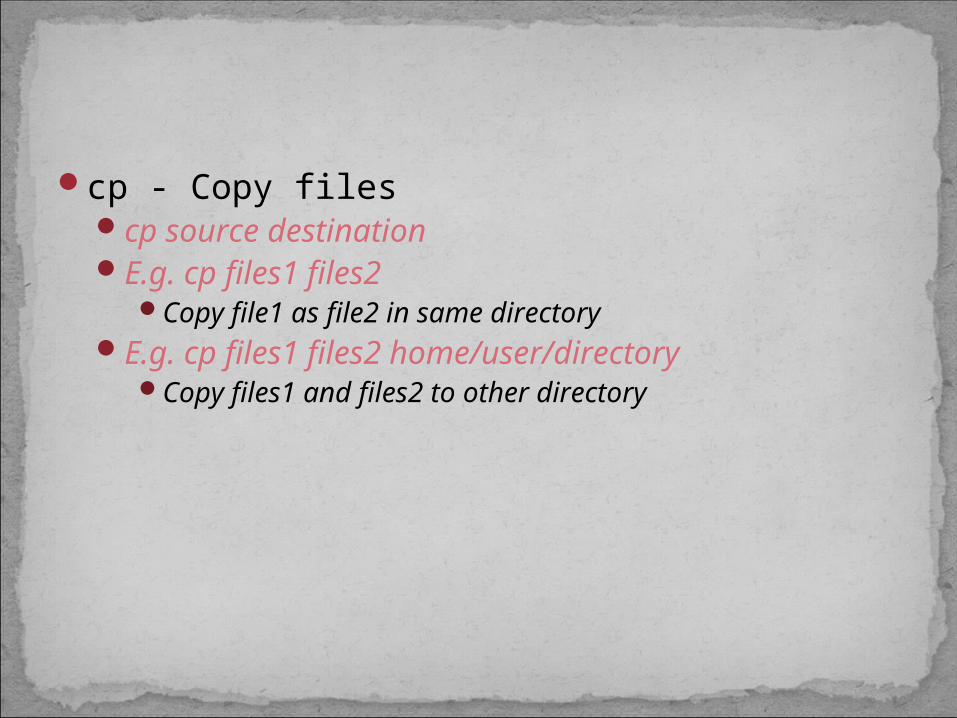
cp - Copy files cp source destination E.g. cp files1 files2
Copy file1 as file2 in same directoryE.g. cp files1 files2 home/user/directory
Copy files1 and files2 to other directory

rm – Remove (delete) files. You must own the file in order to be able to
remove it. On many systems, you will be asked or confirmation of deleation, if you don't want this, use the "-f" (=force) option, e.g., rm -f * will remove all files in my current working directory, no questions asked.
E.g. rm file1

rmdir - Remove an empty directory. rm directoryrm -r files - (recursive remove) Remove files,
directories, and their subdirectories. Careful with this command as root--you can easily remove all files on the system with such a command executed on the top of your directory tree, and there is no undelete in Linux (yet).
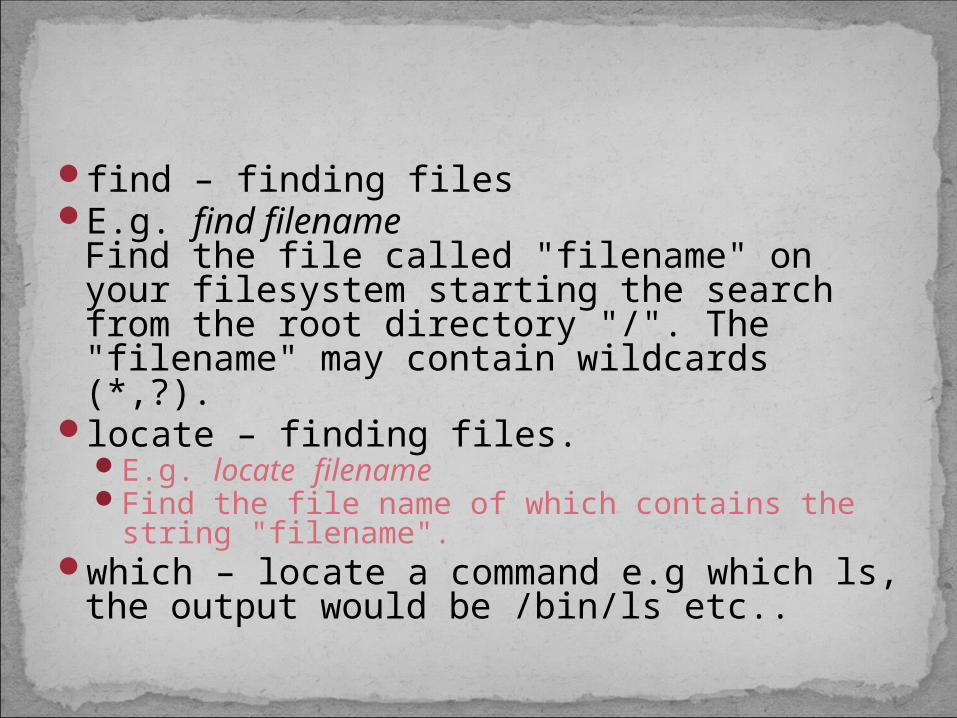
find – finding filesE.g. find filename
Find the file called "filename" on your filesystem starting the search from the root directory "/". The "filename" may contain wildcards (*,?).
locate – finding files.E.g. locate filename Find the file name of which contains the string
"filename". which – locate a command e.g which ls,
the output would be /bin/ls etc..
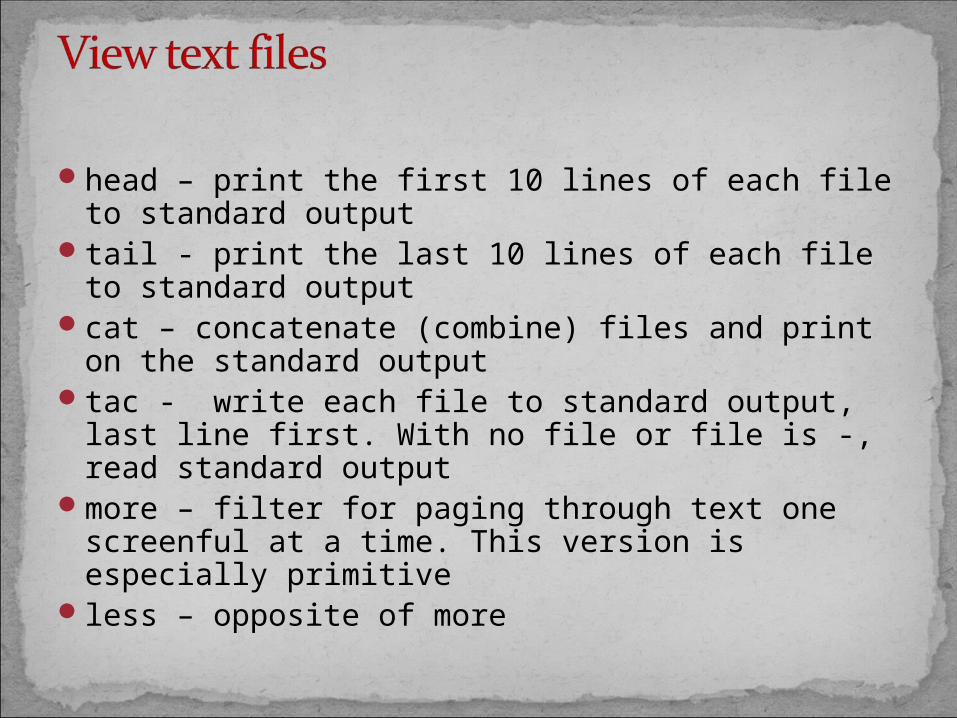
head – print the first 10 lines of each file to standard output
tail - print the last 10 lines of each file to standard output
cat – concatenate (combine) files and print on the standard output
tac - write each file to standard output, last line first. With no file or file is -, read standard output
more – filter for paging through text one screenful at a time. This version is especially primitive
less – opposite of more

Usually when you want to install applications or software, we can use a DEB (Debian software package )or RPM (RPM Package Management – for Red Hat) packages.
Software not available in .DEB or RPM format can often be installed from installer scripts (.sh) or by compiling source code from a tarball.
A tarball is an archive of files createdwith a special utility (named tar) and usually compressed using another utility, gzip. Source code distributions are often packaged as gzipped tarballs. Compiling from source enables you to do things the “old way” if needed and to exercise granular control of unpackaged software.

tar.bz2tar.gz
Uncompress tarball# 1: Uncompress tarball
To uncompress them, execute the following command(s) depending on the extension:
$ tar zxf file.tar.gz
$ tar zxf file.tgz
$ tar jxf file.tar.bz2
$ tar jxf file.tbz2

Now change directory
# 2: Build and install softwareGenerally you need to type 3 commands as
follows for building and compiling software:
$ ls
$ cd path-to-software/
# ./configure# make# make install
Where,./configure will configure the software to
ensure your system has the necessary functionality and libraries to successfully compile the package
make will compile all the source files into executable binaries.
Finally, make install will install the binaries and any supporting files into the appropriate locations.

# 3: Read INSTALL / README fileEach tarball comes with installation and build
instructions. Open INSTALL or README file for more information:
$ vi INSTALL
Related Documents