Chapter 14 Cardiac Care Skills Procedure 100 Performing A 12-Lead ECG Procedure 101 Setting Up For Continuous Cardiac Monitoring Procedure 102 Monitoring The Dorsalis Pedis Pulse Procedure 103 Monitoring The Posterior Tibial Pulse Procedure 104 Postcardiac Catheterization Monitoring

Welcome message from author
This document is posted to help you gain knowledge. Please leave a comment to let me know what you think about it! Share it to your friends and learn new things together.
Transcript

Chapter 14 Cardiac Care Skills
Procedure 100 Performing A 12-Lead ECG
Procedure 101 Setting Up For Continuous Cardiac Monitoring
Procedure 102 Monitoring The Dorsalis Pedis Pulse
Procedure 103 Monitoring The Posterior Tibial Pulse
Procedure 104 Postcardiac Catheterization Monitoring
PERFORMANCE REVIEW CHECKLIST
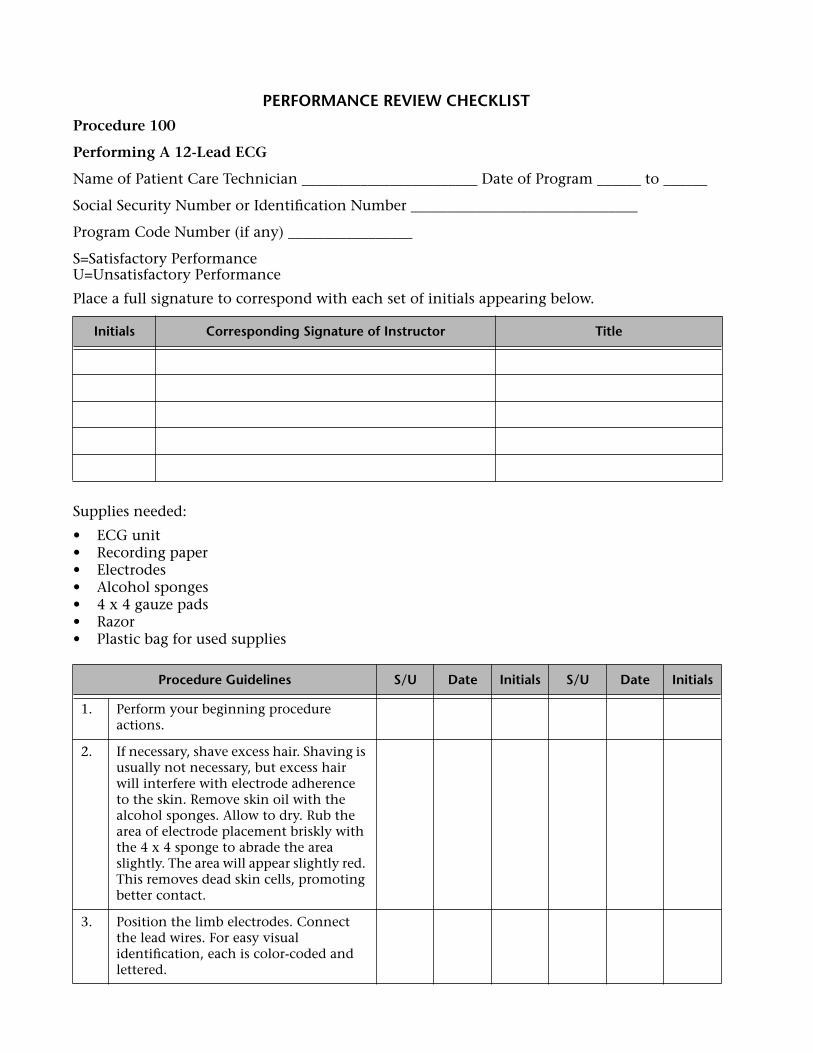
Procedure 100
Performing A 12-Lead ECG
Name of Patient Care Technician ________________________ Date of Program ______ to ______
Social Security Number or Identification Number _______________________________
Program Code Number (if any) _________________
S=Satisfactory PerformanceU=Unsatisfactory Performance
Place a full signature to correspond with each set of initials appearing below.
Supplies needed:
• ECG unit• Recording paper• Electrodes• Alcohol sponges• 4 x 4 gauze pads• Razor• Plastic bag for used supplies
Initials Corresponding Signature of Instructor Title
Procedure Guidelines S/U Date Initials S/U Date Initials
1. Perform your beginning procedure actions.
2. If necessary, shave excess hair. Shaving is usually not necessary, but excess hair will interfere with electrode adherence to the skin. Remove skin oil with the alcohol sponges. Allow to dry. Rub the area of electrode placement briskly with the 4 x 4 sponge to abrade the area slightly. The area will appear slightly red. This removes dead skin cells, promoting better contact.
3. Position the limb electrodes. Connect the lead wires. For easy visual identification, each is color-coded and lettered.

Right arm lead wire is white, and labeled RA
Right leg lead wire is green, and labeled RL
Left leg lead wire is red, and labeled LL
Left arm lead wire is black, and labeled LA
4. Apply electrodes to the chest. Avoid positioning the electrodes directly on bone, which will cause interference. In the female, position the electrodes below the breast tissue. If the breasts are large, you may have to position the breast laterally.
a. Palpate the clavicle (collarbone), which is considered the first rib. Continue palpating downward to the fourth rib. Move down slightly to the space between the fourth and fifth ribs. Position lead V1 in the fourth intercostal space, to the right of the sternum.
b. Position lead V2 directly opposite V1 at the left sternal border.
c. Next, position lead V4 in the fifth intercostal space at the midclavicular line.
d. Position lead V3 halfway between V2 and V4.
e. Position leads V5 and V6 laterally to V4. Position V5 in the anterior axillary line. V6 is positioned in the midaxillary line.
5. After applying the electrodes, enter information required by the facility into the ECG cart. Applying electrodes first allows the electrode gel to contact and penetrate the skin surface.
6. Attach the correct lead wire to each electrode. The lead wires are brown.
Procedure Guidelines S/U Date Initials S/U Date Initials

__________________________________ _______________
Instructor Signature Date
__________________________________ _______________
Student Signature Date
7. Check the speed on the ECG machine. It should be set to the standard reading of 25 mm/second, unless you are instructed otherwise. Make sure the unit is set to the full voltage. The unit will mark a standardization mark on the paper. Next, enter facility-required patient identification information.When performing the ECG, if part of a wave extends beyond the paper, reduce the normal standardization to half standardization. Note this adjustment on the ECG strip.
8. Ask the patient to lie still and breathe normally.
9. Press the “AUTO” or “RECORD” button. Check the tracing quality. If artifact is present, try to correct the problem. It may be necessary to use fresh electrodes. The machine will record the ECG.
10. When the unit finishes recording, remove the lead wires and electrodes. Clean the conductive gel from the patient’s skin.
11. Perform your procedure completion actions.
Procedure Guidelines S/U Date Initials S/U Date Initials
PERFORMANCE REVIEW CHECKLIST
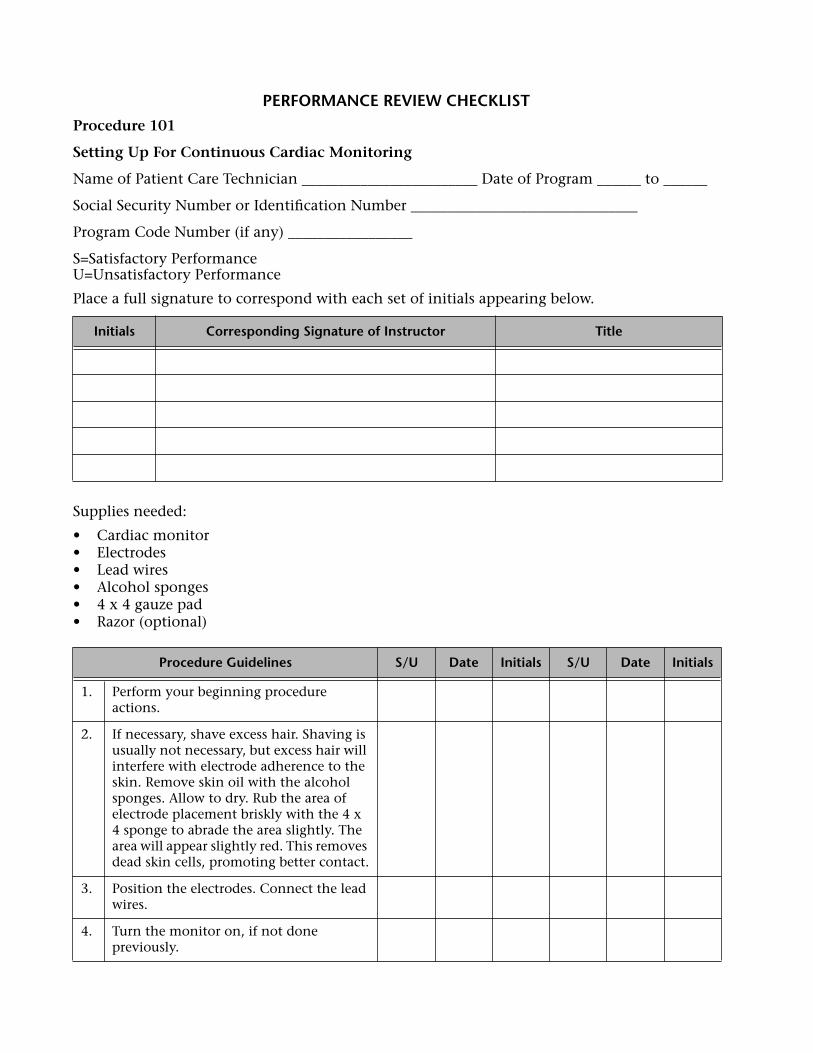
Procedure 101
Setting Up For Continuous Cardiac Monitoring
Name of Patient Care Technician ________________________ Date of Program ______ to ______
Social Security Number or Identification Number _______________________________
Program Code Number (if any) _________________
S=Satisfactory PerformanceU=Unsatisfactory Performance
Place a full signature to correspond with each set of initials appearing below.
Supplies needed:
• Cardiac monitor• Electrodes• Lead wires• Alcohol sponges• 4 x 4 gauze pad• Razor (optional)
Initials Corresponding Signature of Instructor Title
Procedure Guidelines S/U Date Initials S/U Date Initials
1. Perform your beginning procedure actions.
2. If necessary, shave excess hair. Shaving is usually not necessary, but excess hair will interfere with electrode adherence to the skin. Remove skin oil with the alcohol sponges. Allow to dry. Rub the area of electrode placement briskly with the 4 x 4 sponge to abrade the area slightly. The area will appear slightly red. This removes dead skin cells, promoting better contact.
3. Position the electrodes. Connect the lead wires.
4. Turn the monitor on, if not done previously.

__________________________________ _______________
Instructor Signature Date
__________________________________ _______________
Student Signature Date
5. Check the monitor for quality of the tracing, and adjust if necessary.
6. Set the heart rate alarm according to facility policy, or as instructed by the RN. Turn the alarm on, if not done previously.
7. Perform your procedure completion actions.
Procedure Guidelines S/U Date Initials S/U Date Initials

PERFORMANCE REVIEW CHECKLIST
Procedure 102
Monitoring The Dorsalis Pedis Pulse
Name of Patient Care Technician ________________________ Date of Program ______ to ______
Social Security Number or Identification Number _______________________________
Program Code Number (if any) _________________
S=Satisfactory PerformanceU=Unsatisfactory Performance
Place a full signature to correspond with each set of initials appearing below.
Supplies needed:
• Watch with second hand
__________________________________ _______________
Instructor Signature Date
__________________________________ _______________
Student Signature Date
Initials Corresponding Signature of Instructor Title
Procedure Guidelines S/U Date Initials S/U Date Initials
1. Perform your beginning procedure actions.
2. Imagine a line between the ankle and the fleshy area between the great toe and second toe. Place two or three fingers on this line, over the instep area.
3. Gently palpate the area to determine the pulse location. Mark the area with an X, if so instructed.
4. Count the pulse for 60 full seconds.
5. Perform your procedure completion actions

PERFORMANCE REVIEW CHECKLIST
Procedure 103
Monitoring The Posterior Tibial Pulse
Name of Patient Care Technician ________________________ Date of Program ______ to ______
Social Security Number or Identification Number _______________________________
Program Code Number (if any) _________________
S=Satisfactory PerformanceU=Unsatisfactory Performance
Place a full signature to correspond with each set of initials appearing below.
Supplies needed:
• Watch with second hand
__________________________________ _______________
Instructor Signature Date
__________________________________ _______________
Student Signature Date
Initials Corresponding Signature of Instructor Title
Procedure Guidelines S/U Date Initials S/U Date Initials
1. Perform your beginning procedure actions.
2. Place your fingers in the groove between the Achilles tendon and the tibia, slightly above the medial malleolus. Move the fingers in, toward the tibia. You may have to press deeply.
3. Gently palpate the area to determine the pulse location. Mark the area with an X, if so instructed.
4. Count the pulse for 60 full seconds.
5. Perform your procedure completion actions.
PERFORMANCE REVIEW CHECKLIST
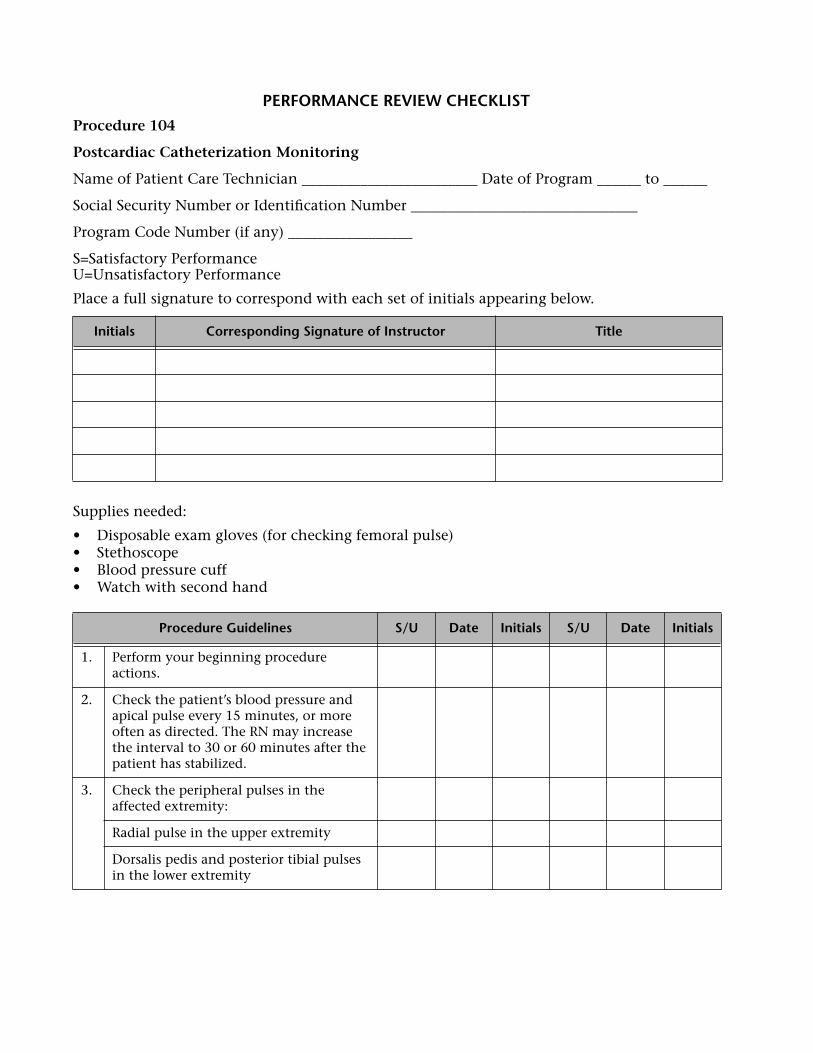
Procedure 104
Postcardiac Catheterization Monitoring
Name of Patient Care Technician ________________________ Date of Program ______ to ______
Social Security Number or Identification Number _______________________________
Program Code Number (if any) _________________
S=Satisfactory PerformanceU=Unsatisfactory Performance
Place a full signature to correspond with each set of initials appearing below.
Supplies needed:
• Disposable exam gloves (for checking femoral pulse)• Stethoscope• Blood pressure cuff• Watch with second hand
Initials Corresponding Signature of Instructor Title
Procedure Guidelines S/U Date Initials S/U Date Initials
1. Perform your beginning procedure actions.
2. Check the patient’s blood pressure and apical pulse every 15 minutes, or more often as directed. The RN may increase the interval to 30 or 60 minutes after the patient has stabilized.
3. Check the peripheral pulses in the affected extremity:
Radial pulse in the upper extremity
Dorsalis pedis and posterior tibial pulses in the lower extremity

__________________________________ _______________
Instructor Signature Date
__________________________________ _______________
Student Signature Date
4. Evaluate the affected extremity for:
Color
Skin temperature
Complaints of pain
Complaints of numbness or tingling
5. Monitor the site of the skin puncture for edema, bleeding, and signs of hematoma development. Question the patient about pain in the extremity.
6. Ask the patient if he or she is having chest pain. If present, remain in the room and use the call signal to alert the RN.
7. Question the patient about groin, thigh, or back pain.
8. Monitor for signs and symptoms of other complications.
9. Perform your procedure completion actions.
Procedure Guidelines S/U Date Initials S/U Date Initials
Related Documents