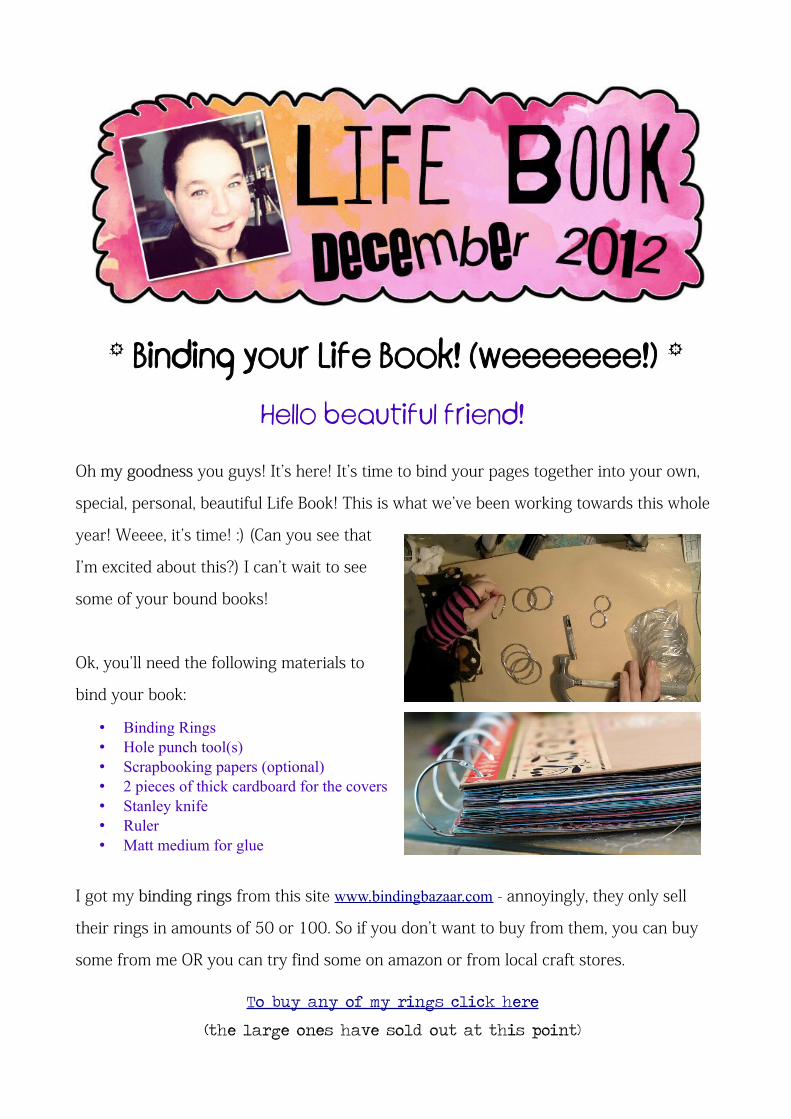
* Binding your Life Book! (weeeeeee!) * Hello beautiful friend! Oh my goodness you guys! It's here! It's time to bind your pages together into your own, special, personal, beautiful Life Book! This is what we've been working towards this whole year! Weeee, it's time! :) (Can you see that I'm excited about this?) I can't wait to see some of your bound books! Ok, you'll need the following materials to bind your book: • Binding Rings • Hole punch tool(s) • Scrapbooking papers (optional) • 2 pieces of thick cardboard for the covers • Stanley knife • Ruler • Matt medium for glue I got my binding rings from this site www.bindingbazaar.com - annoyingly, they only sell their rings in amounts of 50 or 100. So if you don't want to buy from them, you can buy some from me OR you can try find some on amazon or from local craft stores. To buy any of my rings click here (the large ones have sold out at this point)

Welcome message from author
This document is posted to help you gain knowledge. Please leave a comment to let me know what you think about it! Share it to your friends and learn new things together.
Transcript
* Binding your Life Book! (weeeeeee!) *
Hello beautiful friend!
Oh my goodness you guys! It's here! It's time to bind your pages together into your own,
special, personal, beautiful Life Book! This is what we've been working towards this whole
year! Weeee, it's time! :) (Can you see that
I'm excited about this?) I can't wait to see
some of your bound books!
Ok, you'll need the following materials to
bind your book:
• Binding Rings• Hole punch tool(s)• Scrapbooking papers (optional)• 2 pieces of thick cardboard for the covers• Stanley knife• Ruler• Matt medium for glue
I got my binding rings from this site www.bindingbazaar.com - annoyingly, they only sell
their rings in amounts of 50 or 100. So if you don't want to buy from them, you can buy
some from me OR you can try find some on amazon or from local craft stores.
To buy any of my rings click here
(the large ones have sold out at this point)
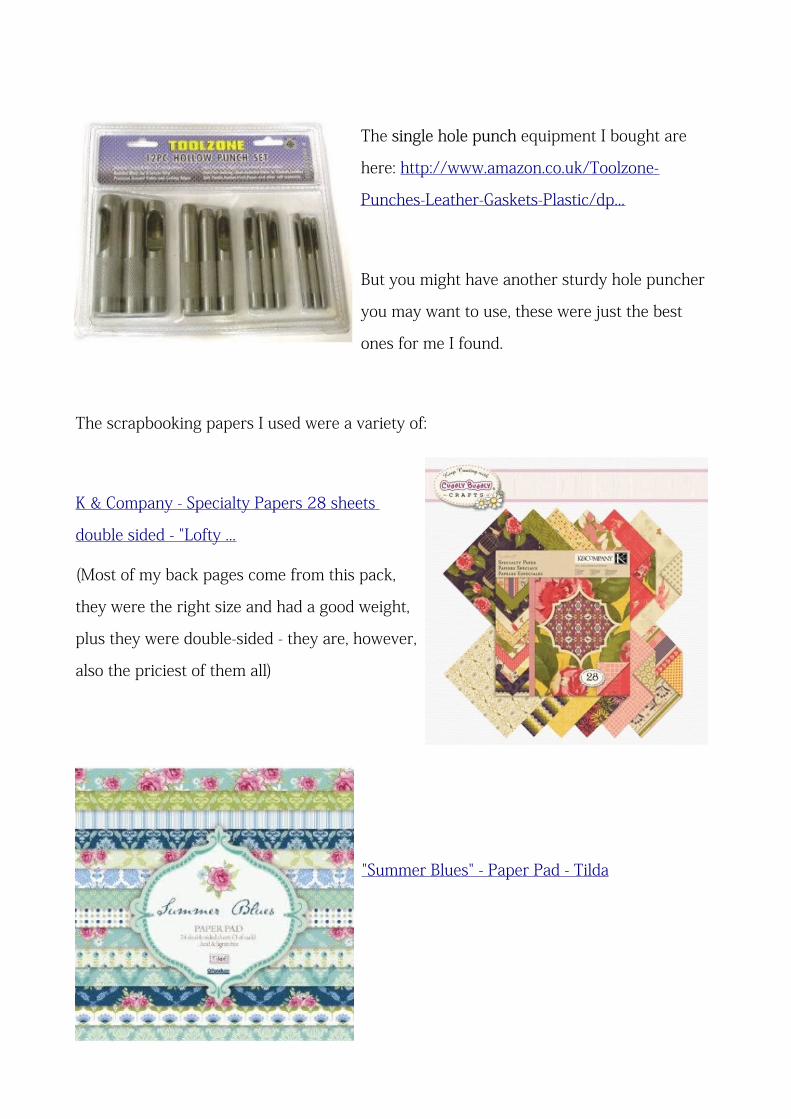
The single hole punch equipment I bought are
here: http://www.amazon.co.uk/Toolzone-
Punches-Leather-Gaskets-Plastic/dp...
But you might have another sturdy hole puncher
you may want to use, these were just the best
ones for me I found.
The scrapbooking papers I used were a variety of:
K & Company - Specialty Papers 28 sheets
double sided - "Lofty ...
(Most of my back pages come from this pack,
they were the right size and had a good weight,
plus they were double-sided - they are, however,
also the priciest of them all)
"Summer Blues" - Paper Pad - Tilda
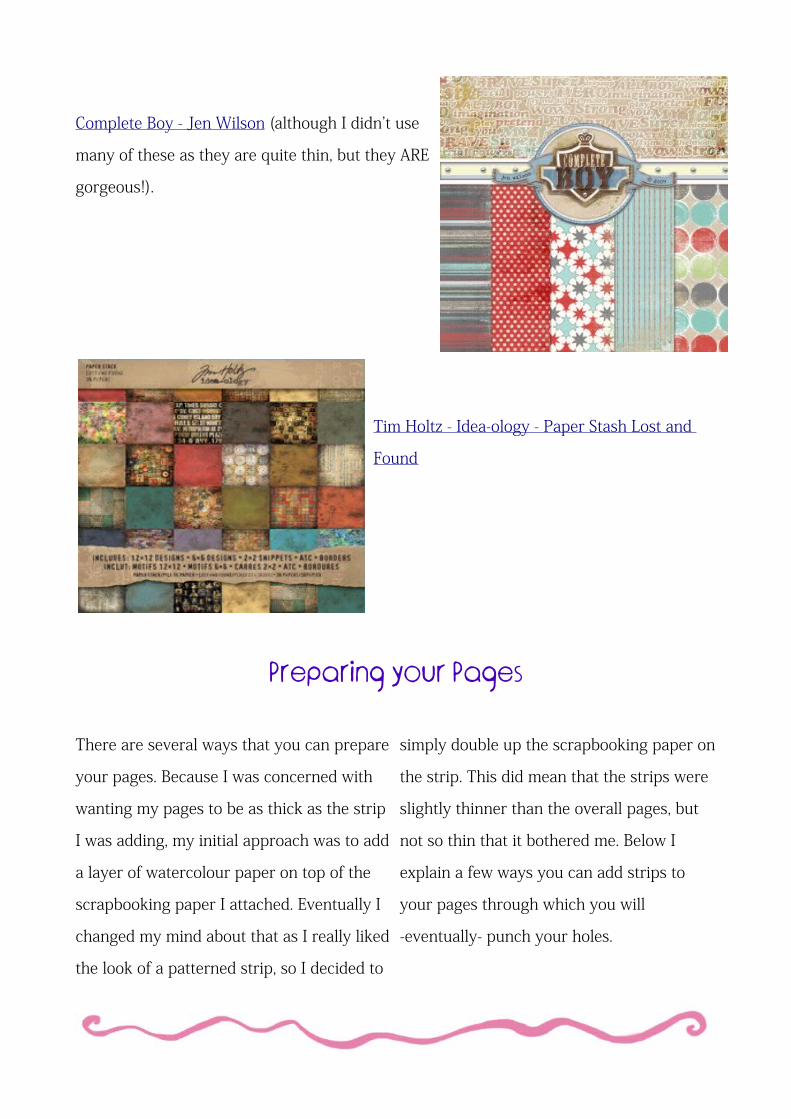
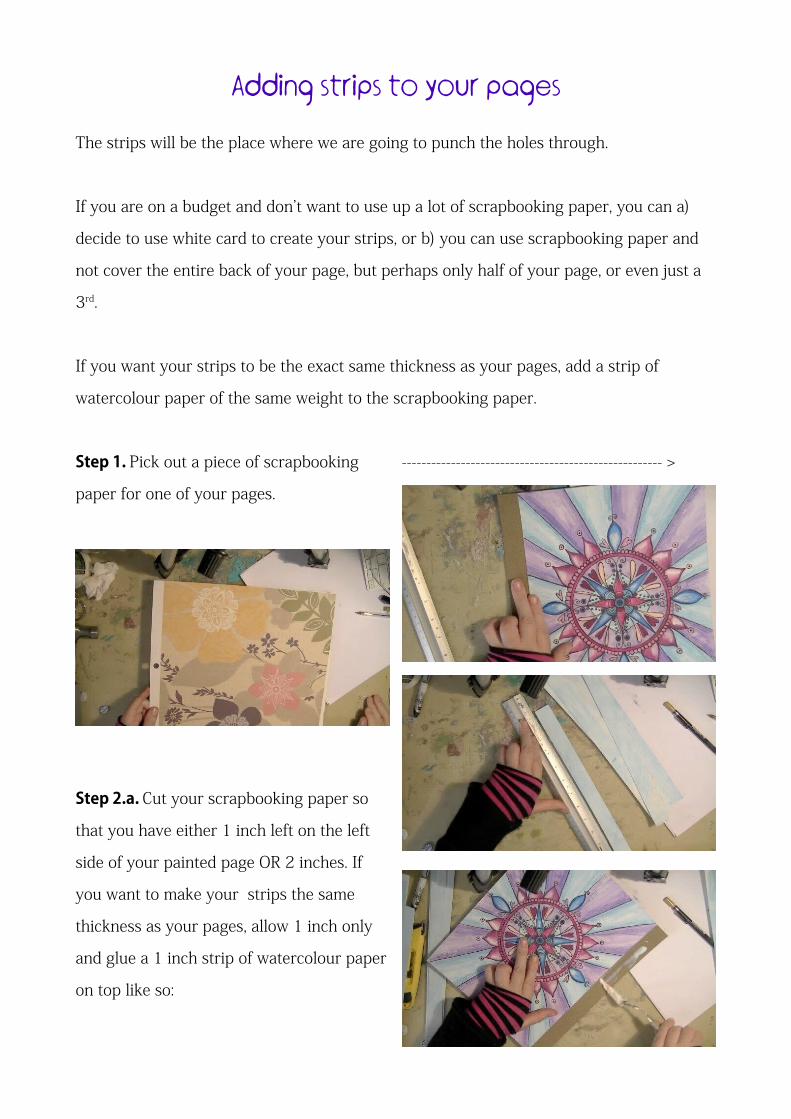
Complete Boy - Jen Wilson (although I didn't use
many of these as they are quite thin, but they ARE
gorgeous!).
Tim Holtz - Idea-ology - Paper Stash Lost and
Found
Preparing your Pages
There are several ways that you can prepare
your pages. Because I was concerned with
wanting my pages to be as thick as the strip
I was adding, my initial approach was to add
a layer of watercolour paper on top of the
scrapbooking paper I attached. Eventually I
changed my mind about that as I really liked
the look of a patterned strip, so I decided to
simply double up the scrapbooking paper on
the strip. This did mean that the strips were
slightly thinner than the overall pages, but
not so thin that it bothered me. Below I
explain a few ways you can add strips to
your pages through which you will
-eventually- punch your holes.
http://rangerink.com/?product=tim-holtz%C2%AE-idea-ology%E2%84%A2-paperie-paper-stash-lost-and-found
http://rangerink.com/?product=tim-holtz%C2%AE-idea-ology%E2%84%A2-paperie-paper-stash-lost-and-found
Adding strips to your pages
The strips will be the place where we are going to punch the holes through.
If you are on a budget and don't want to use up a lot of scrapbooking paper, you can a)
decide to use white card to create your strips, or b) you can use scrapbooking paper and
not cover the entire back of your page, but perhaps only half of your page, or even just a
3rd.
If you want your strips to be the exact same thickness as your pages, add a strip of
watercolour paper of the same weight to the scrapbooking paper.
Step 1. Pick out a piece of scrapbooking
paper for one of your pages.
Step 2.a. Cut your scrapbooking paper so
that you have either 1 inch left on the left
side of your painted page OR 2 inches. If
you want to make your strips the same
thickness as your pages, allow 1 inch only
and glue a 1 inch strip of watercolour paper
on top like so:
----------------------------------------------------- >

Step 2.b. If you want to have your strip
have a nice scrapbooking look, then allow 2
inches, fold over your strip and glue down.
Step 3. Glue down your pages onto your
scrapbooking paper (or card) with matt
medium.
Step 4. With a blunt implement scrape
down over your page to remove any air
bubbles and for even distribution of the
medium.
Step 5. Once you have prepared all your
pages with strips, it's time to punch some
holes!
Step 6. Best way to make sure to get all the
holes in the right place is to start with 1
page first. My guidance for placement is:
half an inch from the top and half an inch
from the bottom and then equal spacing in
between.
Step 7. Punch holes in your first page and use it as a
mould/ gauge for your other pages. I actually drew
the holes on all the strips so that I knew for sure they
were all going to be exactly in the same place.
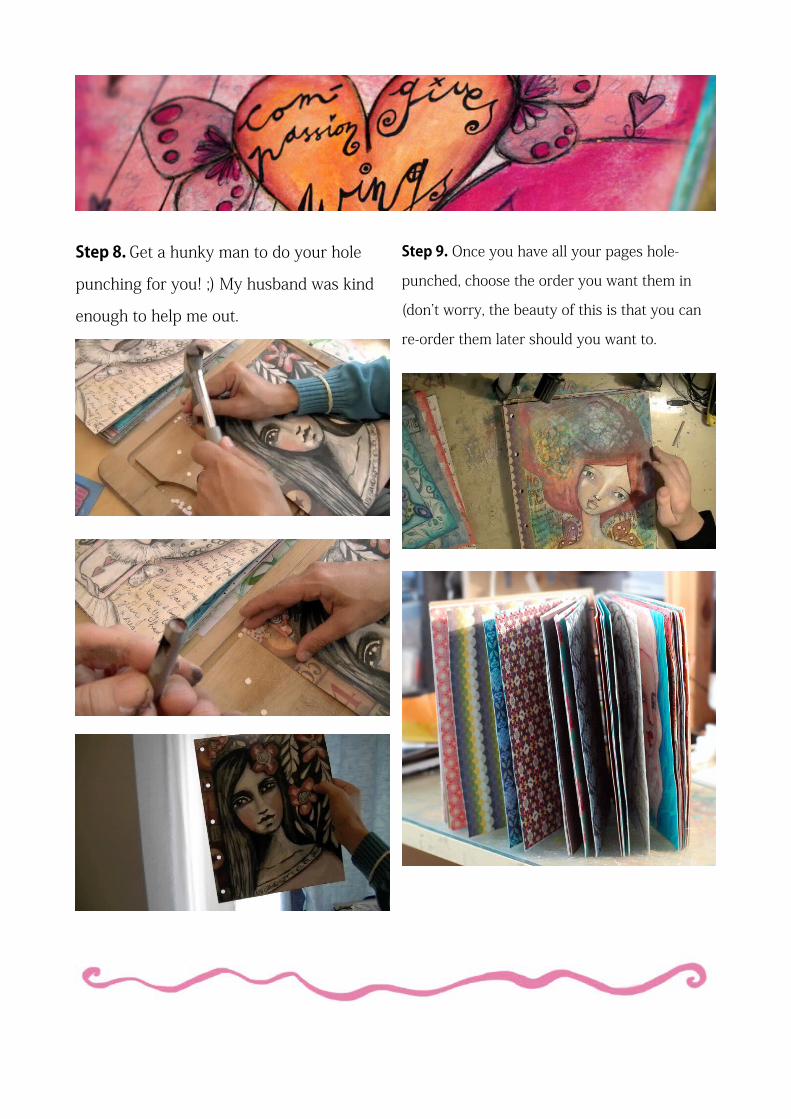
Step 8. Get a hunky man to do your hole
punching for you! ;) My husband was kind
enough to help me out.
Step 9. Once you have all your pages hole-
punched, choose the order you want them in
(don't worry, the beauty of this is that you can
re-order them later should you want to.
Creating your Covers
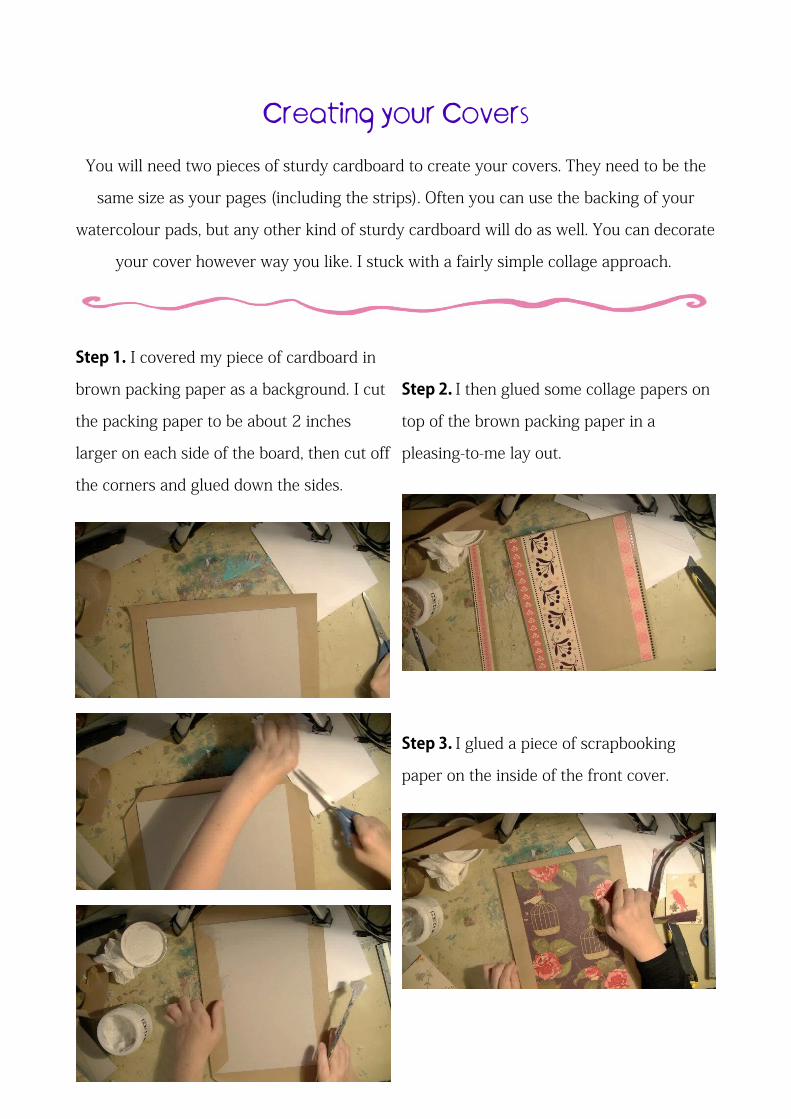
You will need two pieces of sturdy cardboard to create your covers. They need to be the
same size as your pages (including the strips). Often you can use the backing of your
watercolour pads, but any other kind of sturdy cardboard will do as well. You can decorate
your cover however way you like. I stuck with a fairly simple collage approach.
Step 1. I covered my piece of cardboard in
brown packing paper as a background. I cut
the packing paper to be about 2 inches
larger on each side of the board, then cut off
the corners and glued down the sides.
Step 2. I then glued some collage papers on
top of the brown packing paper in a
pleasing-to-me lay out.
Step 3. I glued a piece of scrapbooking
paper on the inside of the front cover.
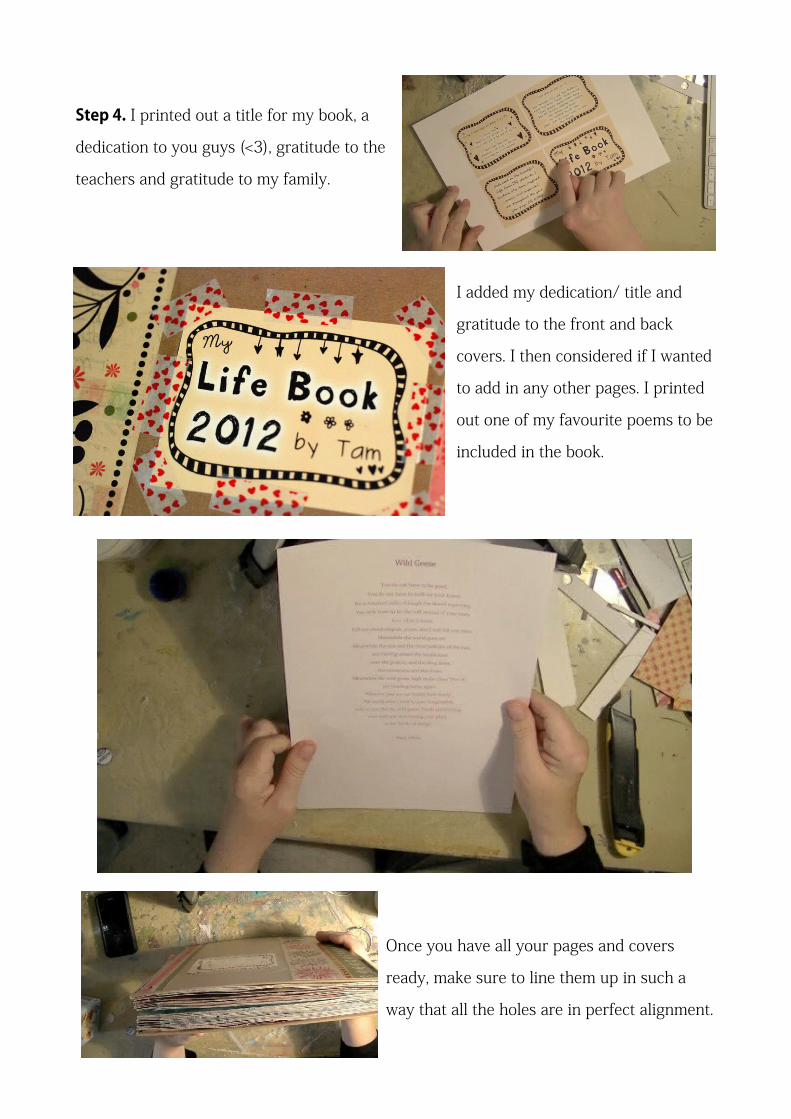
Step 4. I printed out a title for my book, a
dedication to you guys (<3), gratitude to the
teachers and gratitude to my family.
I added my dedication/ title and
gratitude to the front and back
covers. I then considered if I wanted
to add in any other pages. I printed
out one of my favourite poems to be
included in the book.
Once you have all your pages and covers
ready, make sure to line them up in such a
way that all the holes are in perfect alignment.
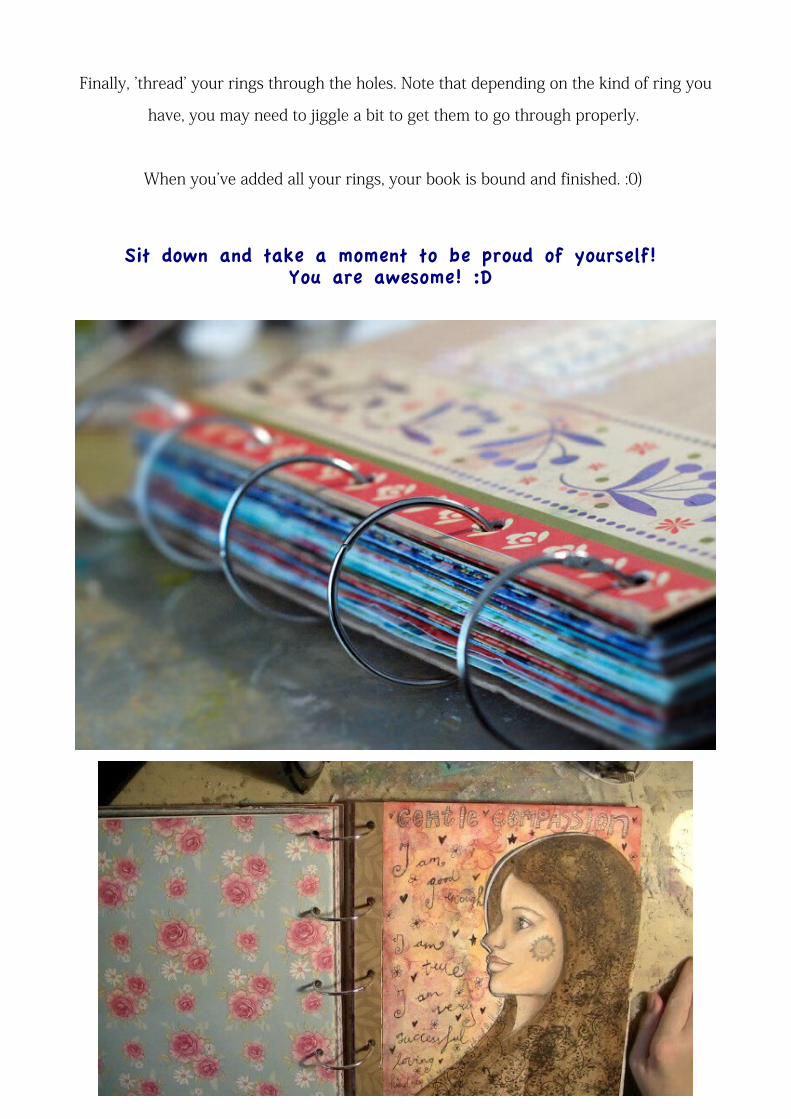
Finally, 'thread' your rings through the holes. Note that depending on the kind of ring you
have, you may need to jiggle a bit to get them to go through properly.
When you've added all your rings, your book is bound and finished. :0)
Sit down and take a moment to be proud of yourself! You are awesome! :D
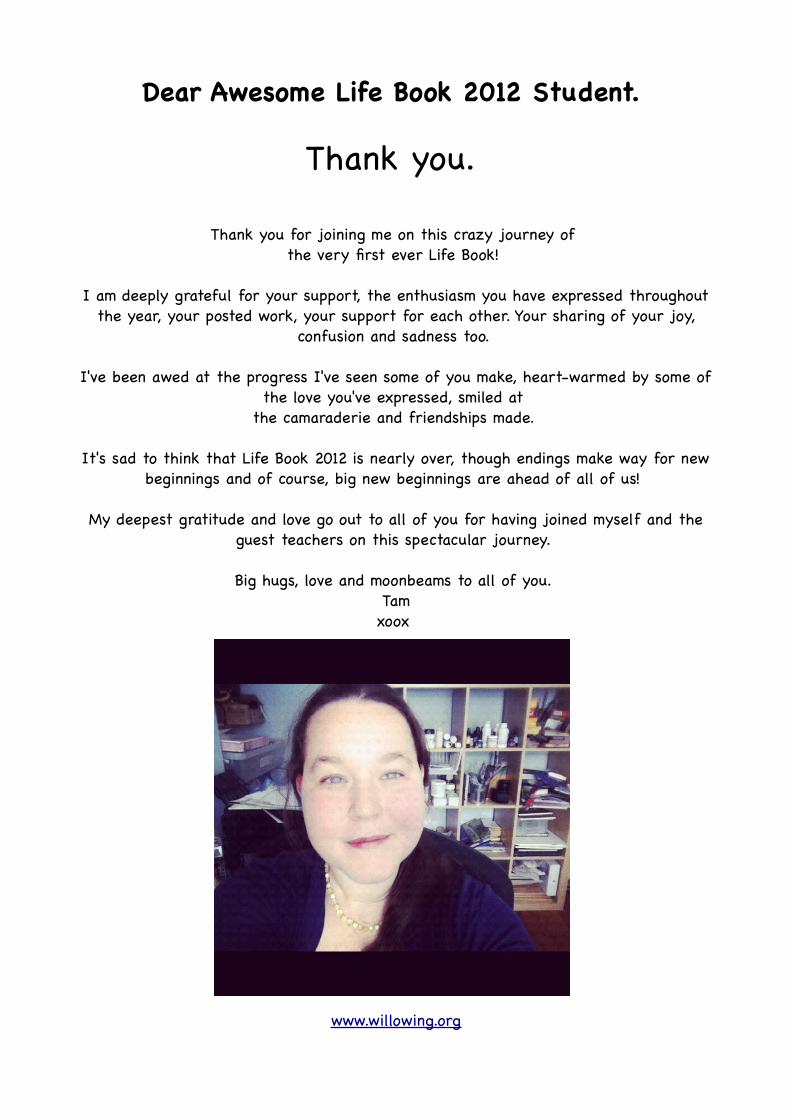
Dear Awesome Life Book 2012 Student.
Thank you.
Thank you for joining me on this crazy journey of the very first ever Life Book!
I am deeply grateful for your support, the enthusiasm you have expressed throughout the year, your posted work, your support for each other. Your sharing of your joy,
confusion and sadness too.
I've been awed at the progress I've seen some of you make, heart-warmed by some of the love you've expressed, smiled at
the camaraderie and friendships made.
It's sad to think that Life Book 2012 is nearly over, though endings make way for new beginnings and of course, big new beginnings are ahead of all of us!
My deepest gratitude and love go out to all of you for having joined myself and the guest teachers on this spectacular journey.
Big hugs, love and moonbeams to all of you. Tamxoox
www.willowing.org
Related Documents