Sun SPOT Quickstart Manual Platform Support in Document: Windows XP and Linux Document last updated: Wednesday, June 28, 2006 -Semester 1, 2006- Student: Yuhsiang Tsai SID: 305259938

Welcome message from author
This document is posted to help you gain knowledge. Please leave a comment to let me know what you think about it! Share it to your friends and learn new things together.
Transcript
7/27/2019 b Spot q Start Manual
http://slidepdf.com/reader/full/b-spot-q-start-manual 1/23

7/27/2019 b Spot q Start Manual
http://slidepdf.com/reader/full/b-spot-q-start-manual 2/23
- 1 -
Table of Contents
1. Sun SPOT Environment ..............................................................................................2
1.1 What is needed?.....................................................................................................21.1.1 Hardware........................................................................................................2
1.1.2 Software .........................................................................................................22. Installation for Windows XP .......................................................................................2
2.1 ANT Installation....................................................................................................22.2 Java Development Kit Installation .........................................................................3
2.3 Serial Port Emulator (USB driver).........................................................................32.4 Install Sun SPOT Development Kit .......................................................................4
2.5 Test Sun SPOT Connection ...................................................................................42.6 jvm.dll Configuration ............................................................................................5
2.7 Sensor Board Library Installation ..........................................................................5
2.8 Test Sensor Board Library.....................................................................................53. Quick Setup for Windows XP......................................................................................64. Installation for Linux (from Dr. Scholz) ......................................................................7
5. Launch Sun SPOT Application..................................................................................105.1 Run Template Sample.......................................................................................... 10
5.2 Run Ex1-reactomatic Sample............................................................................... 125.3 Samples Application Notices ............................................................................... 12
6. Initialize Basestation Utility ...................................................................................... 137. Sun SPOT Features ................................................................................................... 14
7.1 Sun SPOT Processor Board ............................................................................. 147.2 General Purpose Sensor Board......................................................................... 15
7.3 Test Board....................................................................................................... 178. Sun SPOT Programming ........................................................................................... 18
8.1 Green LED Deployment...................................................................................... 188.2 Tri-color LED Deployment.................................................................................. 18
8.3 Switches SW1 and SW2 Deployment .................................................................. 188.4 Light Sensor Deployment .................................................................................... 19
8.5 Temperature Deployment .................................................................................... 198.6 2G/6G Accelerometer Deployment...................................................................... 20
8.7 Radio Connection................................................................................................ 208.8 Squawk API ........................................................................................................ 21
9. Reference: ............................................................................................................. 22
7/27/2019 b Spot q Start Manual
http://slidepdf.com/reader/full/b-spot-q-start-manual 3/23
- 2 -
1. Sun SPOT Environment
1.1 What is needed?
Before running Sun SPOT development, the following list of software and hardware are
the essentials to launch Sun SPOT application.
1.1.1 Hardware
1) Sun SPOT
2) USB cable3) Sun SPOT SDK CD
1.1.2 Software
1) ANT 1.6.3, 1.6.2 or 1.6.1
2) Java Development Kit 1.4 or above3) Serial Port Emulator (USB driver)4) Sun SPOT Development Kit
5) Sensor Board Library
2. Installation for Windows XP
The prerequisites of Sun Spot development are required of installing ANT, JavaDevelopment Kit (JDK), Serial Pot Emulator (USB driver) and Sun SPOT development
Kit (SDK) as Sun SPOT environment through development. The following is the detail ofsystem configuration. In the document, %SunSPOT_HOME% refers the dictionary of
C:\program files\SunSPOT.
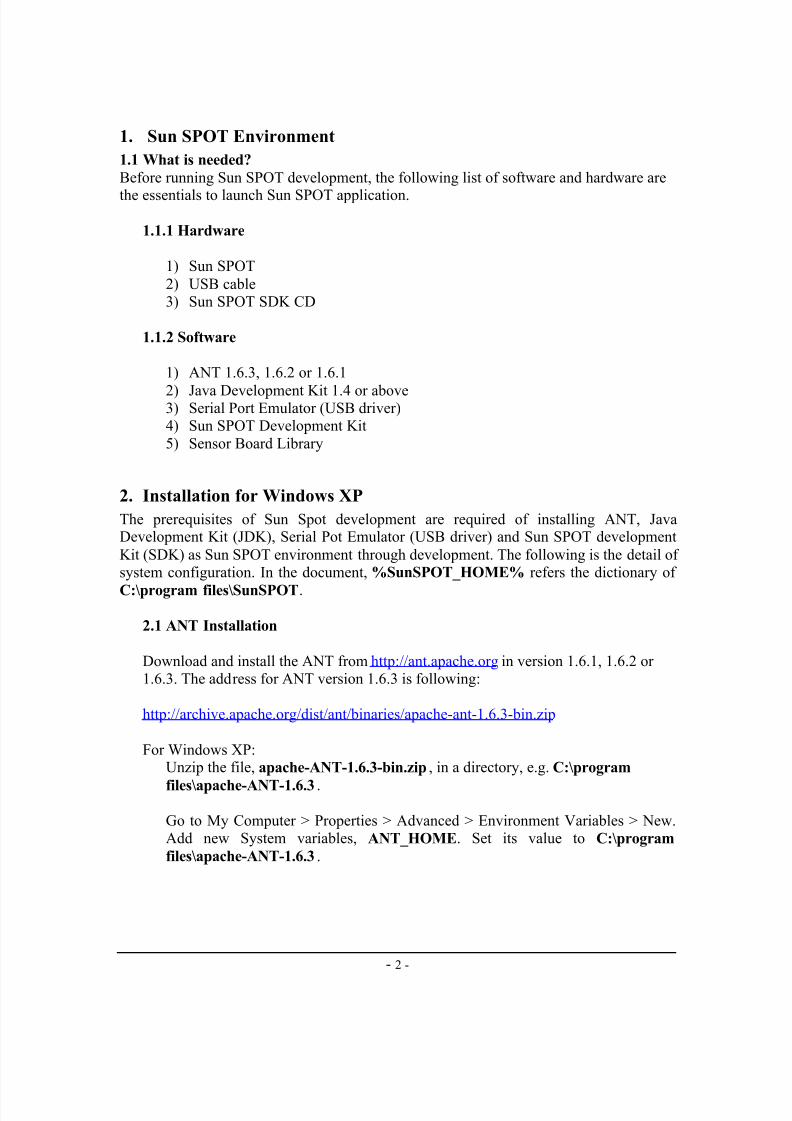
2.1 ANT Installation
Download and install the ANT from http://ant.apache.org in version 1.6.1, 1.6.2 or1.6.3. The address for ANT version 1.6.3 is following:
http://archive.apache.org/dist/ant/binaries/apache-ant-1.6.3-bin.zip
For Windows XP:Unzip the file, apache-ANT-1.6.3-bin.zip , in a directory, e.g. C:\program
files\apache-ANT-1.6.3 .
Go to My Computer > Properties > Advanced > Environment Variables > New.Add new System variables, ANT_HOME. Set its value to C:\program
files\apache-ANT-1.6.3 .

7/27/2019 b Spot q Start Manual
http://slidepdf.com/reader/full/b-spot-q-start-manual 4/23
- 3 -
Setup the system path to point to the ANT bin/ directory as following. Edit thesystem environment, PATH, and add value %\ANT_HOMES%\bin to its front
or end. Note: make sure values in the Path are delimited by only semi-colons.
To verify that the ANT has installed properly, go to Start > Run > cmd. Do the
command, ANT. If DOS recognizes the command, then installation is successful.If not, check steps above.
2.2 Java Development Kit Installation
The JDK can be downloaded from http://java.sun.com. The version for Sun SPOT is
1.4 or above.
For Windows XP:In this example, the JDK is installed in the directory, C:\program files\jdk1.4\.
Setup the system path to point to the JDK bin/ directory as following. Go to MyComputer > Properties > Advanced > Environment Variables > New. Edit System
variables, PATH. Add the value, C:\program files\jdk1.4\bin to the front or endof the existing value.
If the system has already installed the correct version of JDK, just simply edit the
PATH variable. Note: make sure values in the Path are delimited by only semi-colons.
To verify that the steps above have configured properly, go to Start > Run > cmd.
Do the command, javac. If DOS recognizes the command, then installation issuccessful. If not, check steps above.
2.3 Serial Port Emulator (USB driver)
The driver for the serial port emulator for the USB chipset (FT232BM) can bedownloaded from http://www.ftdichip.com.
For Windows XP:
For some versions of Windows OS may include the driver with its own. Therefore,the step can be ignored. Otherwise, you can download the driver for Windows XP
and 2000 from following:
http://www.ftdichip.com/Drivers/VCP/Win2000/R2176.zip
Firstly, unzip the file into a directory, e.g. c:\R2176.To install the driver go to My Computer > Properties > Hardware > Device
Manager. Select the Sun SPOT device with exclamation mark. Update the driver
7/27/2019 b Spot q Start Manual
http://slidepdf.com/reader/full/b-spot-q-start-manual 5/23
- 4 -
with pointing the directory, c:\R2176. If successful, the exclamation mark will notappear in Device Manager.
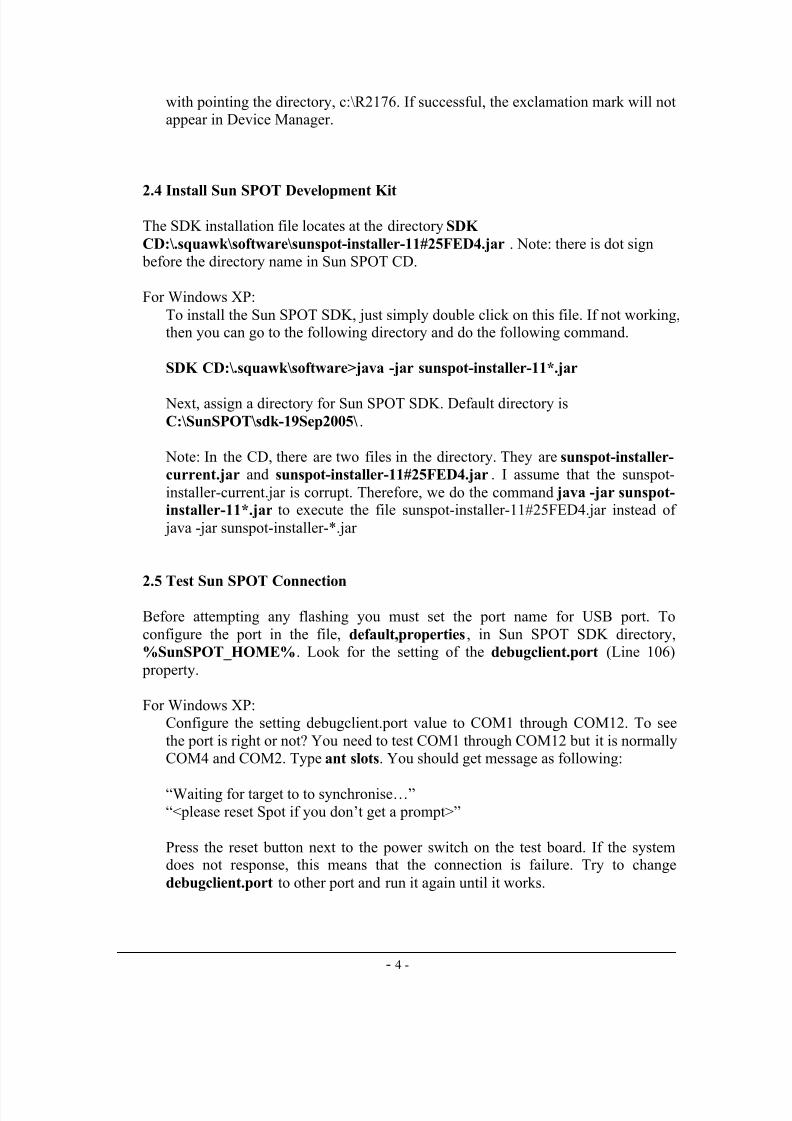
2.4 Install Sun SPOT Development Kit
The SDK installation file locates at the directory SDK
CD:\.squawk\software\sunspot-installer-11#25FED4.jar . Note: there is dot sign before the directory name in Sun SPOT CD.
For Windows XP:
To install the Sun SPOT SDK, just simply double click on this file. If not working,then you can go to the following directory and do the following command.
SDK CD:\.squawk\software>java -jar sunspot-installer-11*.jar
Next, assign a directory for Sun SPOT SDK. Default directory is
C:\SunSPOT\sdk-19Sep2005\.
Note: In the CD, there are two files in the directory. They are sunspot-installer-
current.jar and sunspot-installer-11#25FED4.jar . I assume that the sunspot-
installer-current.jar is corrupt. Therefore, we do the command java -jar sunspot-
installer-11*.jar to execute the file sunspot-installer-11#25FED4.jar instead of
java -jar sunspot-installer-*.jar
2.5 Test Sun SPOT Connection
Before attempting any flashing you must set the port name for USB port. To
configure the port in the file, default,properties, in Sun SPOT SDK directory,
%SunSPOT_HOME%. Look for the setting of the debugclient.port (Line 106)
property.
For Windows XP:Configure the setting debugclient.port value to COM1 through COM12. To see
the port is right or not? You need to test COM1 through COM12 but it is normallyCOM4 and COM2. Type ant slots. You should get message as following:
“Waiting for target to to synchronise…”
“<please reset Spot if you don’t get a prompt>”
Press the reset button next to the power switch on the test board. If the systemdoes not response, this means that the connection is failure. Try to change
debugclient.port to other port and run it again until it works.
7/27/2019 b Spot q Start Manual
http://slidepdf.com/reader/full/b-spot-q-start-manual 6/23
- 5 -
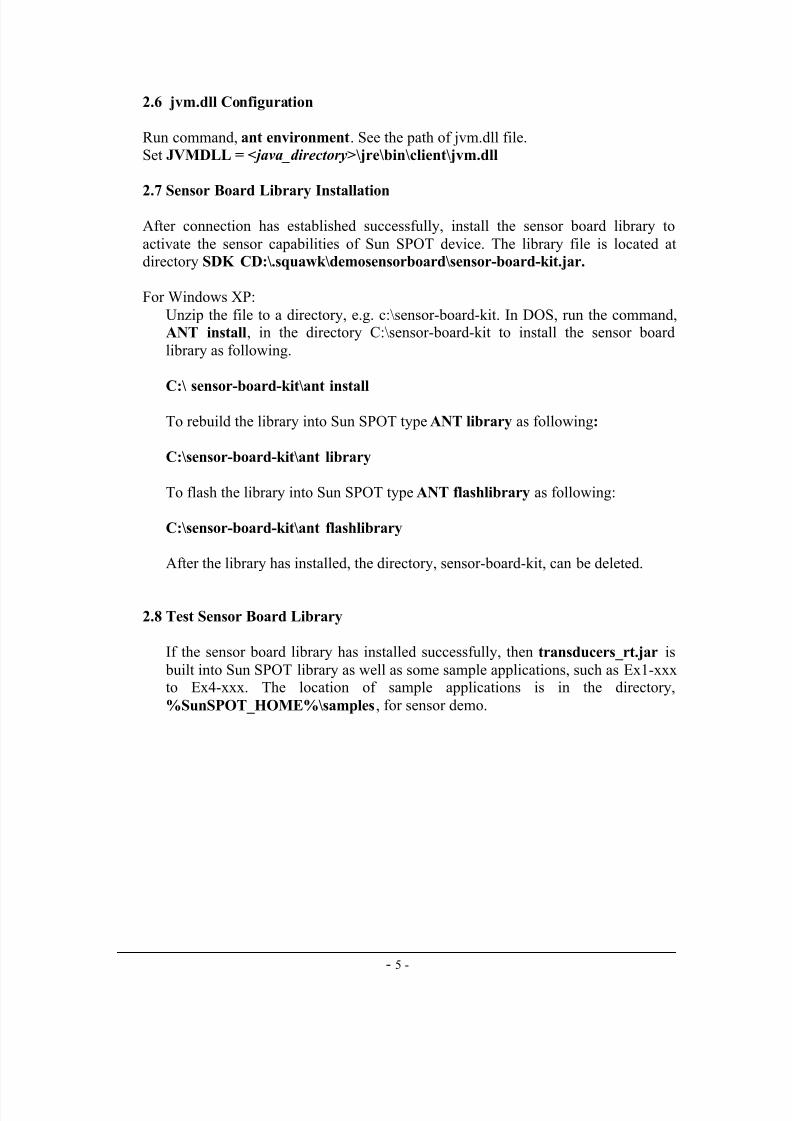
2.6 jvm.dll Configuration
Run command, ant environment. See the path of jvm.dll file.Set JVMDLL = < java_directory>\jre\bin\client\jvm.dll
2.7 Sensor Board Library Installation
After connection has established successfully, install the sensor board library to
activate the sensor capabilities of Sun SPOT device. The library file is located atdirectory SDK CD:\.squawk\demosensorboard\sensor-board-kit.jar.
For Windows XP:
Unzip the file to a directory, e.g. c:\sensor-board-kit. In DOS, run the command,ANT install, in the directory C:\sensor-board-kit to install the sensor board
library as following.
C:\ sensor-board-kit\ant install
To rebuild the library into Sun SPOT type ANT library as following:
C:\sensor-board-kit\ant library
To flash the library into Sun SPOT type ANT flashlibrary as following:
C:\sensor-board-kit\ant flashlibrary
After the library has installed, the directory, sensor-board-kit, can be deleted.
2.8 Test Sensor Board Library
If the sensor board library has installed successfully, then transducers_rt.jar is
built into Sun SPOT library as well as some sample applications, such as Ex1-xxxto Ex4-xxx. The location of sample applications is in the directory,
%SunSPOT_HOME%\samples, for sensor demo.
7/27/2019 b Spot q Start Manual
http://slidepdf.com/reader/full/b-spot-q-start-manual 7/23
- 6 -
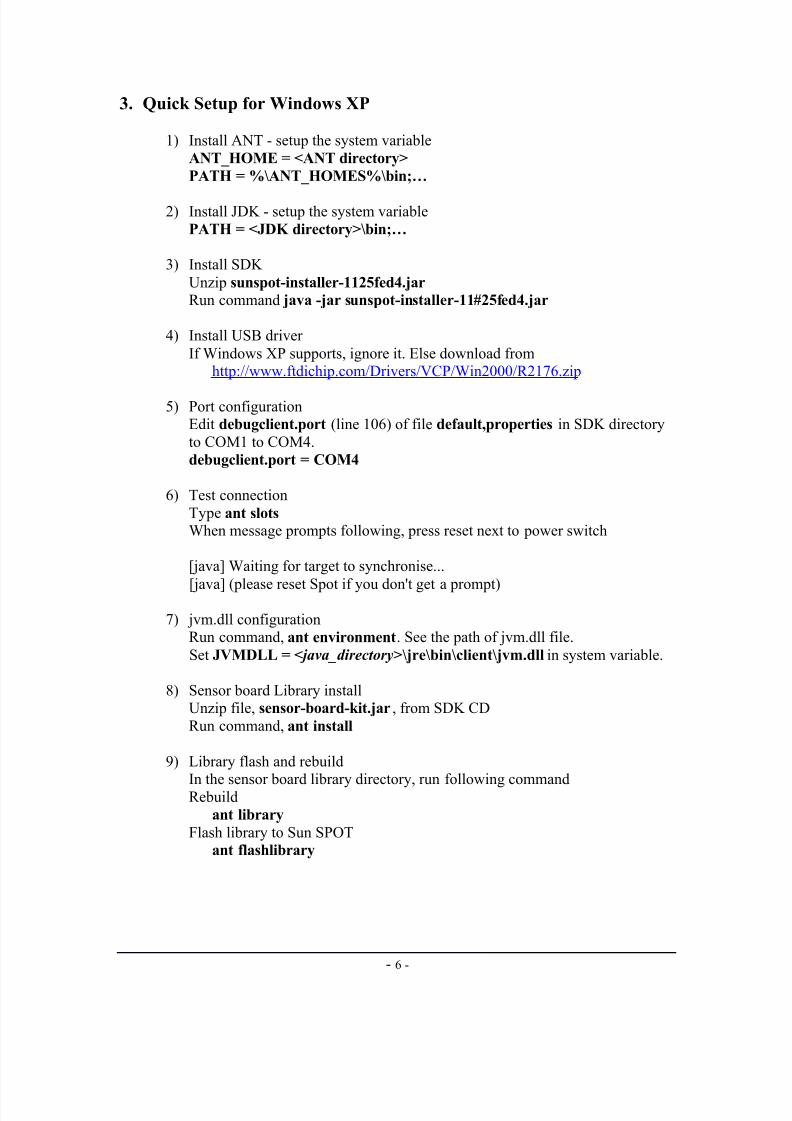
3. Quick Setup for Windows XP
1) Install ANT - setup the system variable
ANT_HOME = <ANT directory>
PATH = %\ANT_HOMES%\bin;…
2) Install JDK - setup the system variable
PATH = <JDK directory>\bin;…
3) Install SDK
Unzip sunspot-installer-1125fed4.jar Run command java -jar sunspot-installer-11#25fed4.jar
4) Install USB driver
If Windows XP supports, ignore it. Else download fromhttp://www.ftdichip.com/Drivers/VCP/Win2000/R2176.zip
5) Port configurationEdit debugclient.port (line 106) of file default,properties in SDK directory
to COM1 to COM4.
debugclient.port = COM4
6) Test connection
Type ant slots When message prompts following, press reset next to power switch
[java] Waiting for target to synchronise...
[java] (please reset Spot if you don't get a prompt)
7) jvm.dll configurationRun command, ant environment. See the path of jvm.dll file.
Set JVMDLL = < java_directory>\jre\bin\client\jvm.dll in system variable.
8) Sensor board Library installUnzip file, sensor-board-kit.jar, from SDK CD
Run command, ant install
9) Library flash and rebuild
In the sensor board library directory, run following commandRebuild
ant library
Flash library to Sun SPOTant flashlibrary
7/27/2019 b Spot q Start Manual
http://slidepdf.com/reader/full/b-spot-q-start-manual 8/23
- 7 -
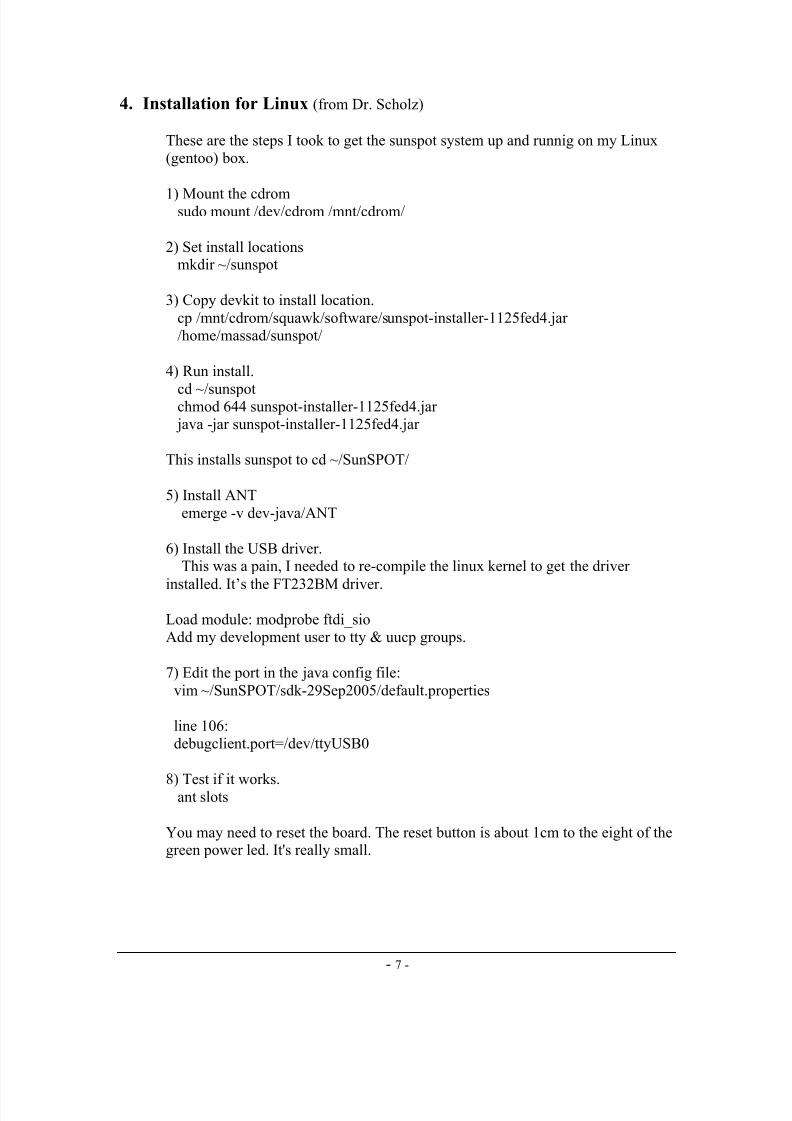
4. Installation for Linux (from Dr. Scholz)
These are the steps I took to get the sunspot system up and runnig on my Linux(gentoo) box.
1) Mount the cdromsudo mount /dev/cdrom /mnt/cdrom/
2) Set install locationsmkdir ~/sunspot
3) Copy devkit to install location.
cp /mnt/cdrom/squawk/software/sunspot-installer-1125fed4.jar/home/massad/sunspot/
4) Run install.
cd ~/sunspotchmod 644 sunspot-installer-1125fed4.jar java -jar sunspot-installer-1125fed4.jar
This installs sunspot to cd ~/SunSPOT/
5) Install ANT
emerge -v dev-java/ANT
6) Install the USB driver.This was a pain, I needed to re-compile the linux kernel to get the driver
installed. It’s the FT232BM driver.
Load module: modprobe ftdi_sioAdd my development user to tty & uucp groups.
7) Edit the port in the java config file:
vim ~/SunSPOT/sdk-29Sep2005/default.properties
line 106:debugclient.port=/dev/ttyUSB0
8) Test if it works.ant slots
You may need to reset the board. The reset button is about 1cm to the eight of thegreen power led. It's really small.
7/27/2019 b Spot q Start Manual
http://slidepdf.com/reader/full/b-spot-q-start-manual 9/23
- 8 -
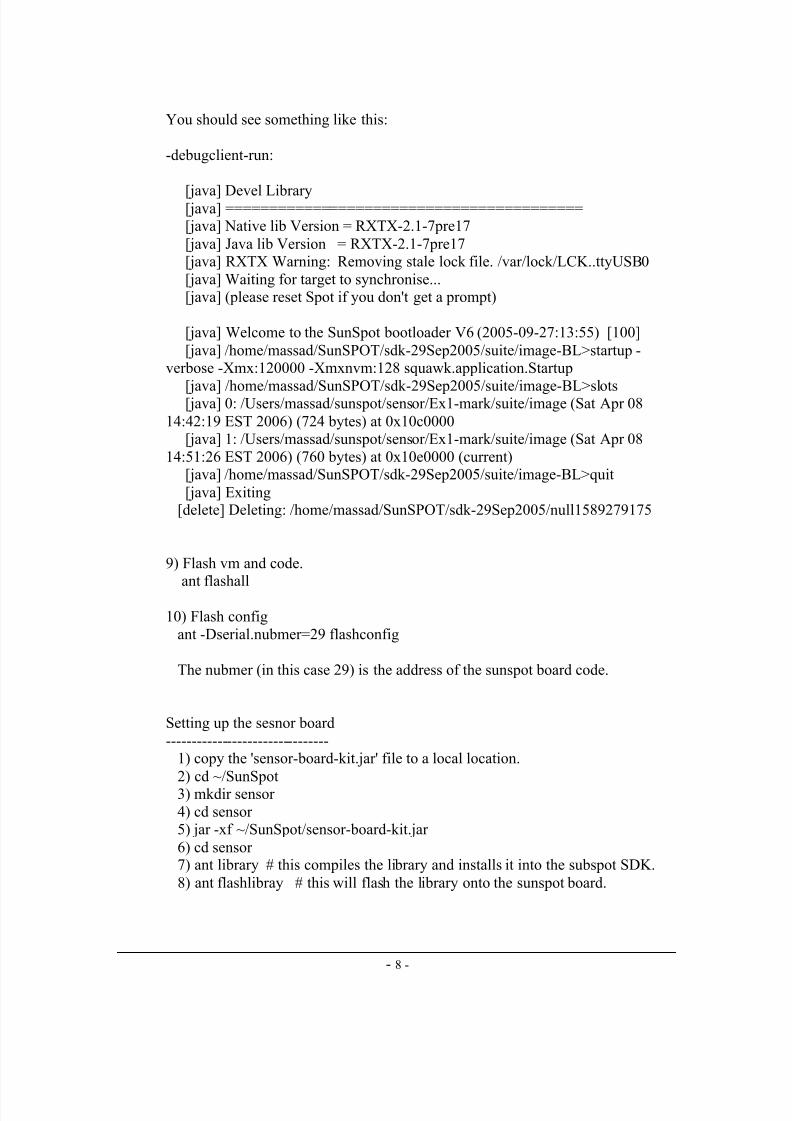
You should see something like this:
-debugclient-run:
[java] Devel Library[java] =========================================[java] Native lib Version = RXTX-2.1-7pre17
[java] Java lib Version = RXTX-2.1-7pre17[java] RXTX Warning: Removing stale lock file. /var/lock/LCK..ttyUSB0
[java] Waiting for target to synchronise...[java] (please reset Spot if you don't get a prompt)
[java] Welcome to the SunSpot bootloader V6 (2005-09-27:13:55) [100]
[java] /home/massad/SunSPOT/sdk-29Sep2005/suite/image-BL>startup -verbose -Xmx:120000 -Xmxnvm:128 squawk.application.Startup
[java] /home/massad/SunSPOT/sdk-29Sep2005/suite/image-BL>slots[java] 0: /Users/massad/sunspot/sensor/Ex1-mark/suite/image (Sat Apr 08
14:42:19 EST 2006) (724 bytes) at 0x10c0000[java] 1: /Users/massad/sunspot/sensor/Ex1-mark/suite/image (Sat Apr 08
14:51:26 EST 2006) (760 bytes) at 0x10e0000 (current)[java] /home/massad/SunSPOT/sdk-29Sep2005/suite/image-BL>quit
[java] Exiting[delete] Deleting: /home/massad/SunSPOT/sdk-29Sep2005/null1589279175
9) Flash vm and code.ant flashall
10) Flash config
ant -Dserial.nubmer=29 flashconfig
The nubmer (in this case 29) is the address of the sunspot board code.
Setting up the sesnor board
--------------------------------1) copy the 'sensor-board-kit.jar' file to a local location.
2) cd ~/SunSpot3) mkdir sensor
4) cd sensor5) jar -xf ~/SunSpot/sensor-board-kit.jar
6) cd sensor7) ant library # this compiles the library and installs it into the subspot SDK.
8) ant flashlibray # this will flash the library onto the sunspot board.

7/27/2019 b Spot q Start Manual
http://slidepdf.com/reader/full/b-spot-q-start-manual 10/23
- 9 -
Running a basic example
-------------------------------1) cd ~/SunSpot/sensor/Ex1-reactomatic
2) ant compile
3) ant suite4) ant deploy # you may need to press the reset button to make it deploy5) ant run
If you shake the board you should see the lights change colour.
7/27/2019 b Spot q Start Manual
http://slidepdf.com/reader/full/b-spot-q-start-manual 11/23
- 10 -
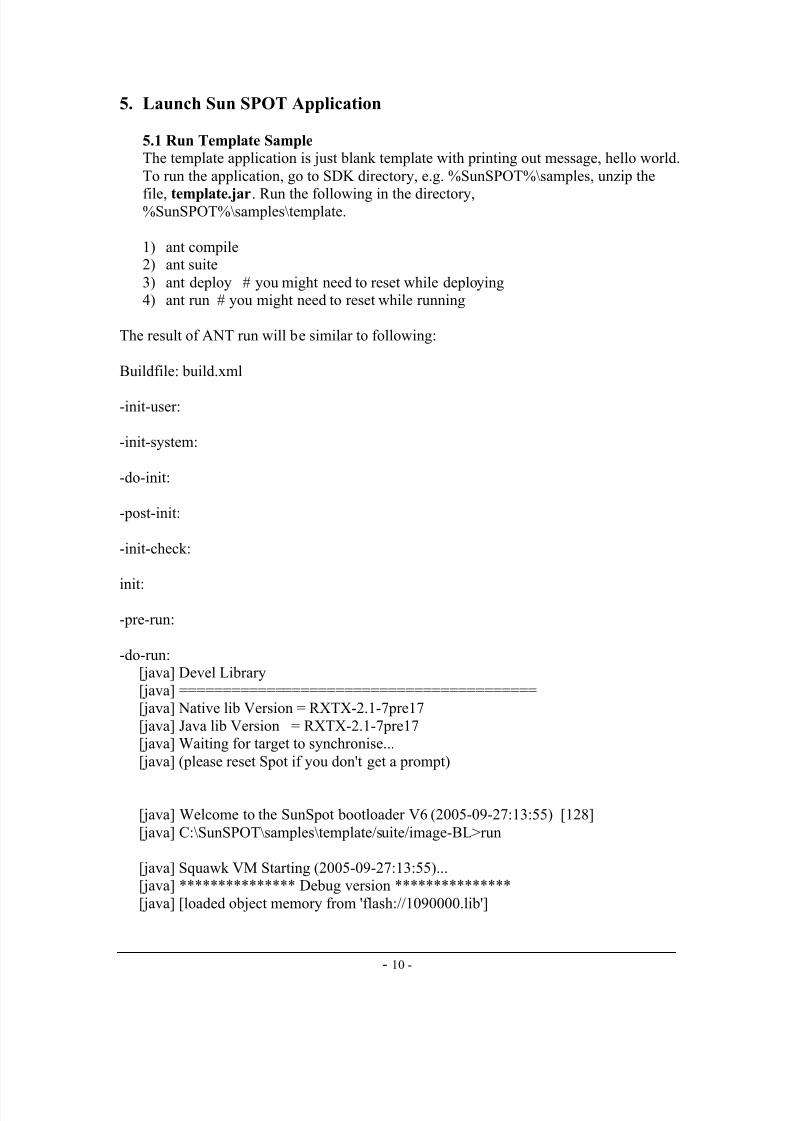
5. Launch Sun SPOT Application
5.1 Run Template Sample
The template application is just blank template with printing out message, hello world.
To run the application, go to SDK directory, e.g. %SunSPOT%\samples, unzip the
file, template.jar. Run the following in the directory,%SunSPOT%\samples\template.
1) ant compile2) ant suite
3) ant deploy # you might need to reset while deploying4) ant run # you might need to reset while running
The result of ANT run will be similar to following:
Buildfile: build.xml
-init-user:
-init-system:
-do-init:
-post-init:
-init-check:
init:
-pre-run:
-do-run:[java] Devel Library
[java] =========================================[java] Native lib Version = RXTX-2.1-7pre17
[java] Java lib Version = RXTX-2.1-7pre17[java] Waiting for target to synchronise...
[java] (please reset Spot if you don't get a prompt)
[java] Welcome to the SunSpot bootloader V6 (2005-09-27:13:55) [128]
[java] C:\SunSPOT\samples\template/suite/image-BL>run
[java] Squawk VM Starting (2005-09-27:13:55)...[java] *************** Debug version ***************
[java] [loaded object memory from 'flash://1090000.lib']
7/27/2019 b Spot q Start Manual
http://slidepdf.com/reader/full/b-spot-q-start-manual 12/23
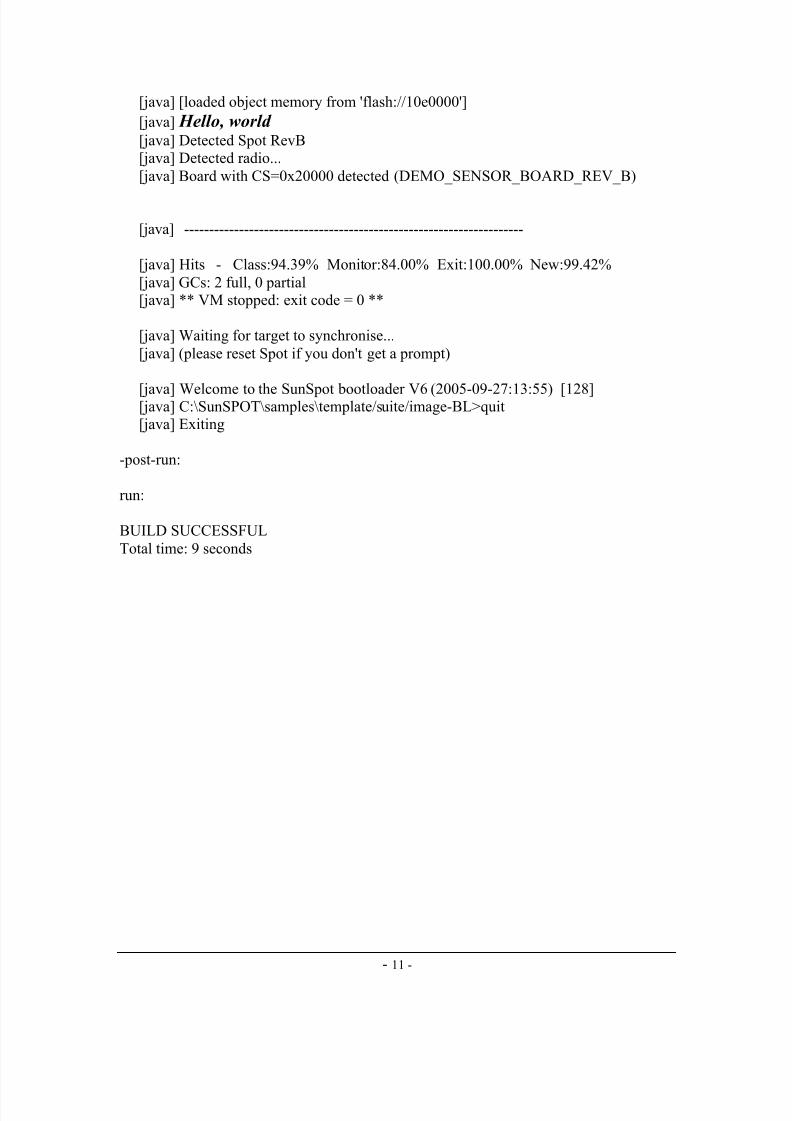
- 11 -
[java] [loaded object memory from 'flash://10e0000']
[java] Hello, world [java] Detected Spot RevB[java] Detected radio...
[java] Board with CS=0x20000 detected (DEMO_SENSOR_BOARD_REV_B)
[java] --------------------------------------------------------------------
[java] Hits - Class:94.39% Monitor:84.00% Exit:100.00% New:99.42%
[java] GCs: 2 full, 0 partial[java] ** VM stopped: exit code = 0 **
[java] Waiting for target to synchronise...
[java] (please reset Spot if you don't get a prompt)
[java] Welcome to the SunSpot bootloader V6 (2005-09-27:13:55) [128][java] C:\SunSPOT\samples\template/suite/image-BL>quit[java] Exiting
-post-run:
run:
BUILD SUCCESSFUL
Total time: 9 seconds
7/27/2019 b Spot q Start Manual
http://slidepdf.com/reader/full/b-spot-q-start-manual 13/23
- 12 -
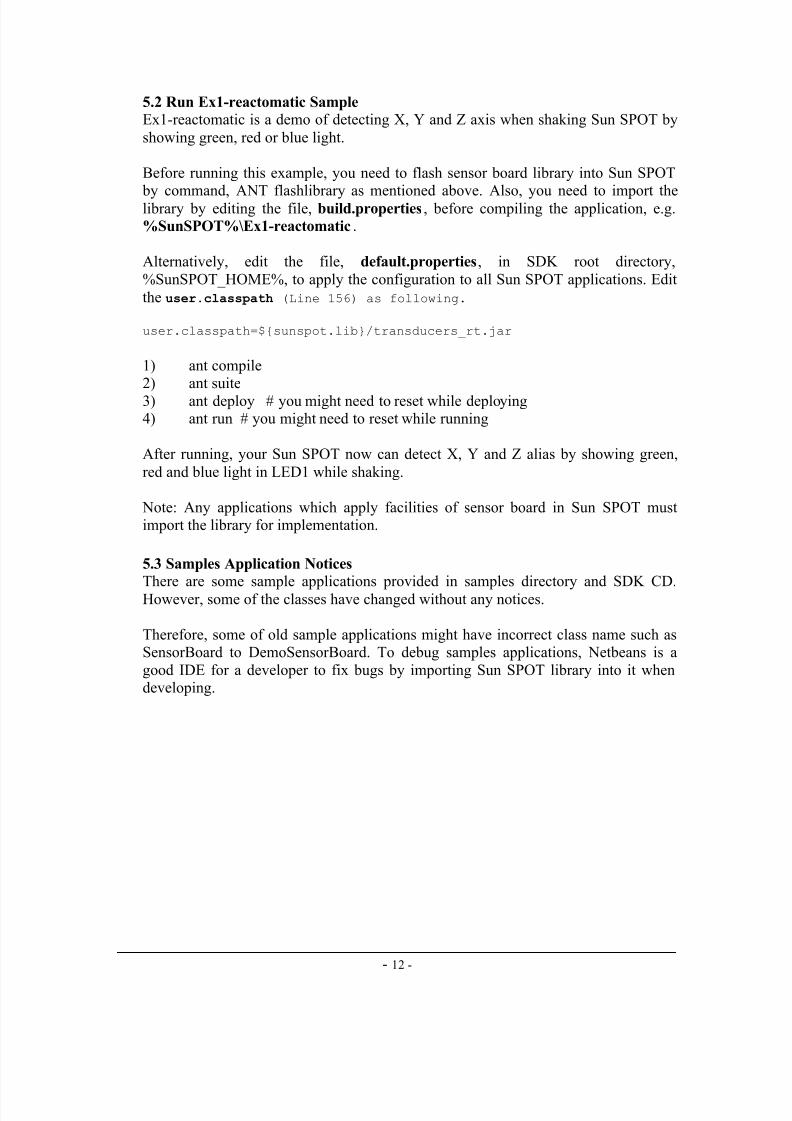
5.2 Run Ex1-reactomatic Sample
Ex1-reactomatic is a demo of detecting X, Y and Z axis when shaking Sun SPOT by
showing green, red or blue light.
Before running this example, you need to flash sensor board library into Sun SPOT
by command, ANT flashlibrary as mentioned above. Also, you need to import thelibrary by editing the file, build.properties, before compiling the application, e.g.%SunSPOT%\Ex1-reactomatic.
Alternatively, edit the file, default.properties, in SDK root directory,
%SunSPOT_HOME%, to apply the configuration to all Sun SPOT applications. Edit
the user.classpath (Line 156) as following.
user.classpath=${sunspot.lib}/transducers_rt.jar
1) ant compile2) ant suite
3) ant deploy # you might need to reset while deploying4) ant run # you might need to reset while running
After running, your Sun SPOT now can detect X, Y and Z alias by showing green,
red and blue light in LED1 while shaking.
Note: Any applications which apply facilities of sensor board in Sun SPOT mustimport the library for implementation.
5.3 Samples Application Notices
There are some sample applications provided in samples directory and SDK CD.However, some of the classes have changed without any notices.
Therefore, some of old sample applications might have incorrect class name such asSensorBoard to DemoSensorBoard. To debug samples applications, Netbeans is a
good IDE for a developer to fix bugs by importing Sun SPOT library into it whendeveloping.
7/27/2019 b Spot q Start Manual
http://slidepdf.com/reader/full/b-spot-q-start-manual 14/23
- 13 -
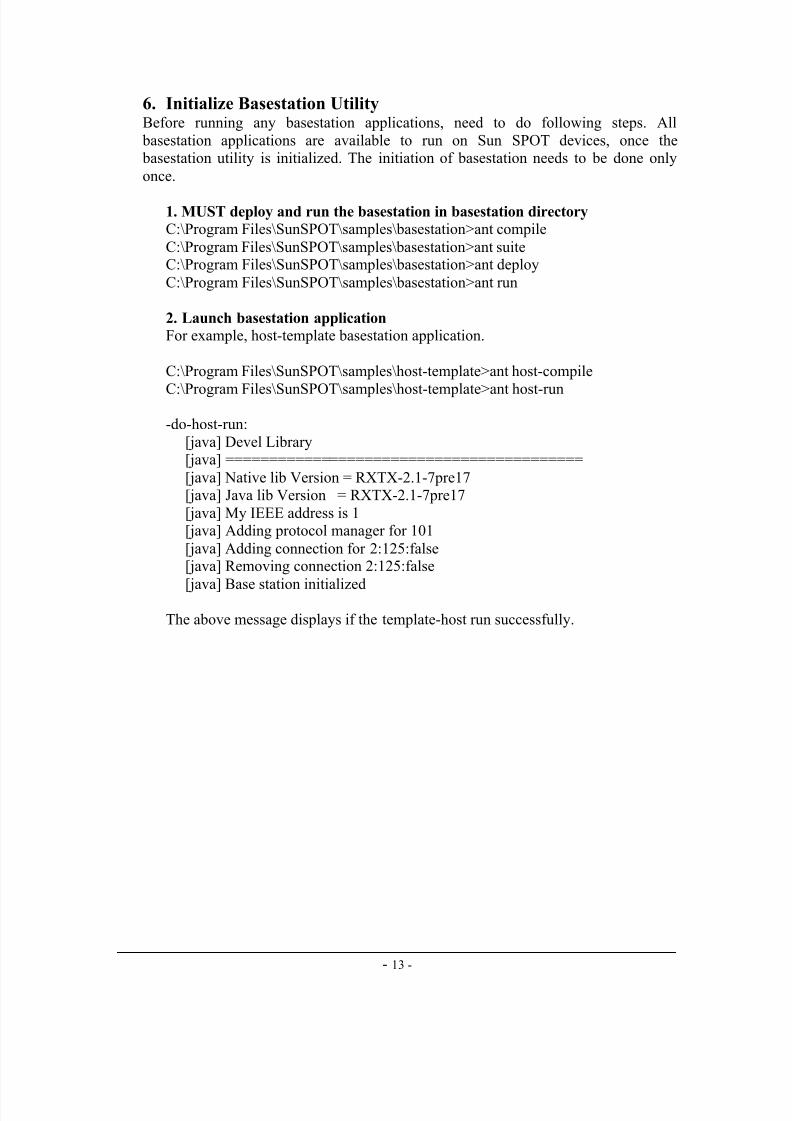
6. Initialize Basestation UtilityBefore running any basestation applications, need to do following steps. All
basestation applications are available to run on Sun SPOT devices, once the basestation utility is initialized. The initiation of basestation needs to be done only
once.
1. MUST deploy and run the basestation in basestation directory
C:\Program Files\SunSPOT\samples\basestation>ant compile
C:\Program Files\SunSPOT\samples\basestation>ant suiteC:\Program Files\SunSPOT\samples\basestation>ant deploy
C:\Program Files\SunSPOT\samples\basestation>ant run
2. Launch basestation application
For example, host-template basestation application.
C:\Program Files\SunSPOT\samples\host-template>ant host-compile
C:\Program Files\SunSPOT\samples\host-template>ant host-run
-do-host-run:
[java] Devel Library[java] =========================================
[java] Native lib Version = RXTX-2.1-7pre17[java] Java lib Version = RXTX-2.1-7pre17
[java] My IEEE address is 1[java] Adding protocol manager for 101
[java] Adding connection for 2:125:false[java] Removing connection 2:125:false
[java] Base station initialized
The above message displays if the template-host run successfully.
7/27/2019 b Spot q Start Manual
http://slidepdf.com/reader/full/b-spot-q-start-manual 15/23
- 14 -
7. Sun SPOT FeaturesThe Sun SPOT consists of three boards: a processor board, a sensor board and a test
board. Each of them carries out different tasks. Note: Different versions of Sun SPOT devices might have different hardware such as
flash memory storage or battery capacity. In the following, we are discussing the bSPOT version.
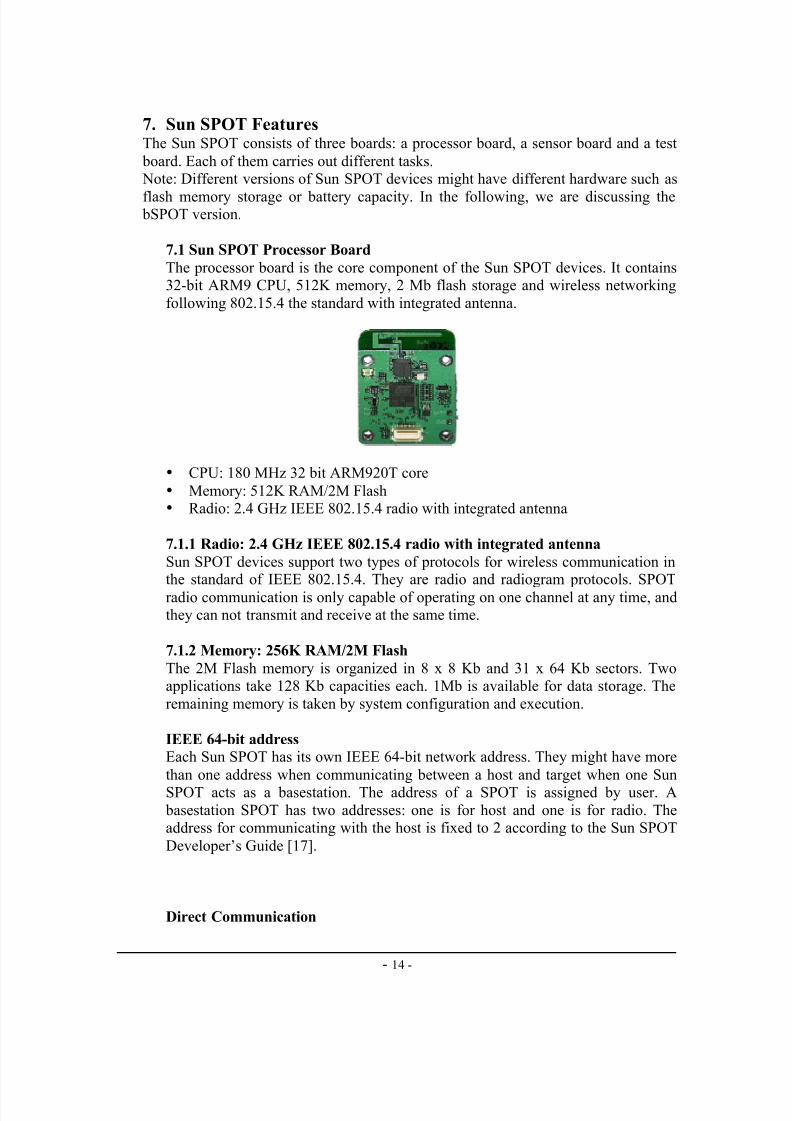
7.1 Sun SPOT Processor Board
The processor board is the core component of the Sun SPOT devices. It contains32-bit ARM9 CPU, 512K memory, 2 Mb flash storage and wireless networking
following 802.15.4 the standard with integrated antenna.
• CPU: 180 MHz 32 bit ARM920T core
• Memory: 512K RAM/2M Flash• Radio: 2.4 GHz IEEE 802.15.4 radio with integrated antenna
7.1.1 Radio: 2.4 GHz IEEE 802.15.4 radio with integrated antenna
Sun SPOT devices support two types of protocols for wireless communication inthe standard of IEEE 802.15.4. They are radio and radiogram protocols. SPOT
radio communication is only capable of operating on one channel at any time, andthey can not transmit and receive at the same time.
7.1.2 Memory: 256K RAM/2M Flash
The 2M Flash memory is organized in 8 x 8 Kb and 31 x 64 Kb sectors. Twoapplications take 128 Kb capacities each. 1Mb is available for data storage. The
remaining memory is taken by system configuration and execution.
IEEE 64-bit address Each Sun SPOT has its own IEEE 64-bit network address. They might have more
than one address when communicating between a host and target when one SunSPOT acts as a basestation. The address of a SPOT is assigned by user. A
basestation SPOT has two addresses: one is for host and one is for radio. Theaddress for communicating with the host is fixed to 2 according to the Sun SPOT
Developer’s Guide [17].
Direct Communication
7/27/2019 b Spot q Start Manual
http://slidepdf.com/reader/full/b-spot-q-start-manual 16/23
- 15 -
Radio: The radio protocol is a socket-like peer-to-peer communication protocol that reliable, provides buffered stream-based IO between two
devices.Radiogram: The radiogram protocol is a client-server protocol that
provides buffered datagram-based IO between two devices.
Multi-Hop Communication
According to the Sun SPOT Developer’s Guide [17], page 15, the current version
of the JDK only provides point-to-point (Single hop) communication betweennodes using a choice of two protocols. However, the mesh networking (Multi-
Hop) is demonstrated by a sample application provided in the SDK CD. Theapplication shows three nodes: a receiver, a forwarder and a sender. The
forwarder is used for catching packets for the receiver and the sender. If theforwarder is missed in between, the sender and the receiver will not be able to
transmit.
Broadcast: Broadcast is allowed in wireless networking. However, the broadcastis not reliable due to the fact that datagrams might be lost.
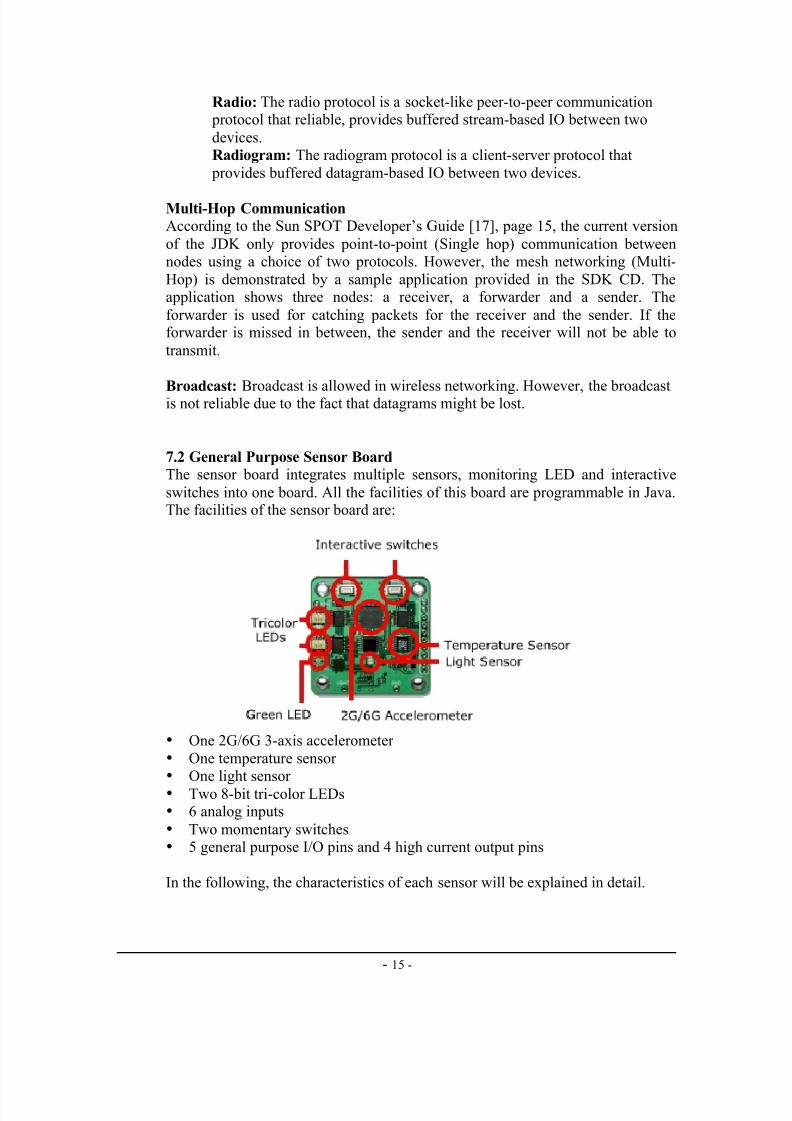
7.2 General Purpose Sensor Board
The sensor board integrates multiple sensors, monitoring LED and interactive
switches into one board. All the facilities of this board are programmable in Java.The facilities of the sensor board are:
• One 2G/6G 3-axis accelerometer
• One temperature sensor• One light sensor
• Two 8-bit tri-color LEDs• 6 analog inputs
• Two momentary switches• 5 general purpose I/O pins and 4 high current output pins
In the following, the characteristics of each sensor will be explained in detail.
7/27/2019 b Spot q Start Manual
http://slidepdf.com/reader/full/b-spot-q-start-manual 17/23
- 16 -
7.2.1 2G/6G 3-axis accelerometer
The three-axis accelerometers measure acceleration in three dimensions.
Accelerometers are very handy for measuring the orientation of an object relativeto the earth, because gravity causes all objects to accelerate towards the earth.
The Sun SPOT SDK contains a sample of application, “Ex1-reactomatic”, thatdemonstrates the usage of the accelerometer by indicating the X, Y and Zreadings with different colors on one tri-color LED. The range of value for each
axis is 4 to 929 as I experienced manually. The default value without having anyacceleration is 461 to 463 for X, Y and Z axis.
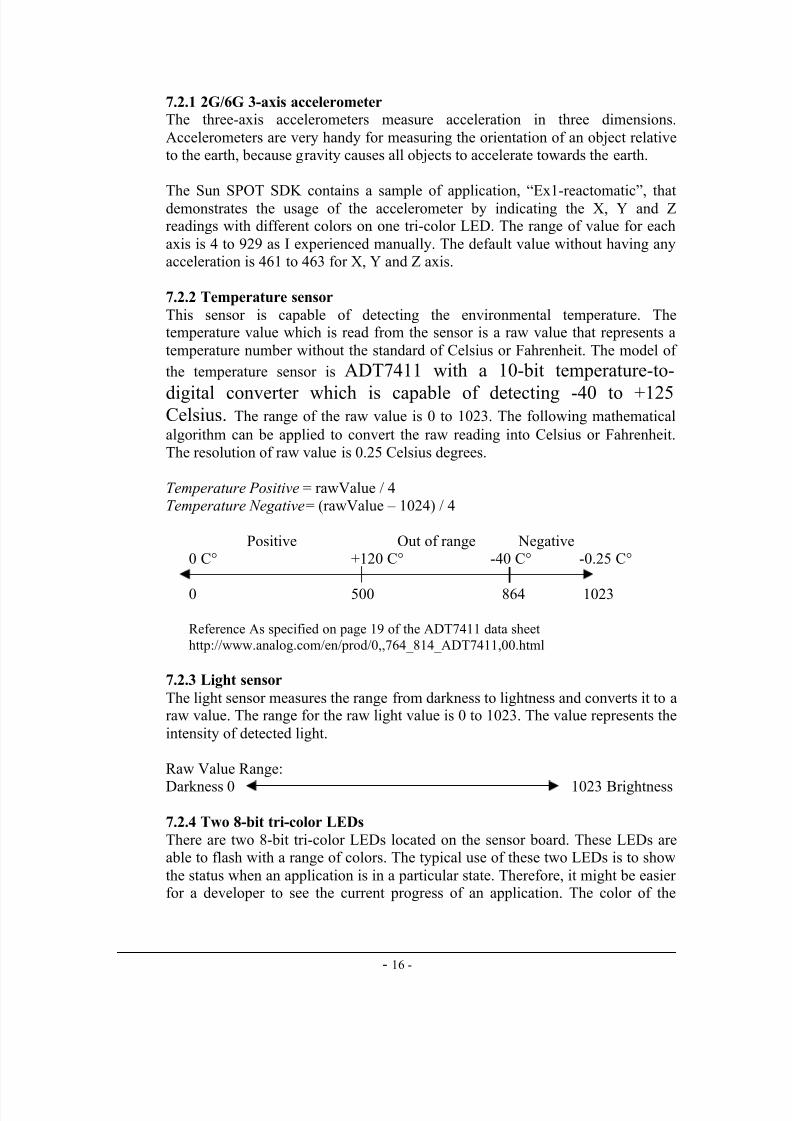
7.2.2 Temperature sensor
This sensor is capable of detecting the environmental temperature. Thetemperature value which is read from the sensor is a raw value that represents a
temperature number without the standard of Celsius or Fahrenheit. The model of
the temperature sensor is ADT7411 with a 10-bit temperature-to-
digital converter which is capable of detecting -40 to +125Celsius. The range of the raw value is 0 to 1023. The following mathematical
algorithm can be applied to convert the raw reading into Celsius or Fahrenheit.
The resolution of raw value is 0.25 Celsius degrees.
Temperature Positive = rawValue / 4Temperature Negative= (rawValue – 1024) / 4
Positive Out of range Negative0 C° +120 C° -40 C° -0.25 C°
0 500 864 1023
Reference As specified on page 19 of the ADT7411 data sheet
http://www.analog.com/en/prod/0,,764_814_ADT7411,00.html
7.2.3 Light sensor
The light sensor measures the range from darkness to lightness and converts it to araw value. The range for the raw light value is 0 to 1023. The value represents the
intensity of detected light.
Raw Value Range:
Darkness 0 1023 Brightness
7.2.4 Two 8-bit tri-color LEDs
There are two 8-bit tri-color LEDs located on the sensor board. These LEDs areable to flash with a range of colors. The typical use of these two LEDs is to show
the status when an application is in a particular state. Therefore, it might be easierfor a developer to see the current progress of an application. The color of the
7/27/2019 b Spot q Start Manual
http://slidepdf.com/reader/full/b-spot-q-start-manual 18/23
- 17 -
LEDs is shown with red, green and blue. The range of each color for intensity is 0to 255.
0 Intensity 255
7.2.5 Two momentary switchesThe two switches can be used to interact with an application. An application can be changed to a sub-function or other program when user-defined application has
supported.
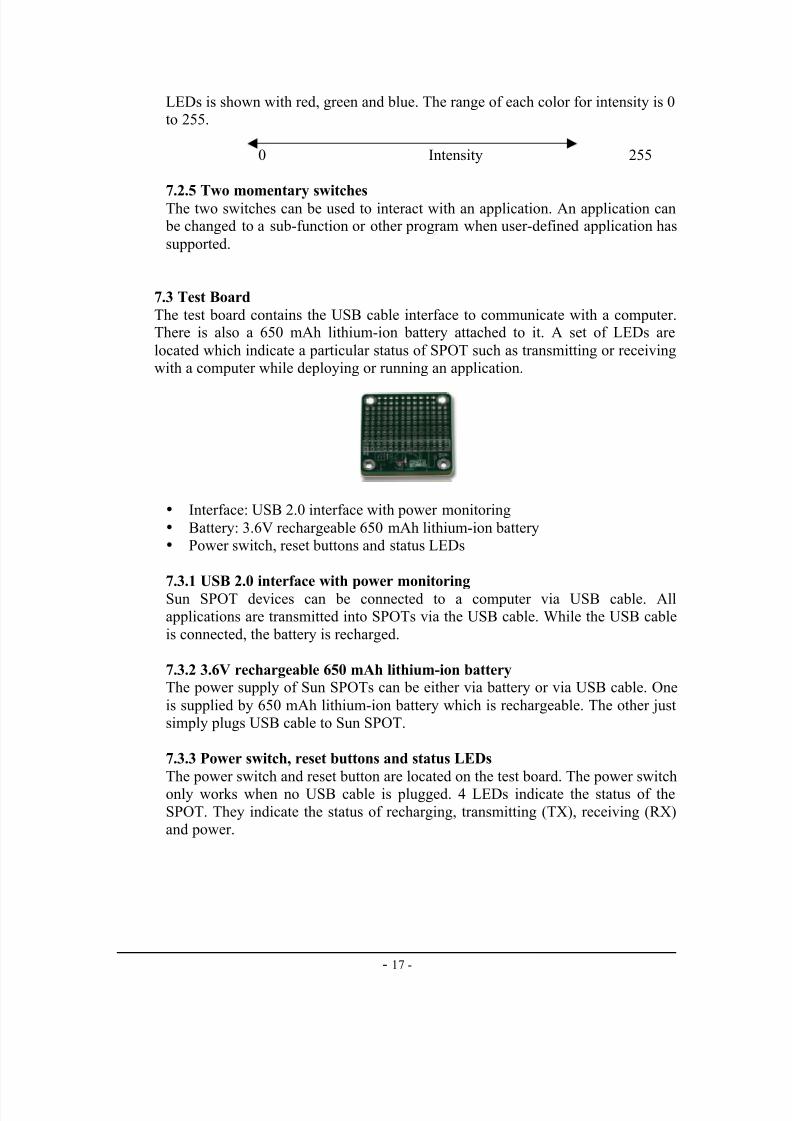
7.3 Test Board
The test board contains the USB cable interface to communicate with a computer.There is also a 650 mAh lithium-ion battery attached to it. A set of LEDs are
located which indicate a particular status of SPOT such as transmitting or receivingwith a computer while deploying or running an application.
• Interface: USB 2.0 interface with power monitoring
• Battery: 3.6V rechargeable 650 mAh lithium-ion battery• Power switch, reset buttons and status LEDs
7.3.1 USB 2.0 interface with power monitoring
Sun SPOT devices can be connected to a computer via USB cable. Allapplications are transmitted into SPOTs via the USB cable. While the USB cable
is connected, the battery is recharged.
7.3.2 3.6V rechargeable 650 mAh lithium-ion battery
The power supply of Sun SPOTs can be either via battery or via USB cable. One
is supplied by 650 mAh lithium-ion battery which is rechargeable. The other justsimply plugs USB cable to Sun SPOT.
7.3.3 Power switch, reset buttons and status LEDs
The power switch and reset button are located on the test board. The power switchonly works when no USB cable is plugged. 4 LEDs indicate the status of the
SPOT. They indicate the status of recharging, transmitting (TX), receiving (RX)and power.
7/27/2019 b Spot q Start Manual
http://slidepdf.com/reader/full/b-spot-q-start-manual 19/23
- 18 -
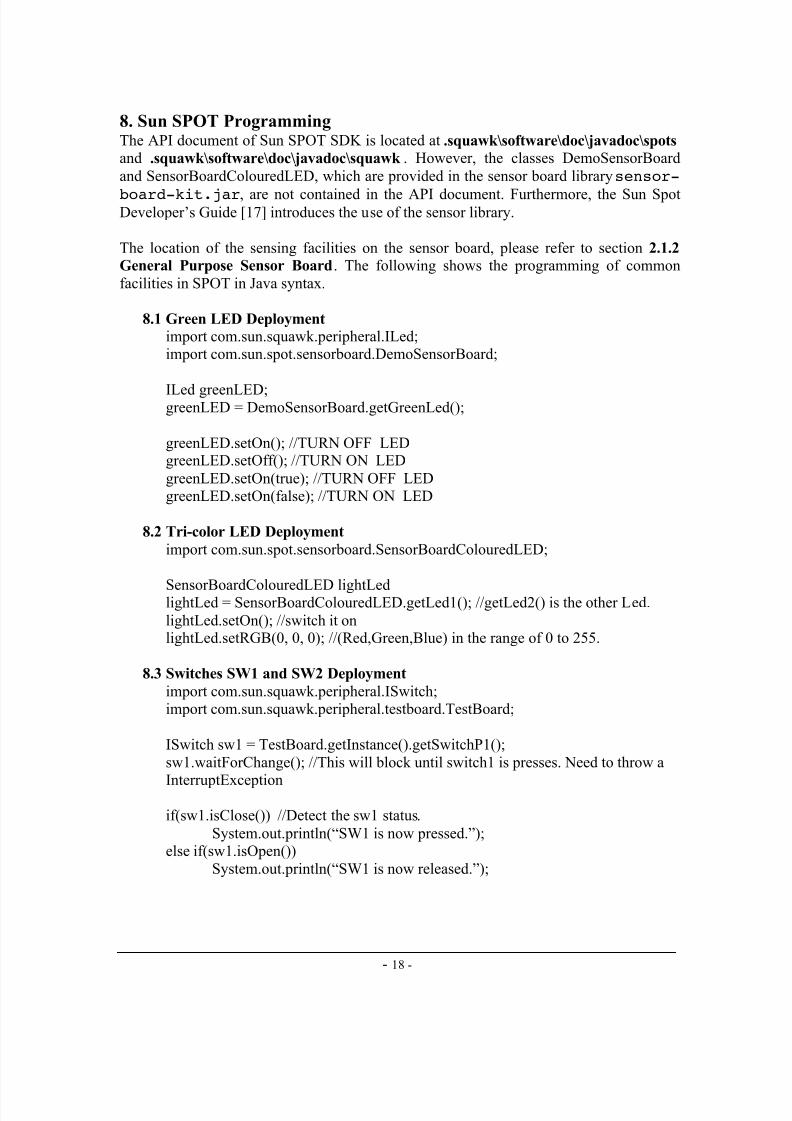
8. Sun SPOT ProgrammingThe API document of Sun SPOT SDK is located at .squawk\software\doc\javadoc\spots and .squawk\software\doc\javadoc\squawk . However, the classes DemoSensorBoard
and SensorBoardColouredLED, which are provided in the sensor board library sensor-
board-kit.jar, are not contained in the API document. Furthermore, the Sun SpotDeveloper’s Guide [17] introduces the use of the sensor library.
The location of the sensing facilities on the sensor board, please refer to section 2.1.2
General Purpose Sensor Board. The following shows the programming of common
facilities in SPOT in Java syntax.
8.1 Green LED Deployment
import com.sun.squawk.peripheral.ILed;import com.sun.spot.sensorboard.DemoSensorBoard;
ILed greenLED;greenLED = DemoSensorBoard.getGreenLed();
greenLED.setOn(); //TURN OFF LEDgreenLED.setOff(); //TURN ON LED
greenLED.setOn(true); //TURN OFF LEDgreenLED.setOn(false); //TURN ON LED
8.2 Tri-color LED Deployment
import com.sun.spot.sensorboard.SensorBoardColouredLED;
SensorBoardColouredLED lightLedlightLed = SensorBoardColouredLED.getLed1(); //getLed2() is the other Led.
lightLed.setOn(); //switch it onlightLed.setRGB(0, 0, 0); //(Red,Green,Blue) in the range of 0 to 255.
8.3 Switches SW1 and SW2 Deployment
import com.sun.squawk.peripheral.ISwitch;import com.sun.squawk.peripheral.testboard.TestBoard;
ISwitch sw1 = TestBoard.getInstance().getSwitchP1();
sw1.waitForChange(); //This will block until switch1 is presses. Need to throw a
InterruptException
if(sw1.isClose()) //Detect the sw1 status.
System.out.println(“SW1 is now pressed.”);else if(sw1.isOpen())
System.out.println(“SW1 is now released.”);
7/27/2019 b Spot q Start Manual
http://slidepdf.com/reader/full/b-spot-q-start-manual 20/23
- 19 -
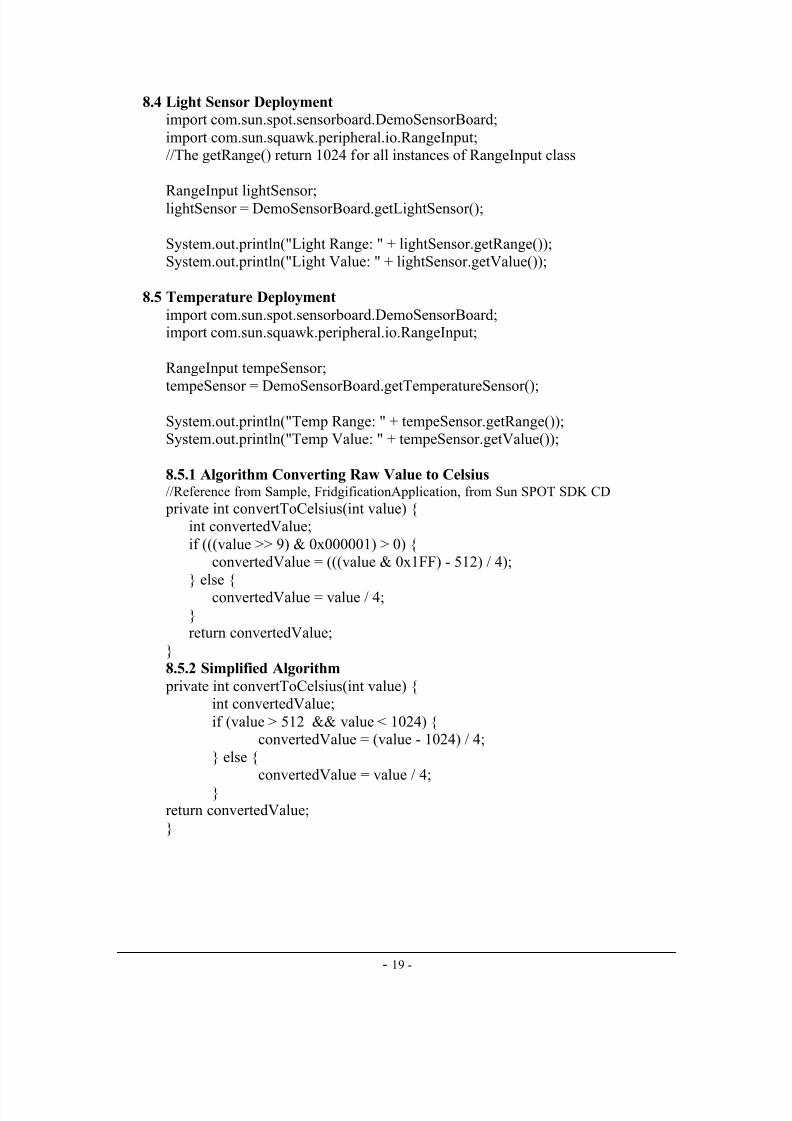
8.4 Light Sensor Deployment
import com.sun.spot.sensorboard.DemoSensorBoard;
import com.sun.squawk.peripheral.io.RangeInput;//The getRange() return 1024 for all instances of RangeInput class
RangeInput lightSensor;lightSensor = DemoSensorBoard.getLightSensor();
System.out.println("Light Range: " + lightSensor.getRange());System.out.println("Light Value: " + lightSensor.getValue());
8.5 Temperature Deployment
import com.sun.spot.sensorboard.DemoSensorBoard;import com.sun.squawk.peripheral.io.RangeInput;
RangeInput tempeSensor;
tempeSensor = DemoSensorBoard.getTemperatureSensor();
System.out.println("Temp Range: " + tempeSensor.getRange());System.out.println("Temp Value: " + tempeSensor.getValue());
8.5.1 Algorithm Converting Raw Value to Celsius //Reference from Sample, FridgificationApplication, from Sun SPOT SDK CD private int convertToCelsius(int value) {
int convertedValue;
if (((value >> 9) & 0x000001) > 0) {convertedValue = (((value & 0x1FF) - 512) / 4);
} else {convertedValue = value / 4;
}return convertedValue;
}8.5.2 Simplified Algorithm
private int convertToCelsius(int value) {int convertedValue;
if (value > 512 && value < 1024) {convertedValue = (value - 1024) / 4;
} else {convertedValue = value / 4;
}return convertedValue;
}

7/27/2019 b Spot q Start Manual
http://slidepdf.com/reader/full/b-spot-q-start-manual 21/23
- 20 -
8.6 2G/6G Accelerometer Deployment
import com.sun.spot.sensorboard.DemoSensorBoard;
import com.sun.squawk.peripheral.accelerometer.Accelerometer3D;import com.sun.squawk.peripheral.accelerometer.LIS3L02AQAccelerometer;
((LIS3L02AQAccelerometer)acc).set6GScale();//special scale call for particular accelerometer//or set to 2G by set2GScale()
RangeInput x = acc.getX();
RangeInput y = acc.getY();RangeInput z = acc.getZ();
8.7 Radio Connection
The default IEEE address of SPOTs are -1 which are not acceptable for radioconnection. Before running radio connection applications, the addresses of SPOTs
need to be set as well as the port number consistency. In the following example, theaddress of the server is 129 whereas the client’s is 128. Both are using the port
number 100. To configure the address of a SPOT, execute an ANT command, –Ddebugclient.port=XXX.
8.7.1 For server
//129 is address of other SPOT
StreamConnection conn = (StreamConnection) Connector.open("radio://129:100");
DataOutputStream dos = conn.openDataOutputStream();try {
dos.writeUTF(“Hello”);}
catch(NoAckException e) {System.out.println(“No sending to 129”);
}finally {
conn.close();dos.close();
}
8.7.2 For client
//128 is address of other SPOT
StreamConnection conn = (StreamConnection) Connector.open("radio://128:100");
DataInputStream dis = conn.openDataInputStream();DataOutputStream dos = conn.openDataOutputStream();
String question = "";try {
question = dis.readUTF();
7/27/2019 b Spot q Start Manual
http://slidepdf.com/reader/full/b-spot-q-start-manual 22/23
- 21 -
System.out.println(question);}
catch(NoAckException e) {System.out.println(“No received from 128”);
}
finally {conn.close();dis.close();
dos.close();}
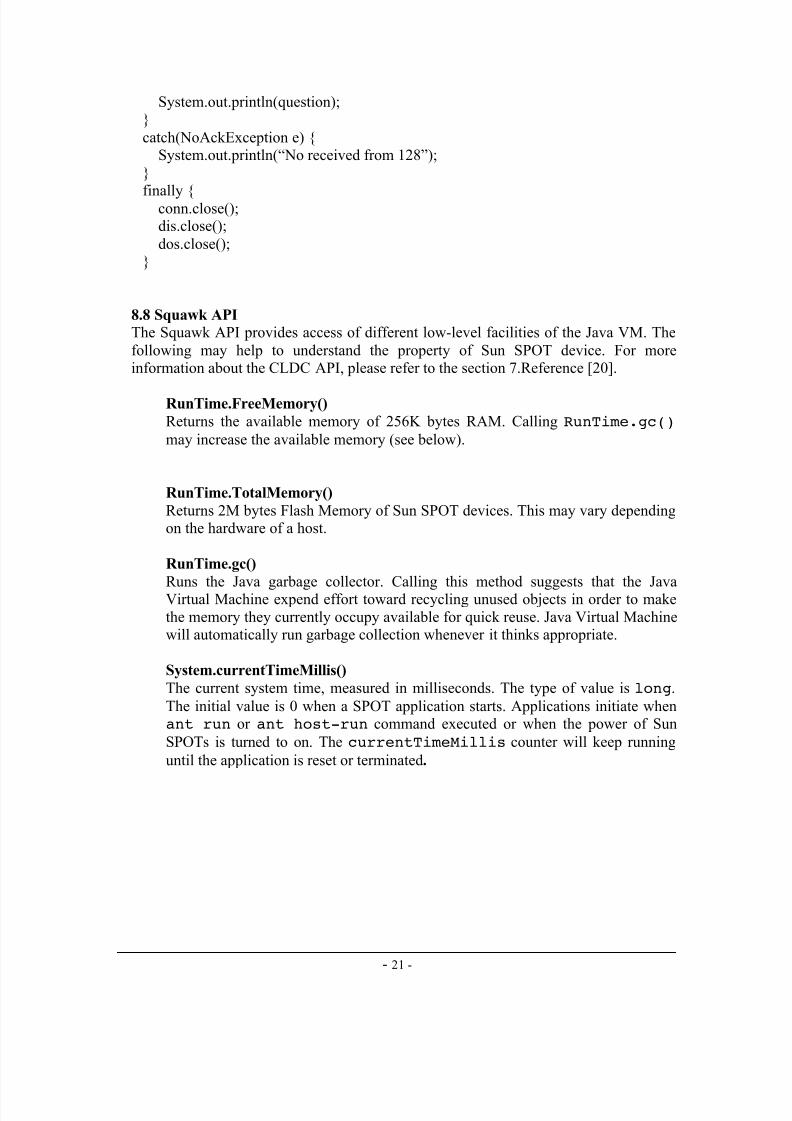
8.8 Squawk API
The Squawk API provides access of different low-level facilities of the Java VM. The
following may help to understand the property of Sun SPOT device. For moreinformation about the CLDC API, please refer to the section 7.Reference [20].
RunTime.FreeMemory()
Returns the available memory of 256K bytes RAM. Calling RunTime.gc()
may increase the available memory (see below).
RunTime.TotalMemory()
Returns 2M bytes Flash Memory of Sun SPOT devices. This may vary dependingon the hardware of a host.
RunTime.gc()
Runs the Java garbage collector. Calling this method suggests that the JavaVirtual Machine expend effort toward recycling unused objects in order to make
the memory they currently occupy available for quick reuse. Java Virtual Machinewill automatically run garbage collection whenever it thinks appropriate.
System.currentTimeMillis()
The current system time, measured in milliseconds. The type of value is long.
The initial value is 0 when a SPOT application starts. Applications initiate whenant run or ant host-run command executed or when the power of Sun
SPOTs is turned to on. The currentTimeMillis counter will keep running
until the application is reset or terminated.
7/27/2019 b Spot q Start Manual
http://slidepdf.com/reader/full/b-spot-q-start-manual 23/23
Related Documents