Lesson 3 Explore AT A GLANCE Overview In Lesson 3, students develop scientific inquiry skills by asking a question, conducting a simple investigation, using tools and observations to gather data, using data to explain their results, and communicating their results. Students use apples as models of teeth to investigate the process of decay. They discuss what might happen if the skin of the apple were punctured, and they set up a simple investigation to find out. Students suggest vari ables they might change, such as the number of holes, the size of the holes, and the environment of the apple, and compare their results with a control apple. They make and record observations and, after several days, they compare their results. The students then contrast the results from their apple investigations with what happens to teeth during the decay process. In addition, students discuss the processes of scientific inquiry and compare their investigation with how scientists find out about the world. Purpose In this lesson, students will • use scientific inquiry to answer a question and • understand the use of a model to simulate the process of tooth decay. Objectives After completing this activity, students will • be able to plan and conduct a simple investigation and to share their results with others; • recognize that simple tools, such as hand lenses, thermometers, and balances, provide more information than the students can acquire using only their senses; • realize that the processes of scientific inquiry can help them ask and answer a question; 57 Let’s Investigate Tooth Decay!

Welcome message from author
This document is posted to help you gain knowledge. Please leave a comment to let me know what you think about it! Share it to your friends and learn new things together.
Transcript
Lesson 3 Explore
AT A GLANCE Overview In Lesson 3, students develop scientific inquiry skills by asking a question, conducting a simple investigation, using tools and observations to gather data, using data to explain their results, and communicating their results. Students use apples as models of teeth to investigate the process of decay. They discuss what might happen if the skin of the apple were punctured, and they set up a simple investigation to find out. Students suggest variables they might change, such as the number of holes, the size of the holes, and the environment of the apple, and compare their results with a control apple. They make and record observations and, after several days, they compare their results. The students then contrast the results from their apple investigations with what happens to teeth during the decay process. In addition, students discuss the processes of scientific inquiry and compare their investigation with how scientists find out about the world.
Purpose In this lesson, students will
• use scientific inquiry to answer a question and • understand the use of a model to simulate the process of tooth decay.
Objectives After completing this activity, students will
• be able to plan and conduct a simple investigation and to share their results with others;
• recognize that simple tools, such as hand lenses, thermometers, and balances, provide more information than the students can acquire using only their senses;
• realize that the processes of scientific inquiry can help them ask and answer a question;
57
Let’s Investigate Tooth Decay!
Did You Know? “From the earliest grades, students should experience science in a form that engages them in the active construction of ideas and explanations and enhances their opportunities to develop the abilities of doing science.”
—National Research Council, National Science
Education Standards1
• explain that scientists use models when they cannot investigate real things; and
• describe that cavities are the result of a process that begins on the enamel of teeth.
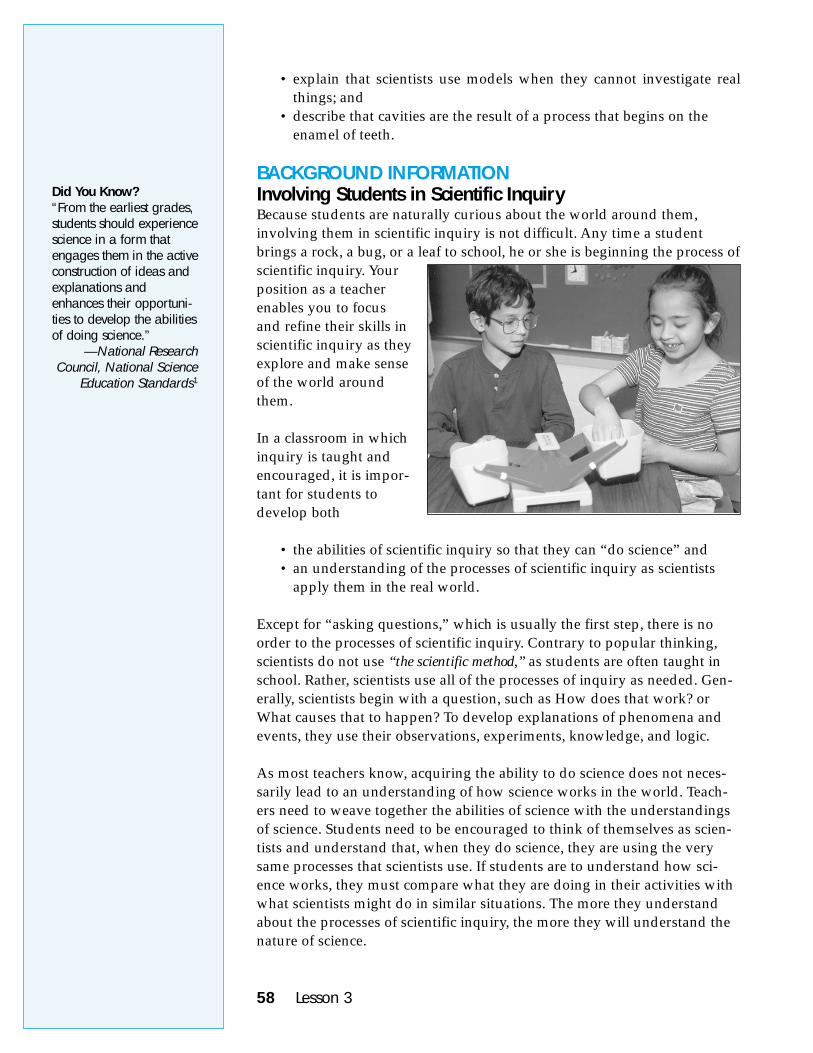
BACKGROUND INFORMATION Involving Students in Scientific Inquiry Because students are naturally curious about the world around them,involving them in scientific inquiry is not difficult. Any time a studentbrings a rock, a bug, or a leaf to school, he or she is beginning the process ofscientific inquiry. Yourposition as a teacherenables you to focusand refine their skills inscientific inquiry as theyexplore and make senseof the world aroundthem.
In a classroom in whichinquiry is taught andencouraged, it is important for students todevelop both
• the abilities of scientific inquiry so that they can “do science” and • an understanding of the processes of scientific inquiry as scientists
apply them in the real world.
Except for “asking questions,” which is usually the first step, there is no order to the processes of scientific inquiry. Contrary to popular thinking, scientists do not use “the scientific method,” as students are often taught in school. Rather, scientists use all of the processes of inquiry as needed. Generally, scientists begin with a question, such as How does that work? or What causes that to happen? To develop explanations of phenomena and events, they use their observations, experiments, knowledge, and logic.
As most teachers know, acquiring the ability to do science does not necessarily lead to an understanding of how science works in the world. Teachers need to weave together the abilities of science with the understandings of science. Students need to be encouraged to think of themselves as scientists and understand that, when they do science, they are using the very same processes that scientists use. If students are to understand how science works, they must compare what they are doing in their activities with what scientists might do in similar situations. The more they understand about the processes of scientific inquiry, the more they will understand the nature of science.
58 Lesson 3
Using a Model In this lesson, students use an apple as a model to investigate tooth decay. Like most models, the apple is not a perfect model for investigating tooth decay; an apple is not a tooth. However, you can use the apple model despite its limitations to help students transfer ideas about the apples to ideas about tooth decay.
Tooth decay (dental caries) is often recognized as a hole in the tooth, or a cavity. A cavity is actually the late stage of a dental infection that causes the tooth enamel to lose minerals. (See Lesson 4 for a detailed description of the process of tooth decay.)
The apple model’s “hole in the apple” analogy is not entirely accurate because tooth decay begins under the surface of the enamel and not as a break or hole in the enamel. If the decay process continues unchecked, a cavity or hole eventually appears in the enamel. This, however, is a fine distinction and one that students don’t need to make. It is sufficient for students to discuss tooth decay as “cavities” in teeth at this time.
The apple is a good model because it graphically illustrates decay spreading into the apple from a hole in its surface. From this observation, students make predictions about tooth decay that starts from actions on the surface of the teeth. Students don’t need to understand details about how the decay process happens yet. Lessons 4 and 5 introduce students to the actual process of dental caries.
This lesson addresses many of the skills and abilities that students need to acquire to do and understand science. Students will ask questions, conduct an investigation, gather data, and communicate their results. Practice with scientific inquiry will help students understand the process of tooth decay and develop the skills needed to understand the world around them. You may want to review the National Science Education Standards1 to learn more details about the processes of scientific inquiry.
IN ADVANCE
Activities that include the CD-ROM Activity Number CD-ROM
Activity 1 no
Activity 2 no
Take-home Activity no
Let’s Investigate Tooth Decay! 59
Photocopies Activity Number
Master Number Number of Copies
Activity 1 Master 3.1, Apple Record Page 1 copy for each student
Activity 2 none none
Take-home 1 copy for each student Activity Master 3.2, Take-home Activity 2:
So You Want to Be an Eggs-pert
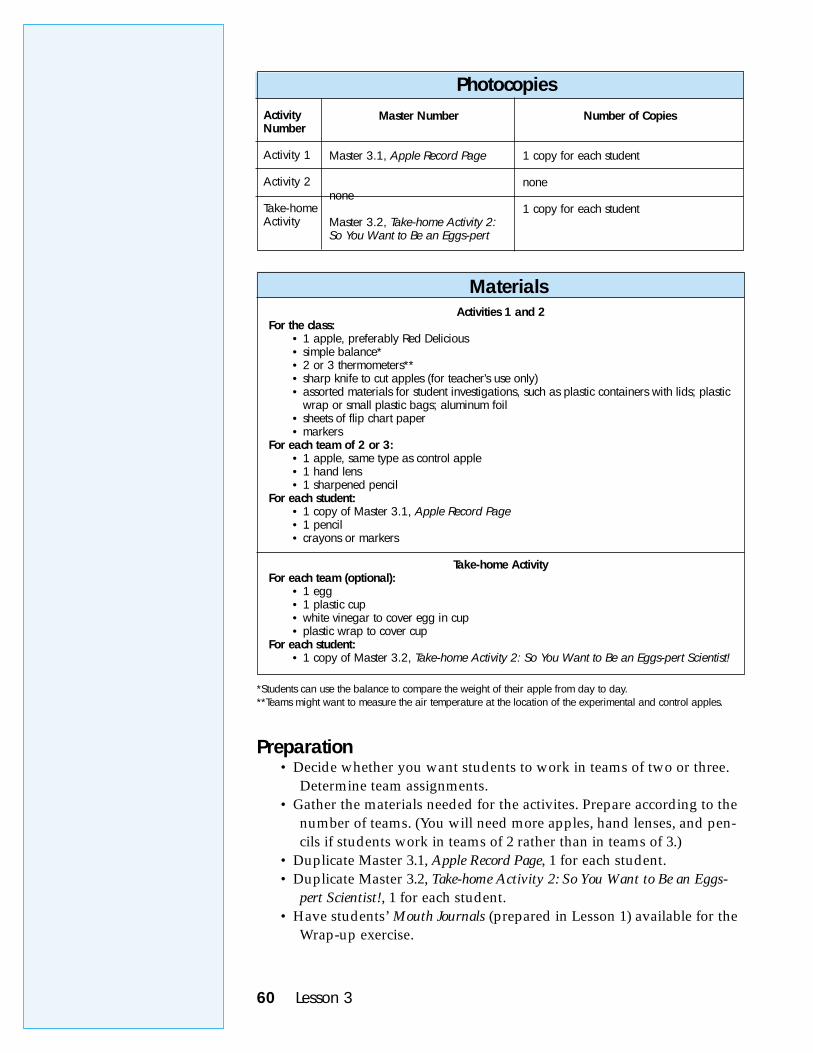
Materials Activities 1 and 2
For the class: • 1 apple, preferably Red Delicious • simple balance* • 2 or 3 thermometers** • sharp knife to cut apples (for teacher’s use only) • assorted materials for student investigations, such as plastic containers with lids; plastic
wrap or small plastic bags; aluminum foil • sheets of flip chart paper • markers
For each team of 2 or 3: • 1 apple, same type as control apple • 1 hand lens • 1 sharpened pencil
For each student: • 1 copy of Master 3.1, Apple Record Page • 1 pencil • crayons or markers
For each team (optional): • 1 egg • 1 plastic cup • white vinegar to cover egg i• plastic wrap to cover cup
For each student: • 1 copy of Master 3.2, Take-
Take-home Activity
n cup
home Activity 2: So You Want to Be an Eggs-pert Scientist!
*Students can use the balance to compare the weight of their apple from day to day.**Teams might want to measure the air temperature at the location of the experimental and control apples.
Preparation • Decide whether you want students to work in teams of two or three.
Determine team assignments. • Gather the materials needed for the activites. Prepare according to the
number of teams. (You will need more apples, hand lenses, and pencils if students work in teams of 2 rather than in teams of 3.)
• Duplicate Master 3.1, Apple Record Page, 1 for each student. • Duplicate Master 3.2, Take-home Activity 2: So You Want to Be an Eggs-
pert Scientist!, 1 for each student. • Have students’ Mouth Journals (prepared in Lesson 1) available for the
Wrap-up exercise.
60 Lesson 3
PROCEDURE Activity 1: The Apple Investigation The purpose of this activity is to involve students in the processes of scientific inquiry.
1. Ask the students if anyone has ever had a cavity in a tooth. As students raise their hands, ask them where the cavity happened, to describe what they think a cavity is, and to explain how they think they got a cavity. Record students’ responses on the board or flip chart paper.
By age six or seven, some students probably have experienced tooth decay and have had a dentist fill a cavity. If not, students probably know of a family member who has. Ask them to describe what they know about cavities and how a person might get a cavity in a tooth.
2. Show students an apple. Ask them to compare the apple with a tooth. How is the apple like a tooth? How is it different from a tooth?
During this discussion, focus students on the apple as a model of a tooth. Scientists often use models in scientific investigations to find out about things when they cannot or should not experiment with the real object. We know that an apple is not exactly like a tooth, but we can use the apple to conduct an investigation on tooth decay that we would not want to conduct on our own teeth. The apple is shaped somewhat like the crown of a molar tooth and has a covering, the peel or skin, that protects the inside of the apple. We will consider this outer covering of the apple comparable to the enamel that covers and protects the inside of the tooth.
3. Set the stage for investigating tooth decay by asking students what they think would happen inside the apple if someone used a pencil to poke a hole in its skin. At this point, accept all answers and record students’ ideas on the board or flip chart paper.
If students have not mentioned it before, indicate that tooth decay happens when something makes a hole in the enamel of a tooth (see Background Information: Using a Model for a discussion of this process). They will use the apple to model what might happen to a tooth if something makes a hole in it.
4. Tell students they will conduct a scientific investigation about an apple with a hole in it. Help students understand how to conduct a scientific investigation by asking questions similar to these:
• What do you want to find out about the apple? In other words, what is the scientific question you are trying to answer?
Assessment: This is a good time to assess your students’ prior knowledge. The purpose of this discussion is to find out what students know, or think they know, about tooth decay and what causes it.
Let’s Investigate Tooth Decay! 61
The question is: What happens inside an apple if its skin gets a hole in it?
• How can we answer our question?
We will make a hole in an apple and observe what happens.
• Would the same thing happen to an apple if we didn’t poke a hole in it? How would we know?
This question introduces the idea of a “control.” A control enables us to know what happens with and without the experimental change. The control makes the investigation a “fair test.” Would we see the same results in an apple that didn’t have a hole poked in its skin? Does having a hole poked in the skin make a difference in what happens inside the apple?
• Are there any other questions we might ask and try to answer in our investigation?
Posing questions that can be answered by investigation is a difficult task for students of all ages. Help students frame useful questions by inviting them to think about “what would happen if…” What changes could they make in the apple that might affect what happens inside the apple? Remind them that they must be able to observe the results from the change they suggest. The following are possible questions they could investigate.
What would happen if
• we poked more than one hole in an apple? • we made some holes deep and some holes shallow? • we made some holes larger than others? • we poked one or more holes in the apple, then put it in a plastic
bag and sealed it? • we poked one or more holes in the apple, then put it in the
refrigerator? • we poked one or more holes in the apple, then put it in a sunny
place? • we poked one or more holes in the apple, then put it in a dark,
warm place?
Remind students that the environment of the mouth is wet, warm, and dark. You may want to display the chart made in Lesson 2, What the Inside of the Mouth Feels Like. What if the apple were in an environment that is similar to that of the mouth? Would the results be the same or different? How could you find out?
62 Lesson 3
Tip from the field test: Some students poked holes into their apple and placed pieces of candy in it. Other students poked holes into their apple and placed it in a plastic bag full of soft drink.
5. Help the students prepare by explaining the steps they will need tdo to complete the investigation.
• Students will plan and conduct their investigations in teams of two or three.
You might have the students work in pairs, but smaller teams mean you will need more apples for the class.
• Each team will choose a question they think they can answer by investigating. For example, What will happen to the apple if we poke five holes in it and put it in the closet?
• The team will write its question or have an adult help them writthe question.
• Now have the teams share their questions with the class. Encour
e
age some teams to think of a new question if too many teams want to investigate the same question.
Allowing some teams to investigate the same question is a good idea. The results might vary and the differences provide good food for thought. Scientists often repeat investigations or compartheir results with those of other scientists. However, if too many teams want to investigate the same question, encourage some teams to change their question so the class results will be more interesting and varied.
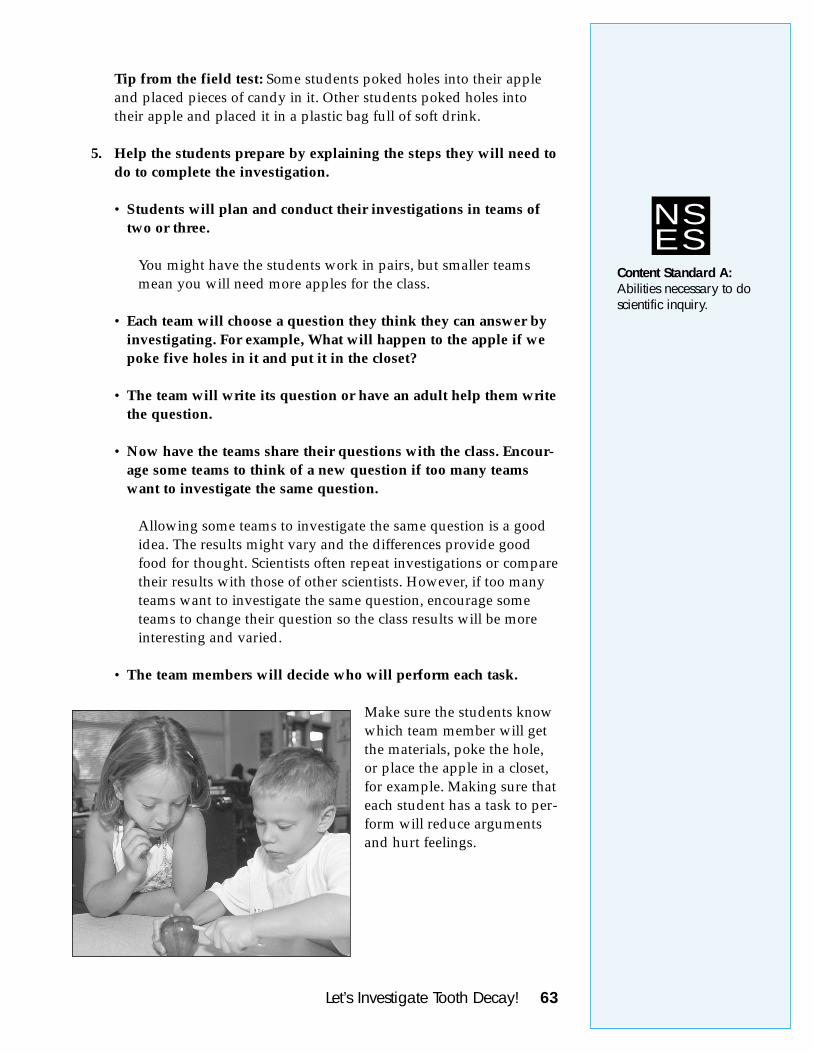
• The team members will decide who will perform each task.
o
e
Make sure the students know which team member will get the materials, poke the hole, or place the apple in a closet, for example. Making sure that each student has a task to per-form will reduce arguments and hurt feelings.
ES NS
Content Standard A: Abilities necessary to do scientific inquiry.
Let’s Investigate Tooth Decay! 63
6. After teams have confirmed their scientific question and decided who will perform the tasks, distribute one apple per team. Allow them time to set up their experiment.
7. As a class, determine where to place the control apple (the apple that has not been changed). Make sure students know that they should observe the control apple as well as their experimental apple each time they make observations.
8. Distribute Master 3.1, Apple Record Page, one to each student. Discuss the record page and make sure students know how to complete each section. Allow students time to complete the first three questions and to record their beginning observation.
9. Discuss the teams’ answers for question 3 on the record page: What do we think will happen to our apple? Record students’ ideas on flip chart paper and save the paper. In a few days, they will compare their results with their initial ideas.
Many times in science class, we ask students to express their initial ideas about something and refer to those ideas as their predictions. Often, however, their initial ideas are merely guesses because they have no experience or existing data on which to base their ideas. Pre-dictions in science usually are based on some prior information or knowledge from previous work. (The dictionary definition of “predict” is “to foretell on the basis of observation, experience, or scientific reason.”) Consequently, we don’t refer to students’ initial ideas as their predictions. If students conduct a second investigation based on the results from the first, then they can make predictions based on their previous experience.
10. Reserve time every day for students to observe their experimental apples and the control apple. Because the change is gradual, require students to record their observations only once at the beginning, once in the middle, and once at the end of the investigation. Encourage students to use hand lenses, thermometers, and the balance to record data about their apple or the environment of the apple.
Every time students observe their apples, ask them to explain why they are doing the apple investigation. Remind them that the apple is a model of a tooth and that they are investigating tooth decay.
You might put up a banner that asks the question: What is tooth decay? and point to that as a daily reminder of the purpose of the investigation.
64 Lesson 3
11. Continue with Lessons 4 and 5. Return to Activity 2 of this lesson in five to seven days.
The information about oral bacteria and decay in Lessons 4 and 5 will help students interpret the results from their apple investigation.
Activity 2: Completing the Apple Investigation The purpose of this activity is to help students analyze and interpret their scientific investigation.
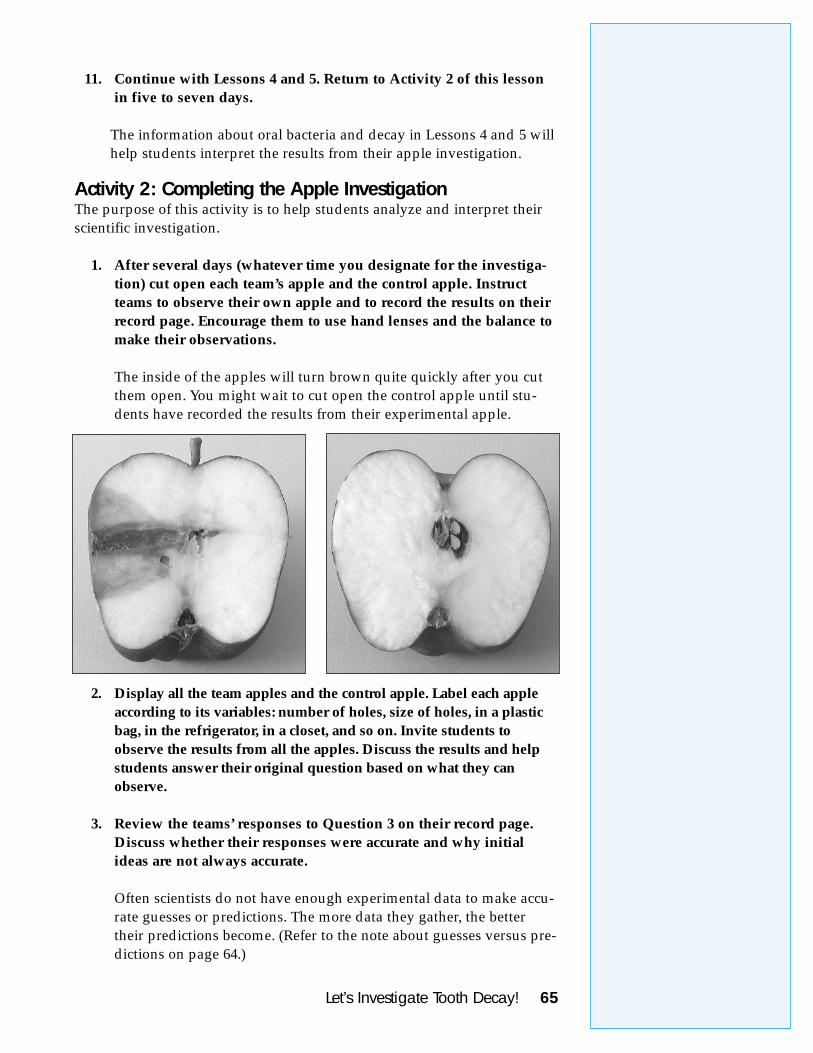
1. After several days (whatever time you designate for the investigation) cut open each team’s apple and the control apple. Instruct teams to observe their own apple and to record the results on their record page. Encourage them to use hand lenses and the balance to make their observations.
The inside of the apples will turn brown quite quickly after you cut them open. You might wait to cut open the control apple until students have recorded the results from their experimental apple.
2. Display all the team apples and the control apple. Label each apple according to its variables: number of holes, size of holes, in a plastic bag, in the refrigerator, in a closet, and so on. Invite students to observe the results from all the apples. Discuss the results and help students answer their original question based on what they can observe.
3. Review the teams’ responses to Question 3 on their record page. Discuss whether their responses were accurate and why initial ideas are not always accurate.
Often scientists do not have enough experimental data to make accurate guesses or predictions. The more data they gather, the better their predictions become. (Refer to the note about guesses versus pre-dictions on page 64.)
Let’s Investigate Tooth Decay! 65
4. Discuss the results of their investigation based on what they learned in Lesson 4 by asking questions such as these:
• What happened inside the apple?
The inside of the apple turned brown; it began to decay.
• What made the apple begin to decay?
We poked a hole in the skin or peel of the apple.
• What did the hole allow to happen inside the apple?
The hole allowed something to get inside the apple and start the decay process.
• What is your evidence that something got inside the apples that had the holes?
The inside of the apples that had holes turned brown. The inside of the control apple did not turn brown.
• Why is it important to protect your teeth so that they do not get holes in them?
If the bacteria in your mouth create a hole in the enamel of a tooth, then that tooth will decay, similar to what happened to the inside of the apple.
Remember that the apple is not a perfect model of a tooth. The decay process is not the same, although the appearance might be similar. The inside of the apple will turn brown upon exposure to the air. Tooth decay requires acids produced by oral bacteria.
5. Review the processes that students used to answer their initial question about the apple. Help students compare what they did to what scientists do when they conduct investigations or experiments. Help students realize that they can be scientists.
• Scientists ask a question. (What questions did students ask?) • Scientists plan their investigation and use a control to try to answer
their question. (How did the students plan and conduct their investigations? Did they use a control?)
• Scientists make predictions about what they think might happen. (What were students’ guesses?)
• Scientists use their senses to observe and gather evidence or data. (How did the students use their senses?)
ES NS
Content Standard A: Abilities necessary to do scientific inquiry.
66 Lesson 3
• Scientists use tools to help them observe and gather data. (What tools did students use? How did using those tools help them?)
• Scientists record their observations and data. (Where did students record their observations?)
• Scientists share their evidence and data with others. (How did students share their evidence?)
• Scientists use their evidence and data from investigation results to answer their question or explain what happened. (How did students use their evidence to answer their question?)
6. To end the activity, ask students what they would do differently if they repeated their investigation.
How would the students change their question? How would they set up their investigation? What do they predict would happen? This time, the students would be making predictions, not guesses, because they have results upon which to base their predictions.
7. Ask students if they think scientists repeat their investigations and, if so, why.
Scientists often repeat their investigations or ask a new question based on their results. In fact, some scientists study the same (or a similar) question for many years.
8. Congratulate the students on their work as scientists.
Take-home Activity: So You Want to Be an Eggs-pert Scientist! In this lesson, we continue with the second of the three take-home activities. As mentioned in Lesson 2, the take-home activities are designed to engage
children and their parents in oral health activities at home. The procedure for doing the activity is on one side of the page and the other side contains important background information for the parent.
You might want to complete this activity as an extension activity in class. However, allow time for students to do the activity at home first and then offer it in class for those who did not have the experience at home.
1. Introduce the activity to the students and review the directions. Do not complete the activity in class at this time. Allow students to experience the fun at home first.
This take-home activity engages children and parents in a scientific investigation that models the tooth decay process. This experience demonstrates the effect of an acid on a hard surface like an eggshell
Let’s Investigate Tooth Decay! 67
Assessment This is a good time to collect the Mouth Journals to see if students were able to link the apple in the investigation with a model of a tooth. Can they use their observations from the apple investigation to pro-pose explanations for tooth decay?
and models how acids on teeth can cause tooth decay. It also allows the students to model for their parents the inquiry process they put into practice with the apple investigation.
2. Once again, point out the Certificate of Completion and inform students that you would like their parent or guardian to send the completed form back to school. The parent and child should keep the activity page at home.
3. Send 1 copy of Master 3.2, Take-home Activity 2: So You Want to Be an Eggs-pert Scientist!, home with each student and wait for results.
4. If students are interested, complete the activity at school and discuss the results.
Ask students how an egg is like a tooth and how an egg is not like a tooth. Ask students if they think an egg is a good model for a tooth. Then, discuss students’ observations and their explanations of what they think happened. Relate the results to what students have learned about the acid that bacteria produce in their mouths. How might the acids in their mouths act on their teeth like the vinegar, which also is an acid, acted on the eggshell?
Wrap-up Instruct the students to use their Mouth Journals to write or draw about what they learned in Lesson 3. Encourage them not only to include information that will help Exee understand about the mouth and tooth decay, but also information about what it means to be a scientist. What are some things scientists do to answer questions like those that Exee asks about the mouth?
68 Lesson 3
Related Documents