Growing for the Future Key Stage 1 February www.ccea.org.uk/growing 1 Areas of Learning • The World Around Us • The Arts • Personal Development and Mutual Understanding Learning Intentions We are learning: • how plants use their senses for survival; • that there are conditions for healthy growth, including a healthy diet; • to create both patterns and pictures by printing with objects; • that materials can interact with each other – some mix and combine, while others don’t; • that an object will remain stationary unless a push or pull is applied; • that we need to eat more of some foods than others, as depicted on the Eatwell Guide; • about the importance of preparing and cooking food safely and hygienically. Throughout the activities links to the curriculum skills have been signposted. Get Growing! Chitting Potatoes Encourage the children to learn about the potato plant, how and when a potato plant is planted, how it grows and when the potato is harvested. Allow the children to watch the YouTube video Earthy Potatoes: how do potatoes grow? to learn about how potatoes grow. Recap the main points in the video relating to potato growth. Explain that, as plants, potatoes have a life cycle the same as all living things. Explain that some potatoes are kept at the end of the harvest and these are used as the seed potatoes for next year’s crop. Ask the children to write an explanation of how potatoes grow, including the main points, for example: • A seed potato is planted in and covered with soil to protect it. • The rain provides the plant with water and sunshine provides it with warmth. • The roots start to grow and the plant anchors to the ground. • A shoot grows above the ground and develops leaves. • Tiny baby potatoes begin to grow along the roots. • The potato plant grows flowers. • The leaves gradually turn yellow. • The potatoes are now ready to be harvested. Explain to the children that potatoes are grown in the spring. While potatoes are planted in April and harvested in July and August, it is possible to speed up the growing process by sprouting or chitting seed potatoes. Explain that chitting potatoes just means letting them develop sprouts so that the potatoes get a head start when they are put into the soil. Managing Information Key Using ICT Using Maths Communication

Welcome message from author
This document is posted to help you gain knowledge. Please leave a comment to let me know what you think about it! Share it to your friends and learn new things together.
Transcript

Growingfor theFuture
Key Stage 1February
www.ccea.org.uk/growing 1
Areas of Learning• The World Around Us• The Arts• Personal Development and
Mutual Understanding
Learning IntentionsWe are learning:• how plants use their senses for
survival;• that there are conditions for
healthy growth, including a healthy diet;
• to create both patterns and pictures by printing with objects;
• that materials can interact with each other – some mix and combine, while others don’t;
• that an object will remain stationary unless a push or pull is applied;
• that we need to eat more of some foods than others, as depicted on the Eatwell Guide;
• about the importance of preparing and cooking food safely and hygienically.
Throughout the activities links to the curriculum skills have been signposted.
Get Growing!Chitting Potatoes Encourage the children to learn about the potato plant, how and when a potato plant is planted, how it grows and when the potato is harvested.
Allow the children to watch the YouTube video Earthy Potatoes: how do potatoes grow? to learn about how potatoes grow.
Recap the main points in the video relating to potato growth. Explain that, as plants, potatoes have a life cycle the same as all living things. Explain that some potatoes are kept at the end of the harvest and these are used as the seed potatoes for next year’s crop. Ask the children to write an explanation of how potatoes grow, including the main points, for example:
• A seed potato is planted in and covered with soil to protect it.
• The rain provides the plant with water and sunshine provides it with warmth.
• The roots start to grow and the plant anchors to the ground.
• A shoot grows above the ground and develops leaves.
• Tiny baby potatoes begin to grow along the roots.
• The potato plant grows flowers.
• The leaves gradually turn yellow.
• The potatoes are now ready to be harvested.
Explain to the children that potatoes are grown in the spring. While potatoes are planted in April and harvested in July and August, it is possible to speed up the growing process by sprouting or chitting seed potatoes.
Explain that chitting potatoes just means letting them develop sprouts so that the potatoes get a head start when they are put into the soil.
ManagingInformation
Key Using ICT Using Maths Communication

Growingfor theFuture
Key Stage 1February
www.ccea.org.uk/growing 2
ManagingInformation
Explain to the children that to chit potatoes, farmers and gardeners place the potatoes in a container with the ‘eyes’ facing upwards. They are left in a warm and bright place for 4–6 weeks until they sprout. When this happens and the sprouts are approximately 2–3cm long, they are ready to plant outside in early April or after the first frosts have gone. This means that you could harvest early potatoes in June.
Explain that different varieties of potatoes can be harvested at different times, for example Comber Earlies can be harvested in May and June.
Give each child their own potato to chit. Tell them to look carefully at the potato and find any special features that makes theirs special or different from another potato. Could they pick out their potato in a potato identity parade? Ask them to identify and count the number of eyes on their potato and to decide if every eye looks the same. Ask them to give their potato an appropriate name, for example Mr Lumpy, and to share three interesting facts about their potato with a partner.
Ask the children to carefully place their potatoes in a seed tray or an empty egg carton, with the eyes facing upwards, and place them in a warm and bright place.
Ask the children to observe and photograph the potatoes over the following weeks until the point of planting outdoors. Help the children to use ICT to create a Potato Diary using photographs and adding captions to describe the progress.

Growingfor theFuture
Key Stage 1February
www.ccea.org.uk/growing 3
ManagingInformationBeing Creative
Get Inspired!Potato Art: Making Print Stamps from Potatoes Go outdoors with the children to observe nature at this time of year. Encourage them to take photographic evidence of what they see. Back in the classroom, look at the images captured and discuss colours, shapes and lines found in nature during February.
What you need
• Variety of potatoes• Various cookie cutters• Paints• Paintbrushes• A range of printing surfaces• Black markers• Cutting knife
Instructions
1. Cut potatoes of various sizes in half.
2. Use a cookie cutter to cut out shapes by pressing it into the middle of the potato.
3. Keep the cookie cutter pressed into the potato while you cut away the outer layer of potato.
4. Carefully remove the cookie cutter from the shape.
5. Allow the potato to dry before printing.
6. When you are ready, start applying paint to your shapes. Use the colours found in nature to print various designs. Experiment with:
– the amount of paint used;
– printing on a variety of surfaces, such as paper, card, fabric and 3D objects;
– using a variety of other fruit and vegetables, for example corn on the cob, celery, apples etc.; and
– inspiration for designs, for example lines and shapes found in nature or objects photographed, such as plants, bird houses, bug hotels etc.
7. Add finishing details with a black marker or paintbrush. Remember to add your signature!

Growingfor theFuture
Key Stage 1February
www.ccea.org.uk/growing 4
The Magic of PotatoesWhat you need
• 2–3 large, cleaned starchy potatoes • Lukewarm water
Instructions
1. Grate the potatoes into a large mixing bowl.
2. Pour in enough water to cover the grated potatoes completely.
3. Stir for a few minutes.
4. After 10 minutes, the mixture should settle into two layers. A solid white layer will form at the bottom of the bowl.
5. Separate the layers by pouring the liquid away.
6. Mix in fresh water with the solid white layer and stir.
7. Pour into a transparent jar.
8. Secure the lid and shake the mixture, leaving for a further 10 minutes.
9. The mixture should separate into another white layer and water. Quickly pour out the water so as to remove the impurities and leave the white layer in the jar.
10. Leave the white substance to sit on a plate or in a small container for up to two days, or until the water evaporates completely. As it dries, it will turn to a powder.
11. Add 2–3 tablespoons of the white powder to a bowl and mix in small amounts of water. Stir until it looks like a liquid but is difficult to stir, but not too dry.
12. Experiment with the gum to observe its magic, for example:
– Place the gum in the open palm of the hand; what happens?
– What happens when you squeeze it in your hand?
– Try rolling it into a sausage shape – observe what happens.
Explain to the children that the substance is neither a solid nor a liquid. It is known as non-Newtonian fluid and behaves as both, depending on how much force (pressure) is applied. If you don’t get enough starch from the potatoes to experiment with, you can make a similar fluid with cornflour and water.
ManagingInformationBeing Creative
Extension Exercise Place a tray of the gum on top of a speaker attached to a sound system or computer. Turn on the sound and alter the volume (you may need to manipulate the gum to start it moving). Why not use the slow-motion feature on a tablet to record what happens?
Explain to the children that, as the sound travels from the speaker, the vibrations create a force that causes the gum to move.

Growingfor theFuture
Key Stage 1February
www.ccea.org.uk/growing 5
Being CreativeGet Cooking!Cooking with PotatoesShare the Eatwell Guide with the class (see www.foodafactoflife.org.uk). Discuss the contents and the size each of the five sections of the Eatwell Guide with the children.
Ask the children:
• Why are some foods placed outside the plate? • Refer to the starchy food section of the Eatwell Guide, noting where the potatoes are
placed. Are you surprised potatoes are not with fruit and vegetables?
Explain to the children that although potatoes are vegetables, they provide us with carbohydrates.
If the children experimented with the magic gum in the previous section, you can explain that the white substance that was separated from the potato is called starch. Starch is a carbohydrate that is important as part of a healthy balanced diet. It provides our body with energy so it can function properly.
Refer back to the Eatwell Guide to identify other foods that contain starch or carbohydrates (bread, rice and pasta). Discuss how it is important to fill one third of your meal plate with starchy foods. Talk about which of the foods on this section of the Eatwell Guide the children eat at different mealtimes. Are there any starchy foods they have not tried?
Talk about how versatile potatoes are by listing all the different ways we can eat them, for example mash and steamed, roast, chipped and jacket potatoes.
Use different pieces of equipment and techniques to get cooking. Try potato wedges (see Resource A), hash browns (see Resource B) or potato salad (see Resource C).
Before cooking, you may want to take the opportunity to explore the importance of washing hands before and after handling food. Use the Glitter ‘Germs’ Experiment (see Resource D) to do this.

Growingfor theFuture
Key Stage 1February
www.ccea.org.uk/growing 6
Resource A
Potato WedgesMethod
1. Preheat your oven to 200˚C (400˚F) or gas mark 6.
2. Scrub the potatoes clean and cut off any gnarly bits.
3. Cut the potatoes into chunky wedges.
4. Transfer to a roasting tray.
5. Drizzle with a good glug of oil and season with salt and pepper.
6. Toss together so all the wedges are coated in the oil, then spread out in one layer.
7. Cook in the oven for 30 minutes until golden, crisp and cooked through.
Ingredients
• As many potatoes as you need – try to have at least three different varieties
• Rapeseed or olive oil• Salt and pepper
Read out the ingredients and method to the class. Explain words such as ‘preheat’, ‘gnarly’, ‘glug’ etc. Explain how temperatures are converted for use in an electric or gas oven.
As you cut up the potatoes into chunky wedges, tell the children the names of the different varieties and where they have been grown. Ask the children to note the differences in colour, shape etc. Explain that you are cutting up the potatoes into wedges as a sharp knife is needed. Remind the children that if they are cooking at home, adult assistance and supervision is very important. Tell the children we are only adding the basic seasoning of salt and pepper so they can taste the true flavour of the different varieties of potatoes, but there are lots of herbs and spices they could add. Ask for suggestions. Remind the children that there are lots of commercially produced seasonings, for example spicy seasoning, Cajun seasoning and smoky barbecue seasoning. Fresh herbs such as chopped rosemary from the kitchen garden could also be used.
Growingfor theFuture
Key Stage 1February
www.ccea.org.uk/growing 7
Resource B
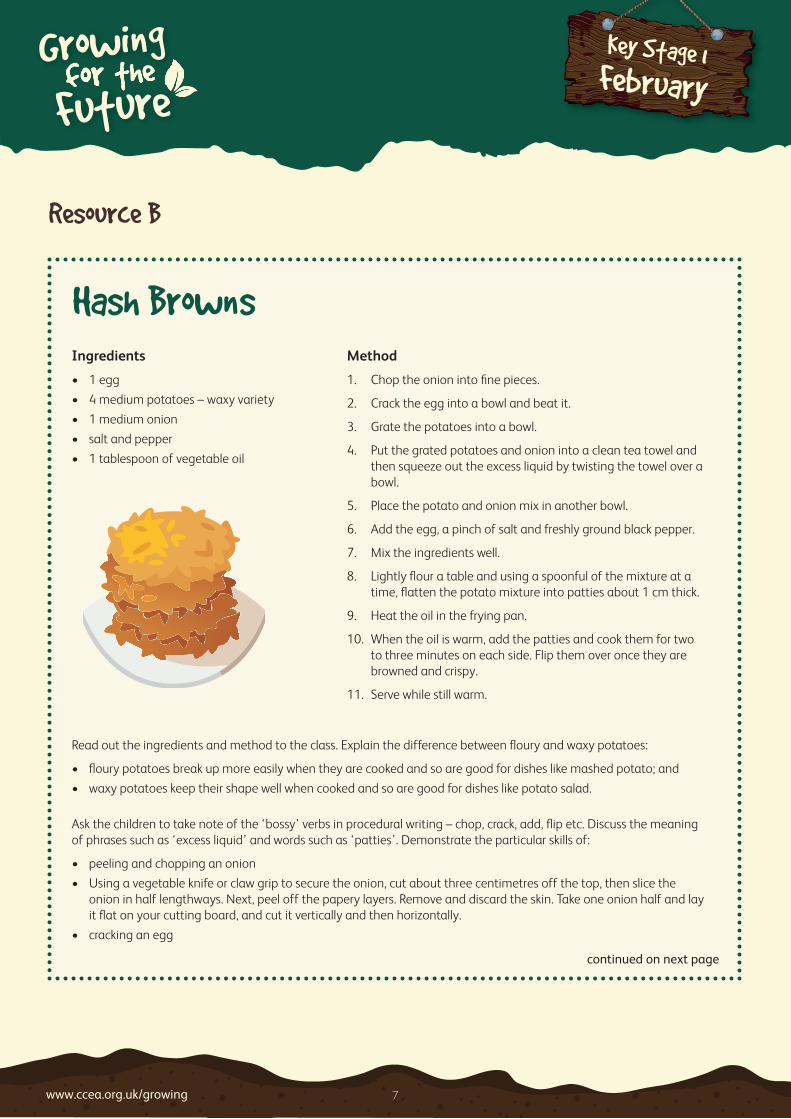
Hash BrownsMethod
1. Chop the onion into fine pieces.
2. Crack the egg into a bowl and beat it.
3. Grate the potatoes into a bowl.
4. Put the grated potatoes and onion into a clean tea towel and then squeeze out the excess liquid by twisting the towel over a bowl.
5. Place the potato and onion mix in another bowl.
6. Add the egg, a pinch of salt and freshly ground black pepper.
7. Mix the ingredients well.
8. Lightly flour a table and using a spoonful of the mixture at a time, flatten the potato mixture into patties about 1 cm thick.
9. Heat the oil in the frying pan.
10. When the oil is warm, add the patties and cook them for two to three minutes on each side. Flip them over once they are browned and crispy.
11. Serve while still warm.
Ingredients
• 1 egg• 4 medium potatoes – waxy variety• 1 medium onion• salt and pepper• 1 tablespoon of vegetable oil
Read out the ingredients and method to the class. Explain the difference between floury and waxy potatoes:
• floury potatoes break up more easily when they are cooked and so are good for dishes like mashed potato; and • waxy potatoes keep their shape well when cooked and so are good for dishes like potato salad.
Ask the children to take note of the ‘bossy’ verbs in procedural writing – chop, crack, add, flip etc. Discuss the meaning of phrases such as ‘excess liquid’ and words such as ‘patties’. Demonstrate the particular skills of:
• peeling and chopping an onion• Using a vegetable knife or claw grip to secure the onion, cut about three centimetres off the top, then slice the
onion in half lengthways. Next, peel off the papery layers. Remove and discard the skin. Take one onion half and lay it flat on your cutting board, and cut it vertically and then horizontally.
• cracking an egg
continued on next page

Growingfor theFuture
Key Stage 1February
www.ccea.org.uk/growing 8
• Tap the egg on the side of a small bowl so that you gently break the shell. Don’t tap too hard, or you’ll shatter the egg, break the yolk, and end up with shell pieces in your bowl.
• grating potatoes – (with adult support) • Place the grater onto the chopping board and hold it firmly by its handle. Hold the potato at its widest end and rub
it down-and-up the grater firmly. Keep grating until you are left with a small chunk of potato. • flipping hash browns• Using a wooden spatula or palette knife, gently turn the hash brown over, taking care to keep it whole.
Resource B

Growingfor theFuture
Key Stage 1February
www.ccea.org.uk/growing 9
Resource C
Potato SaladMethod
1. Cut up the potatoes into small bite-sized chunks and place into a large bowl.
2. In another bowl, mix together the mayonnaise, natural yogurt, half fat crème fraîche, Dijon mustard and semi skimmed milk.
3. Transfer the mayonnaise mixture to the bowl of chopped potatoes and carefully mix it in, making sure all potatoes are evenly coated.
4. Finely chop up the spring onions and herbs from your garden and mix these into the potato salad. Leave a few to sprinkle on the top as a garnish.
5. Transfer your potato salad to a serving dish and sprinkle on the remaining spring onions and herbs.
Discuss the healthier options of natural yogurt, semi skimmed milk and half fat crème fraîche. Ask the children: why is it half fat and not fat free? Explain that flavour is important, too. Ask them what else they could eat for lunch with the potato salad.
Suggest that the potato salad could even be a healthy packed lunch option.
Ingredients
• 750 g cooked waxy potatoes with the skins left on
• 2 tablespoons good quality mayonnaise• 3 tablespoons natural yogurt• 3 tablespoons half fat crème fraîche• 1 teaspoon Dijon mustard• 1 tablespoon semi skimmed milk• 6 spring onions• Chopped fresh herbs from your kitchen
garden
Growingfor theFuture
Key Stage 1February
www.ccea.org.uk/growing 10
Resource D
Glitter ‘Germs’ Experiment
Instructions
1. Ask the children to sit in a circle.
2. Put a little bit of hand cream on a child’s hand and ask them to rub it all over their hands.
3. Next, sprinkle on a little glitter and ask them to rub this over both hands.
4. Now, ask the child to shake hands with another child in the circle.
5. Repeat Step 4 a number of times.
6. Ask the children to look at their hands to see if they can find any traces of the glitter ‘germs’.
Ask the children what they have learned.
By the time each child has shaken another child’s hands, the ‘germs’ have spread to everyone.
What You Need
• Hand cream• Glitter
Ask the children what we should always do before we eat, cook or handle food.Explain that washing hands stops the spread of bacteria, also known as germs.
Ask:• Does anyone know anything about germs? • What do they look like?
Explain that they can make you feel sick and that they are so tiny, you cannot see them unless through a microscope.
Ask if anyone could suggest ways we could stop the spread of germs. Examples include sneezing into a tissue, and using soap when washing your hands.
Explain that we are going to take part in two short experiments to demonstrate:• how germs are easily spread; and• how to get rid of germs.
Experiment One -–Spreading Glitter ‘Germs’

Growingfor theFuture
Key Stage 1February
www.ccea.org.uk/growing 11
Instructions
1. Put a little bit of hand cream on three children’s hands and ask them to rub it all over their hands.
2. Next, sprinkle on a little glitter and ask them to rub this over both hands.
3. Now, instruct the children to wash their hands – Child One using only cold water, Child Two using only warm water and Child Three using warm water and soap.
4. Ask the children to dry their hands using the paper towels.
5. Ask the children who they think will have the least glitter on their hands after washing and why.
6. Tell them to show their hands to the others in the circle.
Ask what this experiment shows us we must do to get rid of germs and stop them spreading.
Ask the children if they now appreciate why rules such as using a tissue, washing your hands etc. to control the spread of germs are necessary to keep themselves and others healthy.
What You Need
• Hand cream• Glitter• Cold water• Warm water• Soap• Paper towels
Experiment Two -–Stopping the Spread of Glitter ‘Germs’
Resource D
Related Documents