A Short Introduction To L A T E X and Beamer Carlos González-Aguado and Joan Llull CEMFI Casado del Alisal, 5 28014, Madrid Spain October 2008 Contents I Introduction to L A T E X 2 1 Introduction 2 2 Writing a document with L A T E X 3 3 Math typesetting 6 4 Floating objects: Tables and Figures 8 5 Including bibliography: BibTeX 11 6 Managing packages 12 II Beamer 14 7 Why Beamer? 14 8 The presentation 15 9 Formatting aspects 19 10 Remarks for SWP users 22 1

Welcome message from author
This document is posted to help you gain knowledge. Please leave a comment to let me know what you think about it! Share it to your friends and learn new things together.
Transcript
A Short Introduction To LATEX and Beamer
Carlos González-Aguado and Joan LlullCEMFI
Casado del Alisal, 5
28014, Madrid
Spain
October 2008
Contents
I Introduction to LATEX 2
1 Introduction 2
2 Writing a document with LATEX 3
3 Math typesetting 6
4 Floating objects: Tables and Figures 8
5 Including bibliography: BibTeX 11
6 Managing packages 12
II Beamer 14
7 Why Beamer? 14
8 The presentation 15
9 Formatting aspects 19
10 Remarks for SWP users 22
1
Part I
Introduction to LATEX1 Introduction
LATEX is a typesetting system that allows you to create scientific documents ofhigh quality. This guide will help you to start using LATEX in a very easy way.
The structure of the guide is as follows. In the remaining of this section weexplain what is LATEX more specifically and what do you need in order to use it.
1.1 Why LATEX?
LATEX has some competitors in the world of typesetting systems and text proces-sors. Why should we use LATEX then?
LATEX is different from typical word processors because it has another philos-ophy. These standard processors are of the WYSIWYG type, that is, what yousee is what you get. Instead, LATEX is considered as WYSIWYM, what you seeis what you mean. For example, when you want to insert a title in a standardword processor, you have to select the text, center it and format everything. WithLATEX you just have to indicate that the text is a title. It will format everythingfor you. The advantage of WYSIWYG-type programs is that they are meant tobe more user friendly because you can see in your screen exactly what is going tobe printed in your printer. Instead, with LATEX we will have to compile our doc-ument into another format. The clear advantage of LATEX with respect to theseprocessors is that it is specially oriented to deal with scientific documents whichis very important to have flexibility introducing mathematical concepts.
The other group of competitors are inside LATEX family. We can consider themas something in between standard word processors and LATEX. They want to bemore user friendly than plain LATEX. However, they also are of the WYSIWYMtype. Moreover, they lose some of the flexibility that LATEX offers.
1.2 What do I need to use LATEX?
In order to use LATEX we need two different components to be installed in ourcomputer: a LATEX editor and MiKTeX.
2
There are several LATEX editors. We cite some of them here, but there is notan official editor to use. Each user has to see which editor is best suited for him.
TeXnic Center This is a free editor. It is very user friendly and very recom-mended for those that start using LATEX. You can download the program athttp://www.toolscenter.org.
Winedt Another user friendly editor. The problem with WinEdt is that youneed to register in order to use it. Anyway, it is not very expensive! Youcan download an evaluation version at htt://www.winedt.com.
Emacs This is not only a LATEX editor. Some people define it as a completeoperating system. You can write LATEX files, program in different languagessuch as Matlab or Fortran, manage your email account and a lot more. Itis free, but its main problem is that it is not user friendly. You can findinformation and downloads at http://www.gnu.org/software/auctex/.
MikTeX is a Windows application to manage all the packages you need to usewith LATEX.1 It is free and you have to download it from http://www.miktex.org.
2 Writing a document with LATEX
At the beginning of a document, we need to tell LATEX what are we going to write.It could be an article, a book, a letter, . . . . This is referred as the “class” of thedocument and the command to declare it is \documentclass. The syntax for thiscommand is
\documentclass[options ]{class}
where class can be article, book, letter, or whatever class you want to use andoptions are things like for example the default font size we want to use in thedocument. A typical class declaration for an article can be
\documentclass[12pt]{article}
After declaring the class of document, there are some advanced options we canuse, but we will explore this possibility later.
1This will become clearer in Section 6.
3
In order to start writing our document, we need to set the initial and final pointof it. This is done with commands \begin{document} and \end{document}.Everything between these two commands will be considered as our document byLATEX.
2.1 Front Matter
The front matter refers to the beginning of each document, where the title, thename(s) of the author(s) and other related things are set.
We could introduce the title of our document with the following expression
\title{title of the document}
The name of the author is defined in the same way but with the command\author instead of title. Typically, we will want to add the affiliation of theauthors. To do this, we can add a double backslash (\\) after the name of theauthor and then write the affiliation, for example
\author{Carlos Llull\\CEMFI}
We can also add several authors by using the command \and after each author.For example,
\author{Carlos Llull\\CEMFI \and Joan González\\CEMFI}
The date of the day in which the text is being compiled is automaticallydisplayed. We can turn off this option by inserting \date{}.
Finally, in order to make clear that the front matter is finished, we have towrite the command \maketitle.
2.2 Structure of the document
After inserting the front matter, we could think about the structure of our docu-ment. We are used to deal with articles structured in sections, subsections, andso on. We are going to use the same stratification with LATEX.
In LATEX we have the following hierarchy of parts of our document\part{...}\section{...}\subsection{...}\subsubsection{...}\paragraph{...}\subparagraph{...}
4
Each of these commands will need the title of the corresponding section, subsec-tion, etc. between the brackets.
It is worth noting that some of these commands are class-dependent. Forexample, if we specify that we are going to write a book, we could make use ofthe command chapter, which is unavailable under the article class.
Finally, we should also note that LATEX will automatically number all theseparts and sections of the document.2
2.3 Cross references
A cross-reference is used to refer to other parts of the document like figures, tables,mathematical expressions, sections, . . . There are three important commands re-lated to cross-referencing: \label{marker}, \ref{marker} and \pageref{marker}.
The first one is used after creating a section, figure, table, . . .We will have tothink of an identifier (marker) for each of the objects. This identifier will be used tomake reference to the particular object by means of the command \ref{marker}.We could also refer to the page where the object is by using \pageref{marker}.
2.4 Footnotes
Including footnotes in our document is done by using the command
\footnote{footnote-text}
The number of each footnote will be automatically generated.
2.5 Environments
Environments are objects that allow us to increase the quality of our document.All environments have the same structure
\begin{environment-name}...\end{environment-name}
Now, we are going to examine some of the most used environments.
2By default, LATEX uses roman numbers for parts and arabic numbers for sections. Thisformat can be changed through some commands and packages that will appear later.
5

2.5.1 Abstract
The abstract is probably the first environment you are going to use in your docu-ment. It is normally placed just after the \maketitle command. Its structure isquite simple
\begin{abstract}...\end{abstract}
2.5.2 Itemize, enumerate and description
These three environments are used to produce lists. The syntax for all of them is
\begin{list-name}\item Bla, bla, bla\item Bla, bla, bla\item Bla, bla, bla
\end{list-name}
The environment itemize produces the typical list with a bullet at the be-ginning of each item in the list. By default, LATEX will insert a bullet. We canchange this by writing \item[-] instead.
Alternatively, we can have a numbered list by using enumerate.Finally, description produces a list with a bold title before it. This title has
to be written inside square brackets just after item. For example the code
\begin{description}\item[First] This is the first item.\item[Second] This is the seond item.
\end{description}
produces the following text
First This is the first item.Second This is the second item.
3 Math typesetting
Typesetting mathematical expressions in LATEX is not difficult. We have two waysof writing a formula: insert it in the middle of the text or create a new (centered)line for the formula.
In order to insert formulas in the main text, we need the operator ($). Considerthe following LATEX code
6

Let $x$ denote the unknown variable in $y=a+x$.Let x denote the unknown variable in y=a+x.
This would generate the following
Let x denote the unknown variable in y = a + x.Let x denote the unknown variable in y=a+x.
It can be seen that the outcome does not look exactly equal. When using thedollar operator the expression in the middle has another format, that points outthat something is a mathematical expression and not ordinary text.
The other option is to create an environment equation, which would create anew line for the expression we want to write. For example
And this is the expression that determines the value of $y$:\begin{equation}
\label{expr_y}y = 3x
\end{equation}
which once compiled will look as
And this is the expression that determines the value of y:
y = 3x (1)
Two things are worth noting from this example. First, we should note that oncewe open an equation environment, we do not need the dollar operator anymore.Everything inside this environmet will be considered as in math mode. If wewould like to have some text inside the equation environment, we can use thecommand \textrm{...}. Second, we have added the \label command as anexample. Now, in the text where this example is placed we can do reference tothis expression just by using \ref{expr_y}.
3.1 Mathematical objects
LATEX provides us with a full battery of mathematical objects to be inserted inour document. It is beyond the scope of this guide to review all these objects.3
3We strongly recommend to download the “TEX Reference Card” from, for example,http://refcards.com/docs/silvermanj/tex/tex-refcard-a4.pdf.
7
4 Floating objects: Tables and Figures
Tables and figures are also typical objects we would want to include in our docu-ment. They have a quite meticulous treatment in LATEX. We first introduce theconcept of a floating object and then we will characterize the properties of tablesand figures.
A floating object has its own “life” inside the document. It is independentof the rest of the text. This is its main characteristic. Considering a table orfigure as a floating object allows us to place it exactly where we want, since it hasno relationship with the text. This is very useful since both, tables and figures,normally generate some problems when fitting them into the page.
4.1 Tables
There are two basic environments used in creating a table: tabular and table.In fact, with the first one alone you can create a table. The second one is justto create the floating object. We will explain the tabular environment first andthen we will look at the additional properties we can use with table.
4.1.1 Tabular environment
The syntax for building a table with tabular is
\begin{tabular}{properties}...\end{tabular}
The properties of the tabular environment refer mainly to the number ofcolumns and their alignment. This alignment can be assigned with l for left, r forright or c for center. We could also want to separate columns with a vertical line.In order to do so, we have to use the separator (|). Then, if we want to create atable with four columns in which the first one is centered and the other ones arealligned to the left and we also want a vertical line that separates the first columnfrom the rest, we should write
\begin{tabular}{c|lll}
Next, we have to write something into the table. We start writing in the cellcorresponding to the first row and first column. We change the column in whichwe are by using &. We can also go to the first column of the next row with \\.For example, this piece of code
8

\begin{tabular}{l|c|c}& Female & Male \\ \hlineFaculty & 0 & 12 \\Research fellows & 1 & 1 \\Ph.D & 1 & 9 \\ \hline
\end{tabular}
will produce the floowing table
Female MaleFaculty 0 12Research fellows 1 1Ph.D 1 9
Two things are worth noting. First, you can leave an empty cell just by nowriting anything in it, as in the first row-first column cell in the example. Second,we have used the command \hline. As you can see in the output, this commandgenerates an horizontal line that crosses all the table just in the point in whichyou inserted it.
Another interesting property of tables is the possibility of creating cells thatcombine more than one column. This is achieved with the command \multicolumn.The following piece of code provides an example of the usage of this command
\begin{tabular}{l|c|c}\hline\multicolumn{3}{c}{Gender separation} \\ \hline& Female & Male \\ \hlineFaculty & 0 & 12 \\Research fellows & 1 & 1 \\Ph.D & 1 & 9 \\ \hline
\end{tabular}
and produces the following table
Gender separationFemale Male
Faculty 0 12Research fellows 1 1Ph.D 1 9
We should note that \multicolumn’s syntax requires of three arguments be-tween brackets. The first one indicates the number of cells to combine, the secondone the allignment of the text inside this cell and the last one serves to write thetext of the cell.
9
4.1.2 Table environment
The environment table is an outer environment with respect to tabular. Thismeans that a table environment can contain a tabular environment it, but itcannot be the other way around.
The syntax for creating a table object is the following
\begin{table}[position]\label{tab1}\caption{table-caption}\begin{tabular}...\end{tabular}\end{table}
Three things are worth noting from this code. The first one is that whencreating the table we have to specify its position. There are several positions wecan choose for our table: at the top of the page, at the bottom of the page orin a page containing only floating objects. We can choose among these differentoptions with their initial letters: t, b and p. In fact, we can create a preferenceorder. For example, if we insert \begin{table}[tb], LATEX will try to place ourtable at the top of the page. However, if this placement does not seem to work(for example, because there are another table in there), the second option will betaken into account.
Another new command in the definition of the table is caption. Within thebrackets we should include the caption of the table, which is like its title. We canplace the caption above or below the tabular. This will indicate LATEX where wewant the caption to be placed (above or below the table).
4.2 Figures
Figures are created through the environment figure. This environment has ex-actly the same structure than the environment table. So, in order to create afigure we should write something like
\begin{figure}[position]\label{marker}\caption{caption-text}...\end{figure}
10

where the first dot just after creating the figure environment refers to the positionthe figure will have in the document, as in the table environment.
Typically, figures will not be created in the same document we are writing, butthey will be exported from some other document. To tell LATEX which documenthas the figure we want to insert, we have to use the command \includegraphics,available from package graphicx.4 The syntax of this command is the following
\includegraphics[options]{filename}
where filename refers to the name of the file that contains the figure. There areseveral options for a figure. We can define its width, height, angle and scale.The way we have to do it is by writing the option we want to change followed byan equal and the value we want for the attribute. We can change more than oneoption separating them by commas. For example
\includegraphics[width=10cm,height=10cm]{figure1.pdf}
The option angle allows us to rotate the figure, while the option scale allowsus to scale the original figure.
5 Including bibliography: BibTeX
Another important issue very used in scientific documents is that of bibliography.In order to deal with this we are going to use a system called BibTeX.
Typically, we will use the same references in our papers, so it could be usefulto have a database with the papers we cite. This is the first step of using BibTeX.It could be a bit boring at the beginning, when you have to start your referencesdatabase from zero. However, this system will save us a lot of time in the longrun. In order to build the database, it is very recommended to use a BibTeXdatabase manager.5
Once we have our database, which will be saved in a file with extension .bib,we can start creating references in our documents. The way to do it is to add thefollowing command at the point in the document in which we want references tobe listed
\bibliography{database-filename}
4In Section 6, we will explain everything related to the use of packages.5We suggest to use JabRef, which is free and can be downloaded at jabref.sourceforge.net.
11
This command tells LATEX the file in which all our references are. Now, at anypoint in the text we can cite a reference just by using the command \cite{ref-id}.With this instruction we will do two things. First, LATEX will insert a citation tothe chosen reference. Second, LATEX will check whether this reference has beenused in another place in the document. If this is not the case, the reference willbe inserted into the references section.
The references section can have several formats. In fact, each journal has itsown format. We can choose different formats for our reference section by usingthe command \bibliographystyle{style-file}. These files has an extension .bstand many of them can be found in the Internet.
6 Managing packages
Packages are complements to main LATEX language. They include several com-mands and options not included in the basic system.
6.1 Why and how use packages
Packages are very useful because they help us to improve the quality of our doc-uments. Basic LATEX options can be poor depending on which kind of things wewant to do with our document. For this reason, there exist a huge amount ofpackages that complement LATEX.
The first thing about packages is knowing how to get them. Packages are inthe internet and we can download and install them easily using MiKTeX. In MiK-TeX menu, in Windows Start menu, we can choose the option Browse packages.There we can find all the packages we can install to our computer.
Once we have the package in our computer, the way to use them is very easy. Ifwe need package abcxyz for our document, we just need to write \usepackage{abcxyz}before beginning the document, just after the class declaration. Some packagesalso allow for options and they are written as \usepackage[options]{abcxyz}.
6.2 Some useful packages
We reproduce here a list of what we think are the most useful packages. We providea very short description of their characteristics. When we install a package, a pdf
file is also installed with all the documentation referent to the package.
12
6.2.1 natbib
natbib is a package used to improve the format of our citations. The way LATEXcites other documents is maybe not the most used one. For this reason, natbibprovides us with two additional commands citet and citep. The first one is usedwhen we have to cite another document in the body text. Then, it will displaythe typical “author (year)” format. Instead, citep can be used when we want tocite some other document within brackets. Then, it will display “(author, year)”.
6.2.2 footmisc
This package helps us with the format of footnotes. The most interesting featureis probably that one of its options allow us to force all footnotes to be at thebottom of the page. In order to get this, we should insert at the beginning\usepackage[bottom]{footmisc}.
6.2.3 babel
We may want to write an article in other languages than English. Obviously,this is feasible with LATEX. However, there are some objects that are displayed inEnglish by default. For example, the date, the title “Abstract”‘, etc. In order tochange this we can invoke the package babel with the language we want to use asan option. For example, \usepackage[spanish]{babel}.
6.2.4 fontenc
Independently on the language we are using to write a document, it could be thecase that we need to use some ortographical characters like for example, accents.To do this, we need to add at the beginning \usepackage[T1]{fontenc}.
6.2.5 geometry
geometry package allows us to configure everything related to the margins of thedocument. There are lot of options, but here we will only deal with the standardone of setting new margins for our document. In order to do this, we have to addin the options part, the name of the margins we want to change (left, right, top,bottom) indicating the new margin. For example
\usepackage[left=2cm,right=2cm]{geometry}
13

6.2.6 float
This package will help us to modify some properties of our floating objects. Forexample, it creates a new position specifier (H), which forces LATEX to insert thefloating object exactly where we have placed it in the tex file.
6.2.7 graphicx
graphicx is fancy way to introduce graphics and images in a TEX document.This package enables the user to wield far greater control over the importationof graphics and, apart from the usual sizing and rotational facilities, also enablesthe user to crop or trim an image as desired (e.g., to get rid of surrounding blankmargins). To get further details, see Section 4.2.
6.2.8 color and xcolor
These are two ways to introduce colored text. Very useful for presentations.
6.2.9 longtable
Allows tables to span over more than a single page.
Part II
Beamer7 Why Beamer?
Beamer is a LATEX class of document that is used for creating presentations. Theidea of Beamer is to extend the advantages of LATEX to the creation of slides.Therefore, in this document we only focus on the aspects that are particular ofBeamer, leaving general LATEX technicalities to Part I.
As in the general usage of LATEX, the main advantage of using Beamer in-stead of other WYSIWYG presentation editors is the tractability of mathematicalformulae. There are, however, other interesting aspects to take into account. Forinstance, it allows to format all slides in a simple way, for instance including inall them author’s name and institution, the title of the paper, date of the pre-sentation, the section and subsection to which the slide belongs, a roadmap of
14
the presentation,... The discipline that LATEX introduces is also advantageous be-cause it helps to create uniform and very professional presentations. The outputis a PDF file, for which there exist free viewers in virtually all platforms. And,finally, if we use LATEX to create our scientific papers, it is very easy to create thepresentation departing from the paper that we have already written.
If you compare Beamer to other LATEX slides class of documents, Beamer
has also advantages. Most of the advantages in this case regard the formatting ofthe presentation. Themes allow to introduce some color in the presentation in avery simple way. Formatting features described in the previous paragraph allowus to depart from the traditional plain slides. And it allows the introduction of avariety of dynamic effects that are not suitable for other slides class of documents.
8 The presentation
As we have already said, most of the aspects that you need to know to write aBeamer presentation are the same that you need to know to write a paper inLATEX. In the remaining of this document we emphasize the remaining aspectsthat you need for creating the presentation. Here we only summarize the mainaspects that you need, but advanced users can go to the Beamer User Guide todeepen in the large amount of available options.
8.1 Frames and structure
In Beamer’s jargon, a slide is referred to as a frame. The structure of a frameenvironment is the following:
\begin{frame}[〈options〉]{〈title〉}{〈subtitle〉}〈environment contents〉\end{frame}
Titles and subtitles can also be specified using \frametitle{The title} and \frame-subtitle{The subtitle}. There is a large list of options that can be included here.An interesting example is the option plain; \begin{frame}[plain] causes theheadlines, footlines and sidebars to be eliminated6; this might be interesting, for
6The headline of a frame is the area at the top of the frame that may show some orientatinginformation; similarly, the footline is the area at the bottom of the frame. Sidebars are verticalareas that that can show a table of contents or they could be added for aesthetic reasons. Otherimportant (optional) elements of a frame are navigation bars or symbols, the logo, the frametitle, the background,...; all them are explained in detail in the Beamer User Guide
15
instance, in the presence of a big table or figure. You can see more options inBeamer User Guide.
In order to structure the presentation, as in a LATEX article, parts, sections,subsections and so on can be included. This is necessary to introduce tables ofcontents7 or themes that include navigation bars.
The first frame in the presentation will be the title page. The command thatinvokes this page is \titlepage. However, before introducing this command(usually before the \begin{document} statement) the elements of this page haveto be specified: author, institution, date,... The basic syntaxis of the commandsthat introduce these elements is the following:
\thecommand[short version]{long version}The [short version] is the one that often appears in footlines; on the other hand,the {long version} appears in the title page. If the former is not specified, thelatter is the one introduced in footlines. The commands that admit this syntaxisare the following:
\title\subtitle8
\author\institution\date
8.2 Dynamic effects
There are two main types of dynamic effects: overlays (to hide a part of an slideand uncover it during the explanation) and transitions. In both cases, advancedusers can program almost all overlays and transitions that they can imagine.In this document we explain the more commonly used and simpler procedures.Again, Beamer User Guide provides more detailed explanations and extensionsfor advanced users.
Overlays generate different slides within a frame. It can be very useful in thedesign of a presentation. For instance, a professor may want to ask their studentswhat is going next before uncovering the item. Or she might be interested inhighlighting the point that she is making.
7The table of contents is also introduced in Beamer (inside a frame) in the same way as ina LATEX article.
8The subtitle is not introduced in the title page by default. See Beamer User Guide to seehow to introduce it.
16
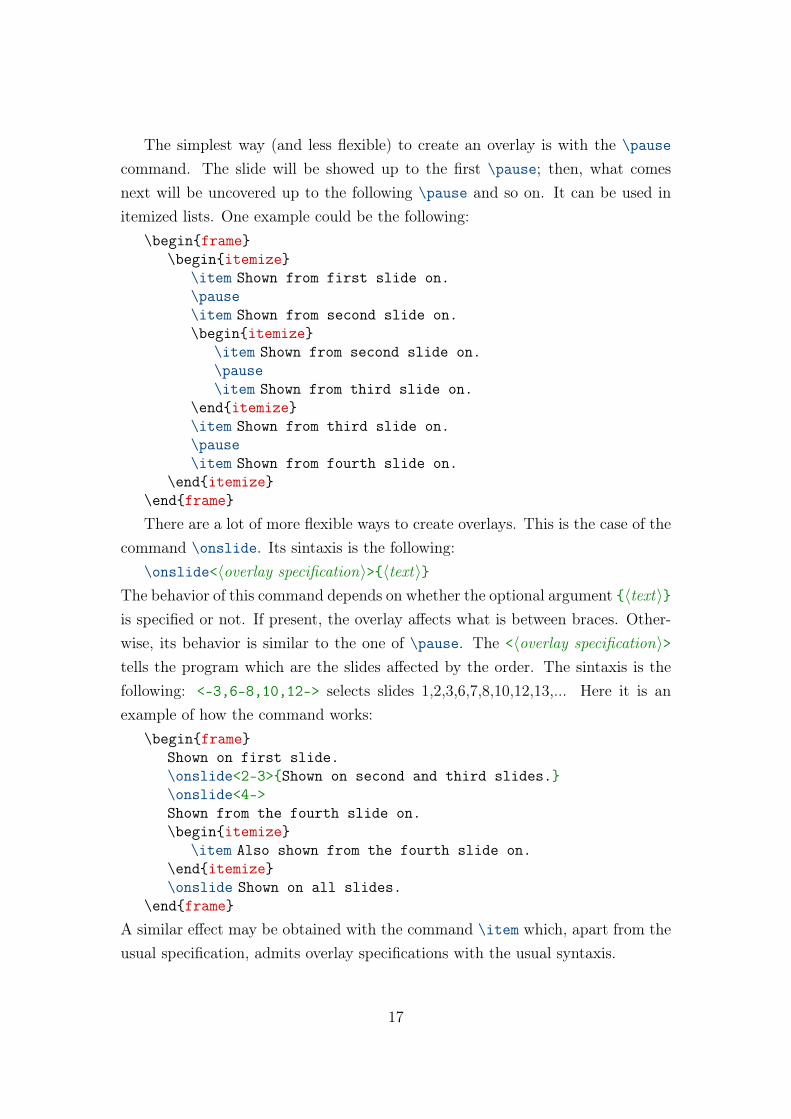
The simplest way (and less flexible) to create an overlay is with the \pause
command. The slide will be showed up to the first \pause; then, what comesnext will be uncovered up to the following \pause and so on. It can be used initemized lists. One example could be the following:
\begin{frame}\begin{itemize}
\item Shown from first slide on.\pause\item Shown from second slide on.\begin{itemize}
\item Shown from second slide on.\pause\item Shown from third slide on.
\end{itemize}\item Shown from third slide on.\pause\item Shown from fourth slide on.
\end{itemize}\end{frame}
There are a lot of more flexible ways to create overlays. This is the case of thecommand \onslide. Its sintaxis is the following:
\onslide<〈overlay specification〉>{〈text〉}The behavior of this command depends on whether the optional argument {〈text〉}is specified or not. If present, the overlay affects what is between braces. Other-wise, its behavior is similar to the one of \pause. The <〈overlay specification〉>tells the program which are the slides affected by the order. The sintaxis is thefollowing: <-3,6-8,10,12-> selects slides 1,2,3,6,7,8,10,12,13,... Here it is anexample of how the command works:
\begin{frame}Shown on first slide.\onslide<2-3>{Shown on second and third slides.}\onslide<4->Shown from the fourth slide on.\begin{itemize}
\item Also shown from the fourth slide on.\end{itemize}\onslide Shown on all slides.
\end{frame}
A similar effect may be obtained with the command \item which, apart from theusual specification, admits overlay specifications with the usual syntaxis.
17
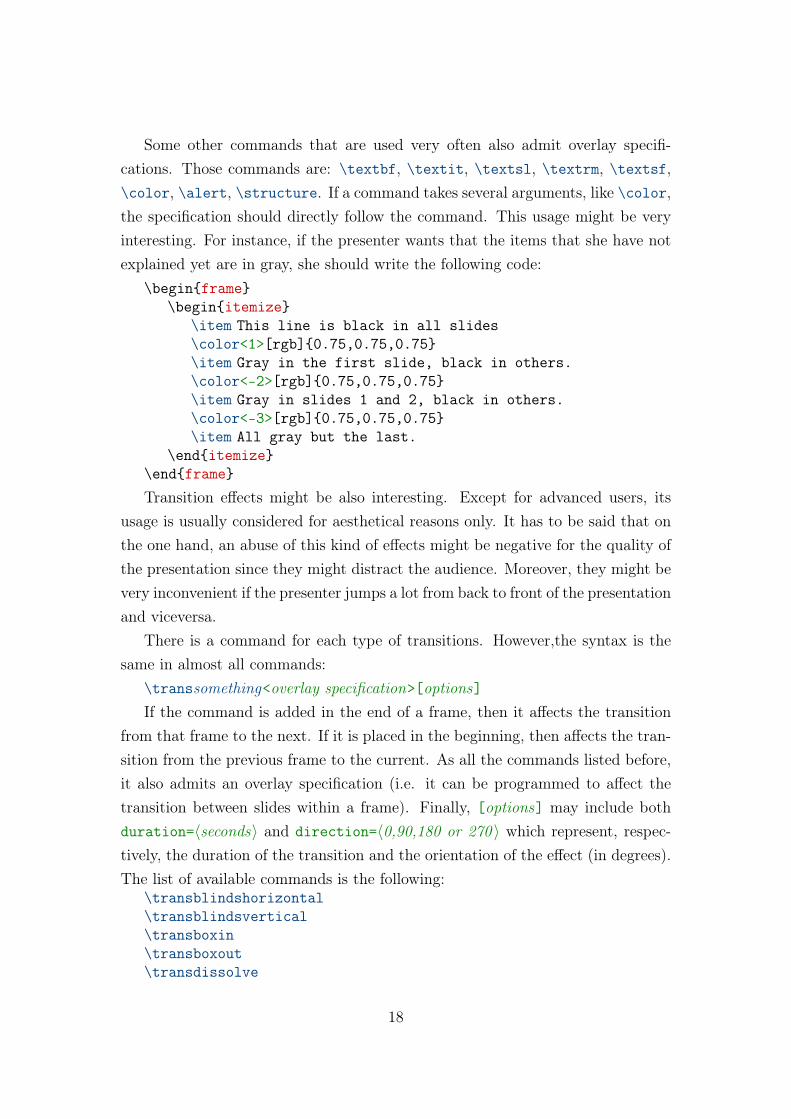
Some other commands that are used very often also admit overlay specifi-cations. Those commands are: \textbf, \textit, \textsl, \textrm, \textsf,\color, \alert, \structure. If a command takes several arguments, like \color,the specification should directly follow the command. This usage might be veryinteresting. For instance, if the presenter wants that the items that she have notexplained yet are in gray, she should write the following code:
\begin{frame}\begin{itemize}
\item This line is black in all slides\color<1>[rgb]{0.75,0.75,0.75}\item Gray in the first slide, black in others.\color<-2>[rgb]{0.75,0.75,0.75}\item Gray in slides 1 and 2, black in others.\color<-3>[rgb]{0.75,0.75,0.75}\item All gray but the last.
\end{itemize}\end{frame}
Transition effects might be also interesting. Except for advanced users, itsusage is usually considered for aesthetical reasons only. It has to be said that onthe one hand, an abuse of this kind of effects might be negative for the quality ofthe presentation since they might distract the audience. Moreover, they might bevery inconvenient if the presenter jumps a lot from back to front of the presentationand viceversa.
There is a command for each type of transitions. However,the syntax is thesame in almost all commands:
\transsomething<overlay specification>[options]If the command is added in the end of a frame, then it affects the transition
from that frame to the next. If it is placed in the beginning, then affects the tran-sition from the previous frame to the current. As all the commands listed before,it also admits an overlay specification (i.e. it can be programmed to affect thetransition between slides within a frame). Finally, [options] may include bothduration=〈seconds〉 and direction=〈0,90,180 or 270 〉 which represent, respec-tively, the duration of the transition and the orientation of the effect (in degrees).The list of available commands is the following:
\transblindshorizontal\transblindsvertical\transboxin\transboxout\transdissolve
18
\transglitter\transsplitverticalin\transsplitverticalout\transsplithorizontalin\transsplithorizontalout\transwipe\transduration
8.3 Adding hyperlinks to an appendix
Appendixes represent a very useful part of a presentation. Since the control oftiming is never perfect and the questions of the audience cannot be anticipated, itmight be interesting to introduce addicional information in an appendix, just incase you need it. It is introduced in the usual way, using the \appendix command.
If you anticipate in which part of the presentation should you need the ap-pendix, you can introduce an hyperlink to it9. The specification of the hyperlinkincludes three elements to be introduced: the target frame, the button and thehyperlink command itself. The target frame can be identified easily with the usual\label command (the one used for cross-references). The syntax of the remainingtwo elements (which are specified one inside the other) is the following:
\hyperlink{specified label}{\beamerbutton{button text}}
9 Formatting aspects
The easiest way to format a presentation is using the available themes. There arefive different types of themes:
• Presentation themes: format every single detail of the presentation. Ingeneral, what they simply do is to choose a particular color theme, fonttheme, inner theme, and outer theme that go well together.
• Color themes: establish which colors are used in the presentation.
• Font themes: dictate which fonts are used.
• Inner themes: specify how certain elements of a presentation are typesetwhich include all elements that are at the “inside” of the frame (enumer-
9Hyperlinks can also be used to jump to another frame within the presentation
19

ations, itemize environments, block environments, theorem environments,the table of contents,...)10.
• Outer themes: format the “outside” or “border” of the presentation (whetherthere are head- and footlines, what is shown in them, whether there is a side-bar, where the logo goes, where the navigation symbols and bars go, wherethe frametitle is put and how it is typeset,...).
Of course, advanced users can format each part of the presentation withoutusing themes; see Beamer User Guide for a detailed explanation.
9.1 Presentation themes
Except for two special cases, all presentation themes are named after cities. Adetailed description of each theme can be seen in the Beamer User Guide; hereyou have a list of them:
• Themes without navigation bars: Default, Bergen, Boadilla, Madrid, Pitts-burgh and Rochester
• Themes that display a tree-like navigation bar: Antibes, JuanLesPins andMontpellier
• Themes with a table of contents sidebar: Berkeley, PaloAlto, Goettingen,Marburg and Hannover
• Themes with a mini-frame navigation bar: Berlin, Ilmenau, Dresden, Darm-stadt, Frankfurt, Singapore and Szeged
• Themes with section and subsection tables: Copenhagen, Luebeck, Malmoeand Warsaw
To invoke a presentation theme, the following command should be includedbefore the \begin{document} statement:
\usetheme[〈options〉]{name}Beamer User Guide provides, for each theme, the list of available [〈options〉],which are not the same across themes.
10Inner and outer themes are combined with other themes to obtain the final result. Forexample, an inner theme might specify that in an enumeration the number should be typesetwithout a dot and that a small circle should be shown behind it. The inner theme would notspecify what color should be used for the number or the circle (this is the job of the color theme)nor which font should be used (this is the job of the font theme).
20
9.2 Color themes
Since specifying colors for each element of the presentation is not simple, colorthemes provide an easy way to establish the color scheme for the whole presenta-tion. Moreover, in general, colors are chosen to be coherent among them. If theyare used to modify the color of a presentation theme or of another color theme,they have to be invoked, obviously, after the modified theme being specified.
In this document, we introduce three of the five types of available color themes:
• Complete color themes: completely specify all colors for all parts of aframe. They are named after flying animals: albatross, beetle, crane, dove,fly, seagull, wolverine and beaver.
• Inner color themes: only specify the colors of elements used in innerthemes. Inner color themes happen to have flower names: lily, orchid androse.
• Outer color themes: only specify the colors of elements used in outerthemes. Outer color themes have sea-animal names: whale, seahorse anddolphin.
To load a color theme, the following command should be specified before the\begin{document} statement (and, if any, after the theme whose colors have tobe modified):
\usecolortheme[〈options〉]{name}Beamer User Guide provides, for each theme, the list of available [〈options〉],which are not the same across themes.
9.3 Font themes
Font themes allow to change certain font attributes. The list of available fontthemes is the following: default, professionalfonts, serif, structurebold, structure-italicserif and structuresmallcapsserif. All but the two first themes allow someoptions that are described in the Beamer User Guide. The syntax of the themeis the following:
\usefonttheme[〈options〉]{name}and, again, it has to be specified before the \begin{document} statement.
21
9.4 Inner themes
An inner theme formats the following elements: title and part pages, itemizeenvironments, enumerate environments, description environments, block environ-ments, theorem and proof environments, figures and tables, footnotes and bibli-ography entries. The list of available inner themes and its syntax is the following:
\useinnertheme{default}
\useinnertheme{circles}
\useinnertheme{rectangles}
\useinnertheme[shadow]{rounded}
\useinnertheme{inmargin}
9.5 Outer themes
An outer theme dictates (roughly) the overall layout of frames. It specifies whetherhead- and footlines, sidebars and the logo have to be used and what they haveto look like. The list of available themes are: default, infolines, miniframes,smoothbars, sidebar, split, shadow, tree and smoothtree. Some of them allow for[〈options〉] that are described in Beamer User Guide. These themes use thefollowing syntax:
\useoutertheme[〈options〉]{name}
10 Remarks for SWP users
In this last section, we make some remarks for SWP users (they roughly apply toLyX users):
• To create a Beamer document, choose File\New\Other Documents\Slides-Beamer
• To specify document class options go to Typeset\Options and Packages\ClassOptions
• Everything that should be included before the \begin{document} (say, forinstance, \usetheme statements) has to be introduced inside Typeset\FrontMatter.
22

• To introduce LATEX commands in SWP use the path Insert\Typeset Object\TeXField (should you need them to introduce \begin{frame} and \end{frame}
statements, to set transitions, hyperlinks, \onslide<x>,...)
23
Related Documents