HOW TO BUILD A SHED? 4. HOW TO BUILD SHED ROOF RAFTERS

4. How to build shed roof rafters
Nov 15, 2014
Step by step instruction on how to build a shed. This presentation shows you how to build shed roof rafters.
Welcome message from author
This document is posted to help you gain knowledge. Please leave a comment to let me know what you think about it! Share it to your friends and learn new things together.
Transcript

HOW TO BUILD A SHED?
4. HOW TO BUILD SHED ROOF RAFTERS
Step 1: Mark and cut the first rafter ends
The first step in building the roof rafters is to cut one rafter board to length with the ends angled properly and then to mark and cut the birds mouth and seat on the rafter.

Step 1 (Cont’d)
1. The ridge end of the rafter, and often the eve end, will need to be cut to the angle of the roof slope. The roof on this shed is a 4 in 12 slope which makes it a 18 and one half degree angle on the board ends. A rafter or speed square will have marks for both of these angles.

Step 1 (Cont’d)
2. Measure from the eve end of the rafter board to the long point that will be the ridge of the rafter and place a mark on the board, this is the overall length of the rafter.

Step 1 (Cont’d)
3. Use the square to make a square line on the board that goes from edge to edge of the board.
Step 1 (Cont’d)
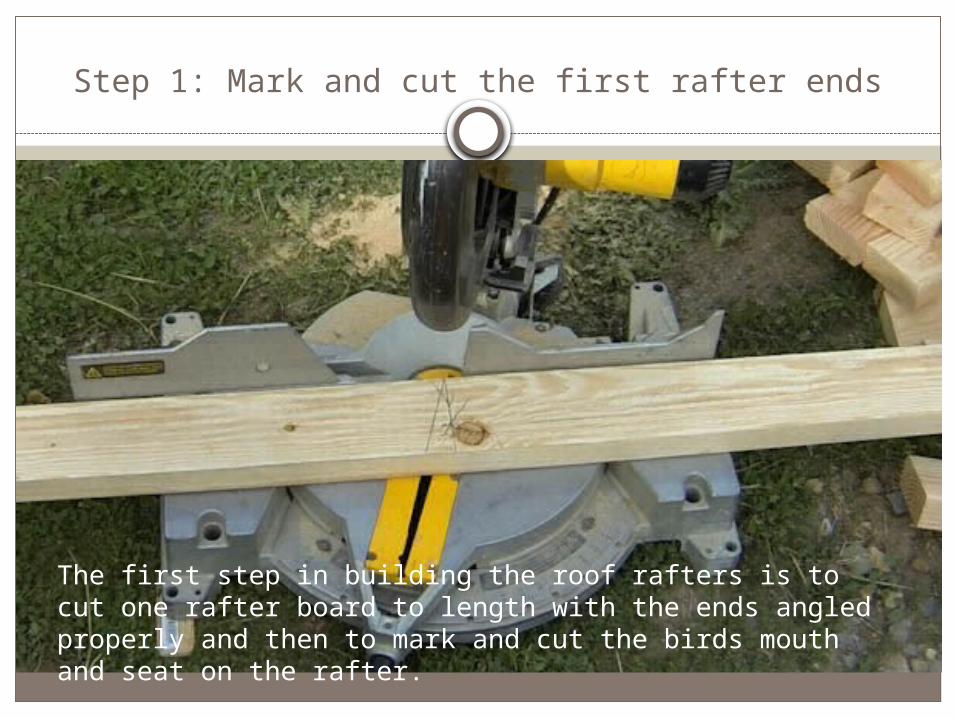
4. Now take the square and put the pivot point, on the point where the line you made meets the edge of the board. Pivot the square until the 4 on the Common markings lines up with the edge of the board. Mark the board with this angle. You will also notice that the 18 and one half mark on the Protractor markings will be lined up with the edge of the board.

Step 1 (Cont’d)
5. Use a saw to cut along this line. Make sure to cut on the “waste” side of the line so the rafter size will be as accurate as possible.
Step 1 (Cont’d)
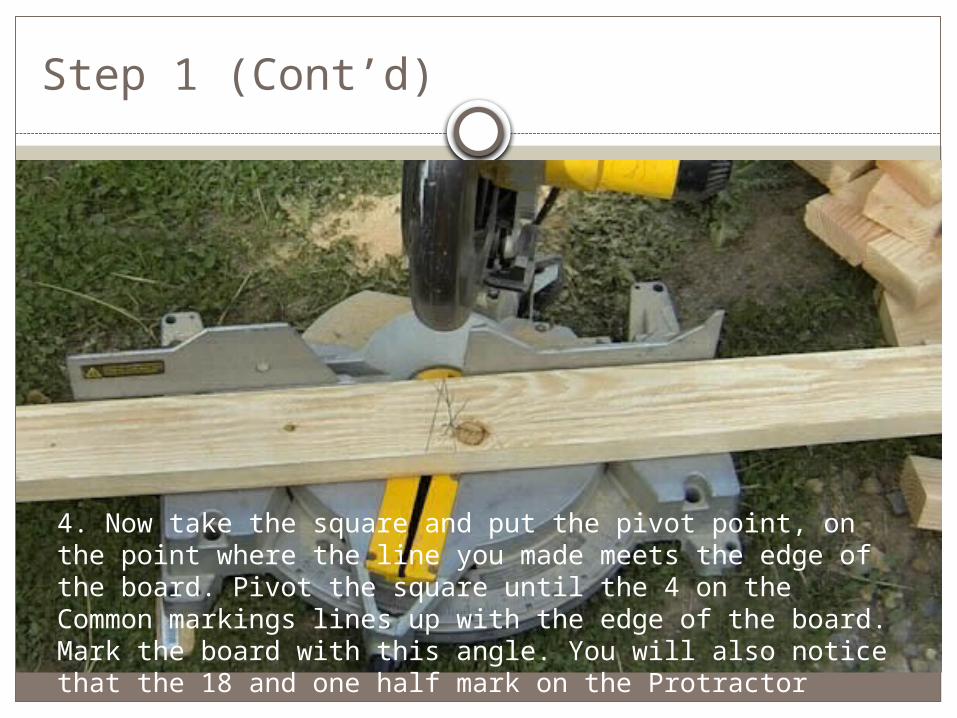
6. If you have a chop saw you can set the angle of your ridge cut on the saw and make the cuts without using the angle from the framing or speed square.
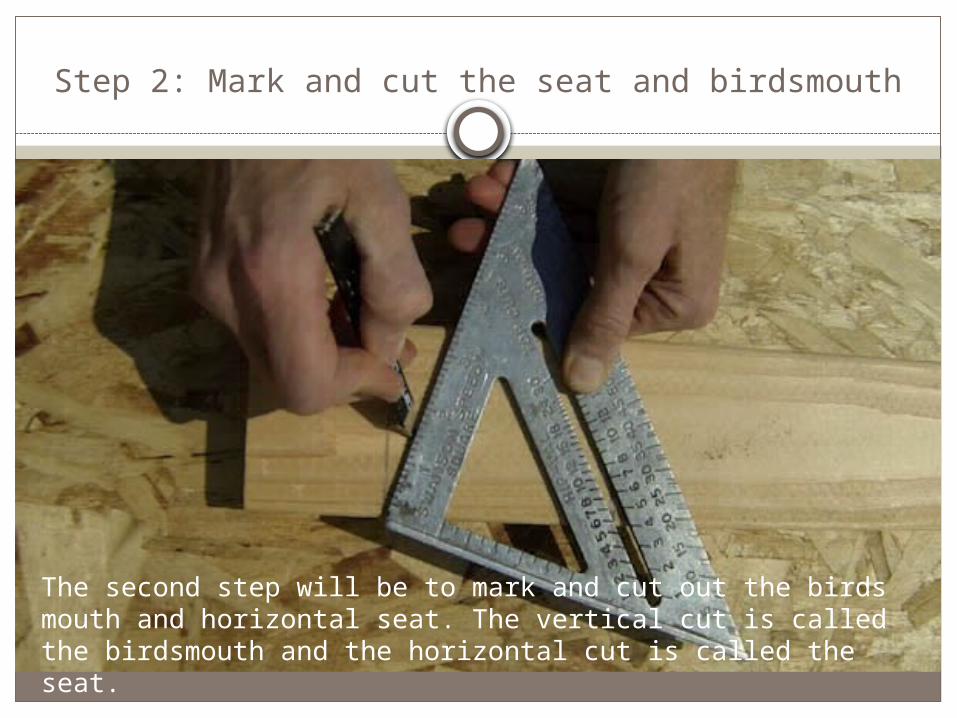
Step 2: Mark and cut the seat and birdsmouth
The second step will be to mark and cut out the birds mouth and horizontal seat. The vertical cut is called the birdsmouth and the horizontal cut is called the seat.

Step 2 (Cont’d)
1. Refer to your plans to find the dimensions for the roof angle you are cutting. Measure from the eve end of the rafter to the start of the vertical birdsmouth and place a mark. Then measure further down the board to mark the end of the horizontal seat mark.
Step 2 (Cont’d)
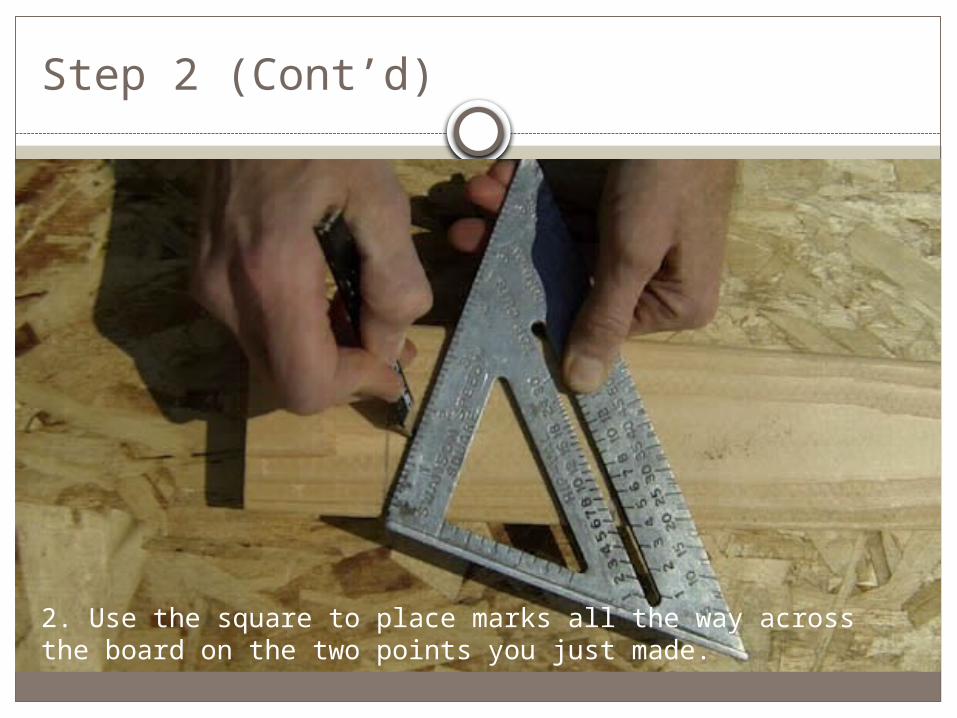
2. Use the square to place marks all the way across the board on the two points you just made.
Step 2 (Cont’d)
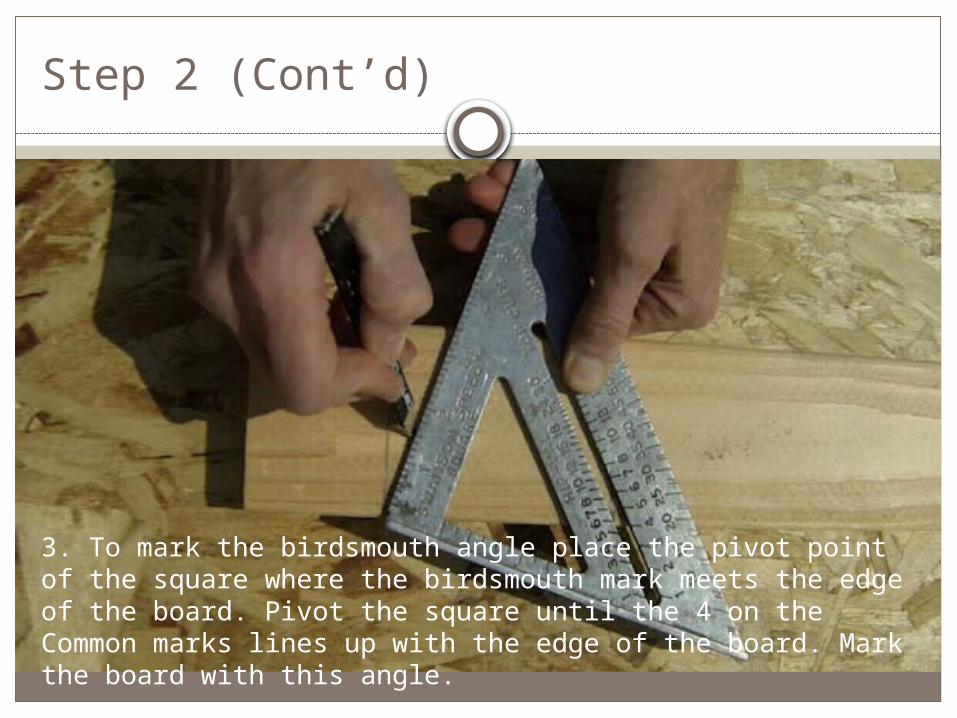
3. To mark the birdsmouth angle place the pivot point of the square where the birdsmouth mark meets the edge of the board. Pivot the square until the 4 on the Common marks lines up with the edge of the board. Mark the board with this angle.
Step 2 (Cont’d)
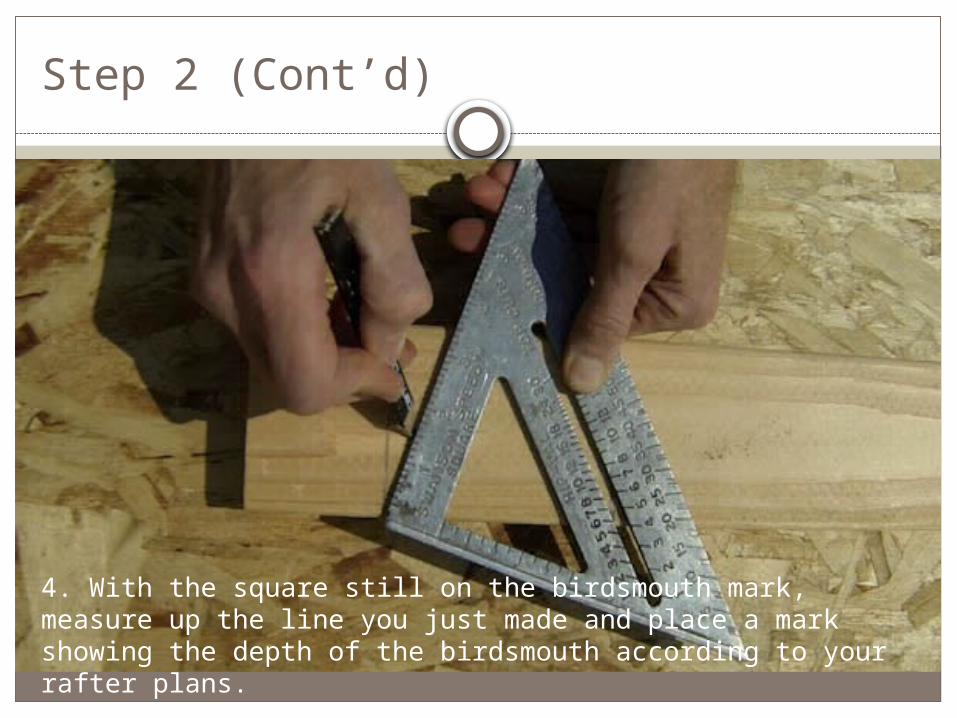
4. With the square still on the birdsmouth mark, measure up the line you just made and place a mark showing the depth of the birdsmouth according to your rafter plans.
Step 2 (Cont’d)
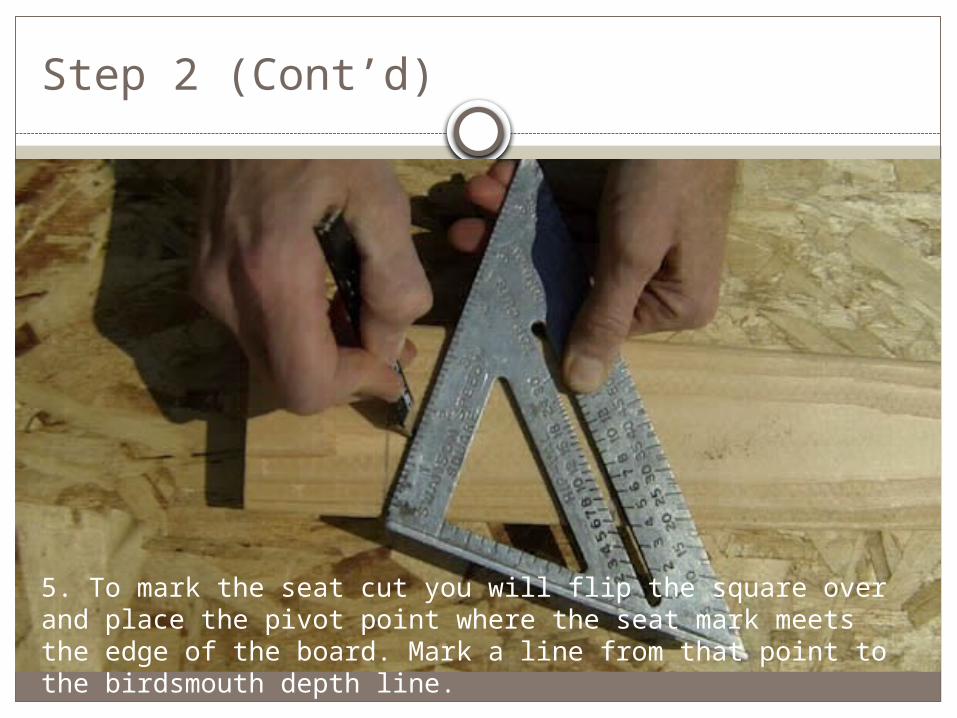
5. To mark the seat cut you will flip the square over and place the pivot point where the seat mark meets the edge of the board. Mark a line from that point to the birdsmouth depth line.

Step 2 (Cont’d)
6. Set your circular saw to its deepest cut setting and cut along the birdsmouth and seat lines. Make sure to cut on the waste side of the lines and cut only to where the lines intersect.

Step 2 (Cont’d)
7. To fully remove the piece of wood you will need to flip the rafter over and continue the cuts to their intersection point.

Step 2 (Cont’d)
8. The piece of wood should be easily removable at this point but there will still be a bit of wood in the corner that will need to be taken out.

Step 2 (Cont’d)
9. Use a wood chisel and hammer to remove the remaining wood.

Step 3: Make a set of rafters from the first rafter
The third step is to use the first rafter as a template to make two more rafters. Place the first rafter on second and third boards and trace the birds mouth, seat and ridge angles onto the second board.

Step 3 (Cont’d)
Cut the second and third rafters out and prepare them as you did the first rafter.

Step 4: Make the rafter jig
The fourth step is to build a temporary jig on the shed floor to aid in building the rafter assemblies.

Step 4 (Cont’d)
Using one end of the shed floor that is the same width as the rafter assemblies, make a line on the exact center of the floor. Then measure up from the edge of the shed floor and mark the overall height of the rafter assembly. This measurement can be found on the rafter plans.

Step 4 (Cont’d)
Test fit the rafters by setting the rafter seats on the edge of the shed floor and placing the peak of the rafter on the overall height mark on the center line. The rafter ridges should be fully touching each other along the cuts at the ridge and the seats should be flush with the edge of the shed floor along the entire cuts. Each rafter should be overhanging the edge of the shed floor by one half of an inch.
Step 4 (Cont’d)
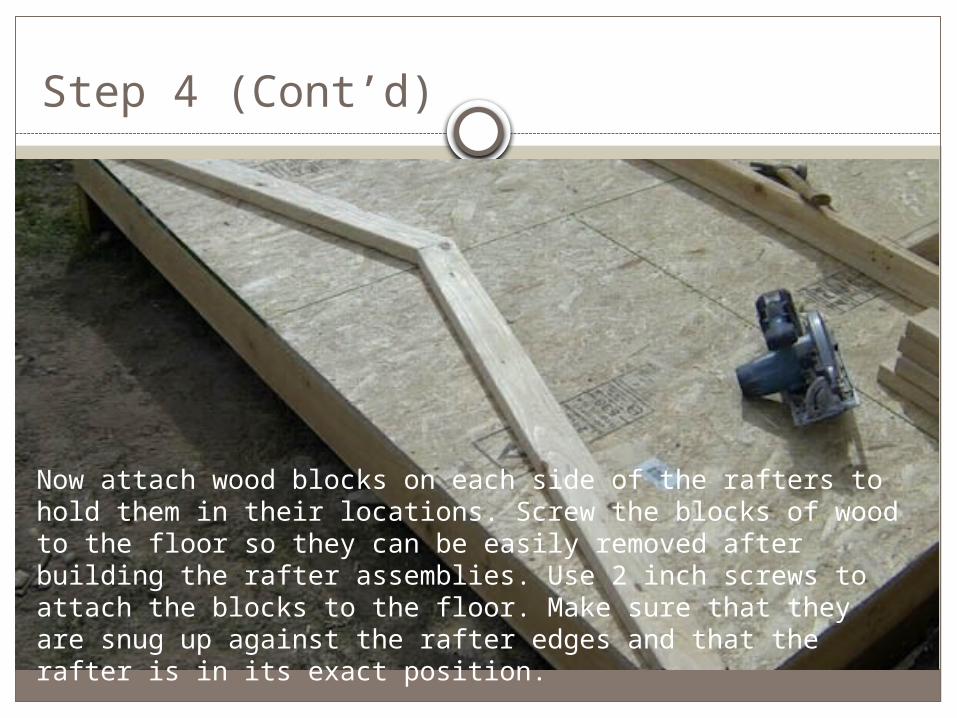
Now attach wood blocks on each side of the rafters to hold them in their locations. Screw the blocks of wood to the floor so they can be easily removed after building the rafter assemblies. Use 2 inch screws to attach the blocks to the floor. Make sure that they are snug up against the rafter edges and that the rafter is in its exact position.
Step 5: Install the gusset on the first drafter
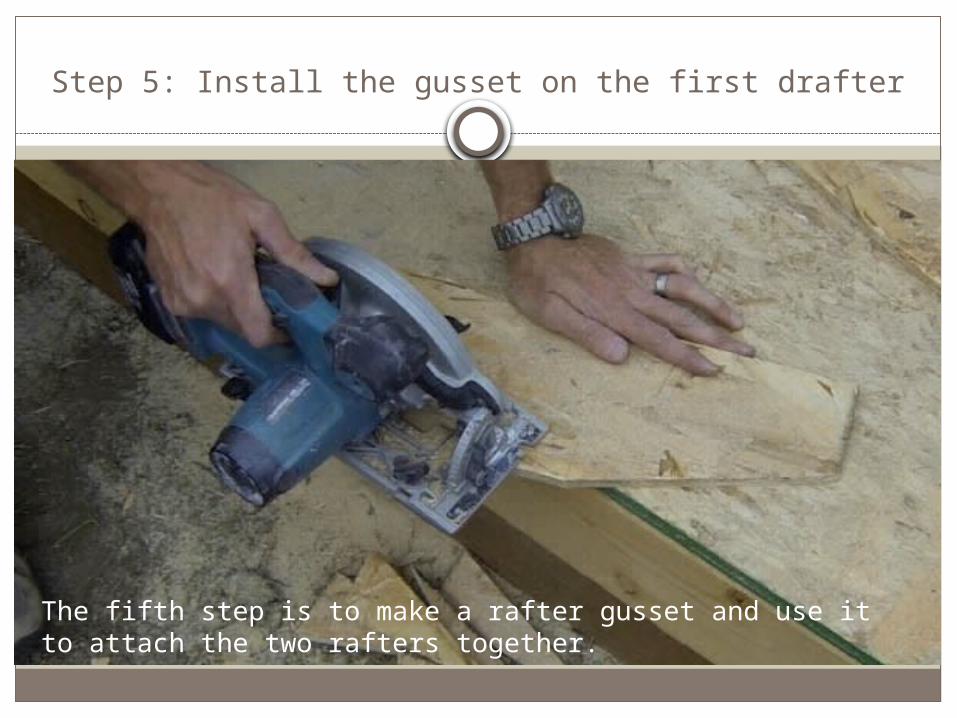
The fifth step is to make a rafter gusset and use it to attach the two rafters together.

Step 5 (Cont’d)
Use your shed plans to find the dimensions of the gusset and then mark and cut it out from a piece of O.S.B. or plywood.
Step 5 (Cont’d)
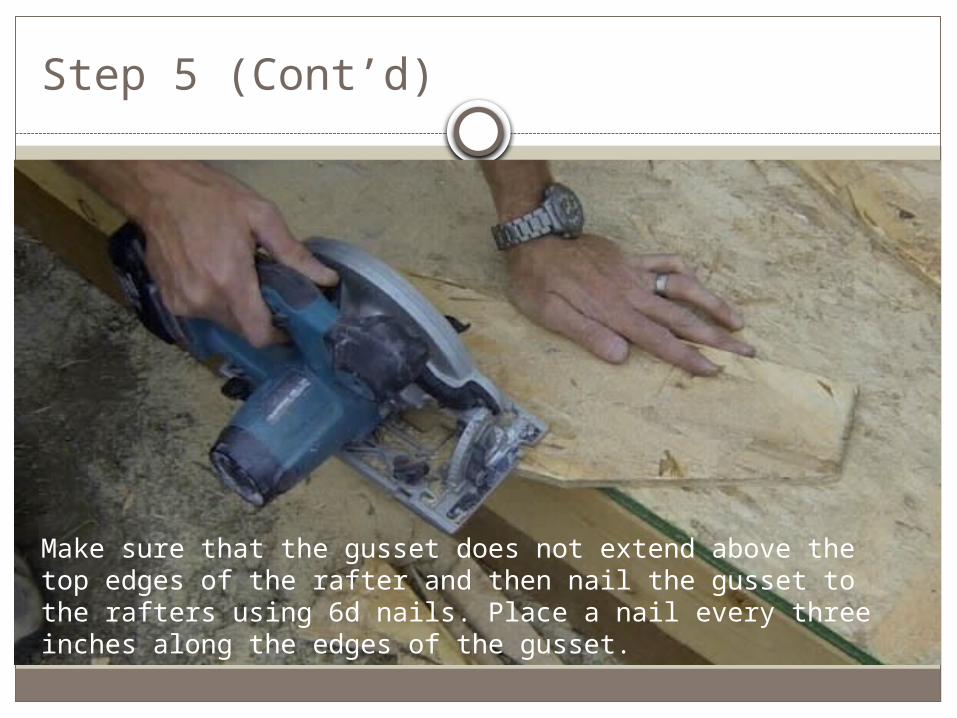
Make sure that the gusset does not extend above the top edges of the rafter and then nail the gusset to the rafters using 6d nails. Place a nail every three inches along the edges of the gusset.
Step 5 (Cont’d)
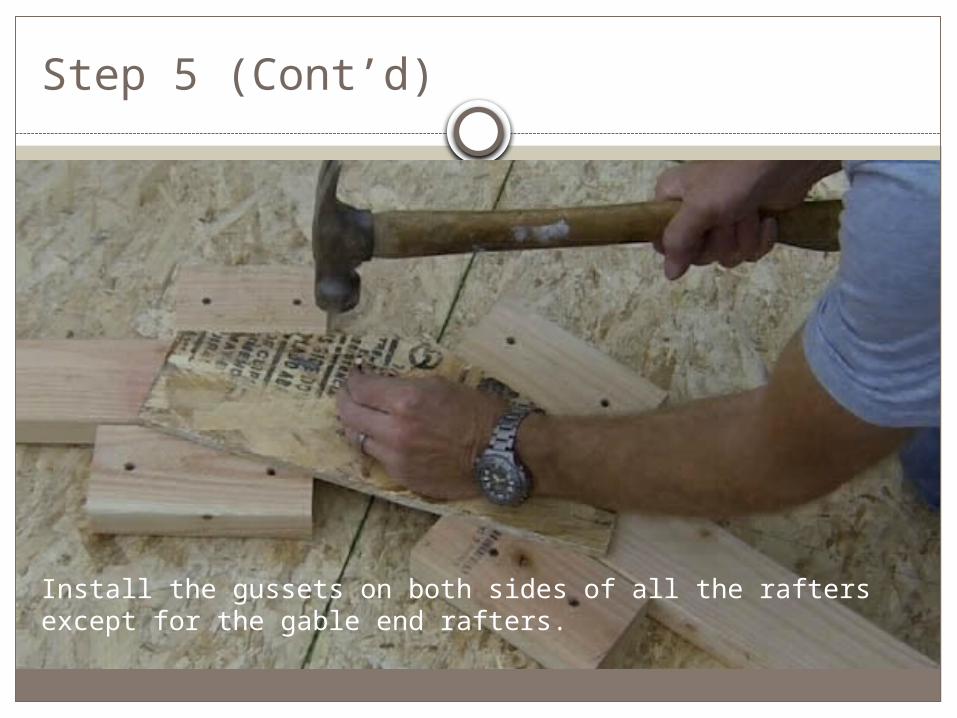
Install the gussets on both sides of all the rafters except for the gable end rafters.
Step 5 (Cont’d)
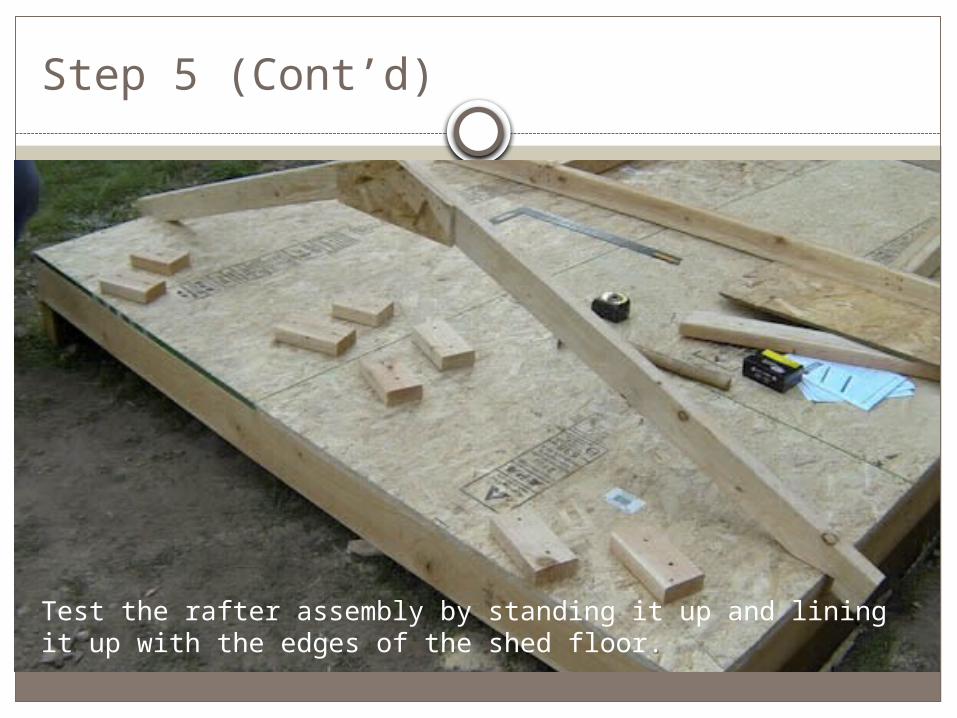
Test the rafter assembly by standing it up and lining it up with the edges of the shed floor.
Step 5 (Cont’d)
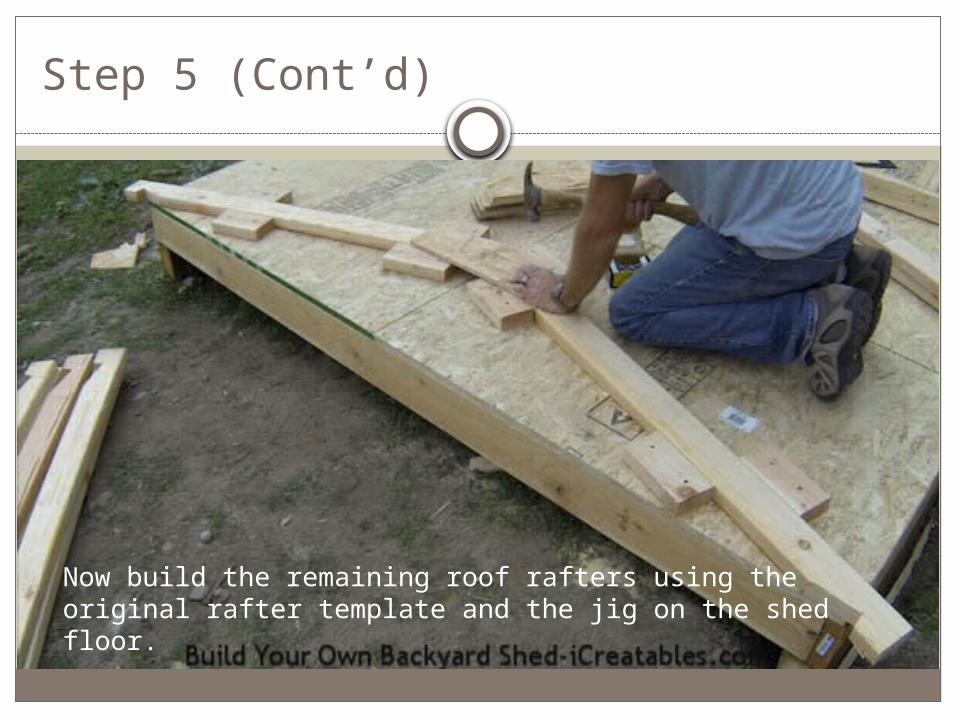
Now build the remaining roof rafters using the original rafter template and the jig on the shed floor.

NEXT STEP: HOW TO BUILD THE SHED WALLS
Continue learning about shed building through other presentations.
Related Documents