1 Installation Manual GDP TORKER 6.7L Injector Nozzles P/N TORKER-67 (050/075/100/125/150) 2007.5-2011 DODGE CUMMINS Installation Instructions P/N TORKER-67 (050/075/100/125/150) PLEASE READ ALL INSTRUCTIONS BEFORE BEGINNING INSTALLATION

Welcome message from author
This document is posted to help you gain knowledge. Please leave a comment to let me know what you think about it! Share it to your friends and learn new things together.
Transcript

1
Installation Manual GDP TORKER 6.7L Injector Nozzles P/N TORKER-67 (050/075/100/125/150)
2007.5-2011 DODGE CUMMINS
Installation Instructions
P/N TORKER-67 (050/075/100/125/150)
PLEASE READ ALL INSTRUCTIONS BEFORE BEGINNING INSTALLATION

2
WARNING!!! When removing the injectors from the truck you must label which cylinder each injector came from. You must put each injector back in the same hole
it came from or the truck will not run!
2. Underneath the nozzle, there is a very small puck shaped piece of metal. When removing the nozzle, EXTREME care must be taken to keep from losing the puck. It may stick to the nozzle as you lift the nozzle off of the injector body. When reinstalling the nozzle you must make sure to put the puck back in the recess it’s designed to fit into and make sure it lays flat. The installation of high flow injectors will raise exhaust gas temperatures. Supporting equipment MUST be installed for the safety of the engine. Do not install high flow injectors without an EGT gauge. We do not condone the installation of this product without gauges and supporting modifications! Glacier Diesel Power, Inc. accepts no liability for damages that may arise from the installation of this product. If you have any doubts regarding the installation of this product please return the nozzle set to Glacier Diesel Power, Inc. for a full refund minus freight charges. By making this modification you release Glacier Diesel Power, Inc. from all liability and/or damages.
Safety Guidelines!
WARNING! Always secure the vehicle from rolling. WARNING! Always disconnect vehicle batteries before working on electrical components. WARNING! Always wear safety glasses when operating power tools such as drills and grinders or using punches and chisels. WARNING! Always properly secure fuel lines and wiring to prevent chaffing. WARNING! Always have a fire extinguisher available when working with fuel systems.
WORK SAFELY!

3
6.7L TORKER Nozzle Set Parts List
Qty Item Description
6 GDP TORKER 6.7L Injector Nozzles 6 Copper Injector Washers 1 Stainless Injector Holding Tool 1 Intake Manifold Gasket
Please check your parts inventory against the above parts list
before beginning your installation.

4
6.7L TORKER Injector Nozzle Installation FUEL INJECTOR ID CORRECTION CODES:
The below information applies only to complete injector replacement and not to injector nozzle installation. When installing nozzles remove only one injector at a time to ensure that injectors are placed back into the same cylinder.
Each fuel injector has a six-digit alphanumeric correction code. The correction code is printed on the intake side of the fuel injector (1) and is used to identify injector calibration. When replacing any complete fuel injector assembly, this code must be entered into the vehicles Engine Control Module (ECM) using a diagnostic scan tool. In addition, if a new ECM is installed, use a diagnostic scan tool to program all six of the injector codes from the original fuel injectors into the new ECM.
NOTE: If the fuel injectors are being removed such as for engine teardown or diagnostic purposes, be sure to mark each injector with its corresponding cylinder number. The fuel injectors MUST be reinstalled into the original (same) cylinder due to the fuel injector correction code. Do not install a new fuel injector unless the alphanumeric codes have been recorded.

5
1) Prepare your work station. Get the area VERY clean! We recommend using a large white cloth to minimize the chance of losing the very small parts that are located in the injector. The list of tools needed are an 8MM and 10MM 1/4" drive sockets, 15MM, 19MM and 24MM wrenches, and a 24MM socket and ratchet. We recommend using a 1/4" ratchet whenever working with the small injector harness bolts.
2) Remove the battery cables.
3) Remove top of valve cover using an
8MM socket. Top of valve cover and CCV filter removed.
4) Remove 6 10mm valve cover retaining
bolts and remove valve cover. Valve cover removed.
5) Using an 8MM socket remove all 12 fuel
injector wiring harness nuts. Note the wire colors and their position. The nut will stay on the wire due to the crimps. These are not tight. Be very gentle with them. Remove the integrated injector harness assembly. Before removing, disconnect the two injector wiring harness connectors on the driver’s side.

6
6) Using a 10 MM socket, remove the
exhaust rocker arm. 7) There are 2 parts, the rocker assembly
and the bridge. Do not drop the bridge. The rocker shaft will not come out of the rocker arm as long as the bolt is left in place.
8) Use a 10MM socket and remove the 6
intake manifold bolts. At this time we recommend removing all injector lines for ease of installation in later steps. Use a 19MM wrench and remove the injector lines.

7
9) Using a 24MM wrench, remove the fuel
connector tube that is inside the head under the fuel supply line. Connector tube is shown on the right. Simply pull to release.
8) Using an 8MM socket, remove the 2
bolts holding down the injector clamp.
9) Remove the injector by gently rocking
back and forth while pulling up. Due to carbon buildup injector may be stuck. If necessary, carefully pop the injector out using a pry bar. Make sure that the copper sealing washer comes out with the injector. If not, make absolutely sure that you remove it from the injector hole.

8
CAUTION: DO NOT unscrew the top electrical portion of the injector. You will not be able to reassemble it and will render the injector useless. 10) NOTE: Injector and hold down can only
be placed together one way, note the pin in the injector. The injector clamp can only be placed into the head one way. This makes installation very easy, just pay attention to the square and round shoulders of the injector hold down.
11) Place the injector in the holding tool as
shown.
12) Using a 15 MM wrench loosen the
injector tip retaining nut. These are torque to 50 ft/lbs and may require some force to break loose.

9
13) Unscrew the injector tip retaining nut only when you are working over a clean work surface. This photo shows the collar removed and the injector tip resting on the injector body. This is where the possibility of losing small parts becomes critical!!!
14) There are two alignment pins located in
the injector face. If these fall out just place them back into the injector.
Note: There are similar but different sizes of holes in the injector face so pay attention.
15) Stock injector tip, collar, and the very
small "puck" (shown center) that is placed inside the injector tip collar.
NOTE: We cannot stress strongly enough the importance of NOT losing this small puck. Replacements are not available and, if lost, you will need to replace the entire injector assembly. DO NOT, under any circumstances, install an injector without this puck in place. You will experience a run-away condition and engine damage will occur.

10
16) With the injector in the holder, reinstall
the collar and puck as shown. Puck must be flat before the new TORKER nozzle is installed. It does not matter what side of the puck is facing up as long as it’s laying flat. The collar will only go into the injector one way..
17) After the collar and "puck" have been
installed place the tip back onto the injector. Screw the injector tip retaining collar back on. Torque the retaining nut/collar to 50 ft. lbs.
18) Note the groove in the rocker seat next
to the injector hole. This is where the round end of the injector clamp will go. Remember, the injector can only go into the clamp one way. Install injector into the port with a new copper washer. We recommend using heavy grease to hold the copper washer onto the nozzle during installation.
Pay attention to the round and square collar ends on the injector clamp. The round side goes next to the rocker seat. Insert the injector and clamp into the port. Place a rag over the top of the injector and use some pressure to "pop" the injector down into its seat. You will hear and feel a "click" when it seats.
11
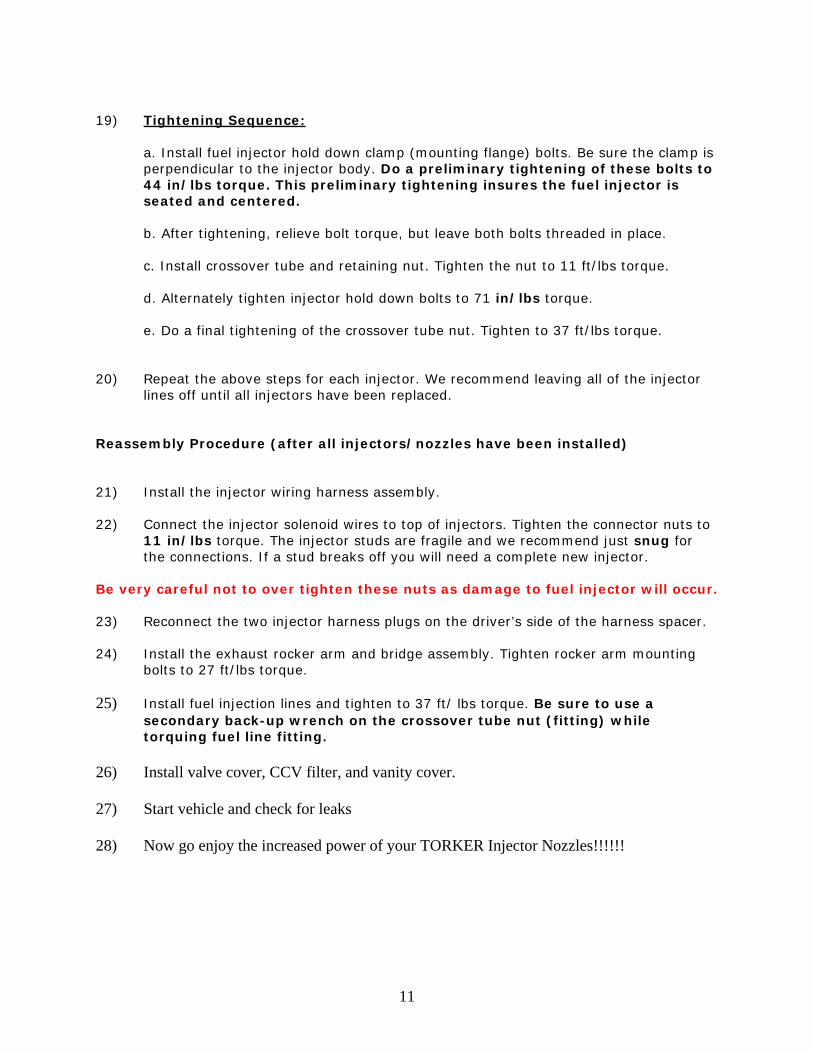
19) Tightening Sequence:
a. Install fuel injector hold down clamp (mounting flange) bolts. Be sure the clamp is perpendicular to the injector body. Do a preliminary tightening of these bolts to 44 in/lbs torque. This preliminary tightening insures the fuel injector is seated and centered.
b. After tightening, relieve bolt torque, but leave both bolts threaded in place.
c. Install crossover tube and retaining nut. Tighten the nut to 11 ft/lbs torque.
d. Alternately tighten injector hold down bolts to 71 in/lbs torque.
e. Do a final tightening of the crossover tube nut. Tighten to 37 ft/lbs torque.
20) Repeat the above steps for each injector. We recommend leaving all of the injector lines off until all injectors have been replaced.
Reassembly Procedure (after all injectors/nozzles have been installed) 21) Install the injector wiring harness assembly. 22) Connect the injector solenoid wires to top of injectors. Tighten the connector nuts to
11 in/lbs torque. The injector studs are fragile and we recommend just snug for the connections. If a stud breaks off you will need a complete new injector.
Be very careful not to over tighten these nuts as damage to fuel injector will occur. 23) Reconnect the two injector harness plugs on the driver’s side of the harness spacer. 24) Install the exhaust rocker arm and bridge assembly. Tighten rocker arm mounting
bolts to 27 ft/lbs torque. 25) Install fuel injection lines and tighten to 37 ft/ lbs torque. Be sure to use a
secondary back-up wrench on the crossover tube nut (fitting) while torquing fuel line fitting.
26) Install valve cover, CCV filter, and vanity cover. 27) Start vehicle and check for leaks 28) Now go enjoy the increased power of your TORKER Injector Nozzles!!!!!!

12
GLACIER DIESEL POWER DISCLAIMER OF LIABILITY
Other than as expressly set forth herein, Glacier Diesel Power (hereafter collectively, "SELLER") shall in no way be responsible for the PRODUCT’S proper use and service. In no event shall SELLER be liable for any special, incidental, indirect or consequential damages of any kind or nature, whether or not BUYER was advised of the possibility of damage, arising or resulting from the use or performance of the PRODUCT, and BUYER hereby waives any and all such claims. BUYER acknowledges that he/she/it is not relying on SELLER’S skill or judgment to select or furnish goods suitable for any particular purpose and that SELLER has no liability that will extend beyond the scope of the limited warranty contained herein, and BUYER hereby waives all remedies or liabilities, expressed or implied, arising by operation of law or otherwise, (including, without limitation, any obligations of SELLER with respect to fitness for any particular purpose; merchantability; and special, incidental, indirect or consequential damages) or whether or not occasioned by SELLER'S negligence. SELLER disclaims any warranty and expressly disclaims any liability for personal injury or damages related to BUYER’S use of the PRODUCT. BUYER acknowledges and agrees that the disclaimer of any liability for personal injury is a material term for this agreement and BUYER agrees to indemnify SELLER and hold SELLER harmless from any claim related to the PRODUCT and its use or performance. Under no circumstances will SELLER be liable for any damages, liabilities, costs or expenses incurred as a result of or by reason of the use, performance or sale of the PRODUCT, including, without limitation, any damages, liabilities, costs or expenses incurred by reason of BUYER’S negligence related to those uses of the PRODUCT. SELLER assumes no liability regarding the improper installation or misapplication of the PRODUCT. It is the installer's responsibility to check for proper installation, and, if in doubt, contact the manufacturer.
LIMITATION OF WARRANTY
SELLER hereby provides the following limited warranty as to description, quality, merchantability, fitness for any product’s purpose, productiveness, or any other matter of SELLER'S product sold herewith. The SELLER shall be in no way responsible for the product’s open use and service and the BUYER hereby waives all rights other than those expressly written herein. This Warranty shall not be extended or varied except by a written instrument signed by SELLER and BUYER. The Warranty is Limited to ninety (30) days from the date of sale and limited solely to the parts contained within the product's kit. All products that are in question of Warranty must be returned shipping prepaid to the SELLER and must be accompanied by a dated proof of purchase receipt. All Warranty claims are subject to approval by Glacier Diesel Power. Under no circumstances shall the SELLER be liable for any labor charged or travel time incurred in diagnosis for defects, removal, or reinstallation of this product, or any other contingent expenses. Under no circumstances will the SELLER be liable for any damage or expenses insured by reason of the use or sale of any such equipment. IN THE EVENT THAT THE BUYER DOES NOT AGREE WITH THIS AGREEMENT: THE BUYER MAY PROMPTLY RETURN THIS PRODUCT, IN A NEW AND UNUSED CONDITION, WITH A DATED PROOF OF PURCHASE, TO THE PLACE OF PURCHASE WITHIN THIRTY (30) DAYS FROM DATE OF PURCHASE FOR A FULL REFUND. THE INSTALLATION OF THIS PRODUCT INDICATES THAT THE BUYER HAS READ AND UNDERSTANDS THIS AGREEMENT AND ACCEPTS ITS TERMS AND CONDITIONS.
Related Documents


![2007.5 FUJITSU LIMITED Product Guide...FUJITSU SEMICONDUCTOR circuit examples, in this document are presented solely for the [Microcomputer] PRODUCT GUIDE 2007.5 ©2007 FUJITSU LIMITED](https://static.cupdf.com/doc/110x72/5e4b3af7c22c8804e260d1a6/20075-fujitsu-limited-product-guide-fujitsu-semiconductor-circuit-examples.jpg)