The Ceramic Process

2 the ceramic process
Jul 21, 2015
Welcome message from author
This document is posted to help you gain knowledge. Please leave a comment to let me know what you think about it! Share it to your friends and learn new things together.
Transcript

The Ceramic Process

1. Raw Clay & idea/assignment•Your rubric/assignment will be given out at this point and the
working process begins.
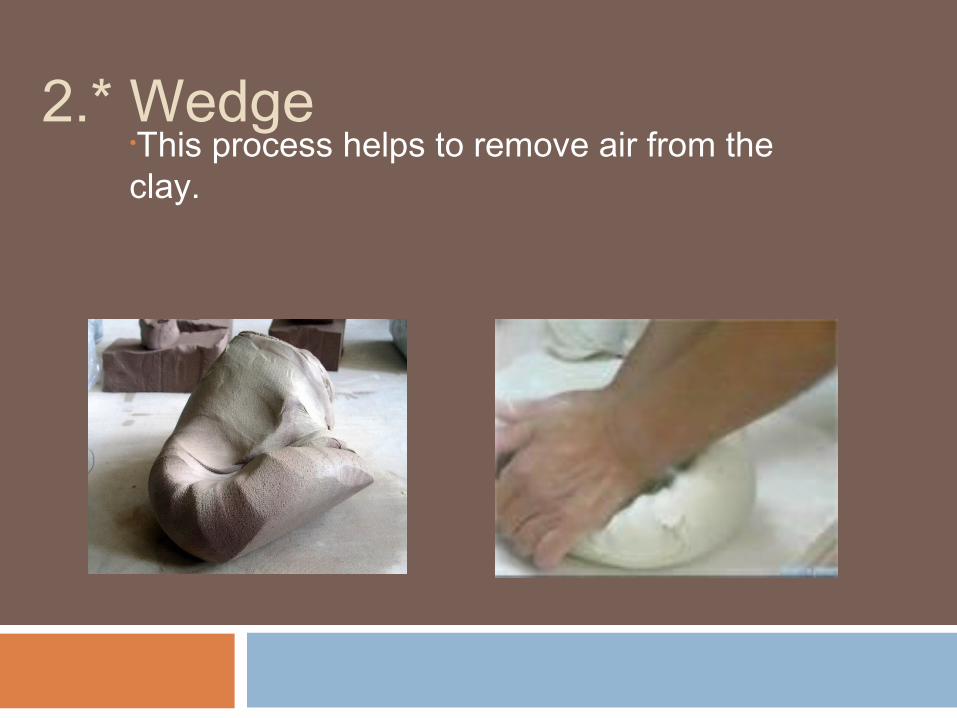
2.* Wedge•This process helps to remove air from the clay.

3. Manipulate Clay There are 2 Rules of CLAY to keep in mind when you are manipulating your clay. 1. Clay or the walls of your piece should be no thicker then your thumb.2. Hollow forms MUST HAVE AN AIR HOLE! No sealed forms.
You have two different options for building or manipulating your clay…

Hand Building•Mold•Slab•Pinch•Coil•Sculpture
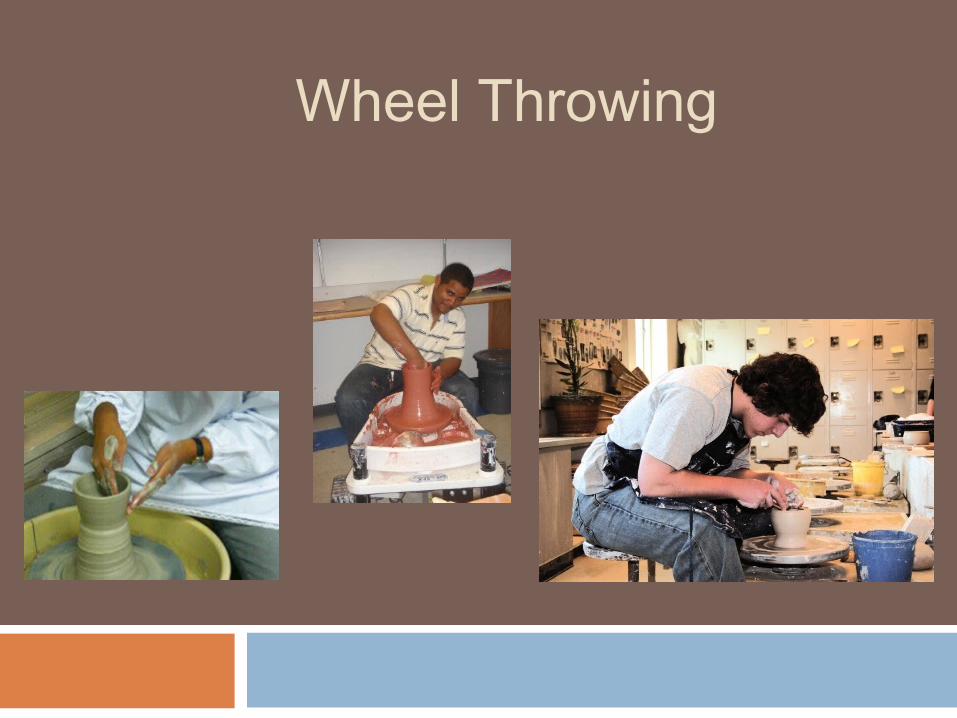
Wheel Throwing

4. Clay Will Get Short•The clay will begin to dry and crack easily. •One spray of water will help combat this. •If you want to continue to work on your project you must cover up your piece in a plastic bag with no air holes.

5. Leather Hard•Leather hard is a condition of clay. •It is more dry than short clay. It can not bend without breaking. •Leather hard clay can be carved or joined.•Wait to join clay until it is leather hard or it will be too squishy.

The 4 S Method
Leather Hard clay is the ideal condition for joining two clay bodies.
In order to join two bodies of clay you must use the 4 Ss Score : Cutting small cuts into the clay. Slip: A mixture of clay and water used as glue. Squish: Pressing together firmly but gently. Smooth: Smoothing together the seam

6*. Recycle Excess Clay
•Soak (put water in your Ziploc Freezer bag and soak your clay)•Wedge
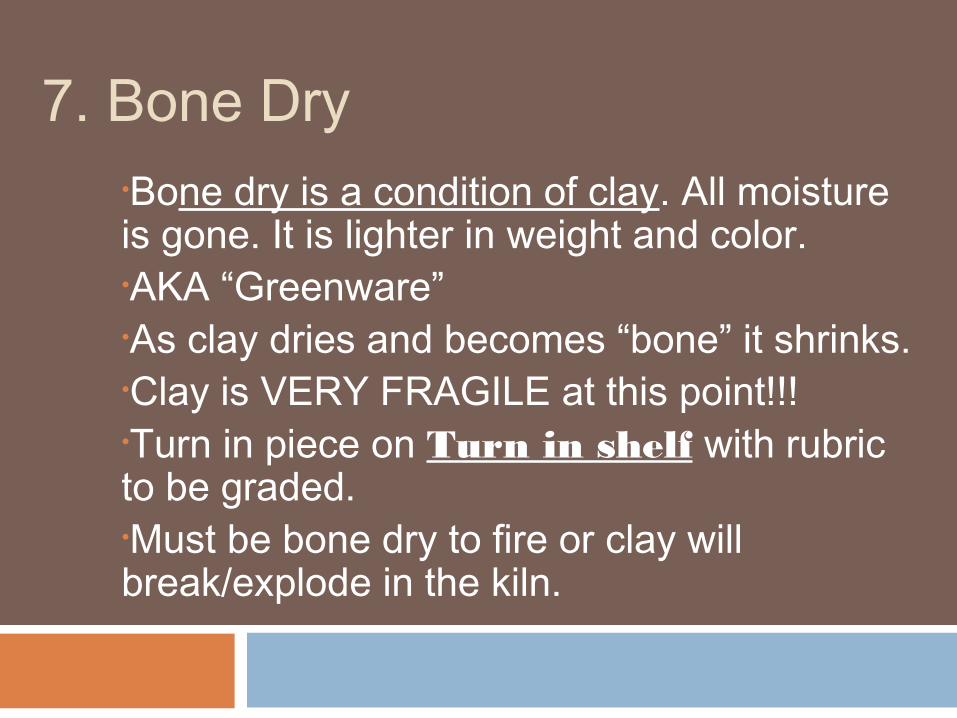
7. Bone Dry •Bone dry is a condition of clay. All moisture is gone. It is lighter in weight and color. •AKA “Greenware”•As clay dries and becomes “bone” it shrinks. •Clay is VERY FRAGILE at this point!!!•Turn in piece on Turn in shelf with rubric to be graded.•Must be bone dry to fire or clay will break/explode in the kiln.

8. Bisque Fire•This is the first “firing” of the clay. •Firing is the heating of clay or glaze to a specific temperature in a kiln.
•Load pieces in the kiln.•Clay must be bone dry.•Pieces can touch in the kiln.•Pieces will not stick together.•Clay will shrink again.

9. Clay is now called Bisque or Bisque ware.
*Bisque is a condition of clay.
Bisque is unglazed , fired, clayware
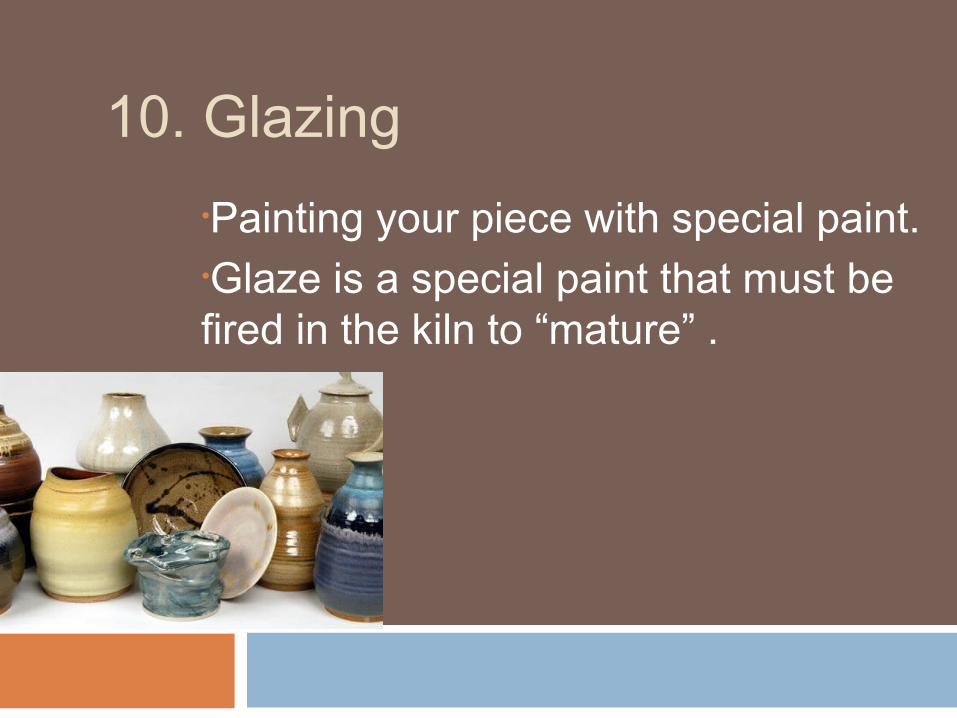
10. Glazing•Painting your piece with special paint.•Glaze is a special paint that must be fired in the kiln to “mature” .

11. 2nd Firing the “Glaze Fire•Glazed pieces cannot touch each other in the kiln or they will stick together!
•Your piece is now Glazed!
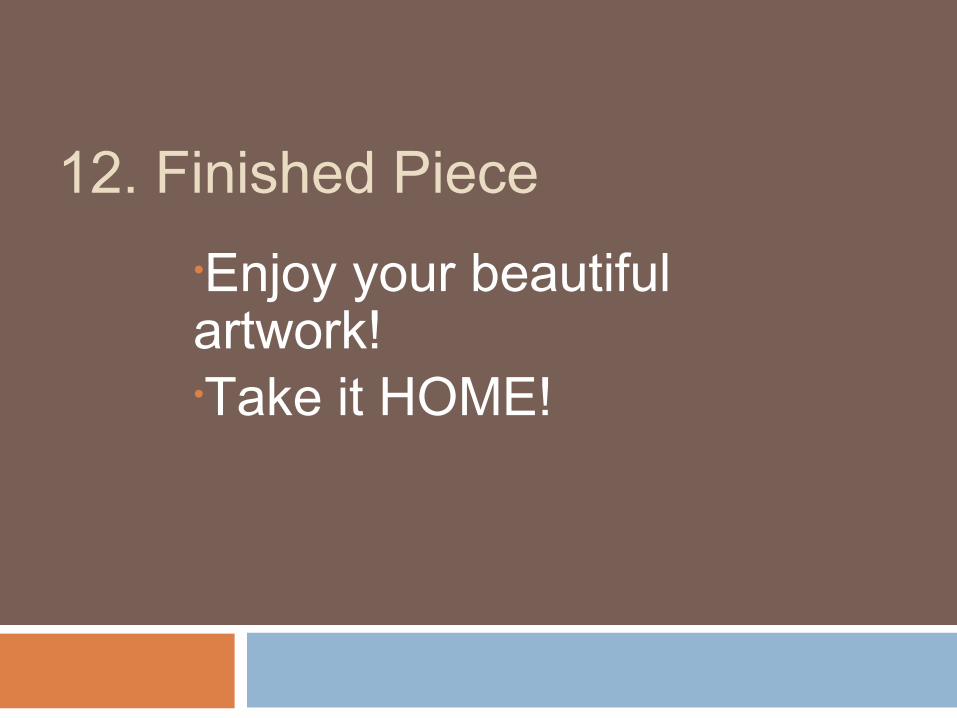
12. Finished Piece•Enjoy your beautiful artwork!•Take it HOME!
Related Documents