NEGATIVE PROTOTYPING PROCESS CLEAN THE BOARD MEASURE AND CUT FILM REMOVE COATING AND APPLY FILM LAMINATE + + + + www.mgchemicals.com Part1 » Make your own presensitized copper clad board Part 2 » Make you own circuit board

Welcome message from author
This document is posted to help you gain knowledge. Please leave a comment to let me know what you think about it! Share it to your friends and learn new things together.
Transcript
Negative PrototyPiNg Process
Clean the Board
Measure and Cut filM
reMove Coating and apply filM
laMinate
+
+
++
www.mgchemicals.com
Part 1
» Make your own presensitized copper clad board
Part 2
» Make you own circuit board
Negative PrototyPiNg Process
Clean the Board
Measure and Cut filM
reMove Coating and apply filM
laMinate
+
+
++
www.mgchemicals.com
BaCk next
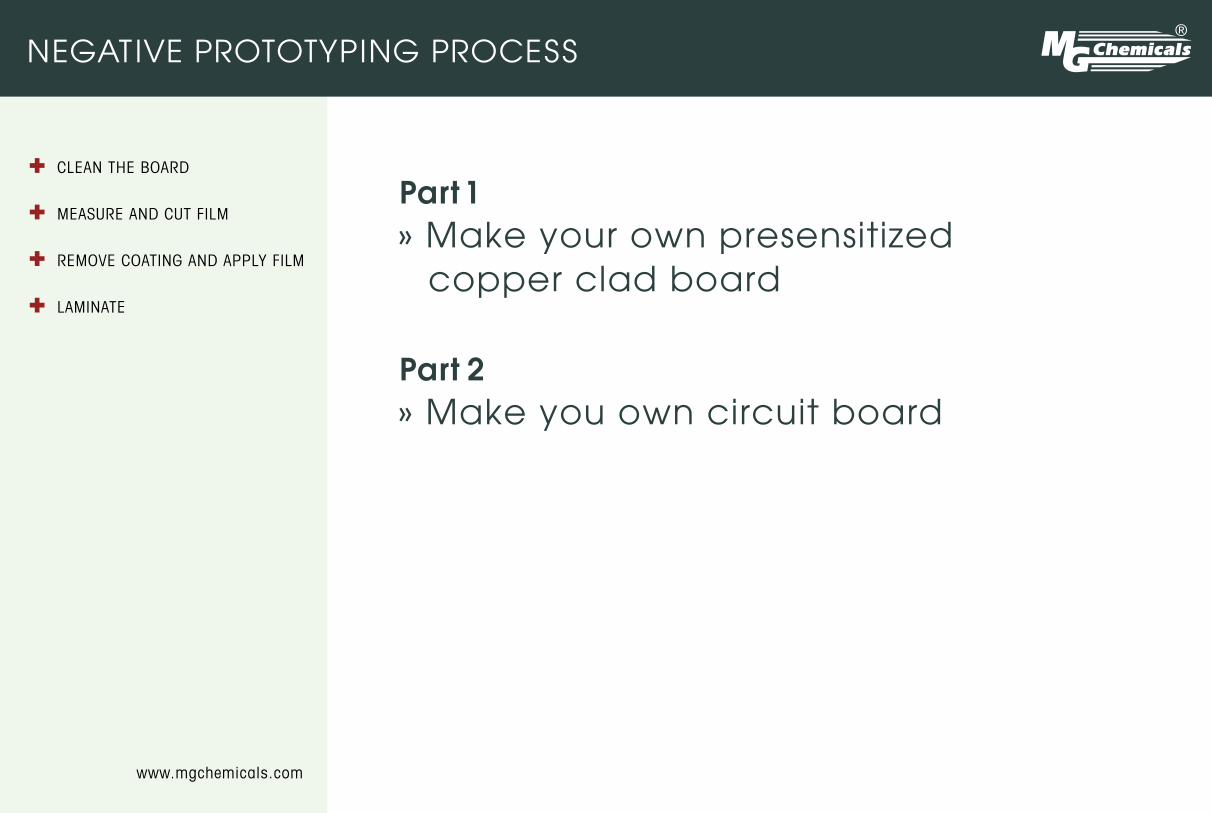
Step1
clean the board.

Negative PrototyPiNg Process
Clean the Board
Measure and Cut filM
reMove Coating and apply filM
laMinate
+
+
++
www.mgchemicals.com
For best results, clean the board using fine steel wool or similar abrasive pad and rinse with water. this will remove dirt, oils, and other contamination.
BaCk next

Negative PrototyPiNg Process
Clean the Board
Measure and Cut filM
reMove Coating and apply filM
laMinate
+
+
++
www.mgchemicals.com
Use M.g. chemicals super Wash electron-ics cleaner to quick dry board or heat it in an oven for 5 minutes. the board must be absolutely clean and dry prior to applying film. Note: after rinse, the board should be dried quickly to avoid oxidation.
BaCk next

Negative PrototyPiNg Process
Clean the Board
Measure and Cut filM
reMove Coating and apply filM
laMinate
+
+
++
www.mgchemicals.com
Step2
Measure and cut film.
BaCk next
Negative PrototyPiNg Process
Clean the Board
Measure and Cut filM
reMove Coating and apply filM
laMinate
+
+
++
www.mgchemicals.com
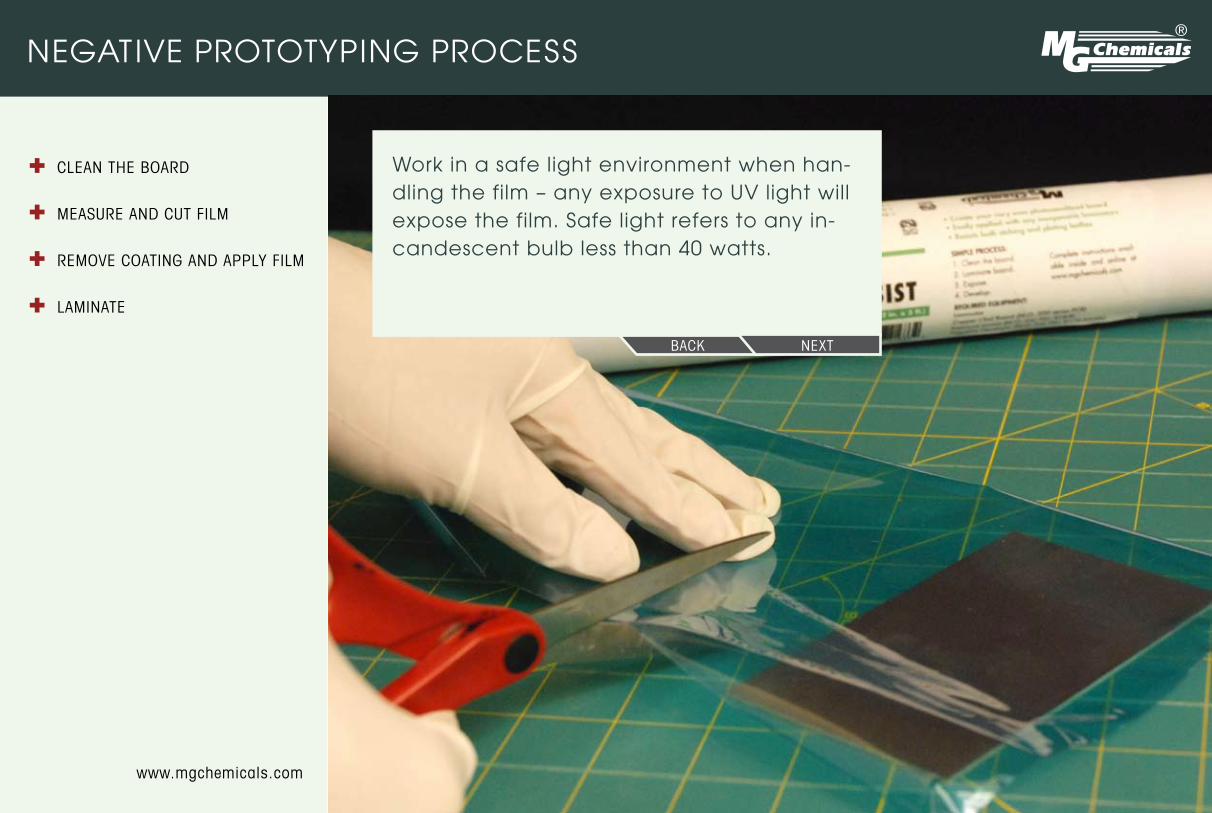
Work in a safe light environment when han-dling the film – any exposure to Uv light will expose the film. safe light refers to any in-candescent bulb less than 40 watts.
BaCk next
Negative PrototyPiNg Process
Clean the Board
Measure and Cut filM
reMove Coating and apply filM
laMinate
+
+
++
www.mgchemicals.com
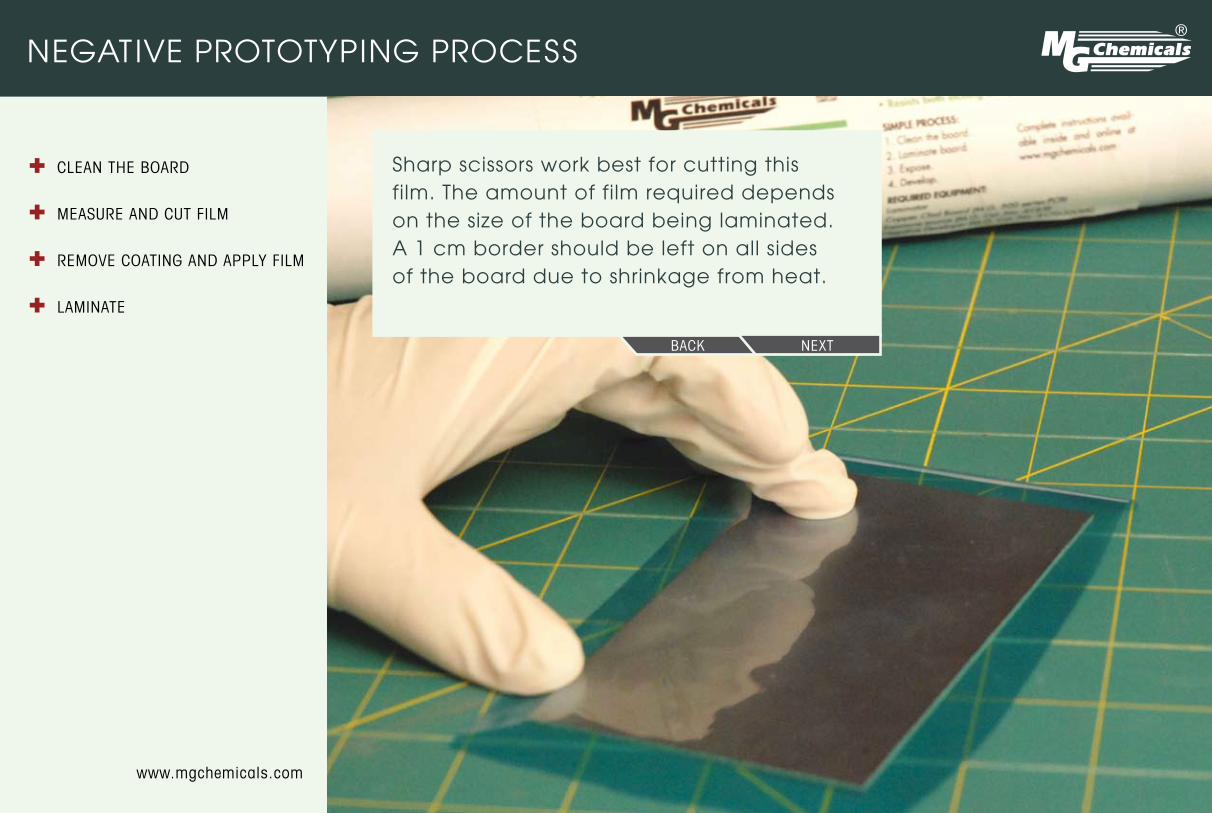
sharp scissors work best for cutting this film. the amount of film required depends on the size of the board being laminated. a 1 cm border should be left on all sides of the board due to shrinkage from heat.
BaCk next

Negative PrototyPiNg Process
Clean the Board
Measure and Cut filM
reMove Coating and apply filM
laMinate
+
+
++
www.mgchemicals.com
For double sided boards, cut the film big enough (one piece) to sandwich the board in the middle. For a double-sided board, you will only have the 1 cm border on 3 sides. No border is required for the side where the film meets the board.
BaCk next
Negative PrototyPiNg Process
Clean the Board
Measure and Cut filM
reMove Coating and apply filM
laMinate
+
+
++
www.mgchemicals.com
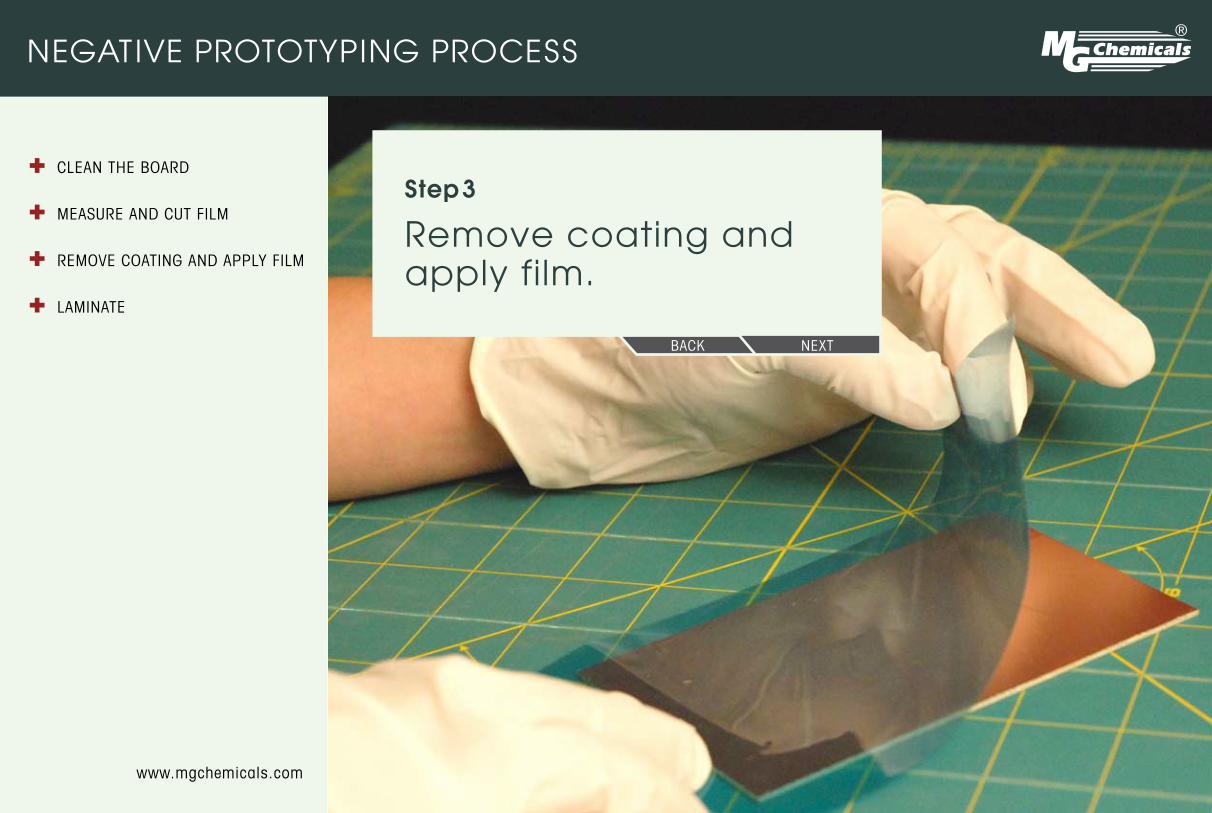
Step3
remove coating and apply film.
BaCk next
Negative PrototyPiNg Process
Clean the Board
Measure and Cut filM
reMove Coating and apply filM
laMinate
+
+
++
www.mgchemicals.com
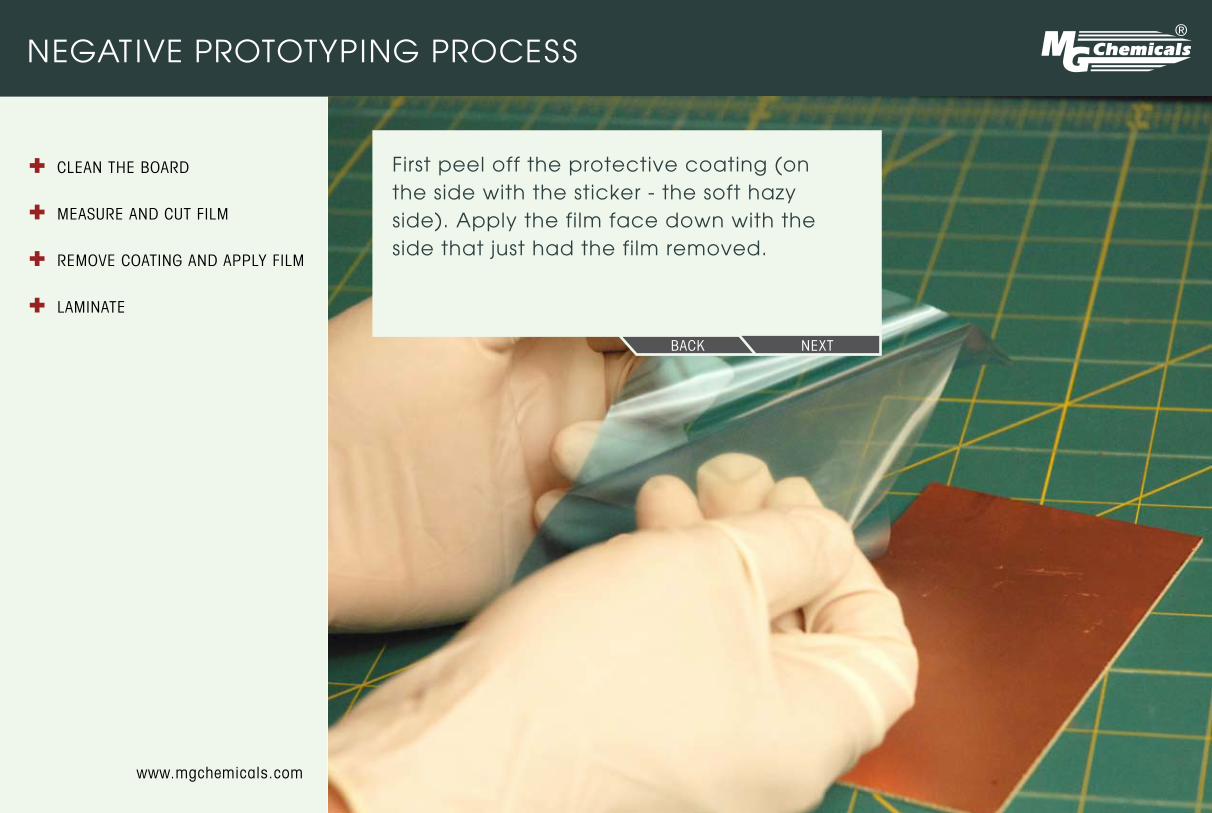
First peel off the protective coating (on the side with the sticker - the soft hazy side). apply the film face down with the side that just had the film removed.
BaCk next
Negative PrototyPiNg Process
Clean the Board
Measure and Cut filM
reMove Coating and apply filM
laMinate
+
+
++
www.mgchemicals.com
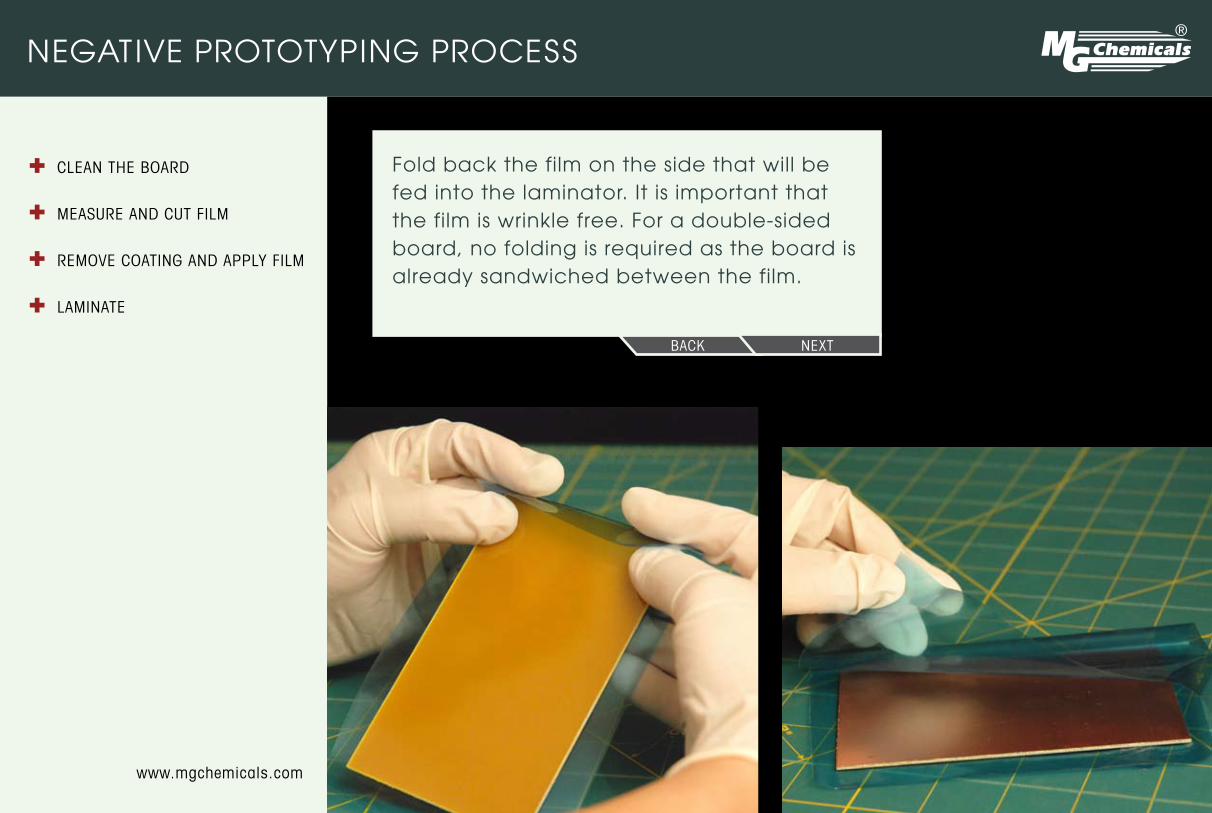
Fold back the film on the side that will be fed into the laminator. it is important that the film is wrinkle free. For a double-sided board, no folding is required as the board is already sandwiched between the film.
BaCk next

Negative PrototyPiNg Process
Clean the Board
Measure and Cut filM
reMove Coating and apply filM
laMinate
+
+
++
www.mgchemicals.com
Step 4
Laminate.
BaCk next
Negative PrototyPiNg Process
Clean the Board
Measure and Cut filM
reMove Coating and apply filM
laMinate
+
+
++
www.mgchemicals.com
BaCk next
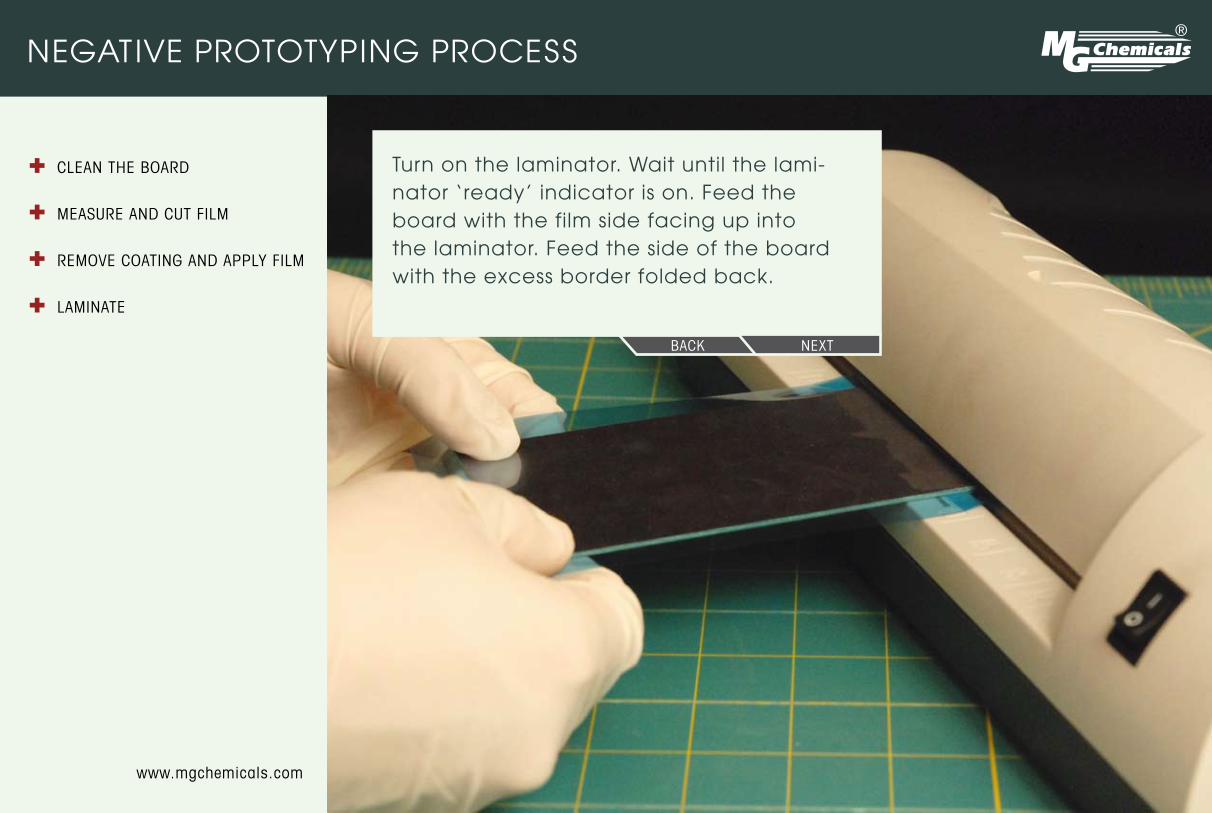
turn on the laminator. Wait until the lami-nator ‘ready’ indicator is on. Feed the board with the film side facing up into the laminator. Feed the side of the board with the excess border folded back.
Negative PrototyPiNg Process
Clean the Board
Measure and Cut filM
reMove Coating and apply filM
laMinate
+
+
++
www.mgchemicals.com
BaCk next
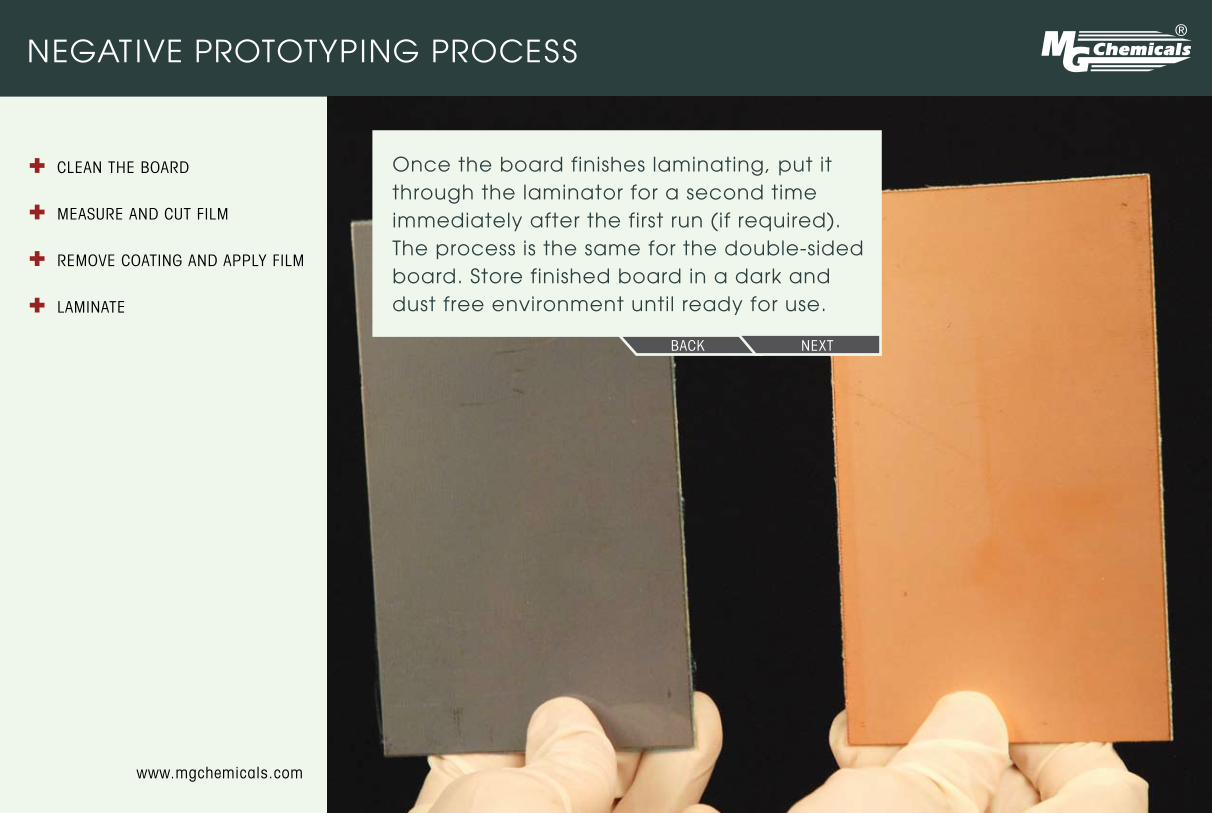
once the board finishes laminating, put it through the laminator for a second time immediately after the first run (if required). the process is the same for the double-sided board. store finished board in a dark and dust free environment until ready for use.
Negative PrototyPiNg Process
Create artwork
expose
develop
rinse
etCh
rinse
+
+
++
++
www.mgchemicals.com
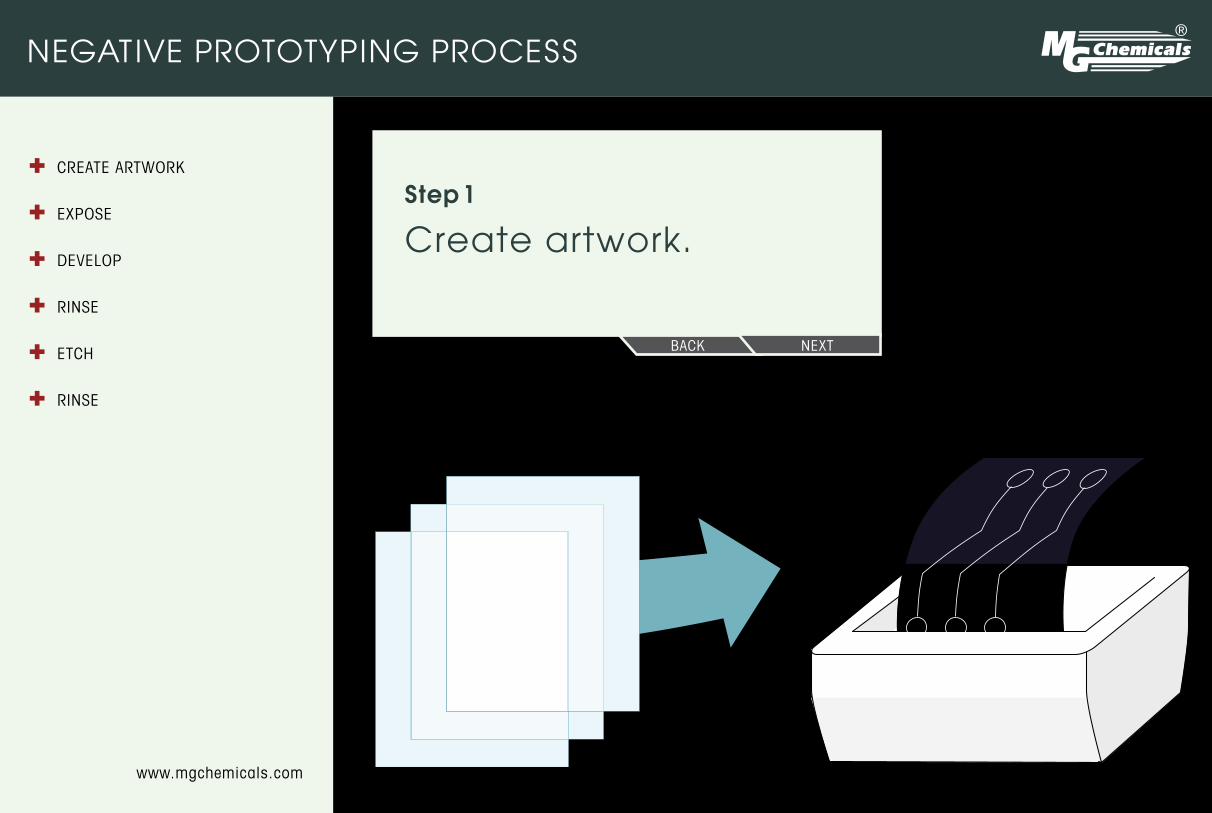
Step 1
create artwork.
BaCk next
Negative PrototyPiNg Process
Create artwork
expose
develop
rinse
etCh
rinse
+
+
++
++
www.mgchemicals.com
BaCk next
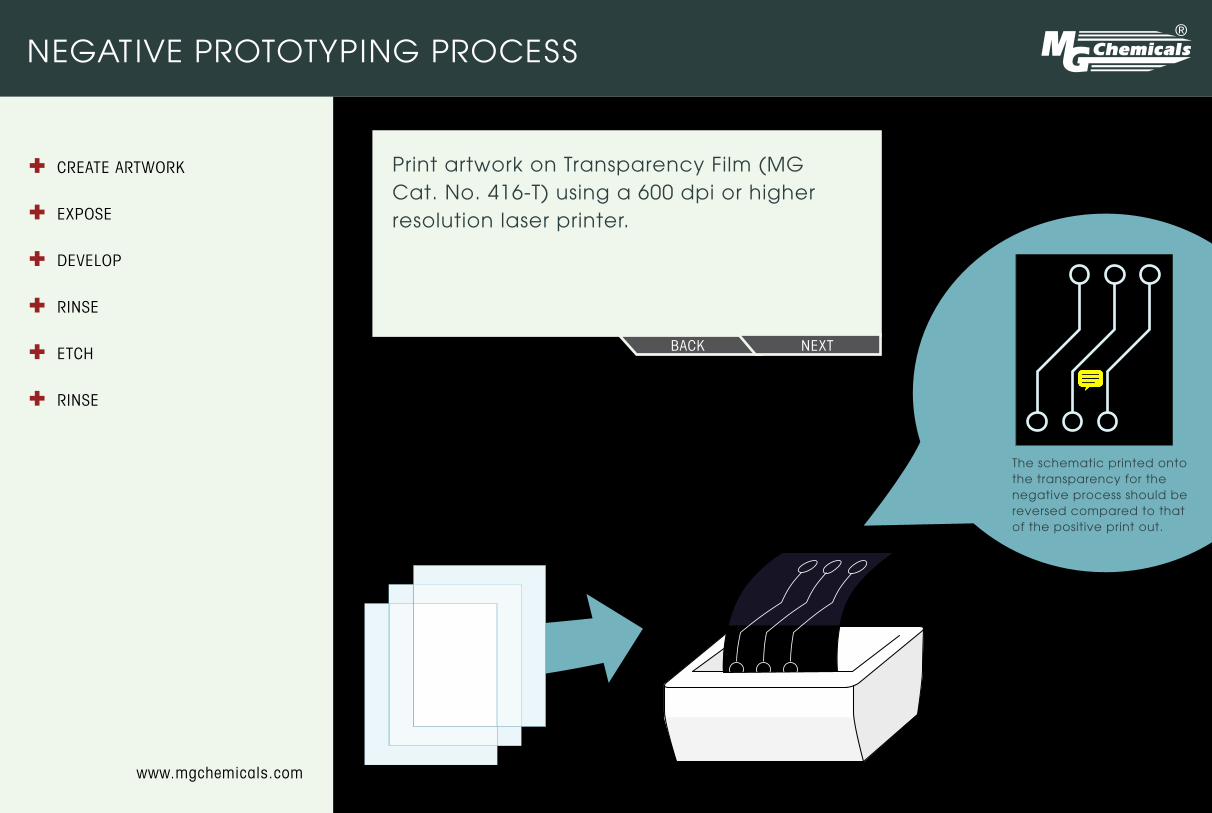
Print artwork on transparency Film (Mg cat. No. 416-t) using a 600 dpi or higher resolution laser printer.
the schematic printed onto the transparency for the negative process should be reversed compared to that of the positive print out.
kai
Note
DON'T NEED THIS BUBBLE
Negative PrototyPiNg Process
Create artwork
expose
develop
rinse
etCh
rinse
+
+
++
++
www.mgchemicals.com
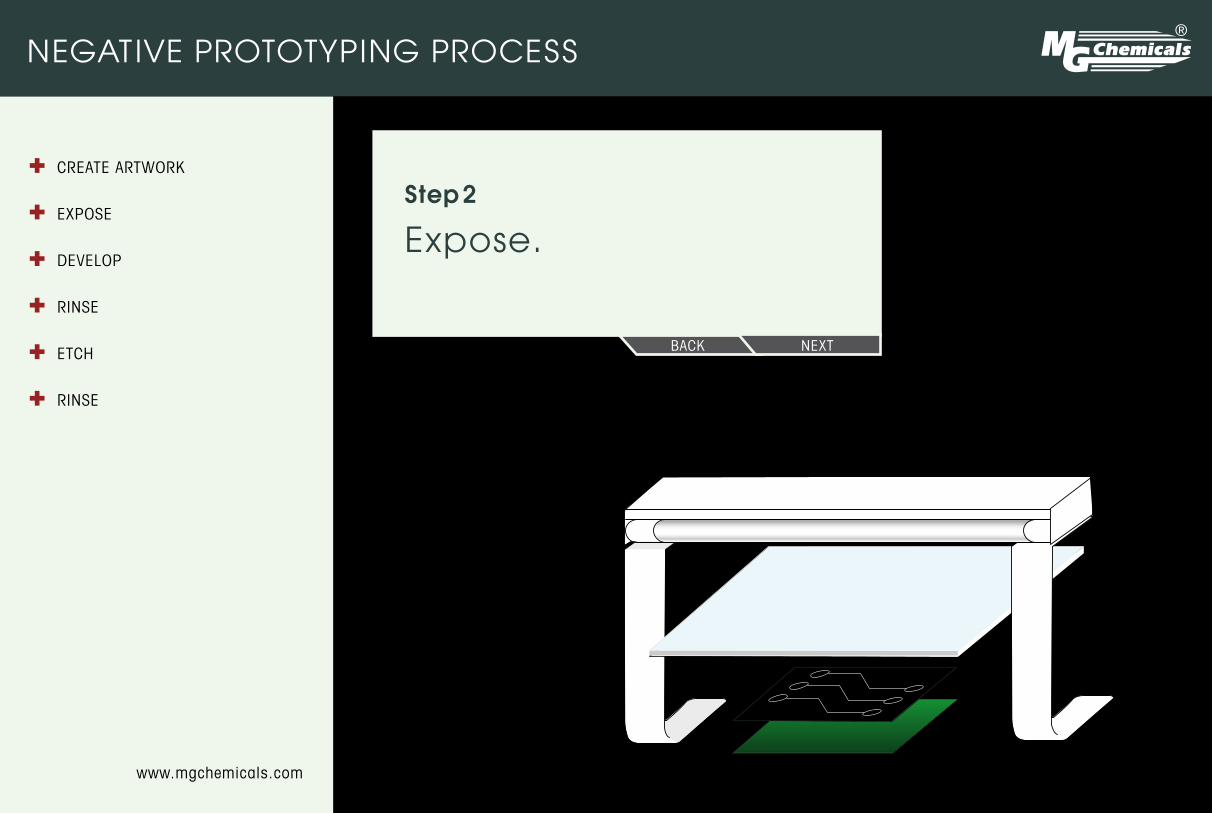
Step 2
expose.
BaCk next
Negative PrototyPiNg Process
Create artwork
expose
develop
rinse
etCh
rinse
+
+
++
++
www.mgchemicals.com
BaCk next
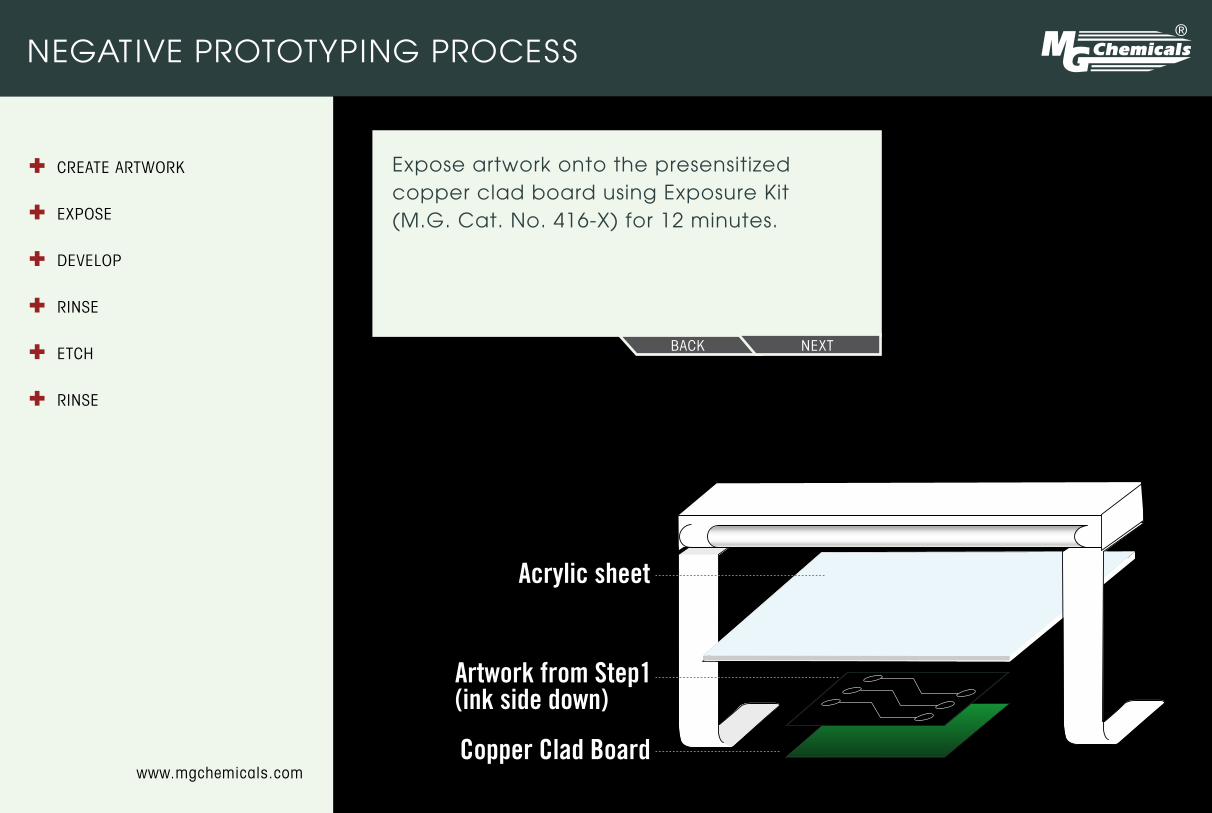
expose artwork onto the presensitized copper clad board using exposure Kit (M.g. cat. No. 416-X) for 12 minutes.
Acrylic sheet
Artwork from Step1(ink side down)
Copper Clad Board
Negative PrototyPiNg Process
Create artwork
expose
develop
rinse
etCh
rinse
+
+
++
++
www.mgchemicals.com
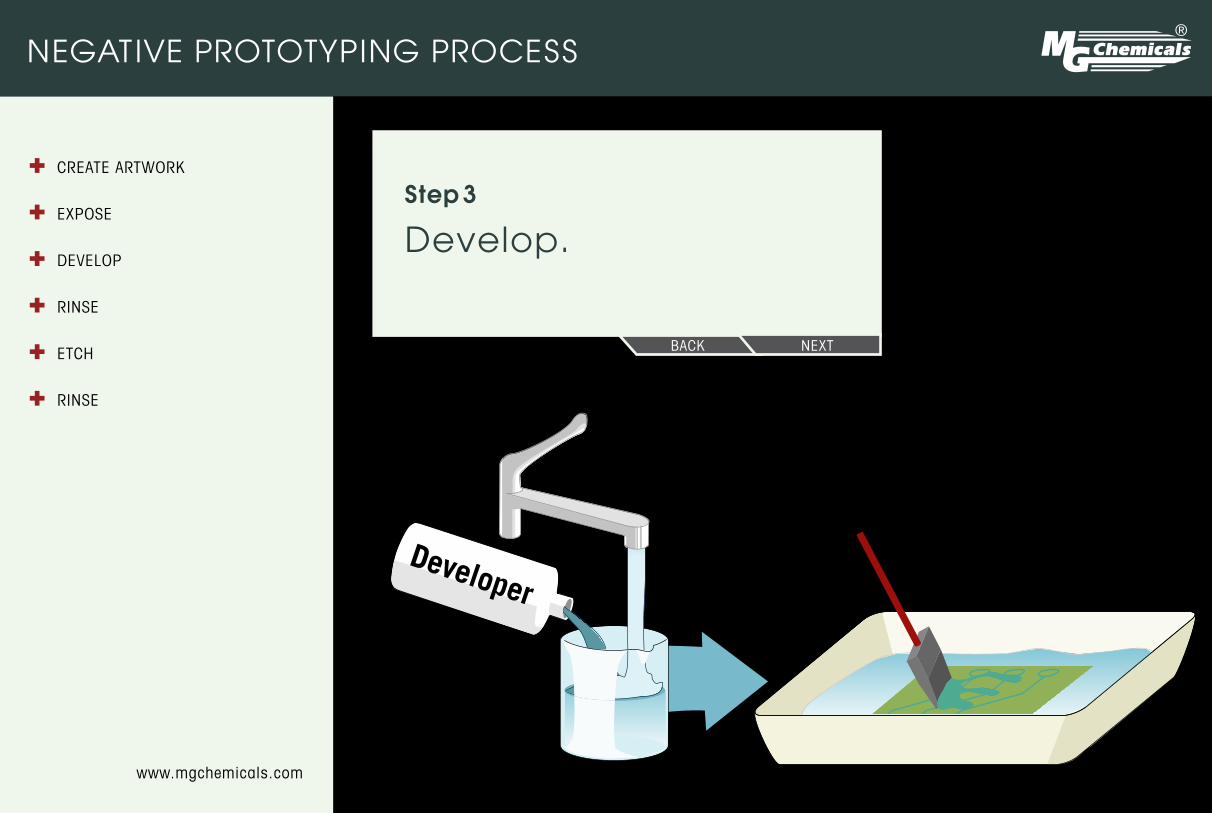
Step 3
Develop.
BaCk next
Negative PrototyPiNg Process
Create artwork
expose
develop
rinse
etCh
rinse
+
+
++
++
www.mgchemicals.com
BaCk next
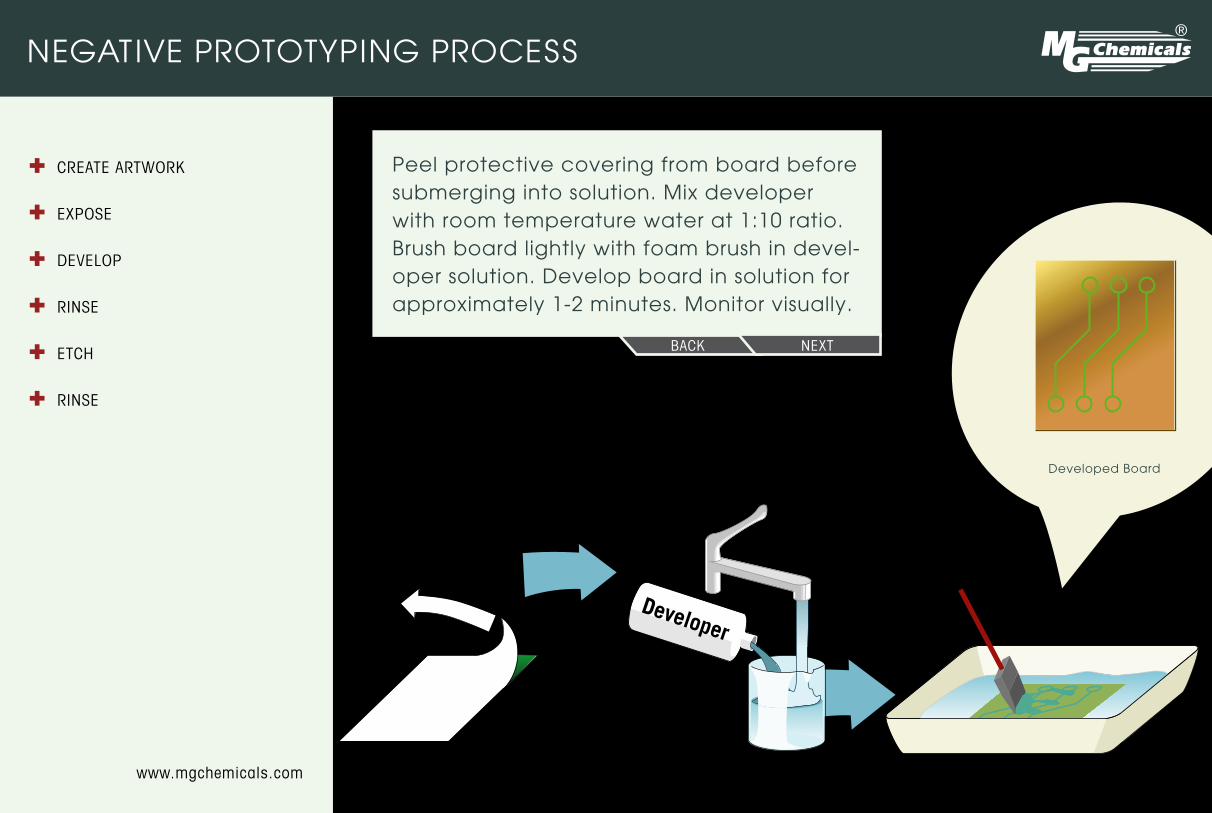
Peel protective covering from board before submerging into solution. Mix developer with room temperature water at 1:10 ratio. Brush board lightly with foam brush in devel-oper solution. Develop board in solution for approximately 1-2 minutes. Monitor visually.
Developed Board
Negative PrototyPiNg Process
Create artwork
expose
develop
rinse
etCh
rinse
+
+
++
++
www.mgchemicals.com
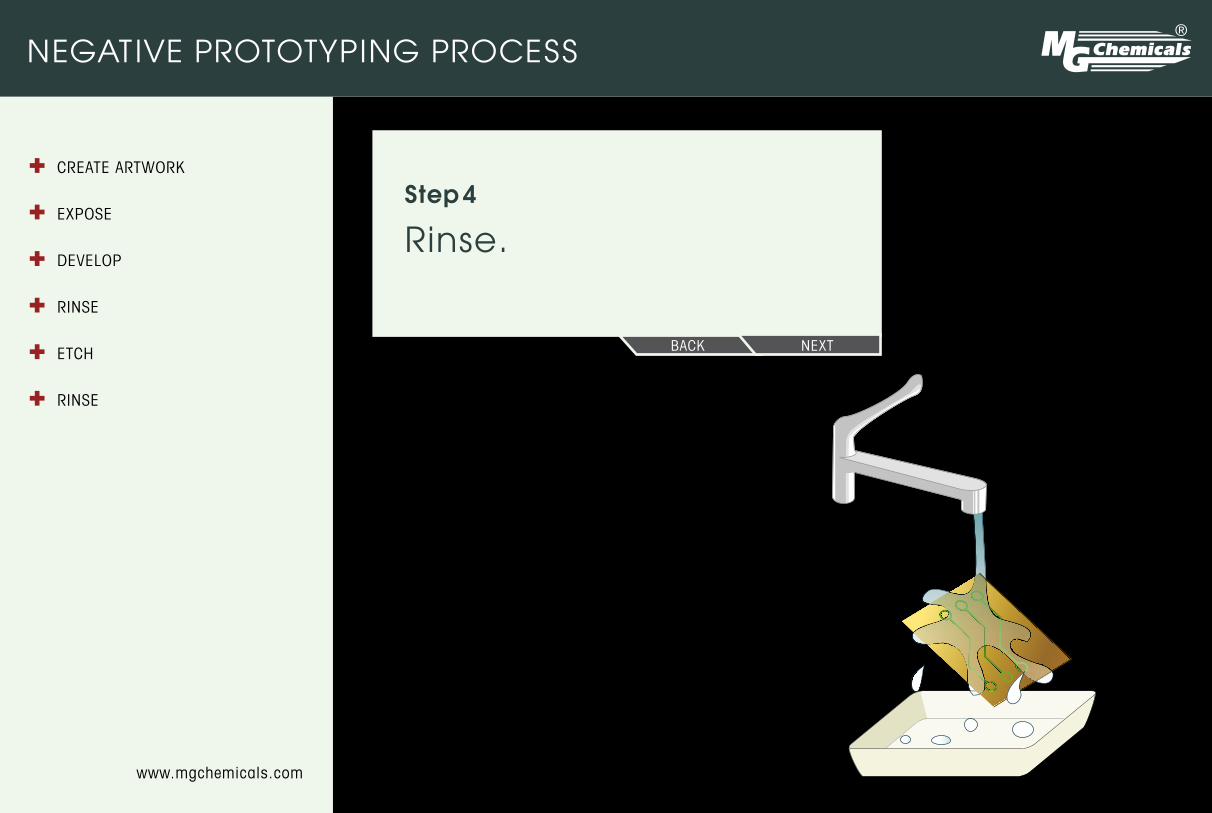
Step 4
rinse.
BaCk next

Negative PrototyPiNg Process
Create artwork
expose
develop
rinse
etCh
rinse
+
+
++
++
www.mgchemicals.com
BaCk next
rinse with cold tap water. it is important that the board is rinsed thoroughly.
Negative PrototyPiNg Process
Create artwork
expose
develop
rinse
etCh
rinse
+
+
++
++
www.mgchemicals.com
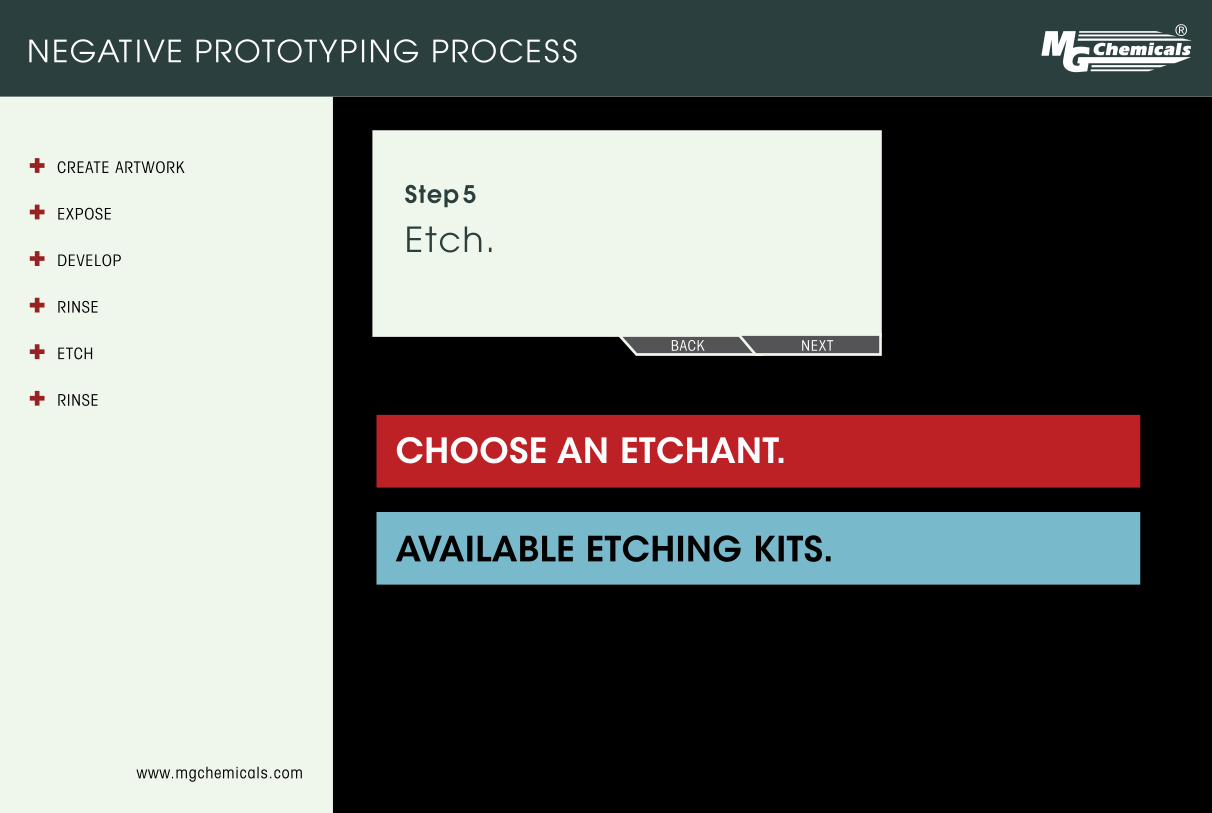
Step 5
etch.
BaCk next
Choose an etChant.
aVaILaBLe etChInG KIts.
Negative PrototyPiNg Process
Create artwork
expose
develop
rinse
etCh
rinse
+
+
++
++
www.mgchemicals.com
BaCk next
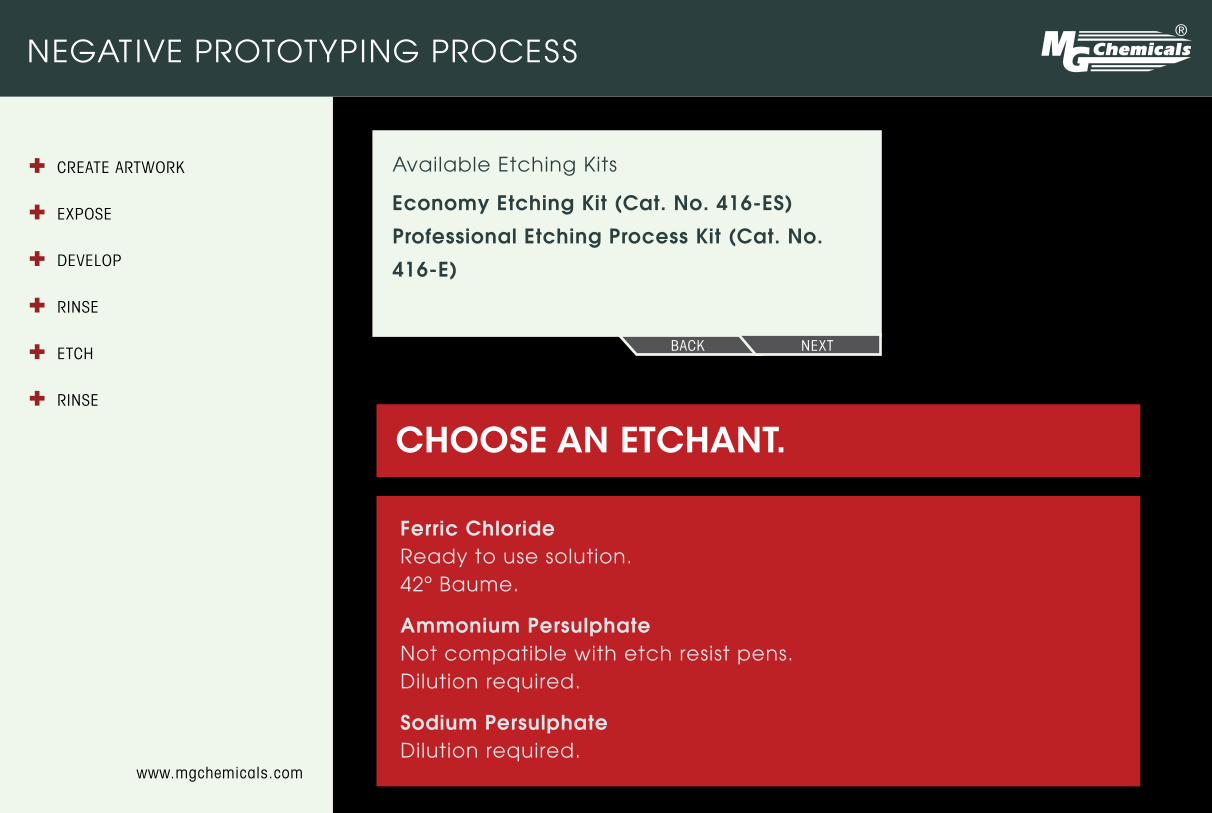
Choose an etChant.
available etching Kits
Economy Etching Kit (Cat. No. 416-ES)
Professional Etching Process Kit (Cat. No.
416-E)
Ferric Chloride ready to use solution. 42º Baume.
Ammonium Persulphate Not compatible with etch resist pens. Dilution required.
Sodium Persulphate Dilution required.

Negative PrototyPiNg Process
Create artwork
expose
develop
rinse
etCh
rinse
+
+
++
++
www.mgchemicals.com
BaCk next
etch for 10 - 30 minutes (heat solution to 45˚c/113˚F). Wear gloves and eyegear. the tank fits two 8” x 9” double sided copper clad Boards. the kit is ideal for students and hobbyists.
eConomy etChInG ProCess
KIt
Cat. no. 416-es
Negative PrototyPiNg Process
Create artwork
expose
develop
rinse
etCh
rinse
+
+
++
++
www.mgchemicals.com
BaCk next
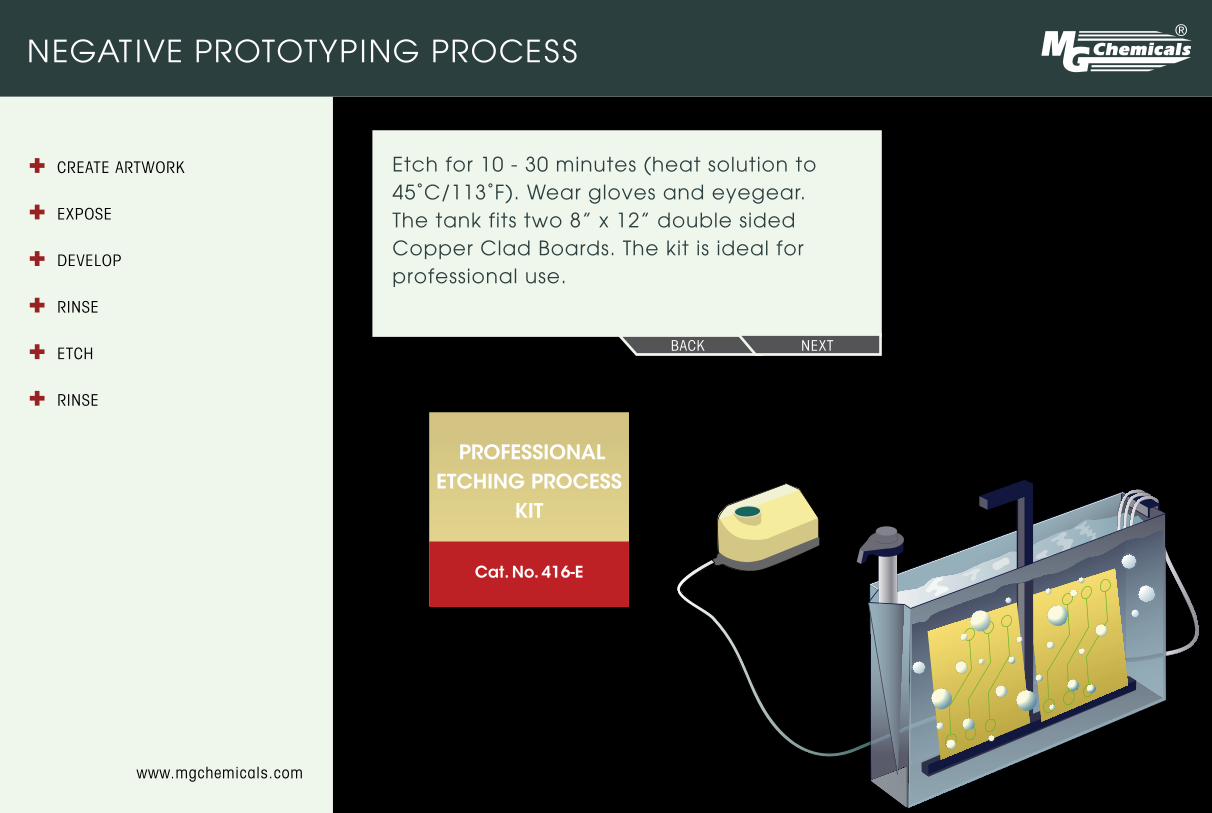
etch for 10 - 30 minutes (heat solution to 45˚c/113˚F). Wear gloves and eyegear. the tank fits two 8” x 12” double sided copper clad Boards. the kit is ideal for professional use.
ProfessIonaL etChInG ProCess
KIt
Cat. no. 416-e
Negative PrototyPiNg Process
Create artwork
expose
develop
rinse
etCh
rinse
+
+
++
++
www.mgchemicals.com
BaCk next
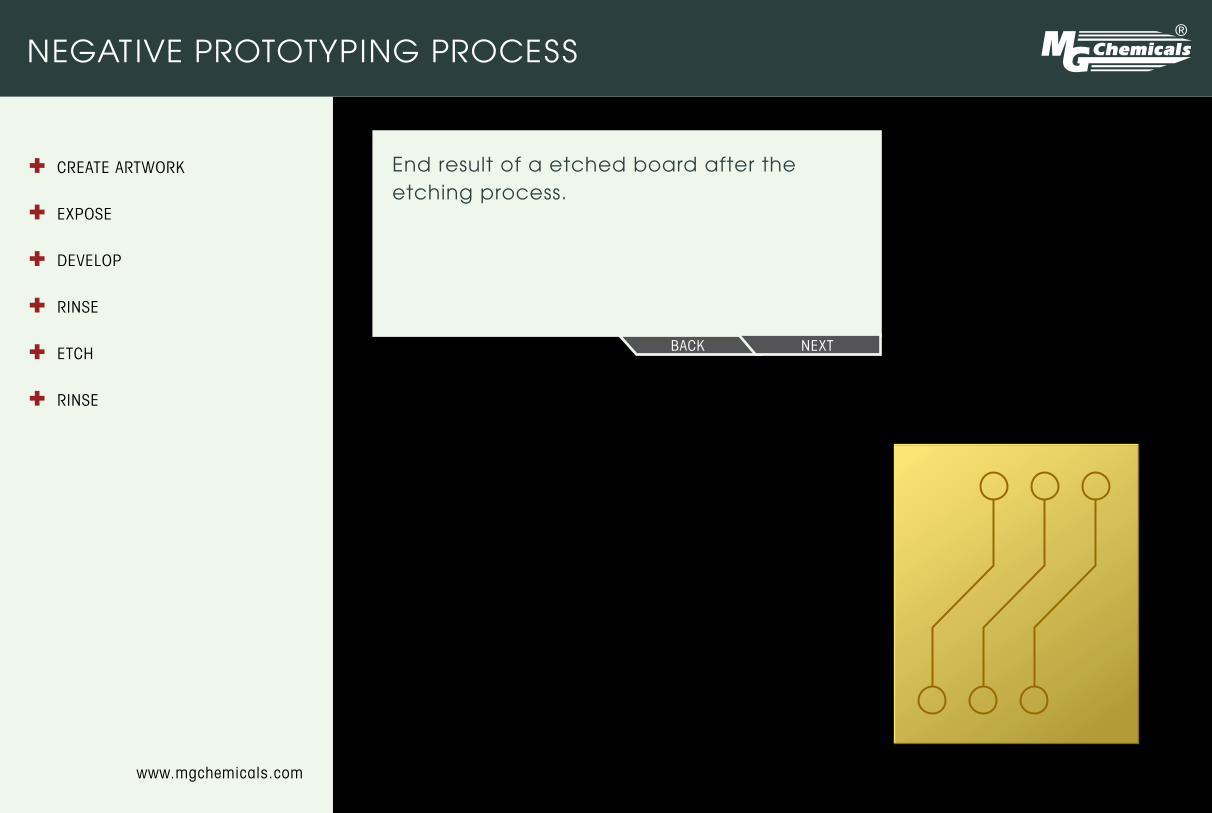
end result of a etched board after the etching process.
Negative PrototyPiNg Process
Create artwork
expose
develop
rinse
etCh
rinse
+
+
++
++
www.mgchemicals.com
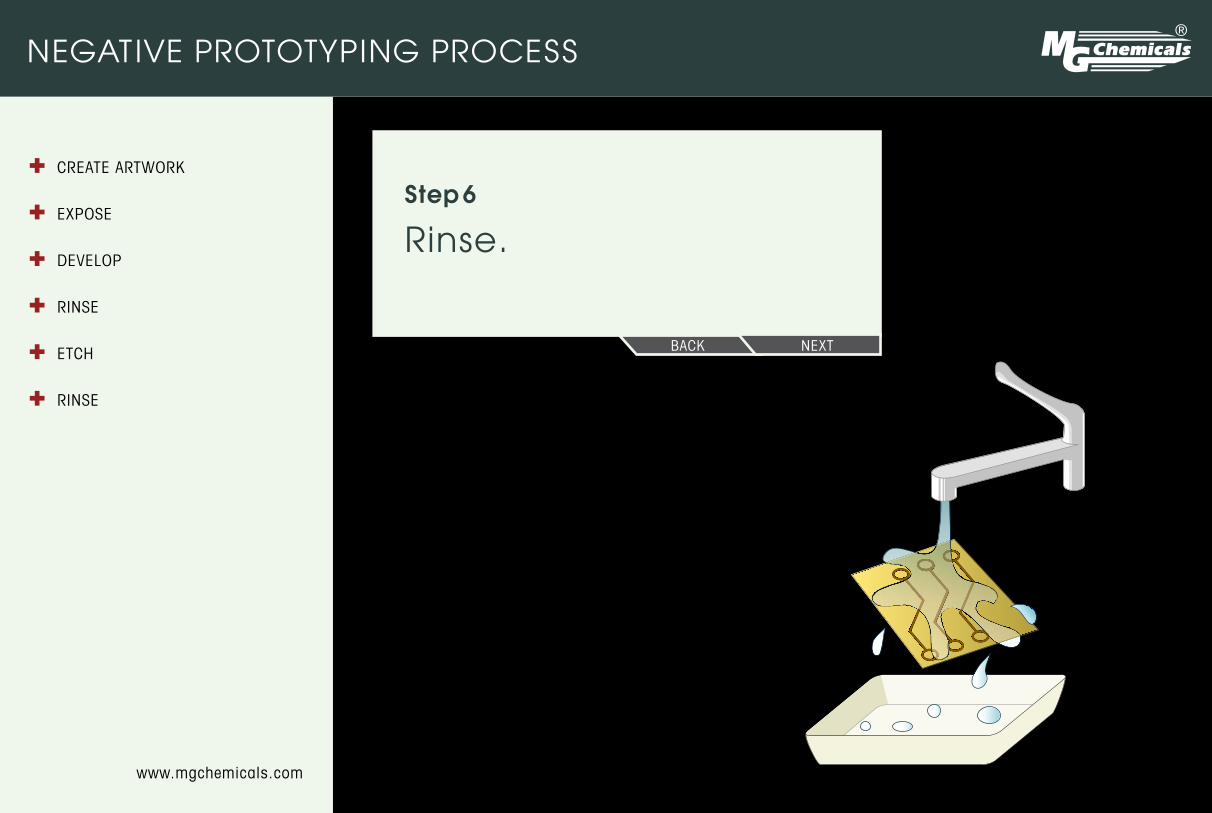
Step 6
rinse.
BaCk next

Negative PrototyPiNg Process
Create artwork
expose
develop
rinse
etCh
rinse
+
+
++
++
www.mgchemicals.com
BaCk finish
rinse with cold tap water thoroughly and dry board. the board is now ready for use.
Related Documents