DEMO#1: Manual Teaching Mode, Task Creation, Basic Autonomou DEMO#1: Manual Teaching Mode, Task Creation, Basic Autonomou ■ ■ DEMO#2: Obstacle Avoidance Demo DEMO#2: Obstacle Avoidance Demo DEMO # 3: Complete reproduction of manual drive DEMO # 3: Complete reproduction of manual drive ■ DEMO#4 : Creation of Route on desk and Demo DEMO#4 : Creation of Route on desk and Demo Manual/ Teaching/ PDA/ Task creation/ ATV performance (Ride over, slope)/ Autonomous Run/ Mobility Smooth Avoidance/ Reaction against moving obstacle (Emergent Stop)/ Dead-End reaction/ Remote control/ Return back of mode Various Speed range/ Learning of Application operation/ Easy Teaching Without Teaching/ Create Route on PC/ Two type of Creation/Calculation route DEMO S DEMO SCENARIO

■ DEMO#1: Manual Teaching Mode, Task Creation, Basic Autonomous Run ■ DEMO#2: Obstacle Avoidance Demo ■ DEMO # 3: Complete reproduction of manual drive.
Dec 22, 2015
Welcome message from author
This document is posted to help you gain knowledge. Please leave a comment to let me know what you think about it! Share it to your friends and learn new things together.
Transcript

■■ DEMO#1: Manual Teaching Mode, Task Creation, Basic Autonomous RunDEMO#1: Manual Teaching Mode, Task Creation, Basic Autonomous Run
■■DEMO#2: Obstacle Avoidance DemoDEMO#2: Obstacle Avoidance Demo
■■DEMO # 3: Complete reproduction of manual driveDEMO # 3: Complete reproduction of manual drive
■■DEMO#4 : Creation of Route on desk and DemoDEMO#4 : Creation of Route on desk and Demo
Manual/ Teaching/ PDA/ Task creation/ ATV performance(Ride over, slope)/ Autonomous Run/ Mobility
Smooth Avoidance/ Reaction against moving obstacle(Emergent Stop)/ Dead-End reaction/ Remote control/ Return back of mode
Various Speed range/ Learning of Application operation/Easy Teaching
Without Teaching/ Create Route on PC/ Two type of Creation/Calculation route
DEMO SDEMO SCENARIO

DEMO#1: Manual Teaching Mode, Task Creation, Basic DEMO#1: Manual Teaching Mode, Task Creation, Basic Autonomous RunAutonomous Run

There is a van stopped. UGV is contained inside.
Board for getting down has already be put on the ground.

On Base Station, Personal Computer for Monitors, Image Picture Monitor,
Remote Control Switch, and Joy Stick are located.
These equipments can be shown to Customer.

In a Van, person do Engine starting, Generator engine starting,
and System starting mannually.
Base Station Monitor On, information is displayed

Operator comes in and operate PDA..
UGV gets down automatically, comes and stops to a home position
(engine stops with generator running on).

Operator takes a sheet cover and ride on.

Operator command" Start Teaching ".

Engine starts, Manual Run starts, Teaching starts.
Recording of running path starts.
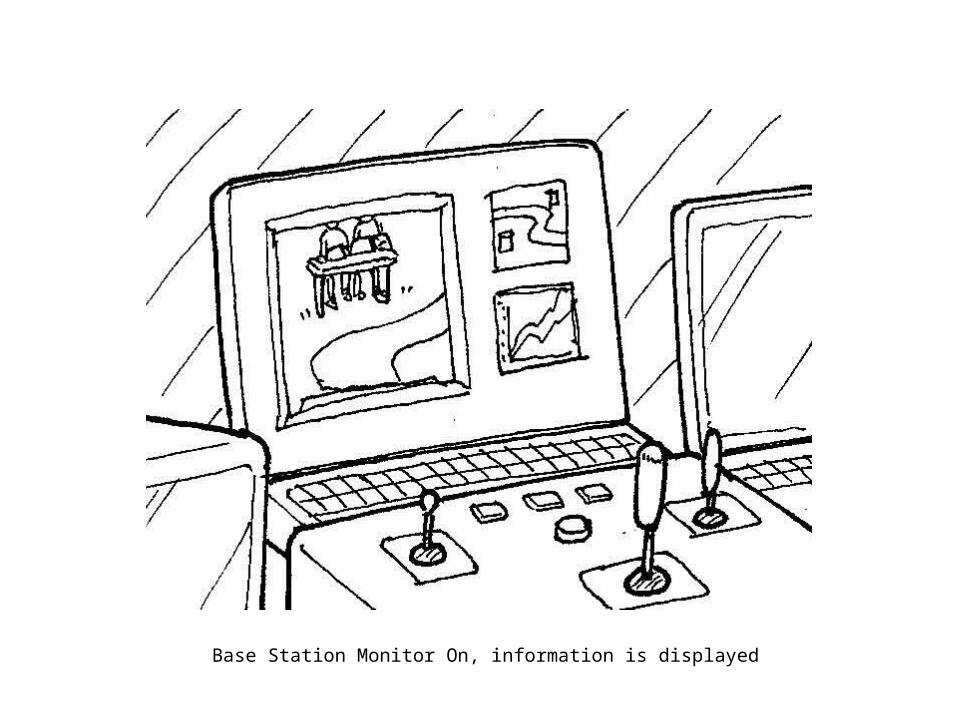
UGV runs fairly fast like ATV with manual Teaching running

Operator pushes a marking button at the desired surveillance point,
and record(input) the position.

Operator come back near the HOME position, and stop UGV at the spot where UGV can easily go back to HOME position.
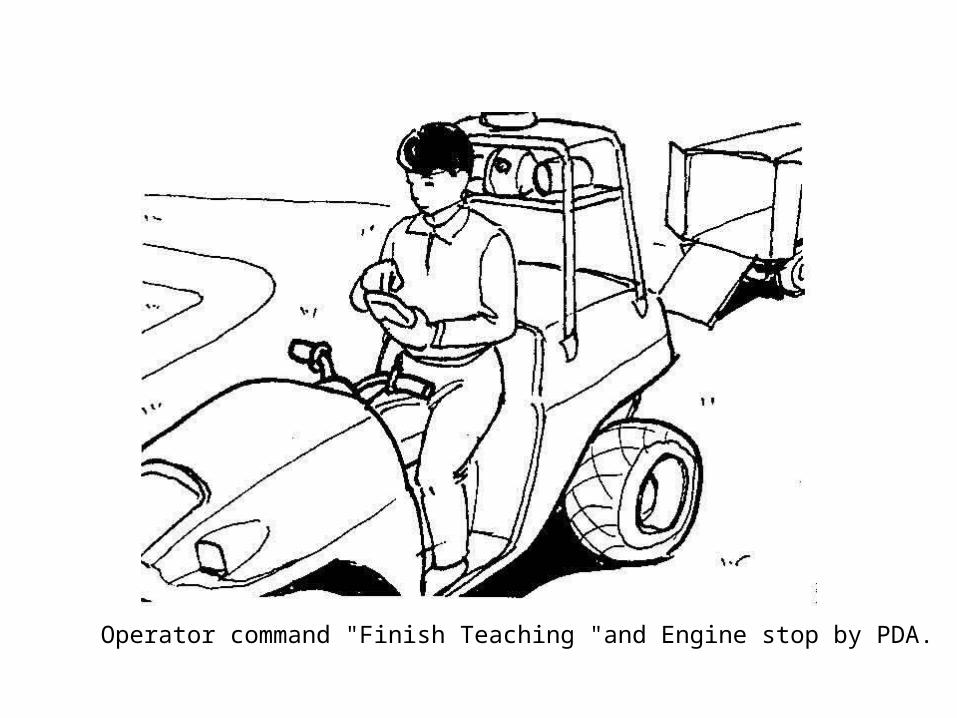
Operator command "Finish Teaching "and Engine stop by PDA.

Operator get off UGV and put the Cover on UGV.
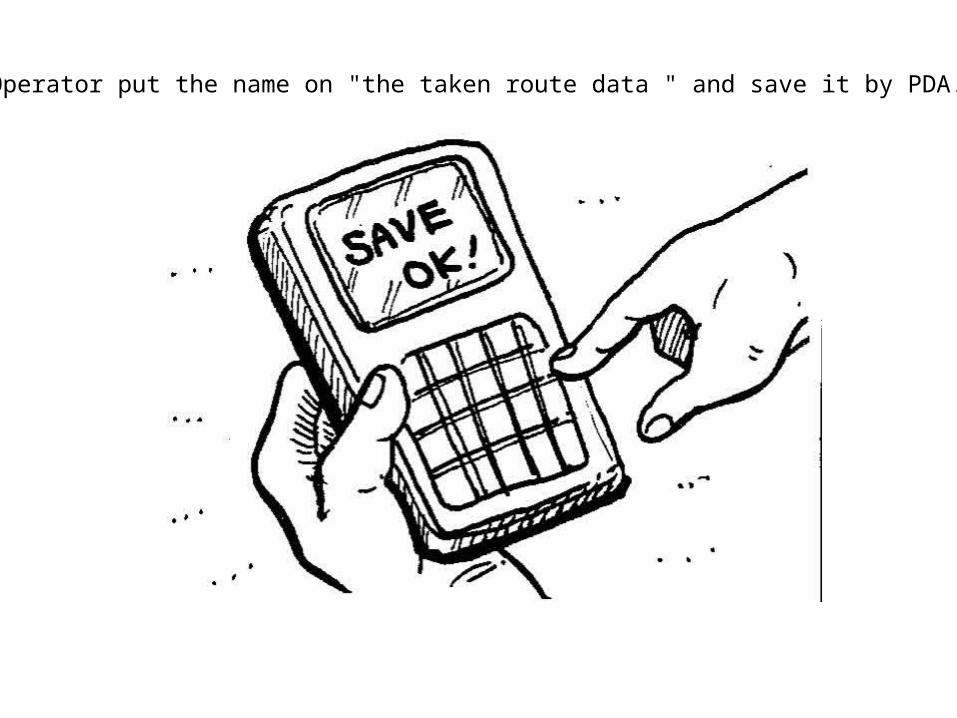
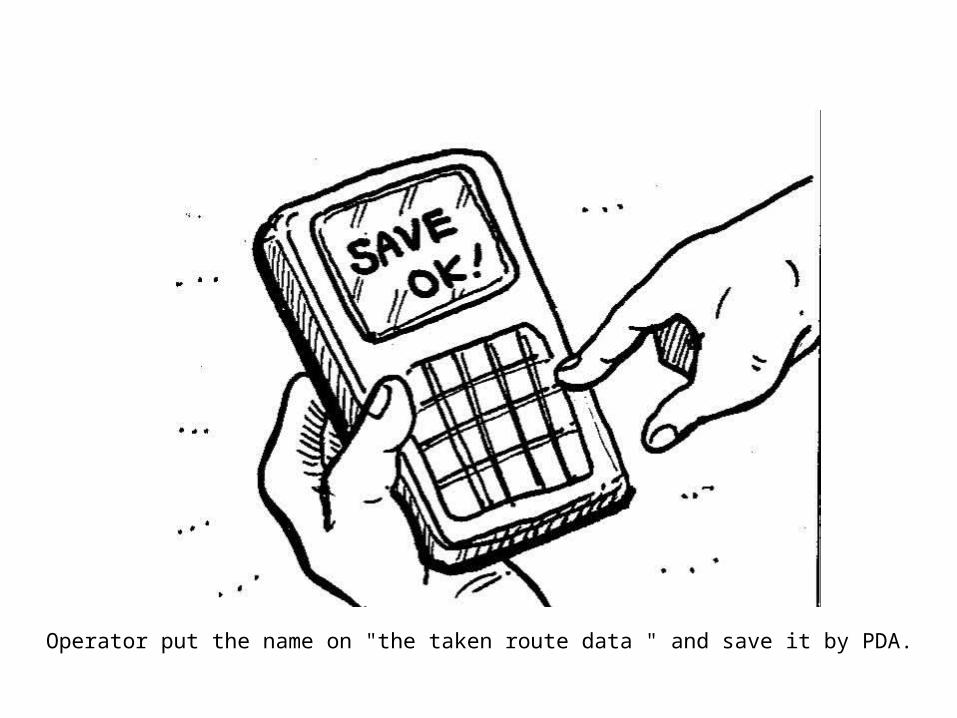
Operator put the name on "the taken route data " and save it by PDA.

Operator change the mode into "Create Task " by PDA.
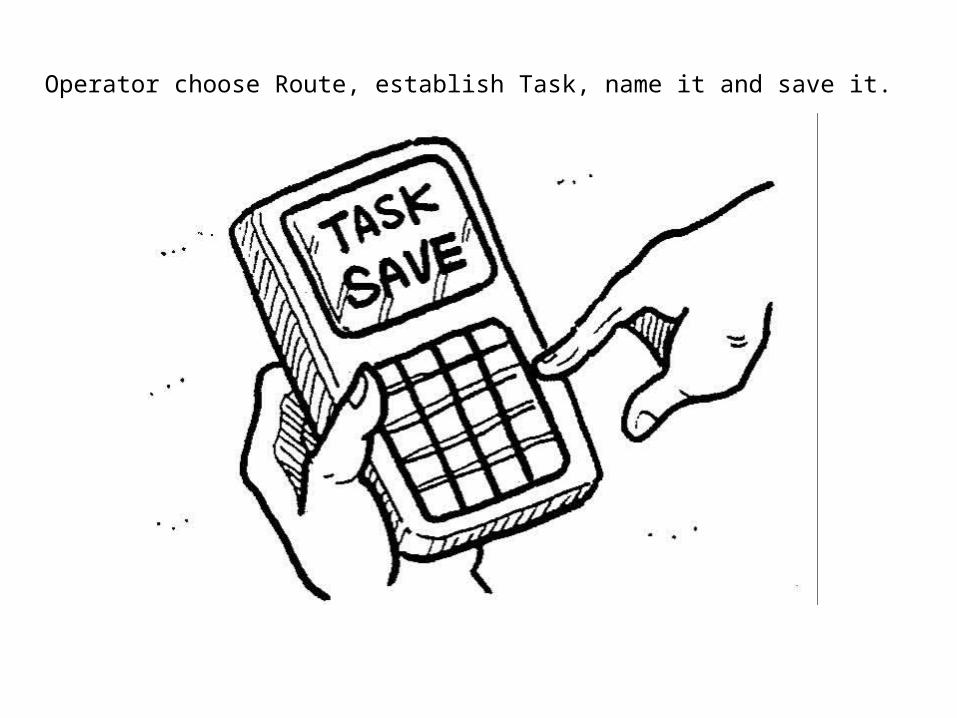
Operator choose Route, establish Task, name it and save it.
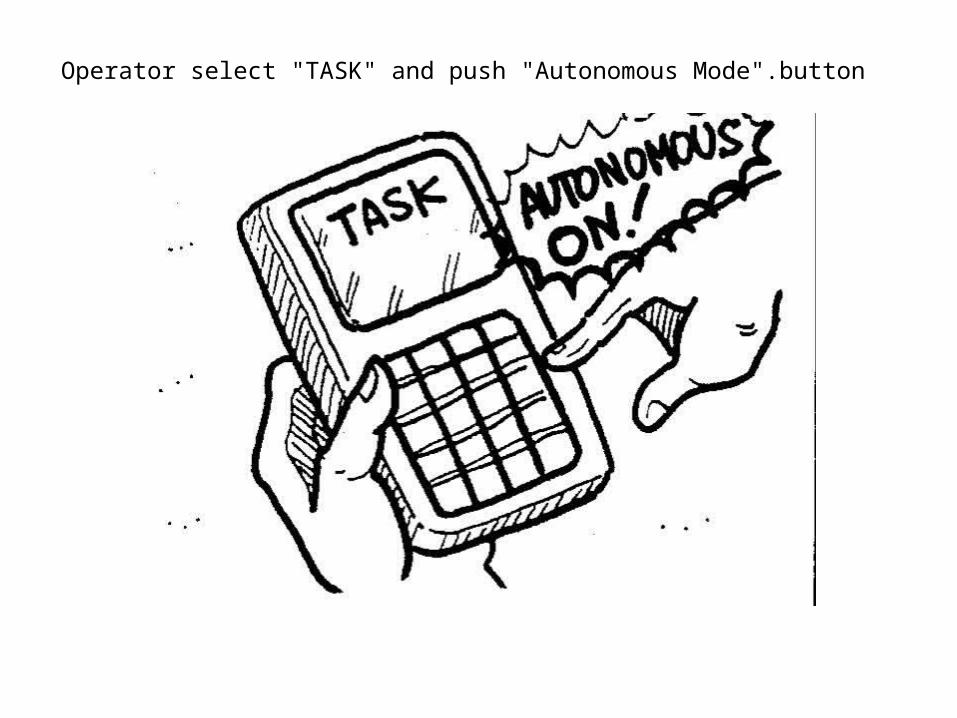
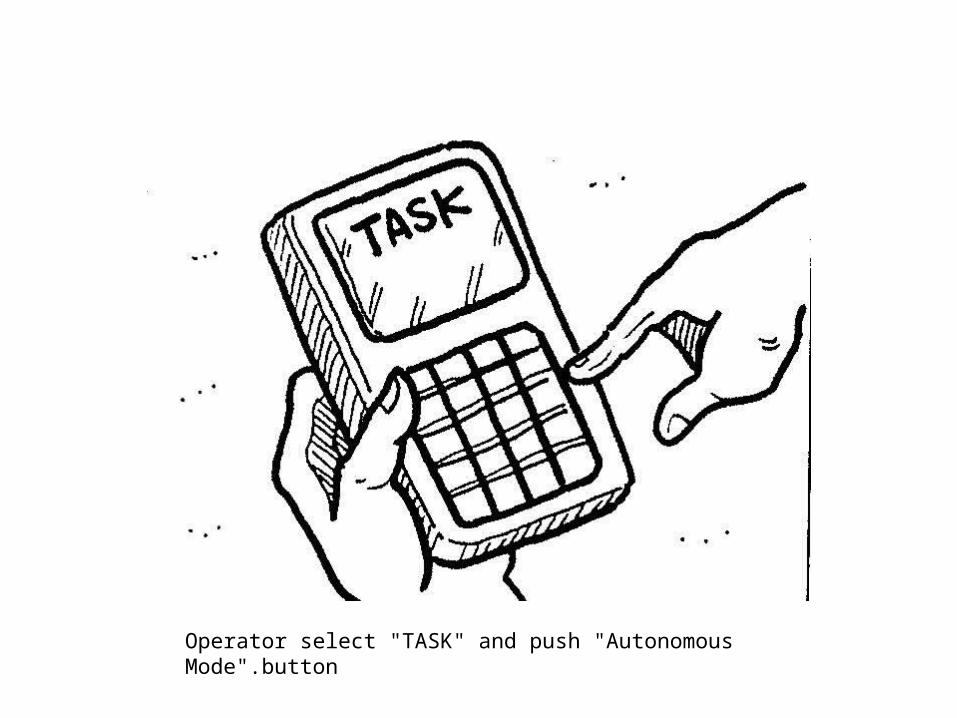
Operator select "TASK" and push "Autonomous Mode".button
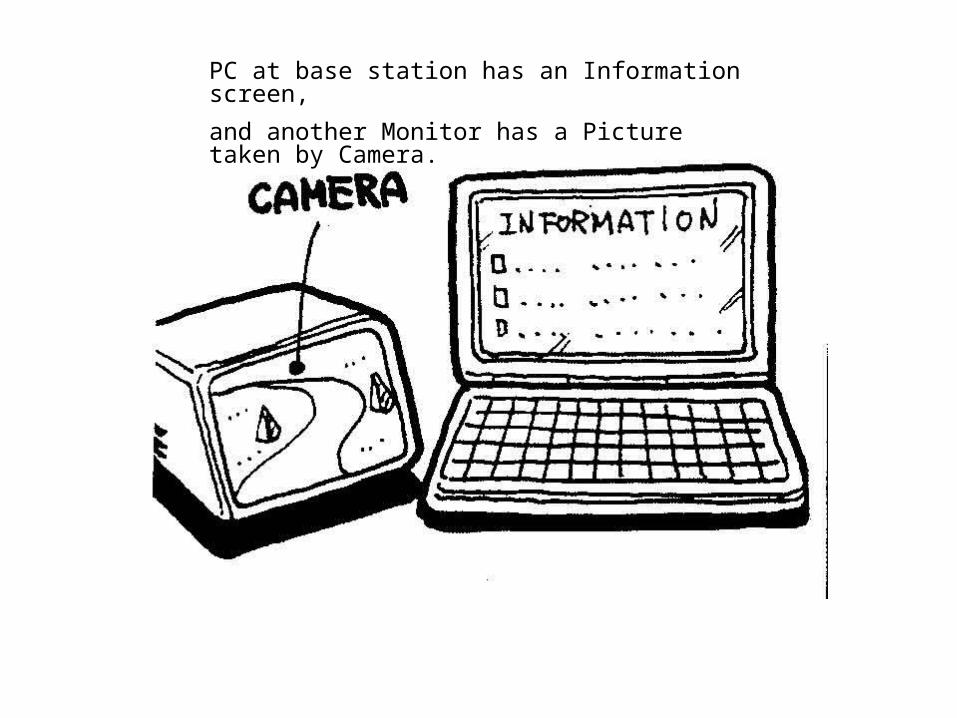
PC at base station has an Information screen,
and another Monitor has a Picture taken by Camera.
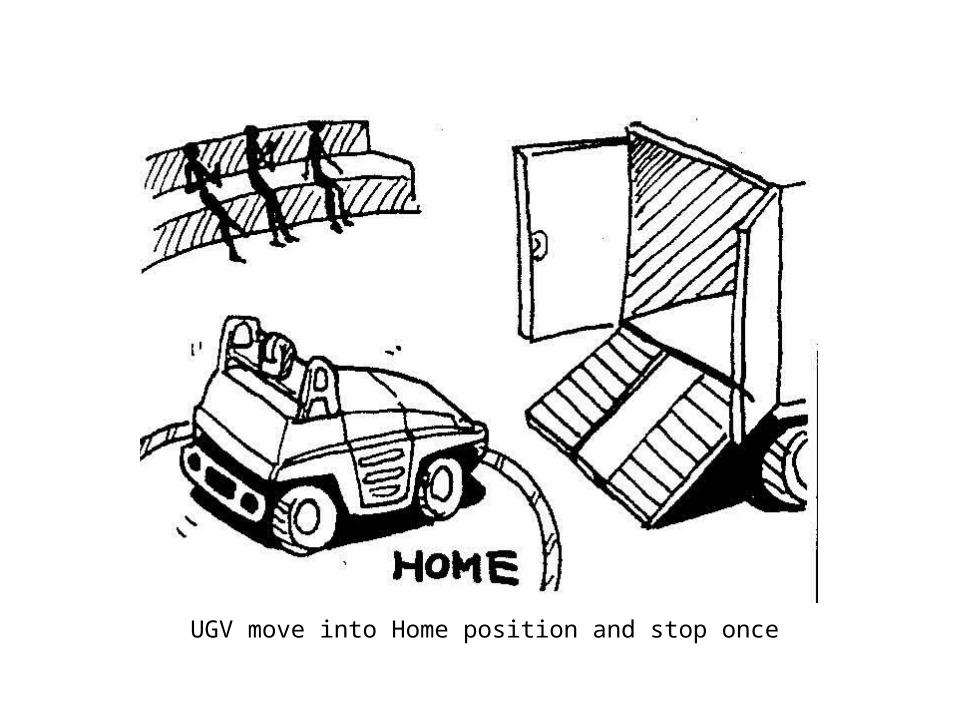
UGV move into Home position and stop once

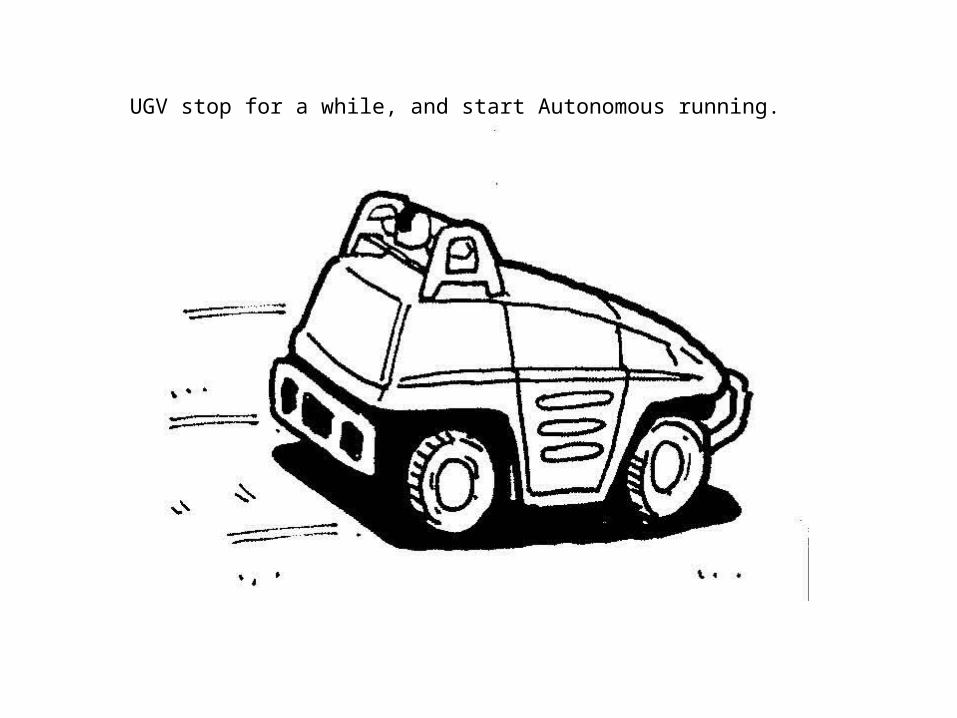
UGV stop for a while, and start Autonomous running.
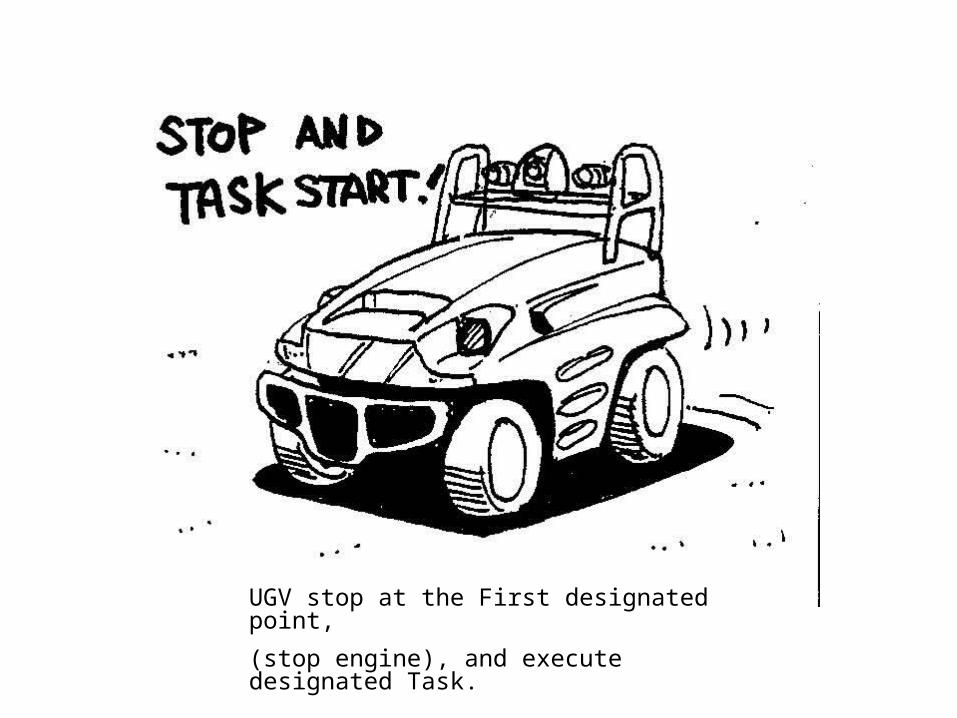
UGV stop at the First designated point,
(stop engine), and execute designated Task.
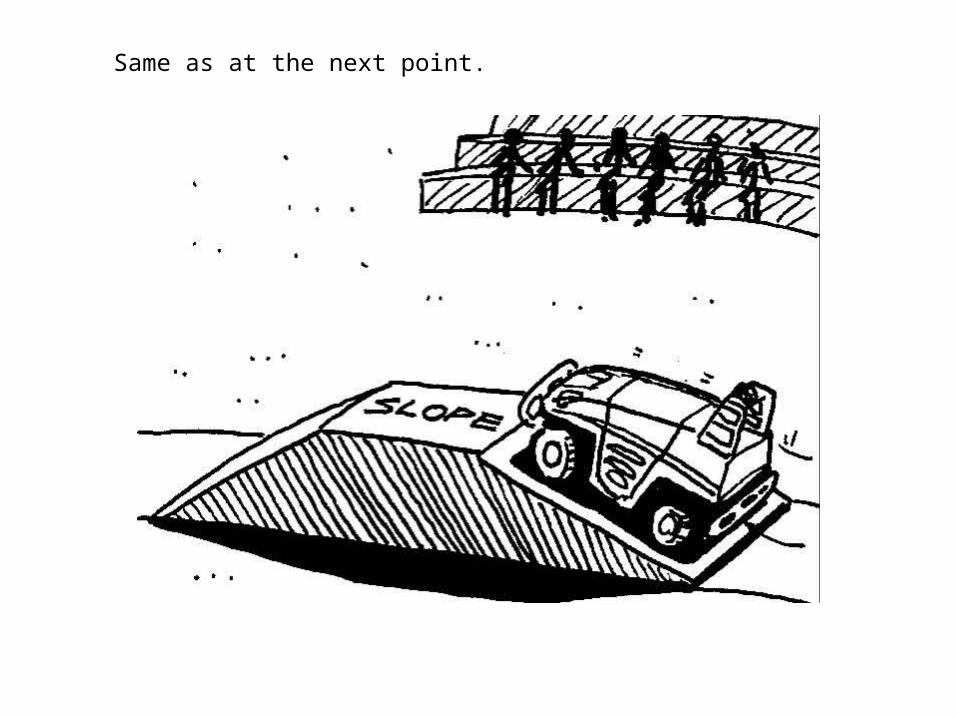
Same as at the next point.
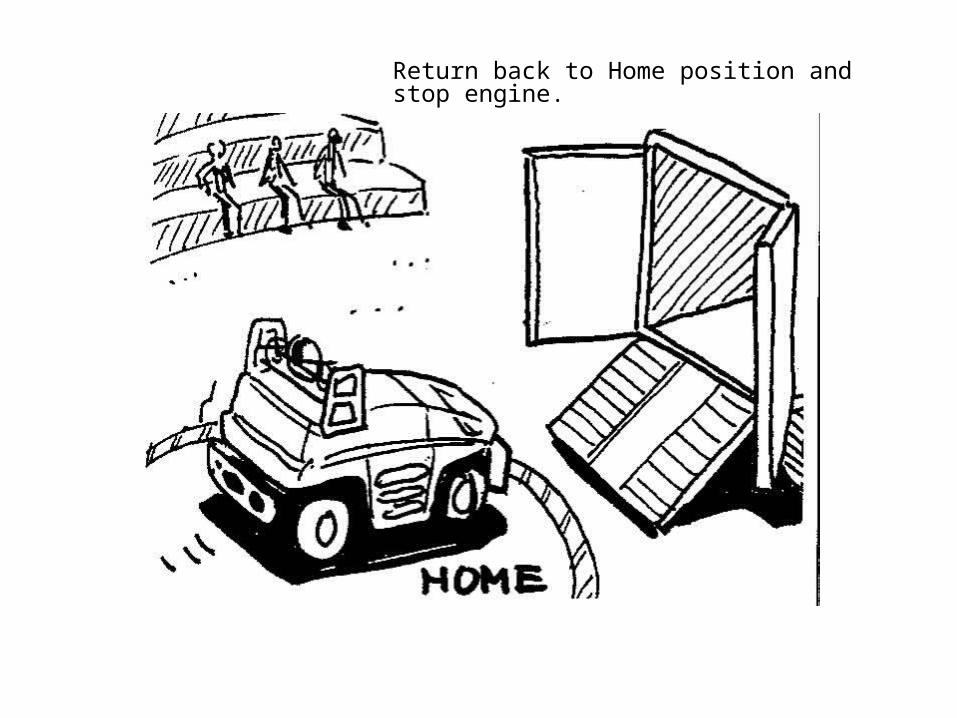
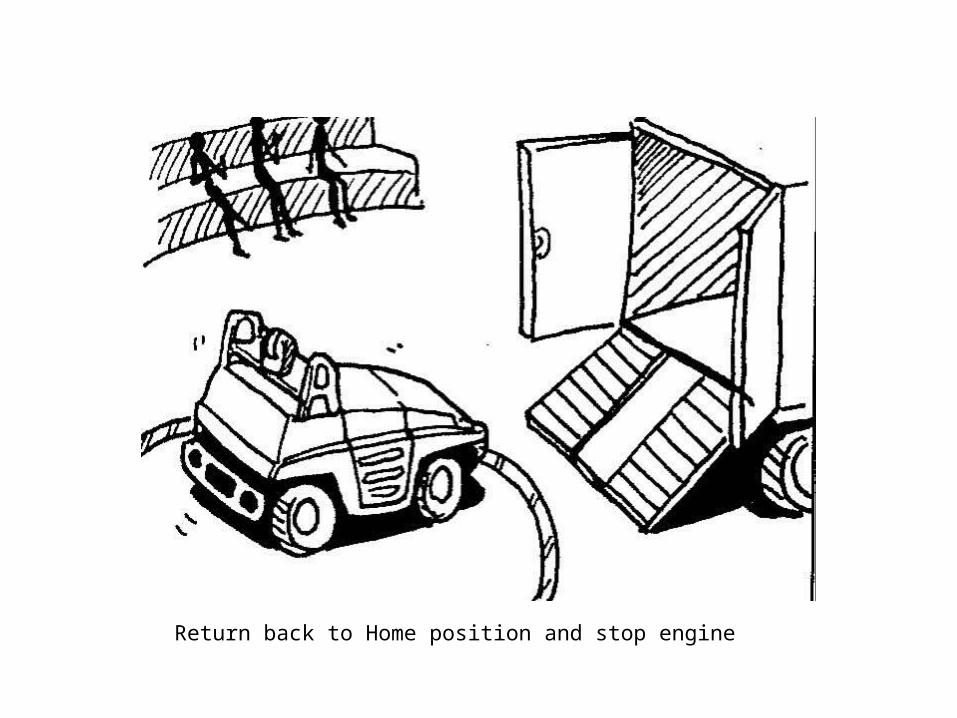
Return back to Home position and stop engine.

On PDA and Base station Monitor , sign of "Task finished "flush

DEMO#2: Obstacle Avoidance DemoDEMO#2: Obstacle Avoidance Demo
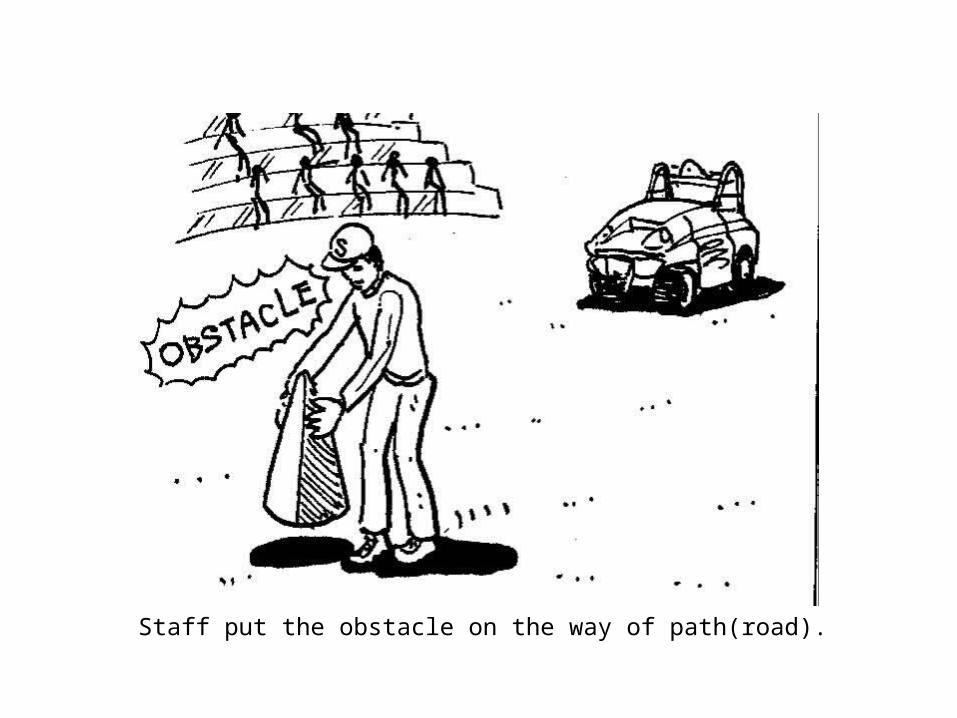
Staff put the obstacle on the way of path(road).
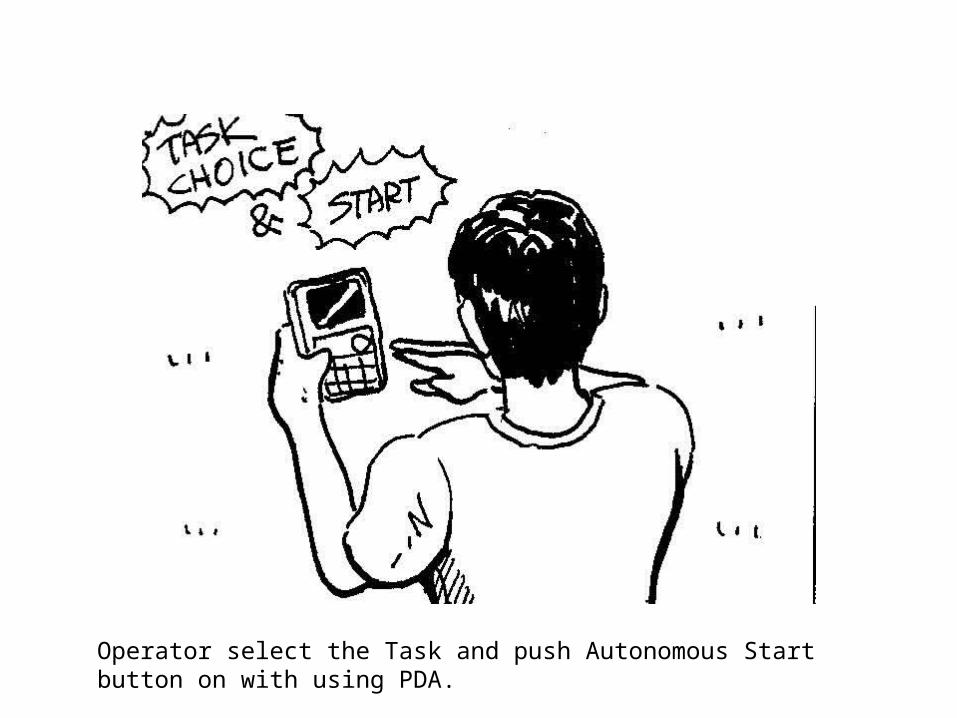
Operator select the Task and push Autonomous Start button on with using PDA.
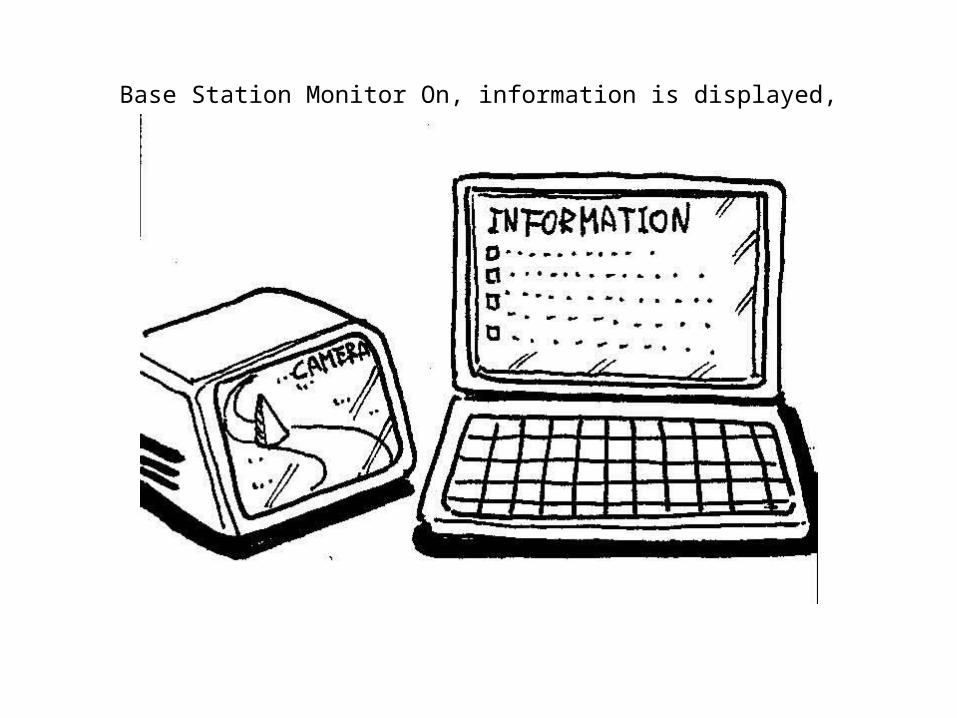
Base Station Monitor On, information is displayed,

Start "Autonomous Run".
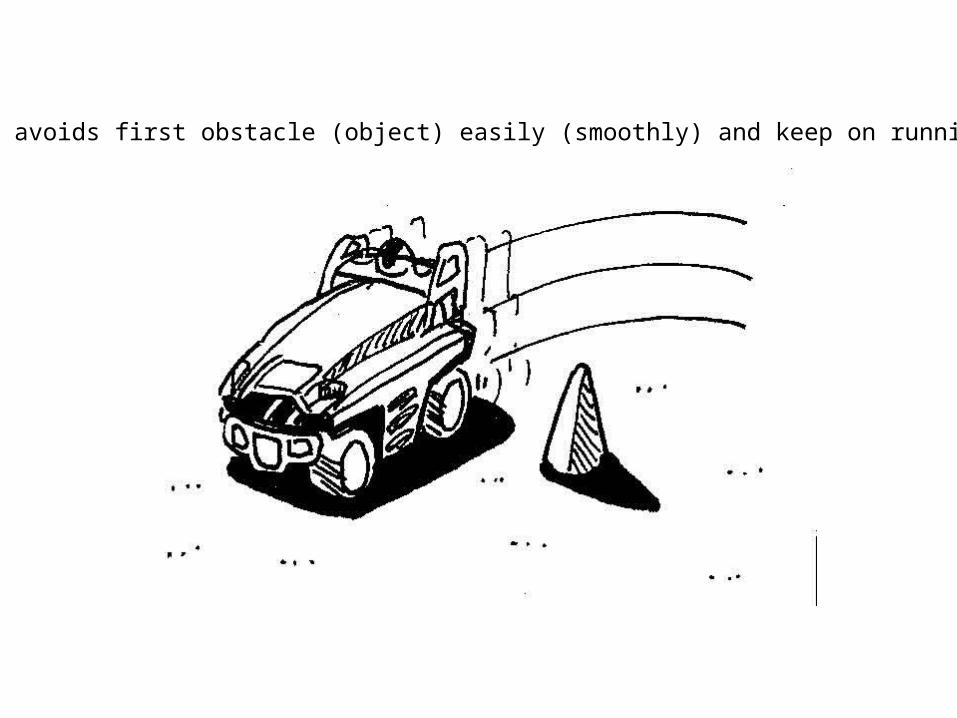
UGV avoids first obstacle (object) easily (smoothly) and keep on running
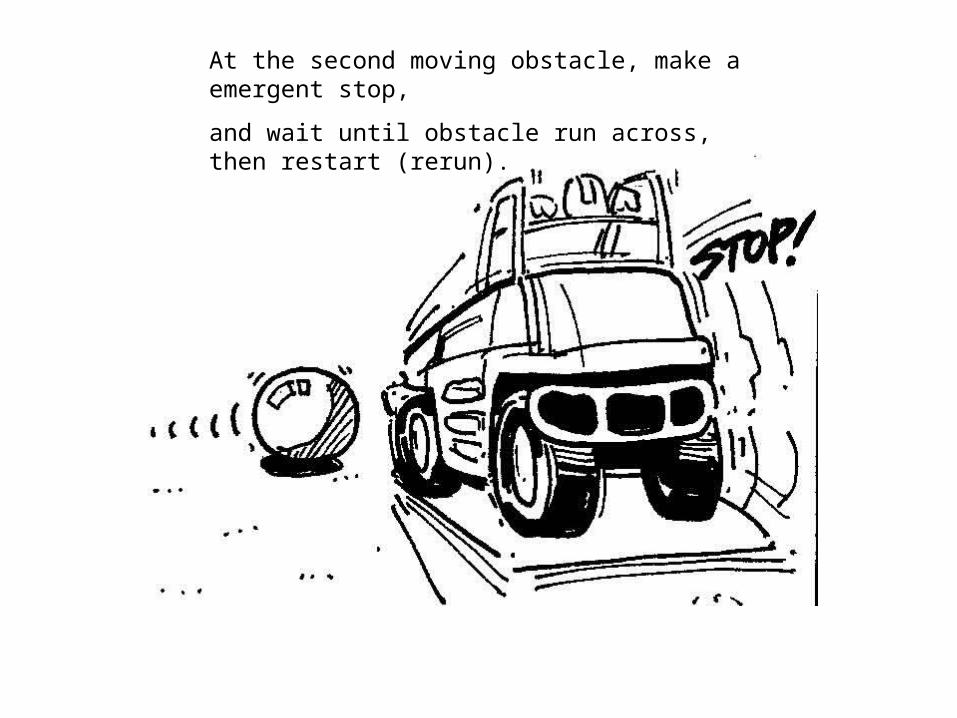
At the second moving obstacle, make a emergent stop,
and wait until obstacle run across, then restart (rerun).

A dead-end obstacle:
UGV send HELP signal to base station.
Base station monitor has a flushing Help sign. Automatically operation mode turns into "Remote control mode"

Base station operator runs UGV with remote-control watching
picture image through Camera.
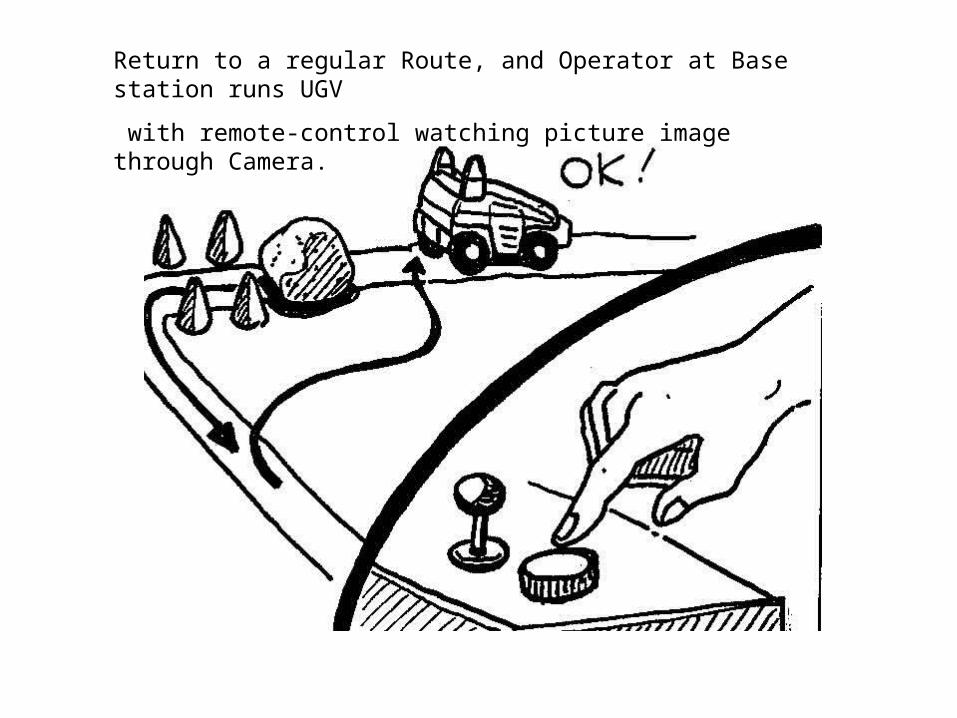
Return to a regular Route, and Operator at Base station runs UGV
with remote-control watching picture image through Camera.

After few seconds, mode turns into Autonomous mode again.
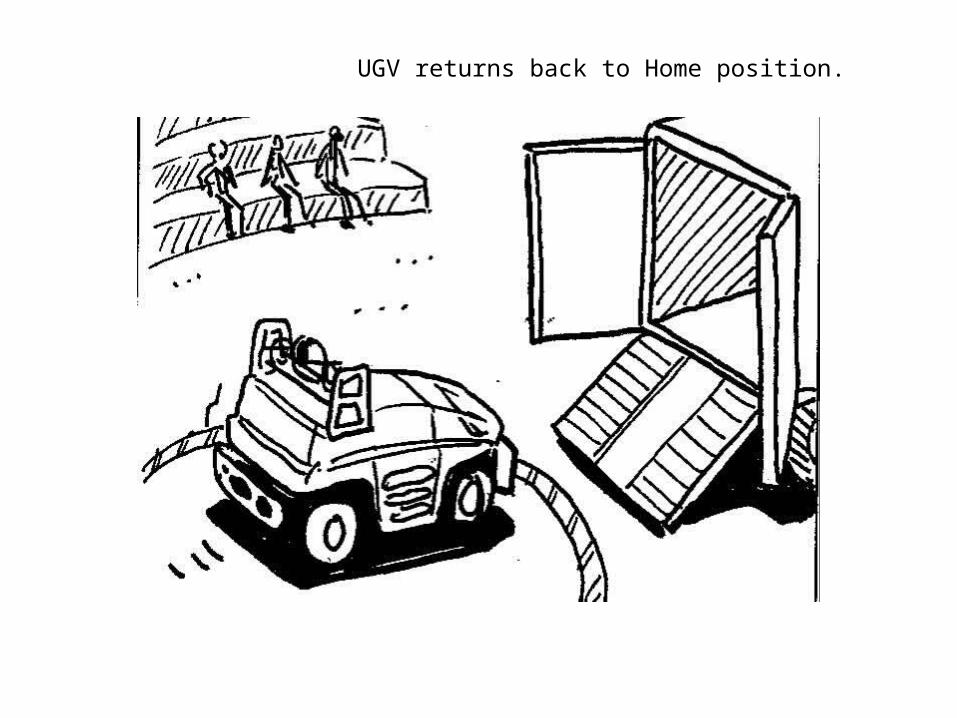
UGV returns back to Home position.

On PDA and Base Station Monitor, sign"Task finished" flush..
DEMO # 3: Complete reproduction of manual driveDEMO # 3: Complete reproduction of manual drive

Operator takes a sheet cover and ride on.

Operator command" Start Teaching ".

Engine starts, Manual Run starts, Teaching starts.
Recording of running path starts.
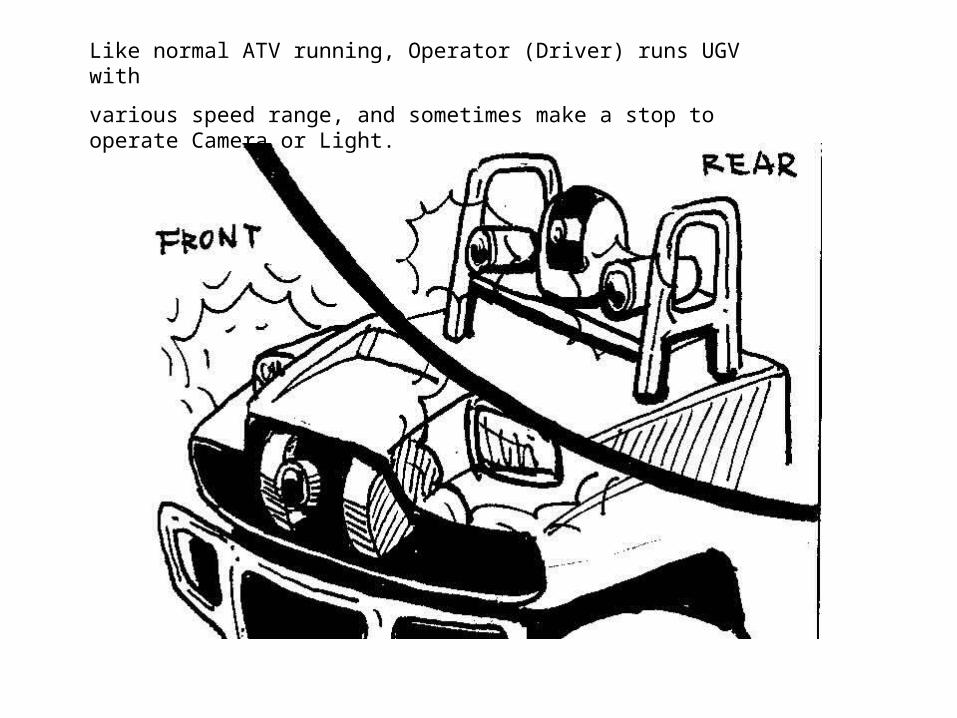
Like normal ATV running, Operator (Driver) runs UGV with
various speed range, and sometimes make a stop to operate Camera or Light.
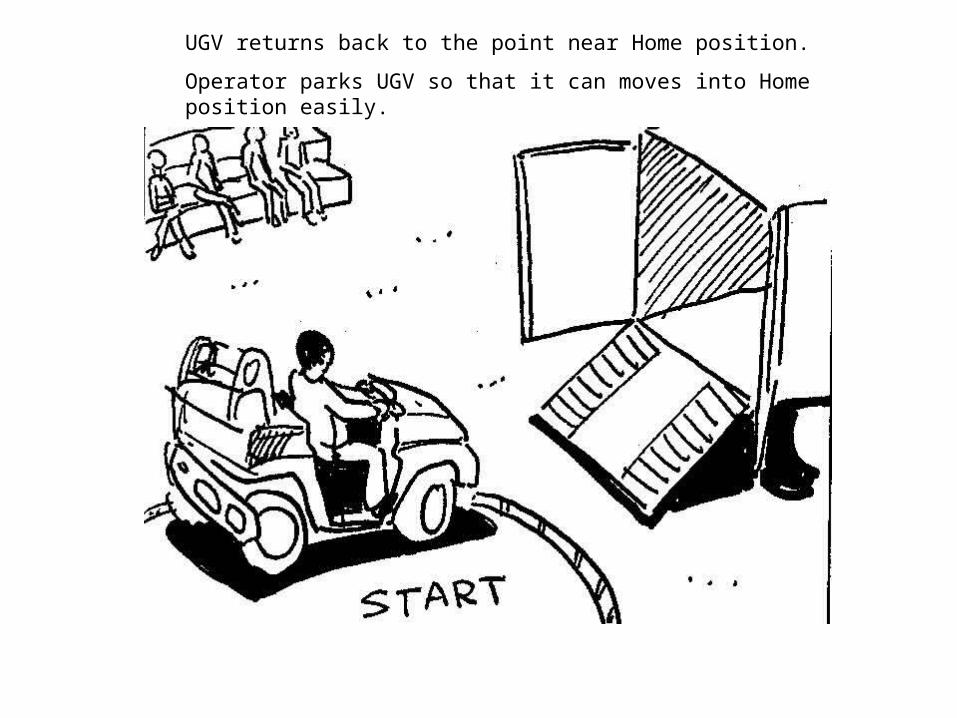
UGV returns back to the point near Home position.
Operator parks UGV so that it can moves into Home position easily.

Operator command “Finish Teaching” and stop engine
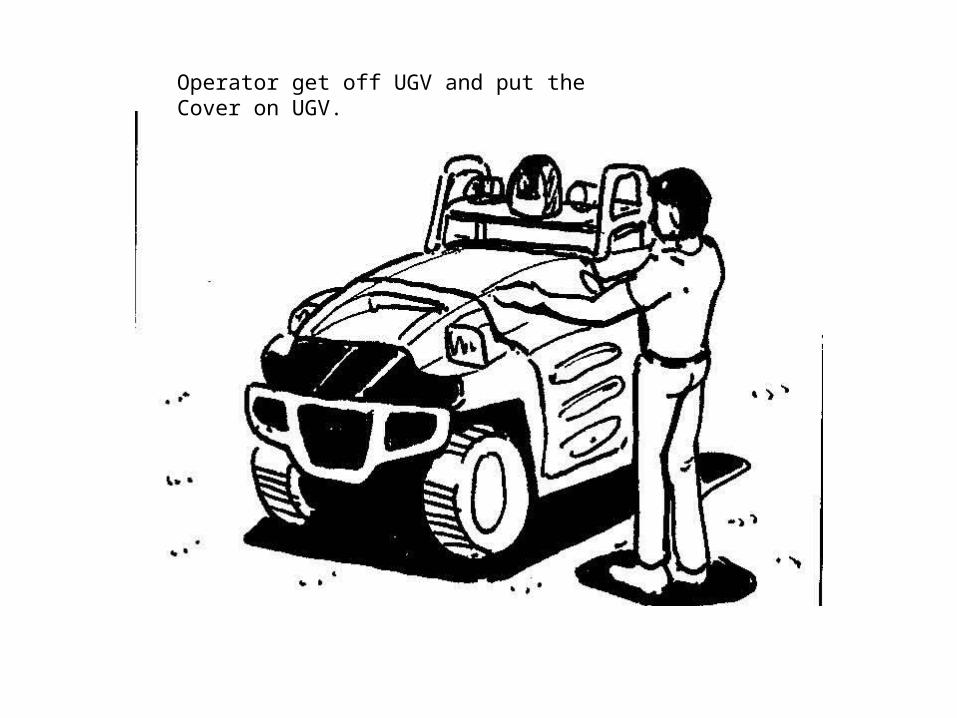
Operator get off UGV and put the Cover on UGV.
Operator put the name on "the taken route data " and save it by PDA.
Operator select "TASK" and push "Autonomous Mode".button

PC at Base Station has an Information screen on, and another Monitor
has a Picture taken by Camera

UGV moves into Home position and stops once.
UGV stop for a while, and start Autonomous running.

UGV reproduce every movement of manual running completely and return back.
Return back to Home position and stop engine

On PDA and Base Station Monitor , sign of "Task finished "flush
DEMO#4 : Creation of Route on desk and DemoDEMO#4 : Creation of Route on desk and Demo
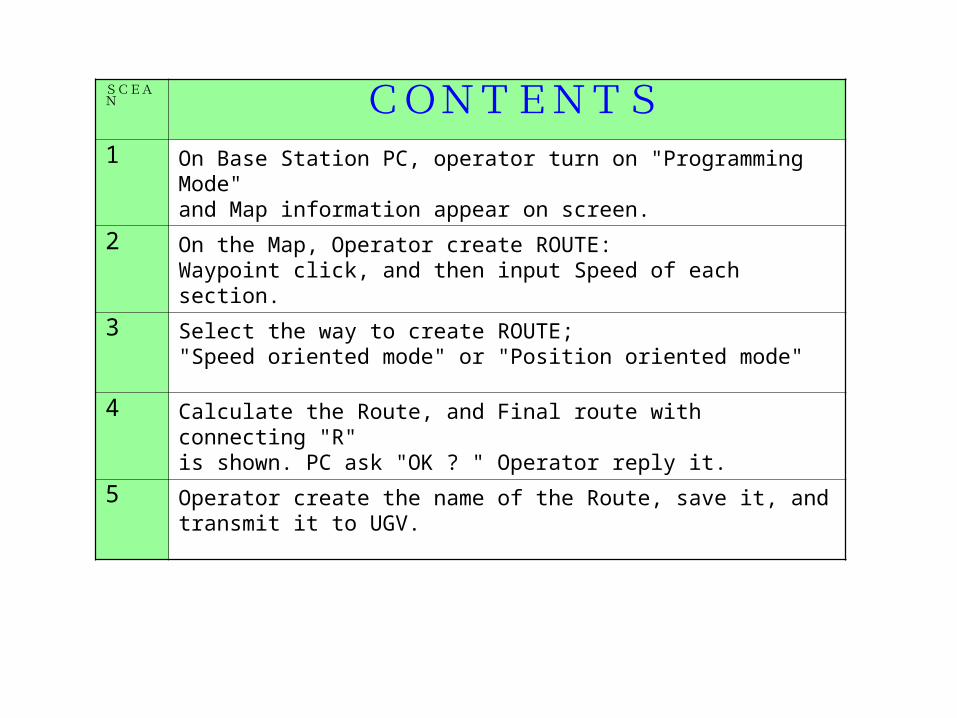
SCEAN CONTENTS1 On Base Station PC, operator turn on "Programming Mode"
and Map information appear on screen.
2 On the Map, Operator create ROUTE:Waypoint click, and then input Speed of each section.
3 Select the way to create ROUTE;"Speed oriented mode" or "Position oriented mode"
4 Calculate the Route, and Final route with connecting "R"is shown. PC ask "OK ? " Operator reply it.
5 Operator create the name of the Route, save it, and transmit it to UGV.

ApplicationApplication

Application Components for DemonstrationApplication Components for Demonstration
Camera -Present Heli system(Fron/Rear camera plus application camera) (option: EyeSee360)
-Use present Heli system
-Apply “Joystick” for Base station/ Vehicle
Search Light -Search Light for Marine use or Police use (ex. PATLITE)
-Put it separate from Head Light
-Move
Voice speeker/Mike/ Tranceiver
-Broadcast Recording Message at the points
-When Base Station Switch On, operator voice is broadcast
-Mike on UGV is always ON
-At Base Station, Volume only
-For Interactive Conversation (ex.PATLITE)
Patrol Light -Just WARNING purpose (ex. PATLITE)


Detail design of the VehicleDetail design of the Vehicle
System diagramfrom KAMIYA-san
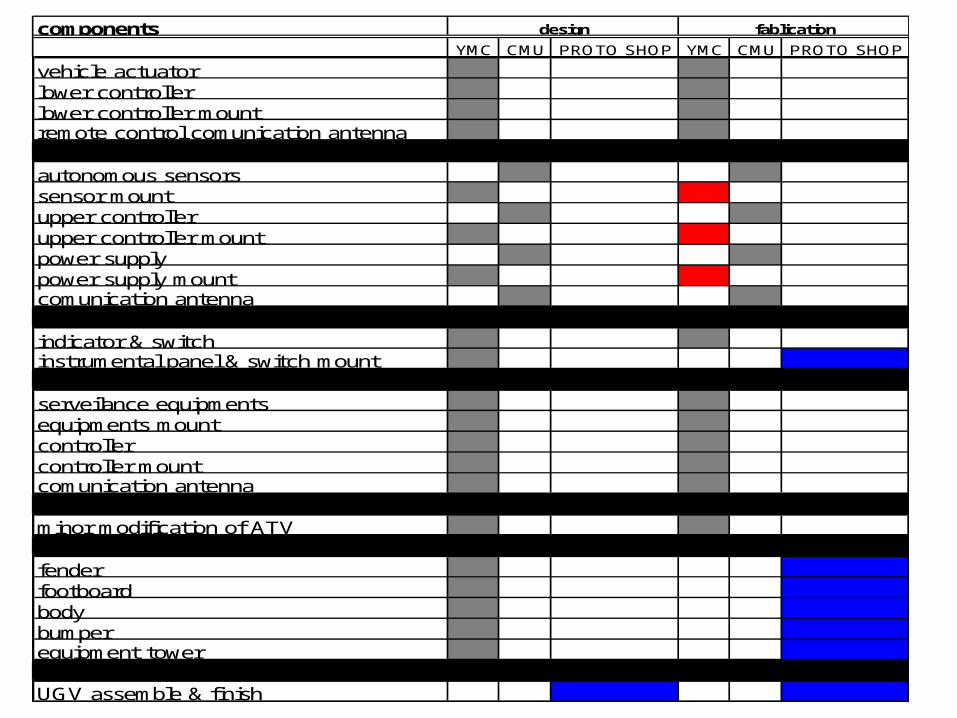
componentsYMC CMU PROTO SHOP YMC CMU PROTO SHOP
vehicle actuatorlower controllerlower controller mountremote control comunication antenna
autonomous sensors sensor mountupper controllerupper controller mountpower supplypower supply mountcomunication antenna
indicator & switchinstrumental panel & switch mount
serveilance equipmentsequipments mountcontrollercontroller mountcomunication antenna
minor modification of ATV fenderfootboardbody bumperequipment tower
UGV assemble & finish
design fablication
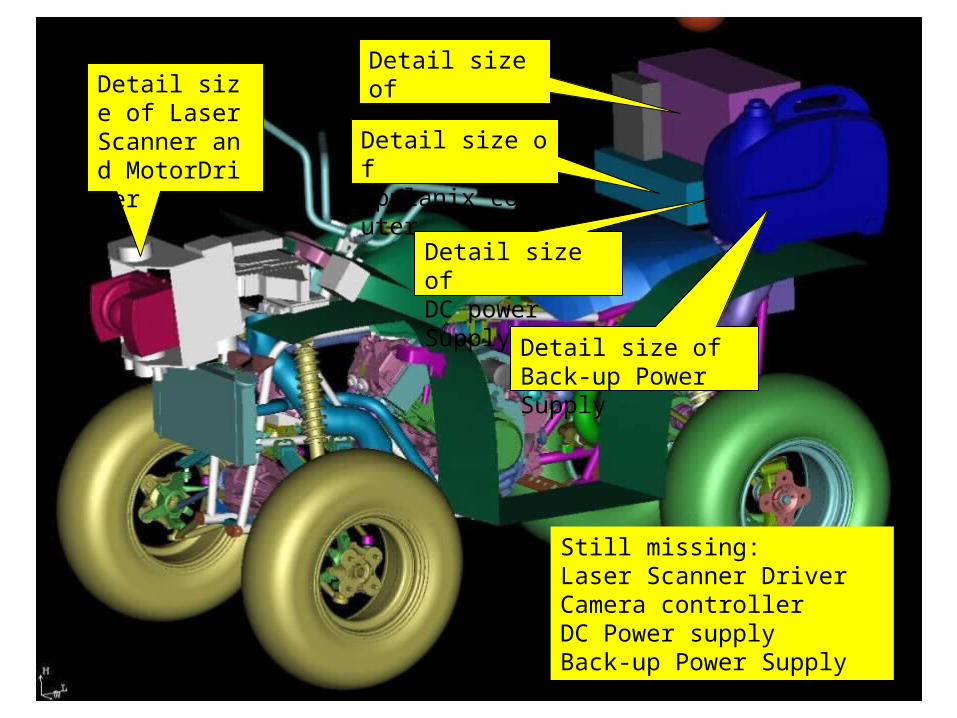
Detail size of Laser Scanner and MotorDriver
Detail size of Upper Computer
Detail size ofApplanix computer
Detail size ofDC power Supply
Detail size ofBack-up Power Supply
Still missing:Laser Scanner Driver Camera controllerDC Power supplyBack-up Power Supply
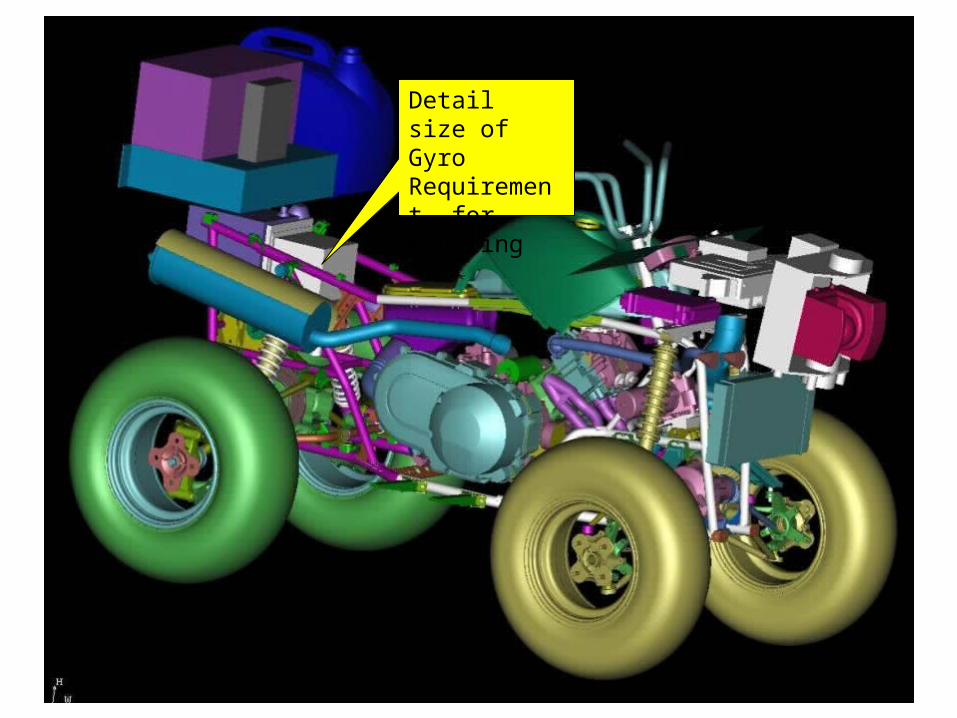
Detail size ofGyroRequirement for mounting
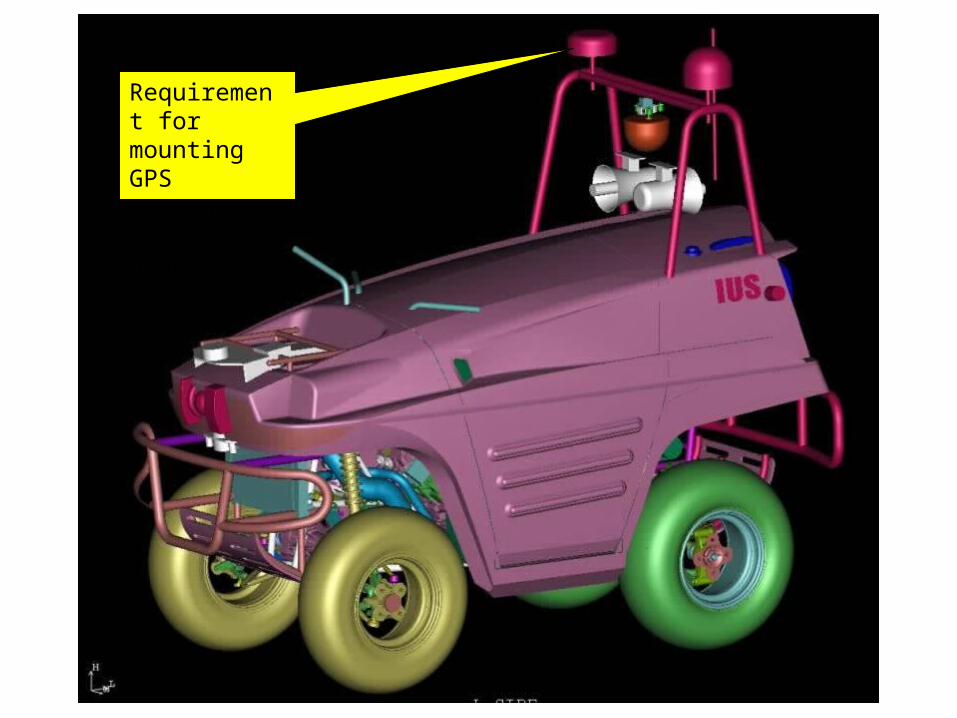
Requirement for mounting GPS antennaAnd quantity
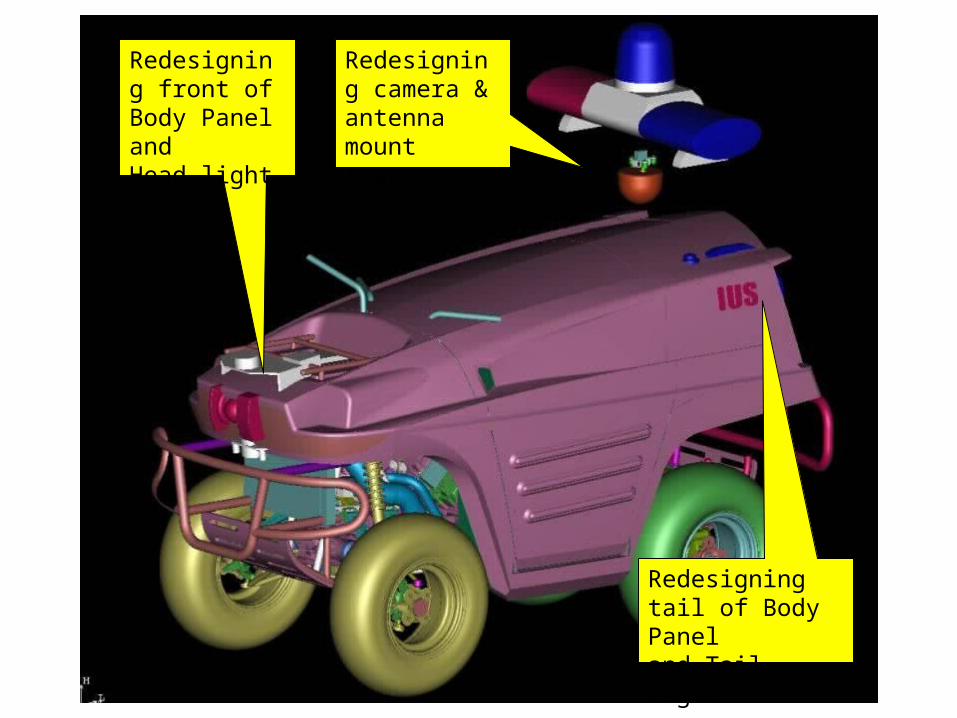
Redesigning front of Body Panel and Head light
Redesigning tail of Body Paneland Tail light
Redesigning camera & antenna mount tower

Base StationBase Station

Detail of Base StationDetail of Base StationPDA -Vehicle ON/ OFF/ STANBY
-Mode switching
-Mode display
-Teaching Operation
-Route Registration(Save)
-Task Creation/ Save
-Start running/ Stop
-Display of Vehicle Information
PC at Base Station
-Display Map Information
-Display Vehicle Information ( position/ speed/ normal_abnormal/ mode)
-Task name/ Task Status
Joystick/
Switch
-Vehicle Operation
Start Engine/Stop/Speed/Steering/ Brake/ Switch for Forward_Rear/
Parking/ operation of Headlight
-Camera Operation (Search Light interlocked movement)
-Mike ON/ Speeker Volume
-Recording Voice Reproduction/Stop
-Search Light ON/OFF
-Patrol Light ON/ OFF
Image Monitor -Display of Image
Related Documents