*** CONFIDENTIAL *** poration 2008 C Wallboards

*** CONFIDENTIAL *** © Toshiba Corporation 2008 Confidential Wallboards.
Dec 17, 2015
Welcome message from author
This document is posted to help you gain knowledge. Please leave a comment to let me know what you think about it! Share it to your friends and learn new things together.
Transcript

*** CONFIDENTIAL ***© Toshiba Corporation 2008 Confidential
Wallboards
Wallboards
In this sessions you will learn how to:
Install a wallboard driver
Configure a wallboard
Send messages to a wallboard

Installing a wallboard driver
Firstly select Wallboards from the Menu bar and then select Driver from the options available.
Then select a Wallboard Type and a
Serial port to use to drive the wallboard
Click OK

Configuring a Wallboard
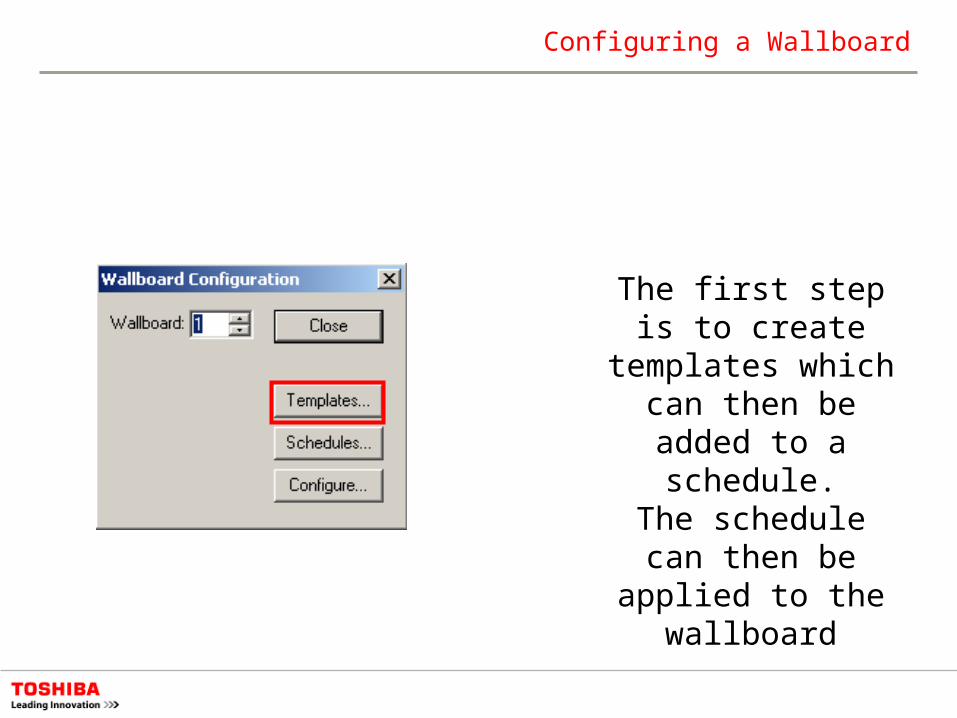
Now select Wallboards from the Menu bar and then select Configure
from the options available.
Configuring a Wallboard
The first step is to create templates which can then be added to a
schedule.The schedule can then
be applied to the wallboard
Configuring a Wallboard
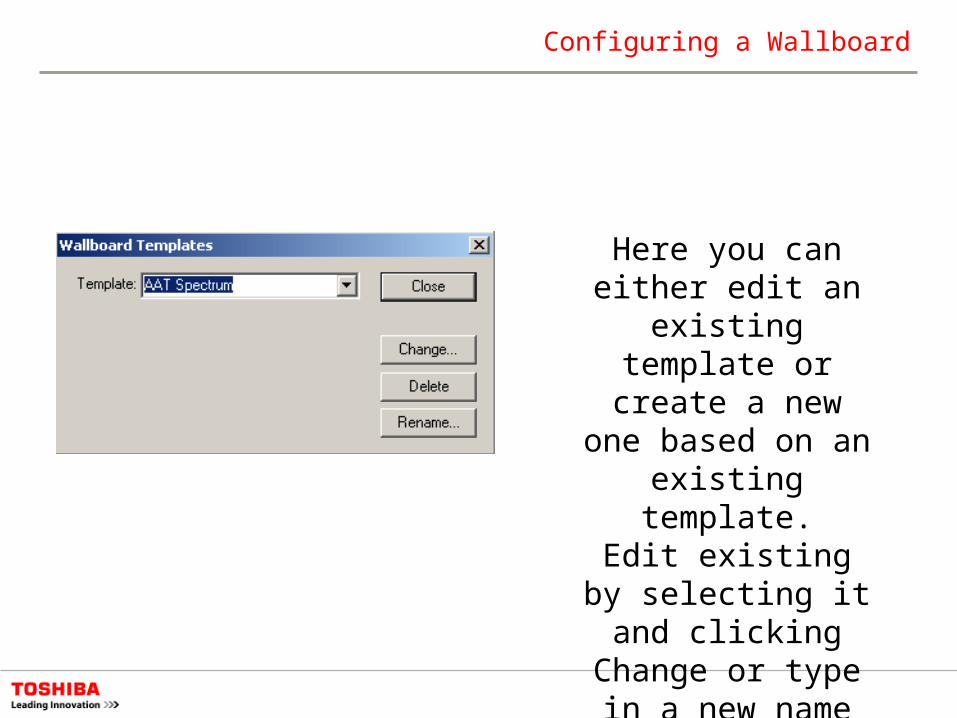
Here you can either edit an existing
template or create a new one based on an
existing template.Edit existing by selecting it and
clicking Change or type in a new name and click the Add
button
Configuring a Wallboard
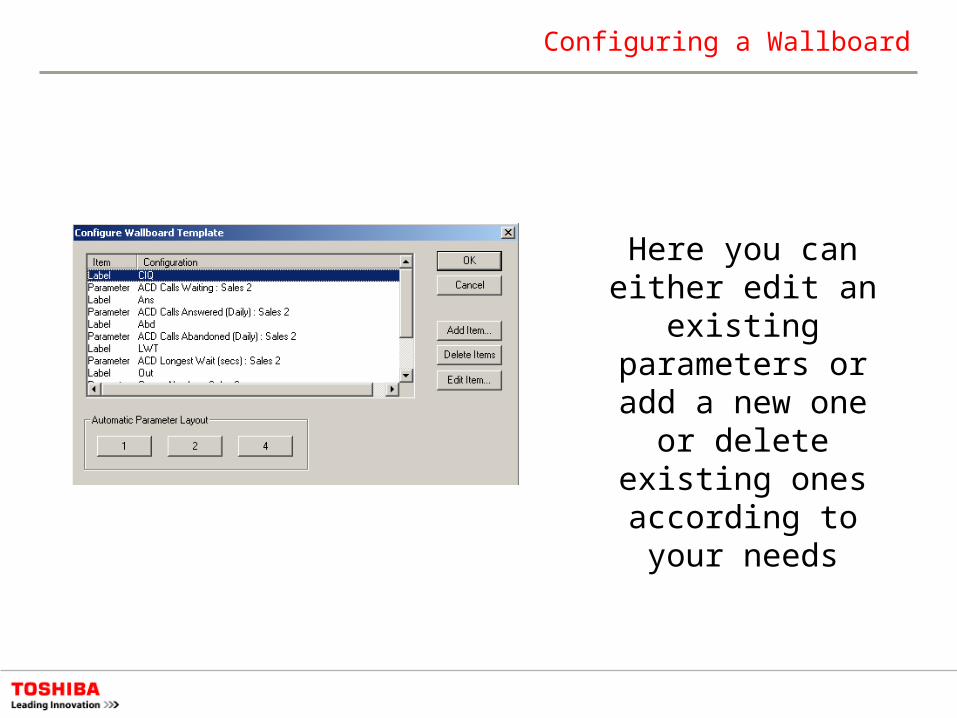
Here you can either edit an existing
parameters or add a new one or delete
existing ones according to your needs
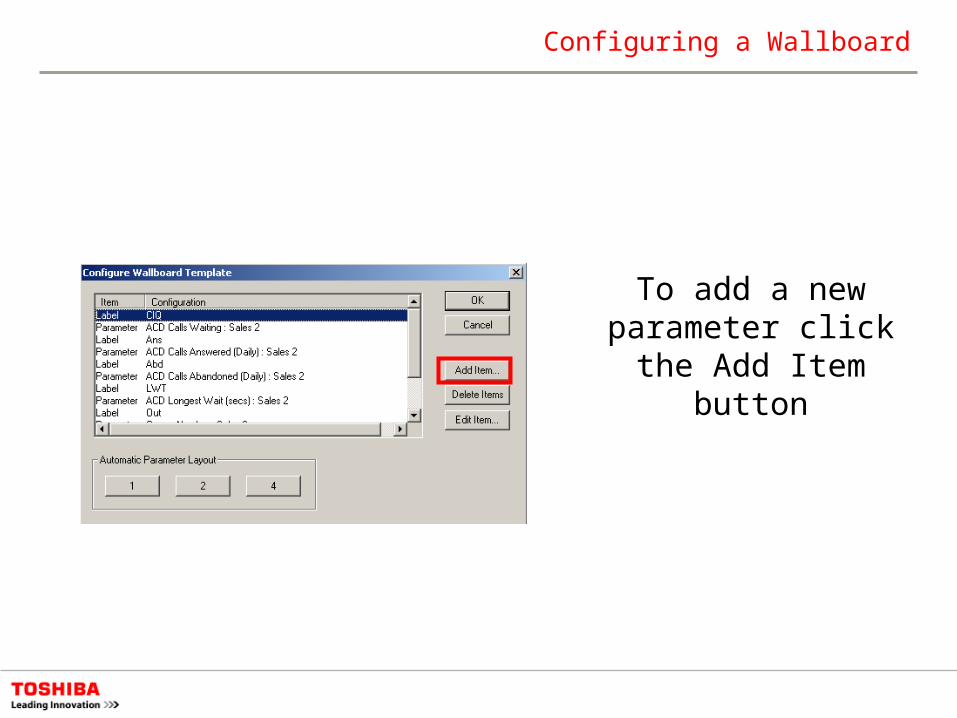
Configuring a Wallboard
To add a new parameter click the
Add Item button
Configuring a Wallboard
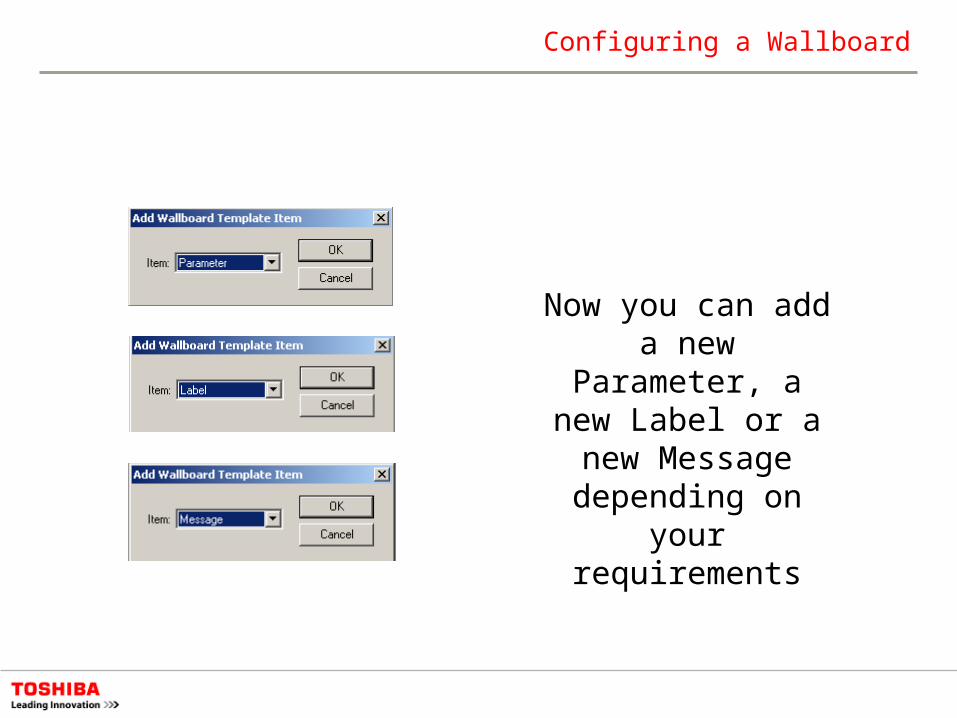
Now you can add a new Parameter, a new
Label or a new Message depending on
your requirements

Configuring a Wallboard
Once you have added a parameter or to edit an
existing parameter click the Edit button

Configuring a Wallboard
Now you can select the Device Type and Device Name to
display

Configuring a Wallboard
Select the Parameter to display from the drop
down list box.As a simple rule, any parameter available as
a large character window is available
making over 700 available
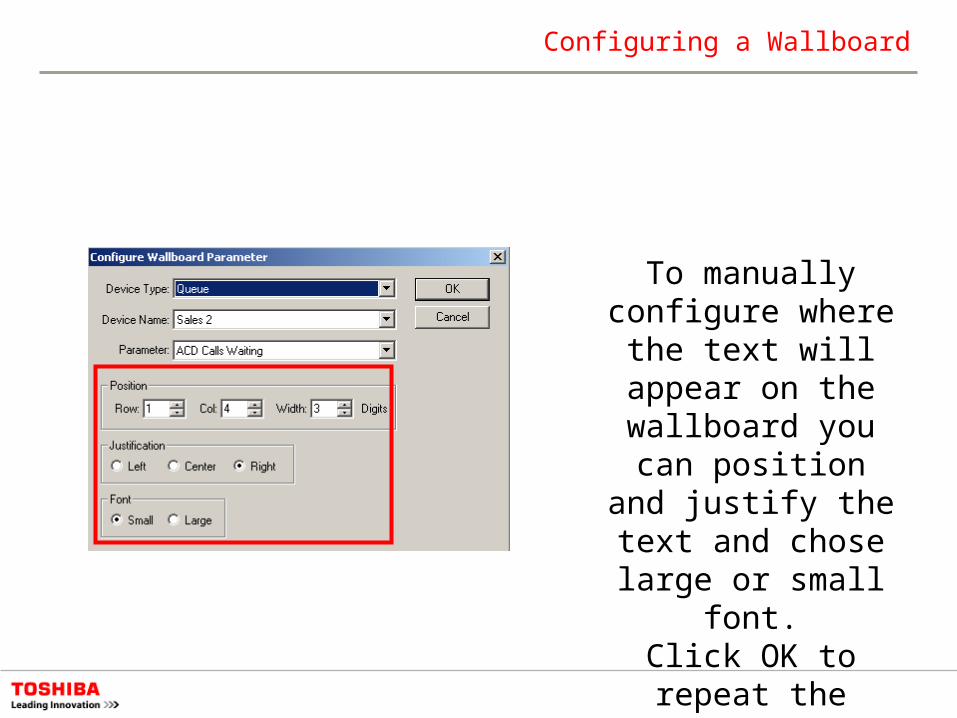
Configuring a Wallboard
To manually configure where the text will
appear on the wallboard you can
position and justify the text and chose large or
small font.Click OK to repeat the
process
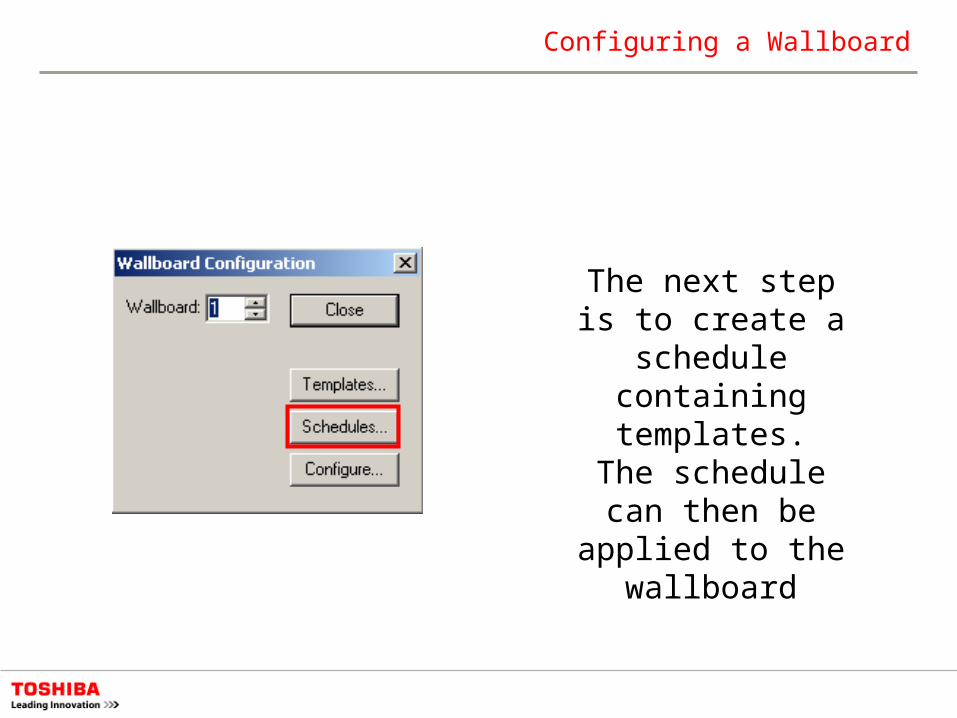
Configuring a Wallboard
The next step is to create a schedule
containing templates.The schedule can then
be applied to the wallboard
Configuring a Wallboard
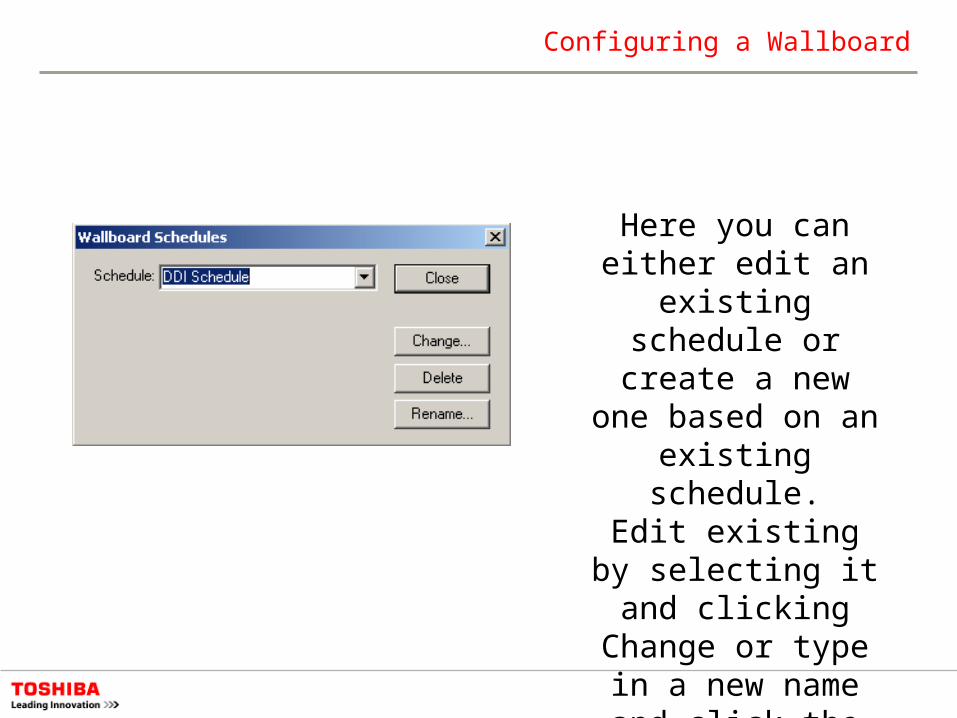
Here you can either edit an existing
schedule or create a new one based on an
existing schedule.Edit existing by selecting it and
clicking Change or type in a new name and click the Add
button

Configuring a Wallboard
Here you can either edit an existing
templates or add a new one or delete existing
ones according to your needs

Configuring a Wallboard
To add a new template simple select from the list box and select the amount of time you
want the template to be visible before scrolling
to the next one

Configuring a Wallboard
When you are finished click OK and then
Close and Close again.

Configuring a Wallboard
The final step is to apply the schedule to
the wallboard
Configuring a Wallboard
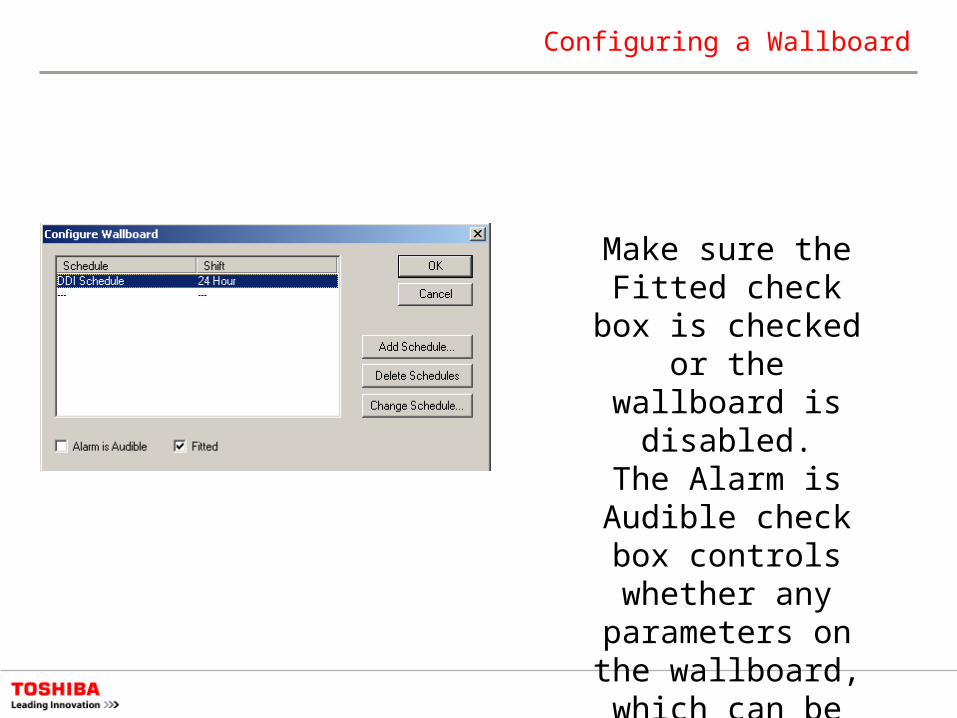
Make sure the Fitted check box is checked
or the wallboard is disabled.
The Alarm is Audible check box controls
whether any parameters on the
wallboard, which can be alarmed will trigger
the audible alarm
Sending Messages
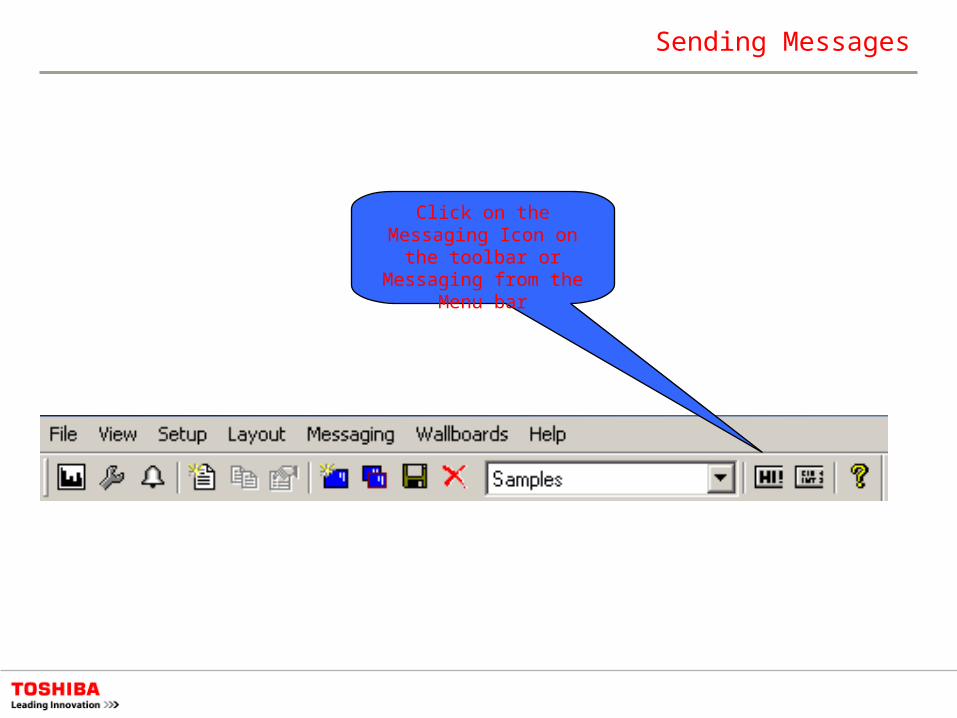
Click on the Messaging Icon on the toolbar or
Messaging from the Menu bar
Sending Messages
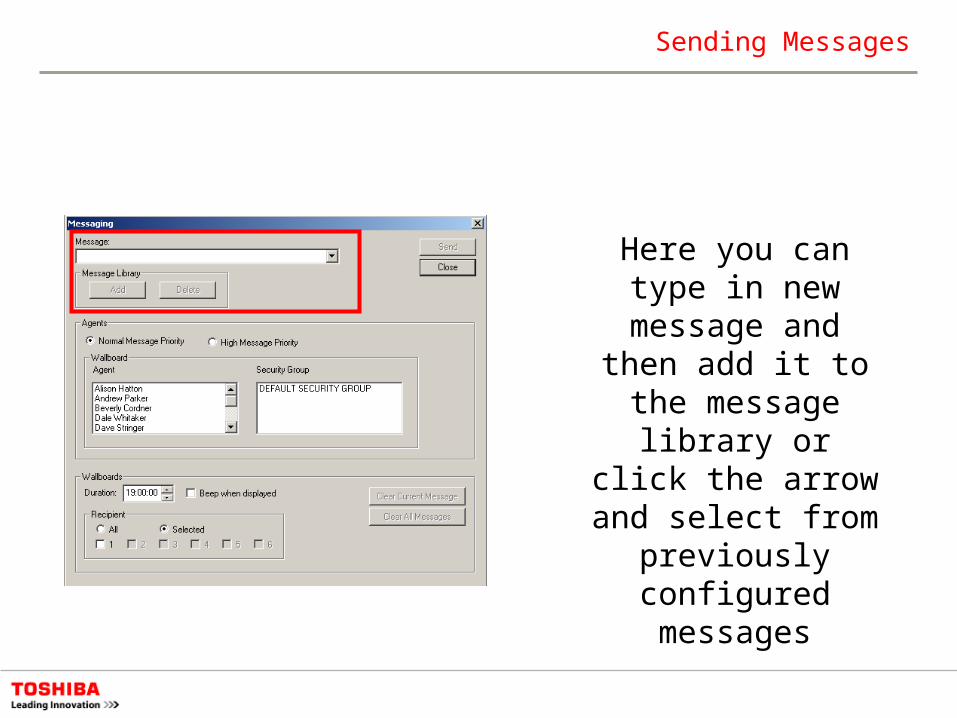
Here you can type in new message and then add it to the message library or click the
arrow and select from previously configured
messages

Sending a Message
In this area you select the wallboard to
message if there are more than one along
with the duration. Zero will fix the message in
place.Finally Beep will make an audible alert when
messaging
Related Documents