© 2011 Delmar, Cengage Learning Chapter 6 Working with Patterns and Brushes

© 2011 Delmar, Cengage Learning Chapter 6 Working with Patterns and Brushes.
Dec 13, 2015
Welcome message from author
This document is posted to help you gain knowledge. Please leave a comment to let me know what you think about it! Share it to your friends and learn new things together.
Transcript
© 2011 Delmar, Cengage Learning
Chapter 6
Working with Patterns and Brushes
Objectives• Use the Move command• Create a pattern• Design a repeating pattern• Work with the Brushes panel• Work with Scatter brushes• Compare the Paintbrush tool to the Blob Brush
tool• Enhance artwork with brushes & the Width tool
© 2011 Delmar Cengage Learning
Use the Move Command
• Offset refers to the distance an object is moved or copied from a starting location to an end location.
• The Move command is the most effective method for moving an object at precise offsets.
© 2011 Delmar Cengage Learning
Use the Move Command
• In the Move dialog box, enter horizontal and vertical distance you want object moved.
• An alternative method is to enter a value for the distance you want the object to move and the angle it should move.
© 2011 Delmar Cengage Learning
Use the Move Command
© 2011 Delmar Cengage Learning
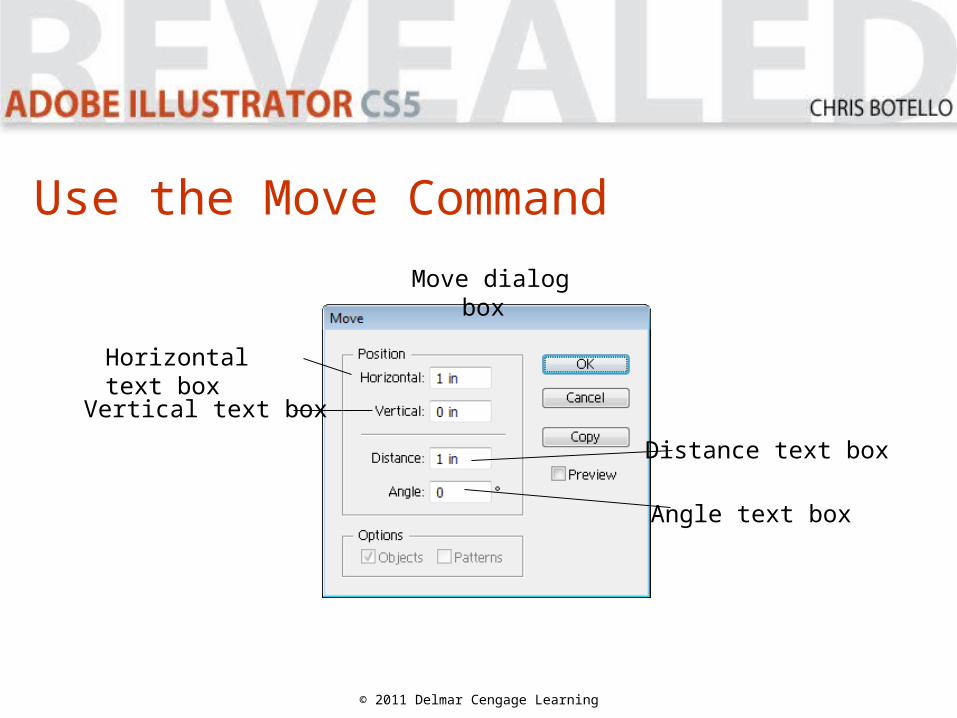
Move dialog box
Horizontal text box
Vertical text box
Distance text box
Angle text box

Use the Move Command
© 2011 Delmar Cengage Learning
Use the Move command to create a simple pattern.

Create a Pattern
Design patterns that can be used to fill objects or applied as outlines for objects.
© 2011 Delmar Cengage Learning
Create a Pattern
• Patterns can be simple, complex, abstract, or specific.
• Save patterns for future use and applications in the Swatches panel.– The Swatches panel comes preloaded with
patterns that you can modify
© 2011 Delmar Cengage Learning
Create a Pattern
To create a pattern:
• Create artwork for the pattern.
• Drag artwork on to Swatches panel where it is defined as a pattern swatch.
© 2011 Delmar Cengage Learning
Create a Pattern
The following cannot be used as artwork for a pattern:
• Gradients• Blends• Brush strokes• Meshes
© 2011 Delmar Cengage Learning
• Bitmap images• Graphs• Masks• Other patterns
Create a Pattern
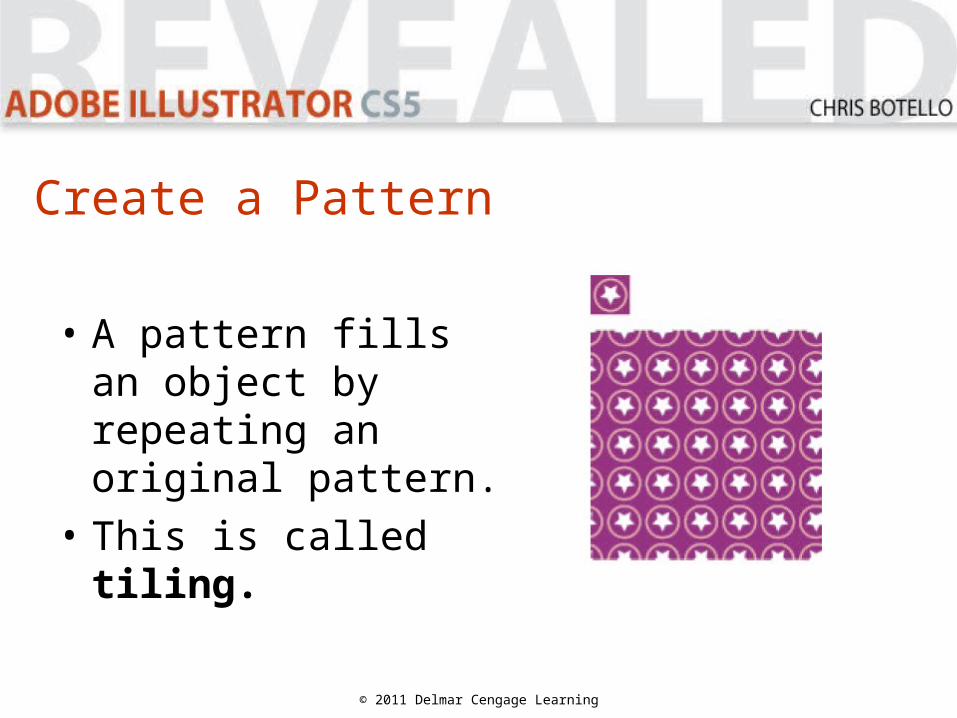
• A pattern fills an object by repeating an original pattern.
• This is called tiling.
© 2011 Delmar Cengage Learning
Create a Pattern
Design fill patterns by designing one tile:
• For efficiency, tile should be ½" to 1" square.
• When applied as a fill, the tile will repeat to fill object.
© 2011 Delmar Cengage Learning
Create a Pattern
• Create a bounding box to define the perimeter of pattern that contains no rectangular objects.
• Position an un-filled, un-stroked rectangular object at back of stacking order to act as bounding box.
• All objects within bounding box will be repeated as part of pattern.
© 2011 Delmar Cengage Learning
Create a Pattern
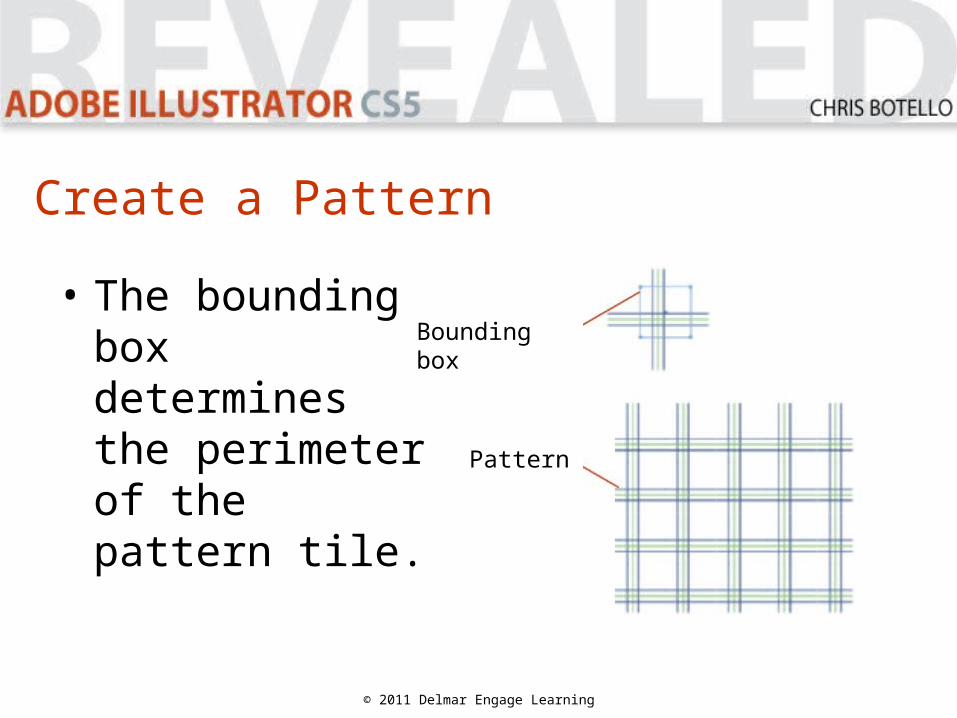
• The bounding box determines the perimeter of the pattern tile.
© 2011 Delmar Engage Learning
Bounding box
Pattern
Create a Pattern
© 2011 Delmar Cengage Learning
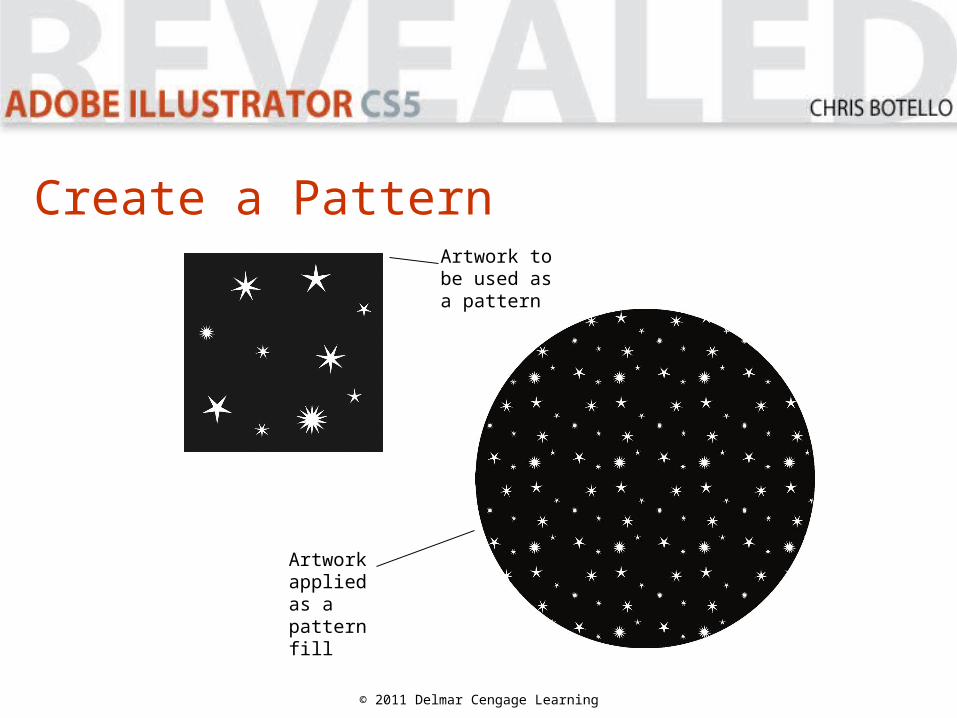
Artwork to be used as a pattern
Artwork applied as a pattern fill
Create a Pattern
• By default, a pattern begins at bottom-left of artboard, not the bottom-left corner of the object.
• If you move an object, the pattern changes within object.
© 2011 Delmar Cengage Learning

Create a Pattern
Best method for controlling pattern is to align ruler origin with the bottom-left corner of object.
1. Display rulers.
2. Position cursor at top-left corner of window where two rulers meet.
3. Drag cross hairs to bottom-left corner of filled object.
© 2011 Delmar Cengage Learning
Create a Pattern
© 2011 Delmar Cengage Learning
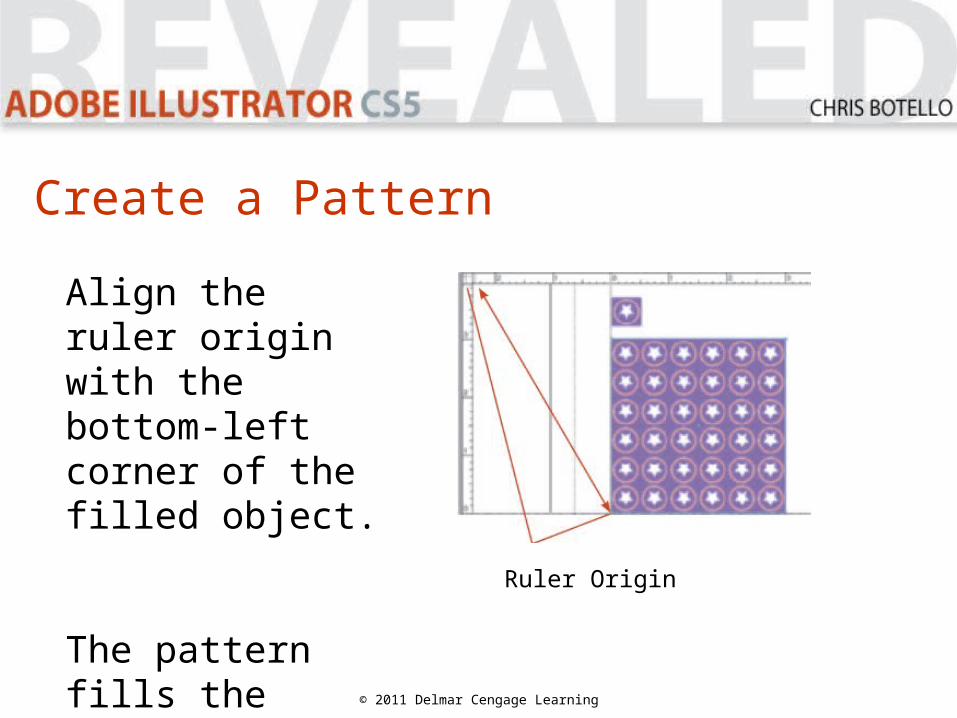
Align the ruler origin with the bottom-left corner of the filled object.
The pattern fills the object left to right, bottom to top.
Ruler Origin
Create a Pattern
• You can choose to transform only the object, only the pattern, or both.
• When you transform a pattern, all subsequent objects created will be filled with the transformed pattern.
© 2011 Delmar Cengage Learning
Create a Pattern
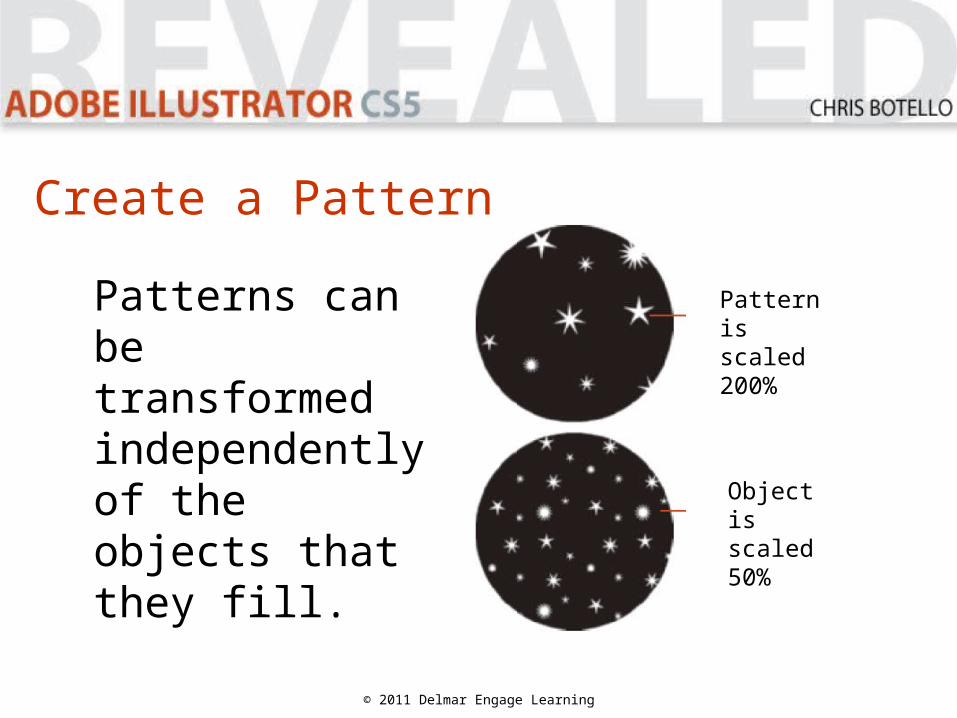
Patterns can be transformed independently of the objects that they fill.
© 2011 Delmar Engage Learning
Pattern is scaled 200%
Object is scaled 50%

Create a Pattern
• To return a pattern fill to its original appearance, fill an object with a different swatch, then reapply pattern.
© 2011 Delmar Cengage Learning
Create a Pattern
© 2011 Delmar Cengage Learning
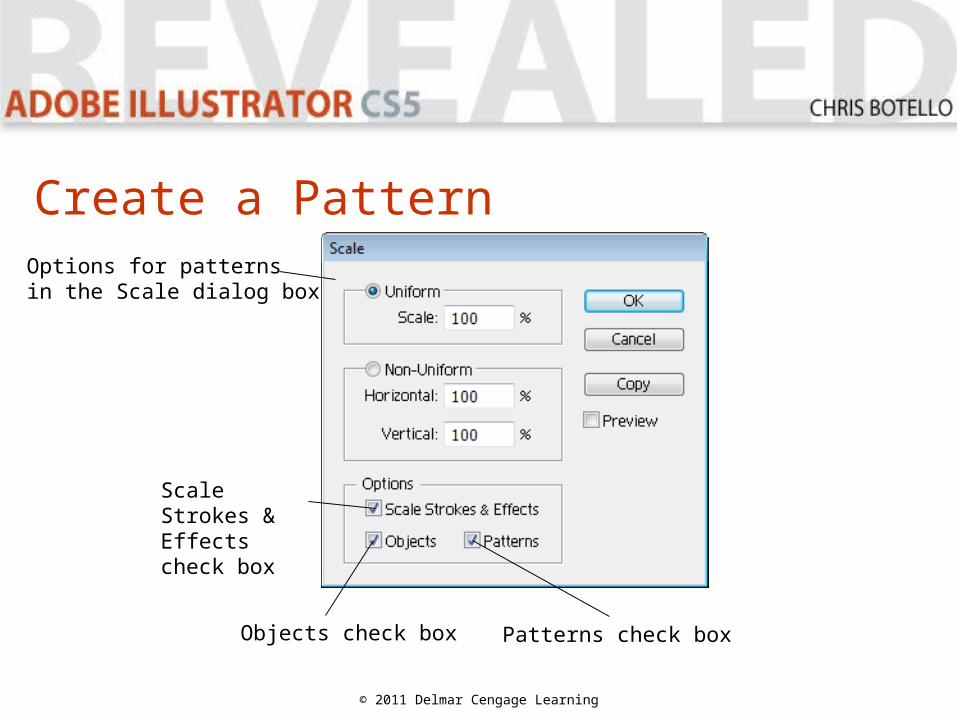
Options for patterns in the Scale dialog box
Scale Strokes & Effects check box
Objects check box Patterns check box

Design a Repeating Pattern
• You need to understand how patterns tile to achieve desired effect.
• Precision is important when creating a pattern.– Check alignment– Use dialog boxes to move and transform
objects; don’t try to do it by hand
© 2011 Delmar Cengage Learning
Design a Repeating Pattern
• Modify a pattern by editing artwork in pattern tile then replacing old pattern in Swatches panel.
• Any existing objects on artboard will be updated with new pattern.
• You can save the old pattern by saving new pattern as a new swatch.
© 2011 Delmar Cengage Learning
Design a Repeating Pattern
© 2011 Delmar Cengage Learning
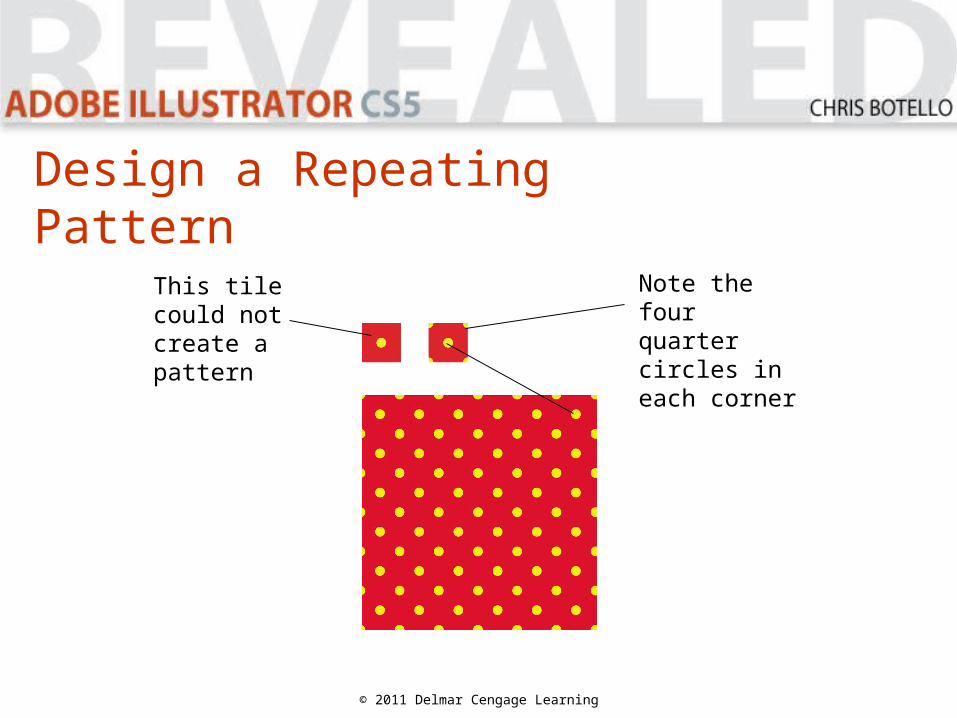
Note the four quarter circles in each corner
This tile could not create a pattern
Work with the Brushes Panel
The Brushes panel offers sample brushes and brush libraries.
• Calligraphic• Scatter• Art• Bristle• Pattern
© 2011 Delmar Cengage Learning
Work with the Brushes Panel
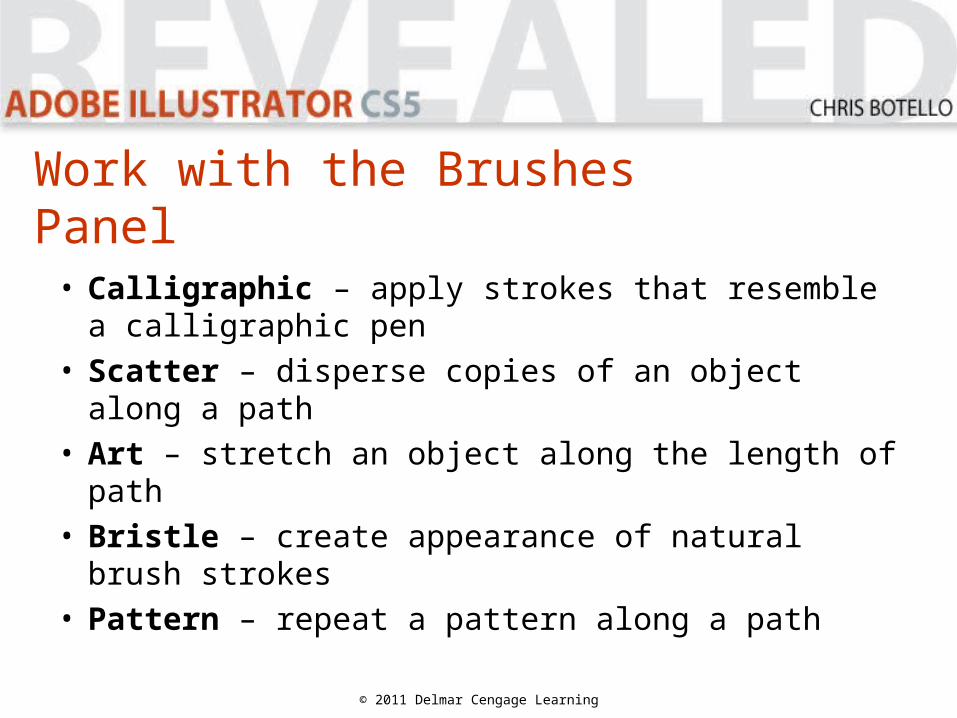
• Calligraphic – apply strokes that resemble a calligraphic pen
• Scatter – disperse copies of an object along a path
• Art – stretch an object along the length of path• Bristle – create appearance of natural brush
strokes• Pattern – repeat a pattern along a path
© 2011 Delmar Cengage Learning
Work with the Brushes Panel
• Artwork for brushes must be composed of simple paths – no gradients.
• Art and pattern brushes cannot include text.
• You must convert text to outlines before it can be used as artwork.
© 2011 Delmar Cengage Learning
Work with the Brushes Panel
© 2011 Delmar Cengage Learning
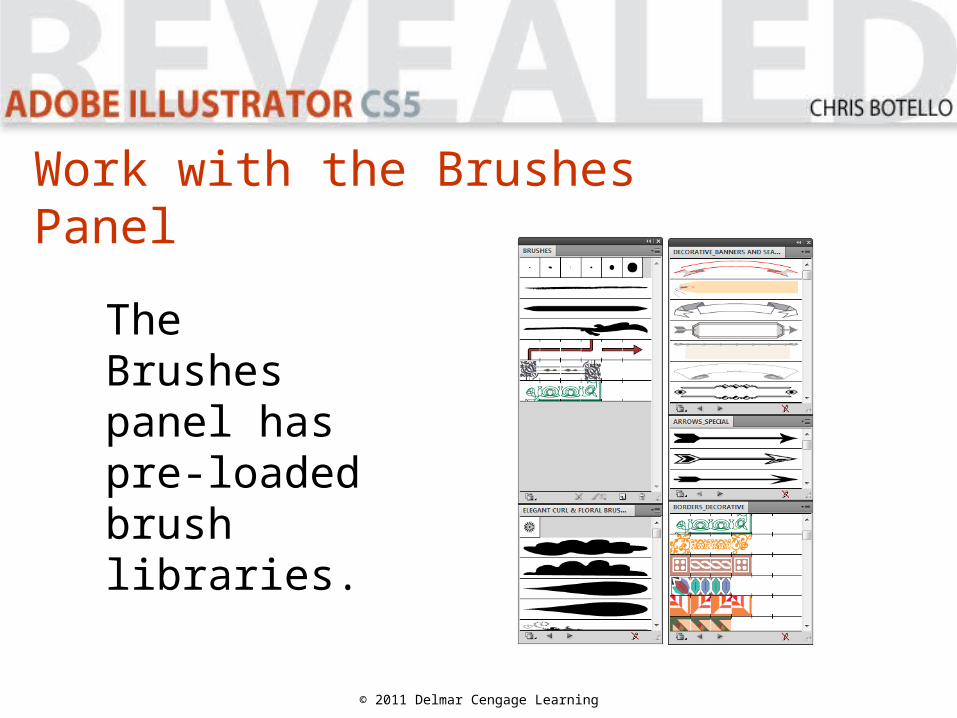
The Brushes panel has pre-loaded brush libraries.
Work with the Brushes Panel
© 2011 Delmar Cengage Learning
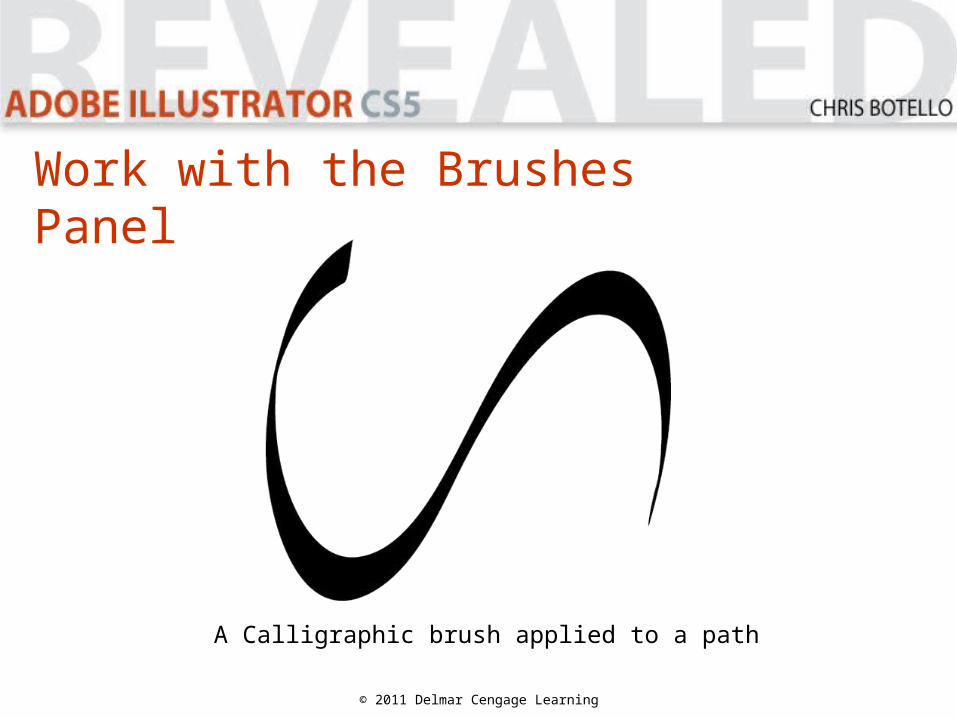
A Calligraphic brush applied to a path
Work with the Brushes Panel
© 2011 Delmar Cengage Learning
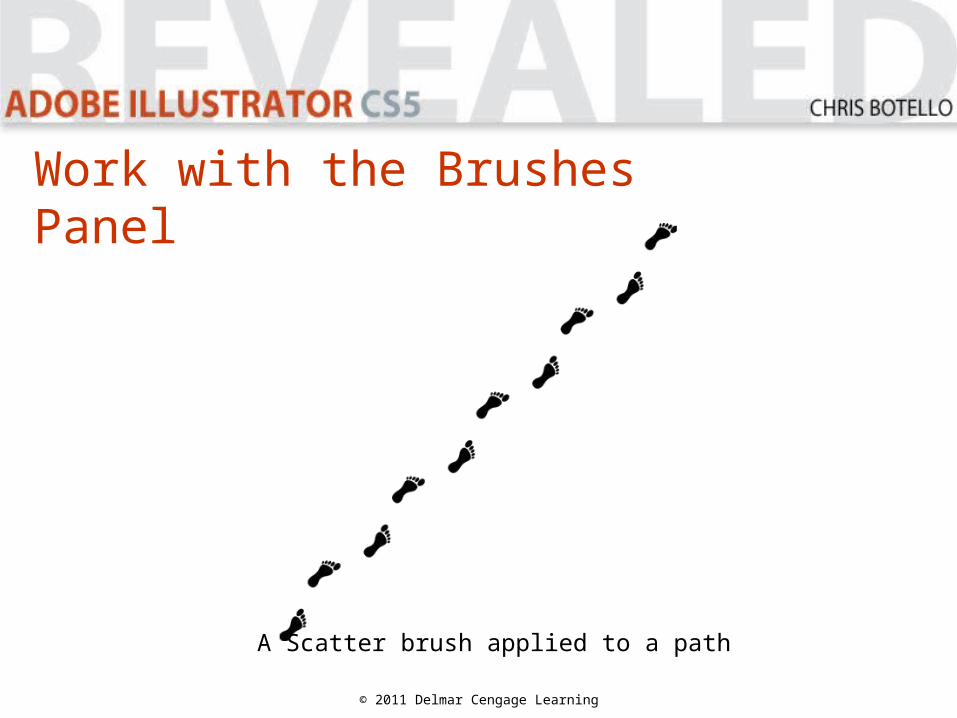
A Scatter brush applied to a path
Work with the Brushes Panel
© 2011 Delmar Cengage Learning
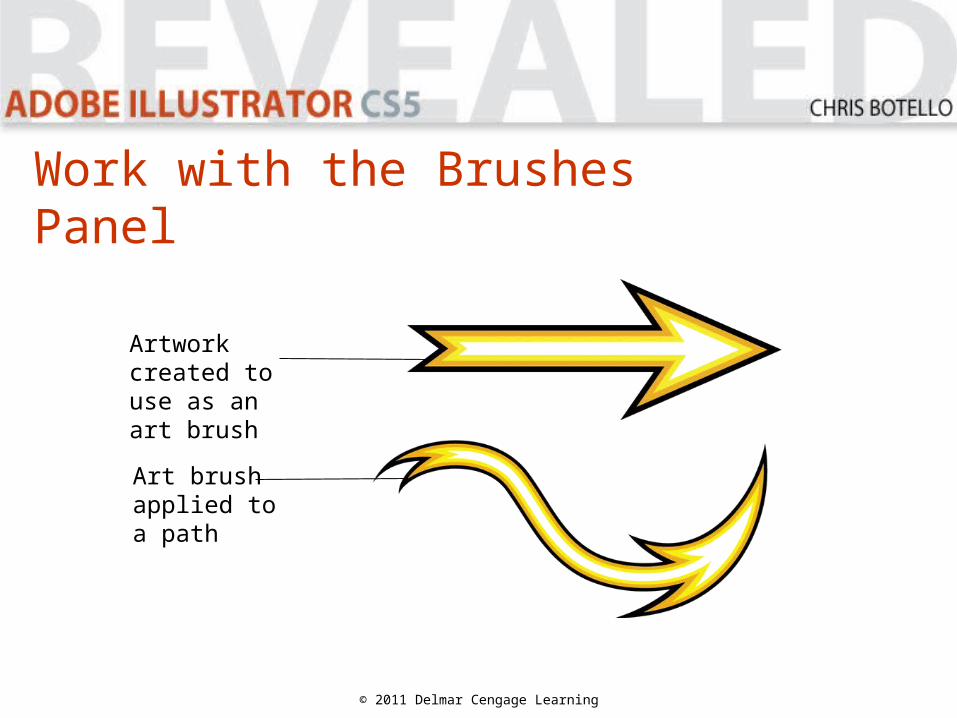
Artwork created to use as an art brush
Art brush applied to a path
Work with Scatter Brushes
• Scatter brushes allow you to manipulate a path endlessly.
• Precise control of size, spacing, and rotation of elements along path.
• Input scatter value, which determines how far objects can be positioned from path.
© 2011 Delmar Cengage Learning
Work with Scatter Brushes
• Scatter brushes are powerful for creating randomness.
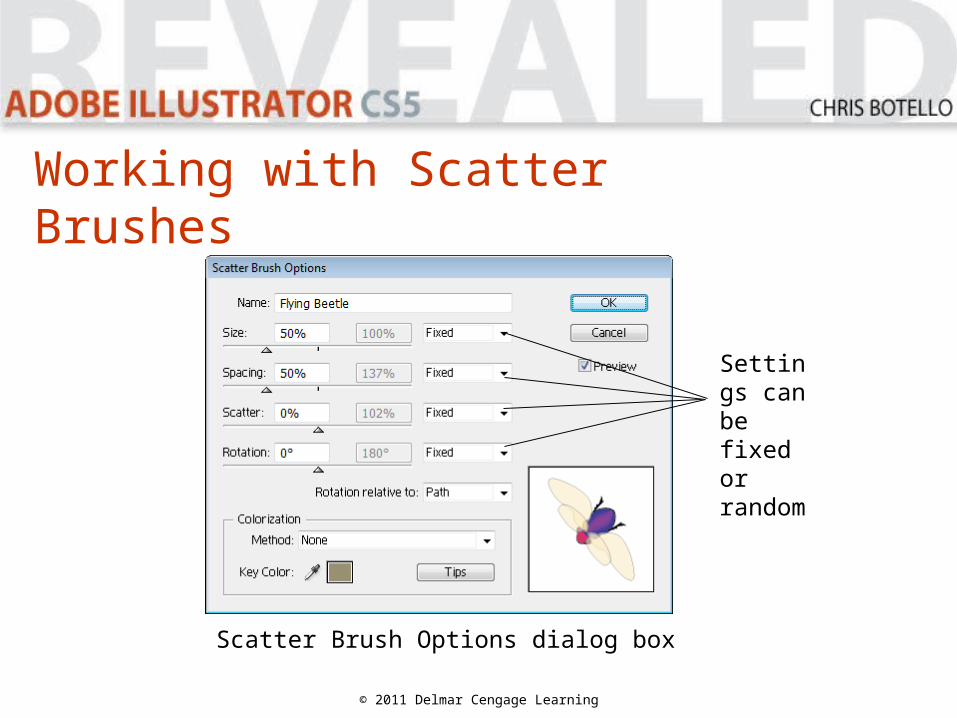
• Apply a fixed or random range in the Brush Options dialog box.
• When you apply random settings, the positioning of objects on a path will be different every time you apply the brush.
© 2011 Delmar Cengage Learning
Working with Scatter Brushes
© 2011 Delmar Cengage Learning
Settings can be fixed or random
Scatter Brush Options dialog box

Work with Scatter Brushes
© 2011 Delmar Cengage Learning
Scatter brush applied to path with fixed settings

Work with Scatter Brushes
© 2011 Delmar Cengage Learning
Scatter brush applied to path with random settings
• The Paintbrush tool offers a “freehand” approach to drawing.
• You can use the Paintbrush tool to sketch out a drawing and create artwork that is more spontaneous and “hand-drawn.”
© 2011 Delmar Cengage Learning
Compare the Paintbrush Tool to the Blob Brush Tool
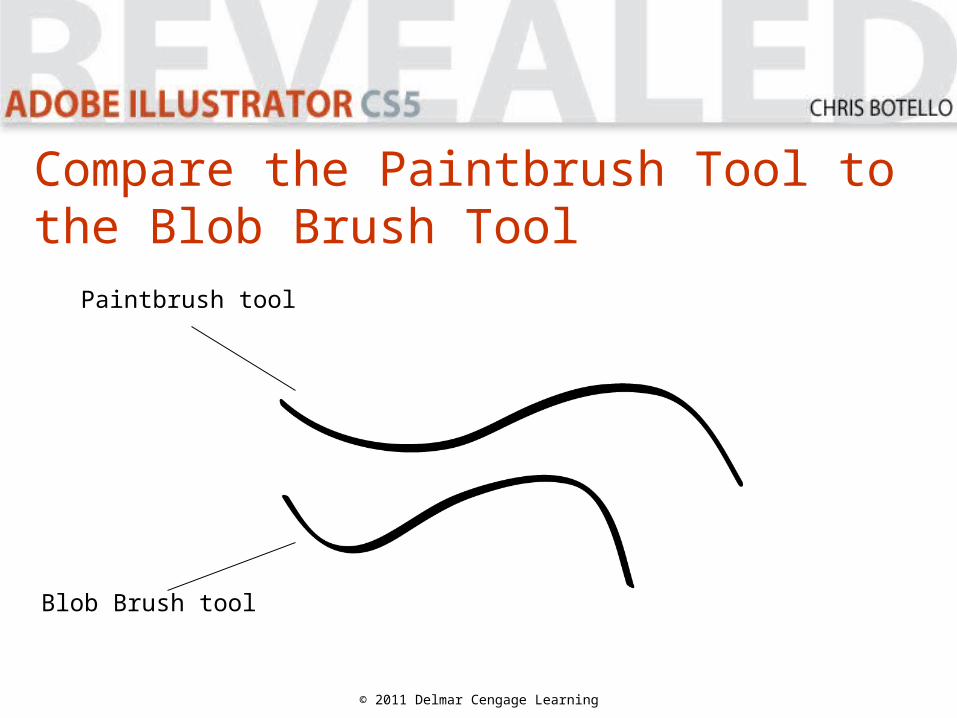
• The essential difference between the Paintbrush tool and the Blob Brush tool is that the Paintbrush tool creates a stroked path and the Blob Brush tool creates a closed filled object.
© 2011 Delmar Cengage Learning
Compare the Paintbrush Tool to the Blob Brush Tool
© 2011 Delmar Cengage Learning
Paintbrush tool
Blob Brush tool
Compare the Paintbrush Tool to the Blob Brush Tool
© 2011 Delmar Cengage Learning
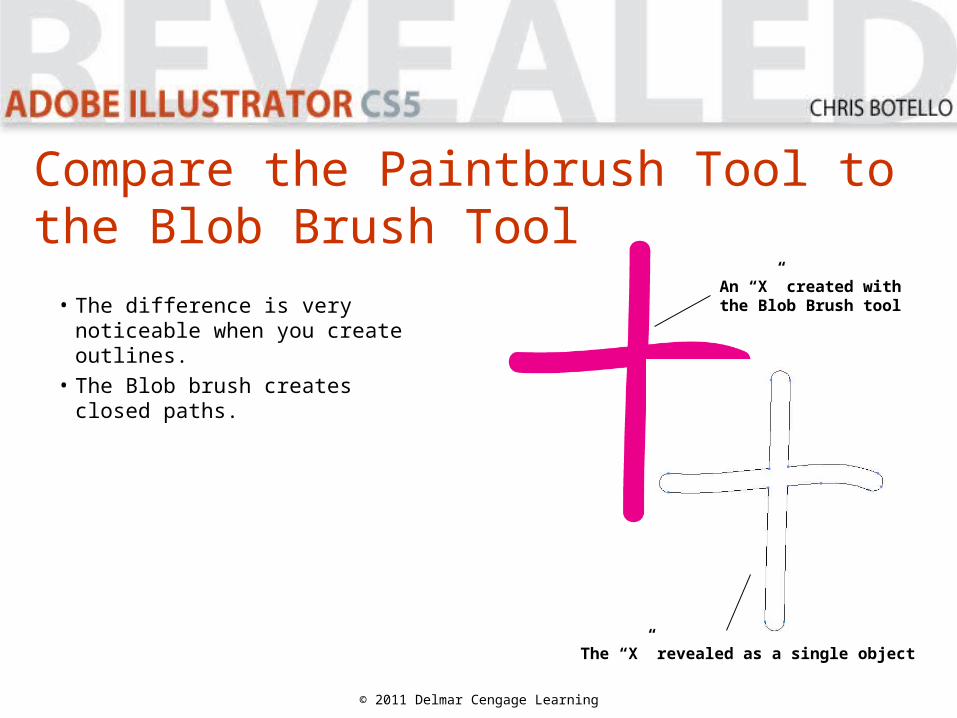
An “X” created with the Blob Brush tool
The “X” revealed as a single object
• The difference is very noticeable when you create outlines.
• The Blob brush creates closed paths.
Compare the Paintbrush Tool to the Blob Brush Tool
• The Paintbrush tool always creates individual, non-connected paths with every stroke of the tool.
• With the Blob Brush tool, if you overlap one stroke with a second stroke of the same color, the two strokes will be united as one object.
© 2011 Delmar Cengage Learning
Compare the Paintbrush Tool to the Blob Brush Tool
© 2011 Delmar Cengage Learning
Enhance Artwork with Brushes and the Width Tool
• Bristle brushes create a natural brush stroke with the streaks and variations you find in an actual paint brush.
• You can mimic the look and feel of disciplines like watercolor or paint.
© 2011 Delmar Cengage Learning
Enhance Artwork with Brushes and the Width Tool
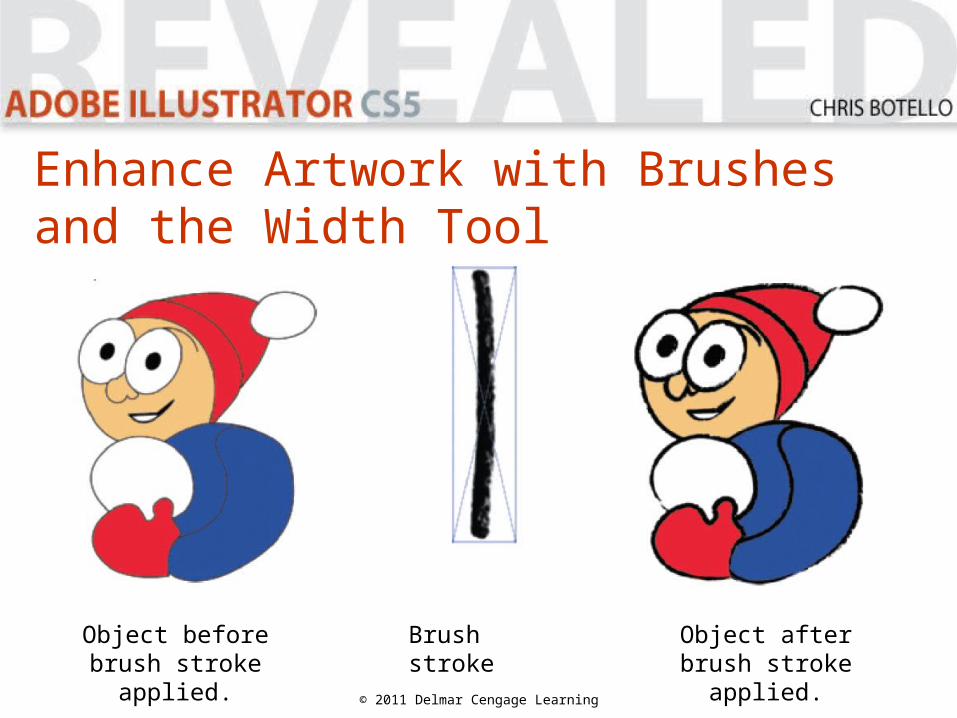
Object before brush stroke applied.
Object after brush stroke applied.
Brush stroke
• You can use brushes to enhance artwork you created in Illustrator.
• You can place a bitmap graphic of an actual pencil stroke, trace it, then save it as a brush.
© 2011 Delmar Cengage Learning
Enhance Artwork with Brushes and the Width Tool
Enhance Artwork with Brushes and the Width Tool
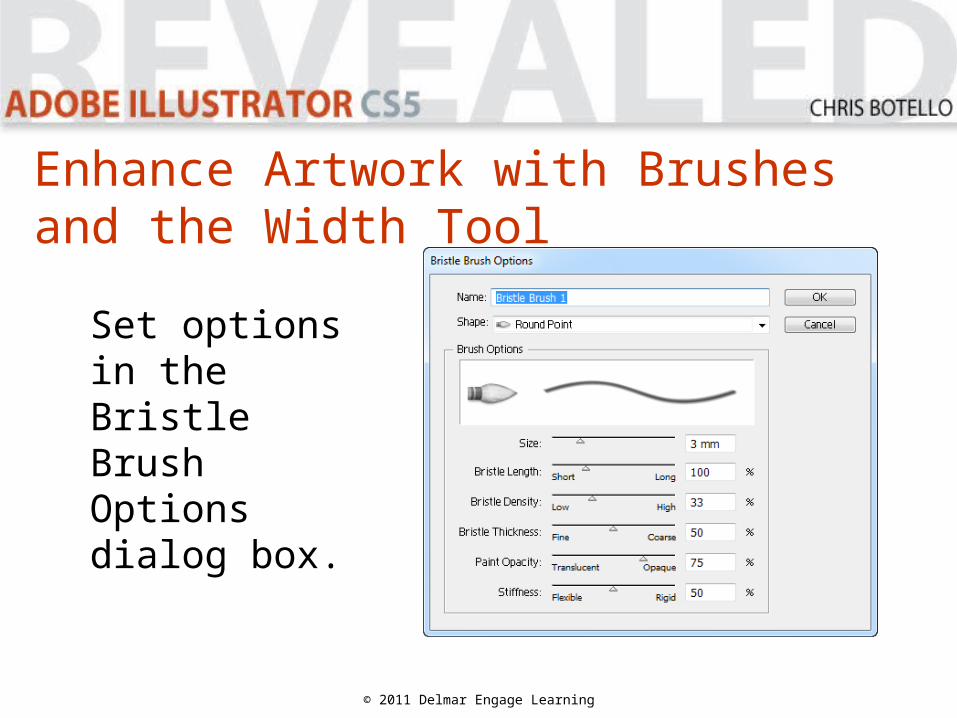
Set options in the Bristle Brush Options dialog box.
© 2011 Delmar Engage Learning
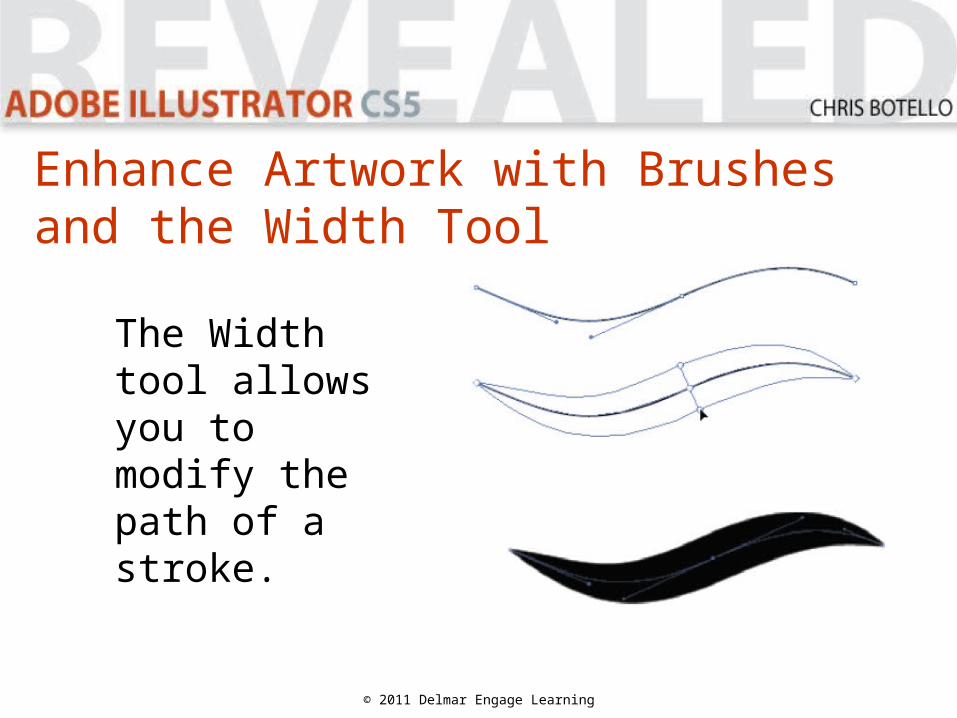
The Width tool allows you to modify the path of a stroke.
© 2011 Delmar Engage Learning
Enhance Artwork with Brushes and the Width Tool
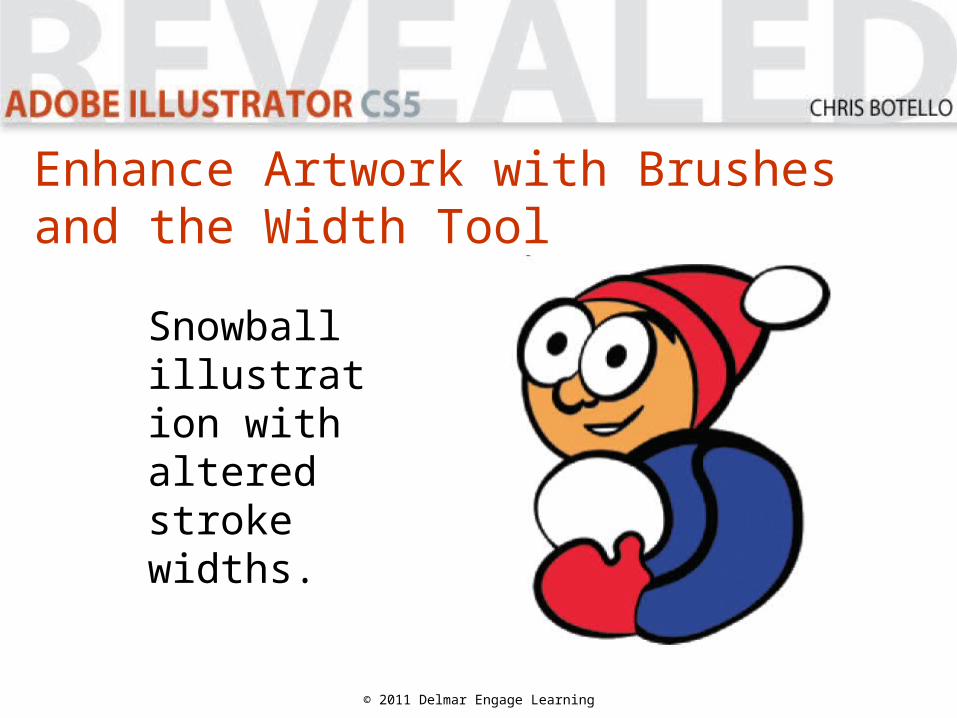
Snowball illustration with altered stroke widths.
© 2011 Delmar Engage Learning
Enhance Artwork with Brushes and the Width Tool
Related Documents