© 2008 The McGraw-Hill Companies, Inc. All rights reserved. M I C R O S O F T Customizing Themes and Master Slides Lesson 11

© 2008 The McGraw-Hill Companies, Inc. All rights reserved. M I C R O S O F T ® Customizing Themes and Master Slides Lesson 11.
Dec 23, 2015
Welcome message from author
This document is posted to help you gain knowledge. Please leave a comment to let me know what you think about it! Share it to your friends and learn new things together.
Transcript

© 2008 The McGraw-Hill Companies, Inc. All rights reserved.
M I C R O S O F T ®
Customizing Themes and Master SlidesCustomizing Themes and Master Slides
Lesson 11
THE PROFESSIONAL APPROACH SERIES © 2008 The McGraw-Hill Companies, Inc. All rights reserved.
ObjectivesObjectives
• Customizing existing themes• Format background styles• Work with slide masters to create customized
design themes• Apply themes and templates from Microsoft
Office Online• Customize handout and notes masters
© 2008 The McGraw-Hill Companies, Inc. All rights reserved.
M I C R O S O F T ®
Customizing Themes and Master SlidesCustomizing Themes and Master Slides
Lesson 11
1
Customizing an Existing ThemeCustomizing an Existing Theme

THE PROFESSIONAL APPROACH SERIES © 2008 The McGraw-Hill Companies, Inc. All rights reserved.
Examine Built-In Color ThemesExamine Built-In Color Themes
• From the Design tab, in the Themes group, the Colors button displays four colors of the current theme.
• All theme colors are listed alphabetically.
• You can actually change 12 different theme colors: four text and background, six accent, and two hyperlink colors.

THE PROFESSIONAL APPROACH SERIES © 2008 The McGraw-Hill Companies, Inc. All rights reserved.
Create and Save Custom Theme ColorsCreate and Save Custom Theme Colors
• From the Design tab click the Colors button and choose Create New Theme Colors.
• A dialog box will open where the theme colors can be changed individually.
• New Custom Colors can be saved for later use.
THE PROFESSIONAL APPROACH SERIES © 2008 The McGraw-Hill Companies, Inc. All rights reserved.
Change Theme Fonts and Examine Built-In EffectsChange Theme Fonts and Examine Built-In Effects
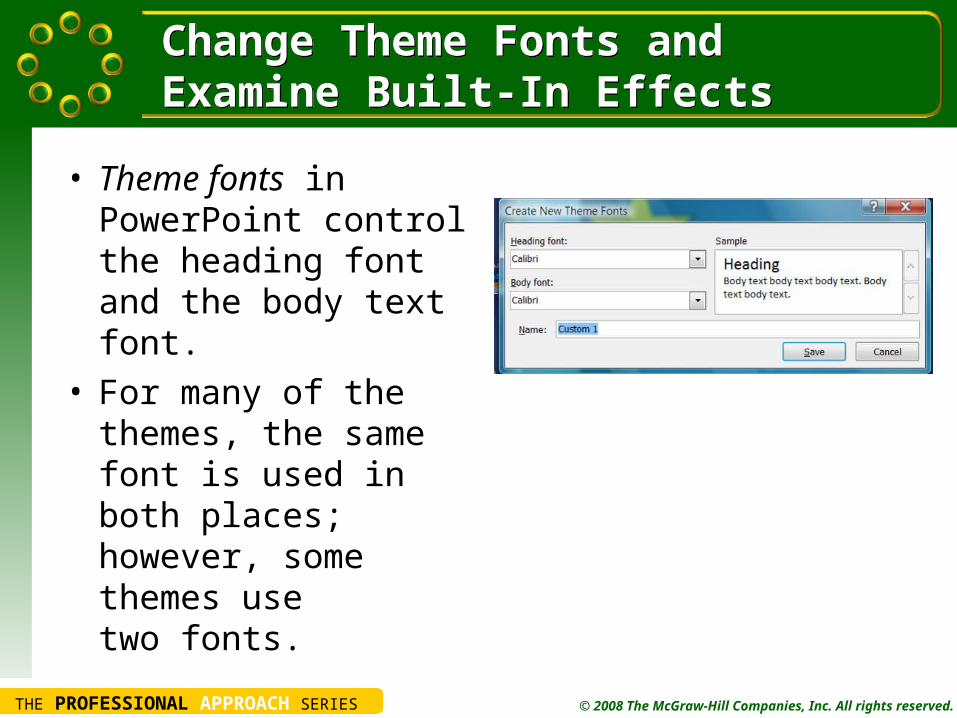
• Theme fonts in PowerPoint control the heading font and the body text font.
• For many of the themes, the same font is used in both places; however, some themes use two fonts.
THE PROFESSIONAL APPROACH SERIES © 2008 The McGraw-Hill Companies, Inc. All rights reserved.
Save a Custom ThemeSave a Custom Theme
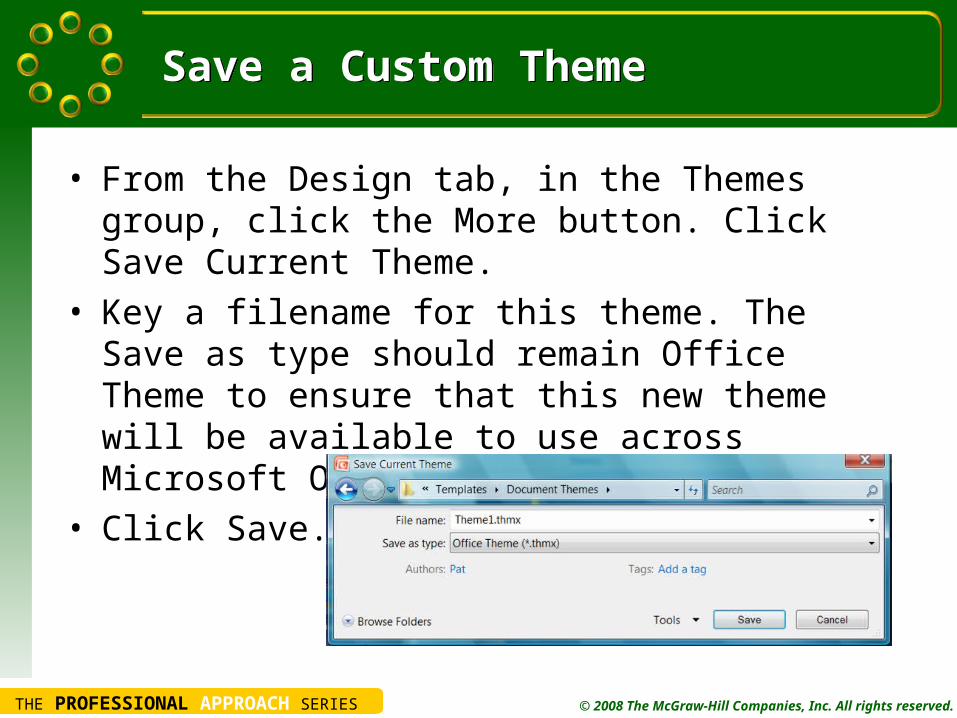
• From the Design tab, in the Themes group, click the More button. Click Save Current Theme.
• Key a filename for this theme. The Save as type should remain Office Theme to ensure that this new theme will be available to use across Microsoft Office Applications.
• Click Save.
© 2008 The McGraw-Hill Companies, Inc. All rights reserved.
M I C R O S O F T ®
Customizing Themes and Master SlidesCustomizing Themes and Master Slides
Lesson 11
2
Formatting Background StylesFormatting Background Styles

THE PROFESSIONAL APPROACH SERIES © 2008 The McGraw-Hill Companies, Inc. All rights reserved.
Apply Solid Fill and Gradient BackgroundsApply Solid Fill and Gradient Backgrounds
• From the Design tab, in the Background group, click the Background Styles button then click Format Background.
• Choose Solid fill and then change the color.
• Click Apply to All. • Click Close.

THE PROFESSIONAL APPROACH SERIES © 2008 The McGraw-Hill Companies, Inc. All rights reserved.
Apply Textured BackgroundsApply Textured Backgrounds
• From the Design tab, in the Background group, click the Background Styles button, then Format Background.
• Choose Picture or texture fill. Click Texture to see a limited number of textures.
• Choose a texture and then click Apply to All.
• Click Close.
THE PROFESSIONAL APPROACH SERIES © 2008 The McGraw-Hill Companies, Inc. All rights reserved.
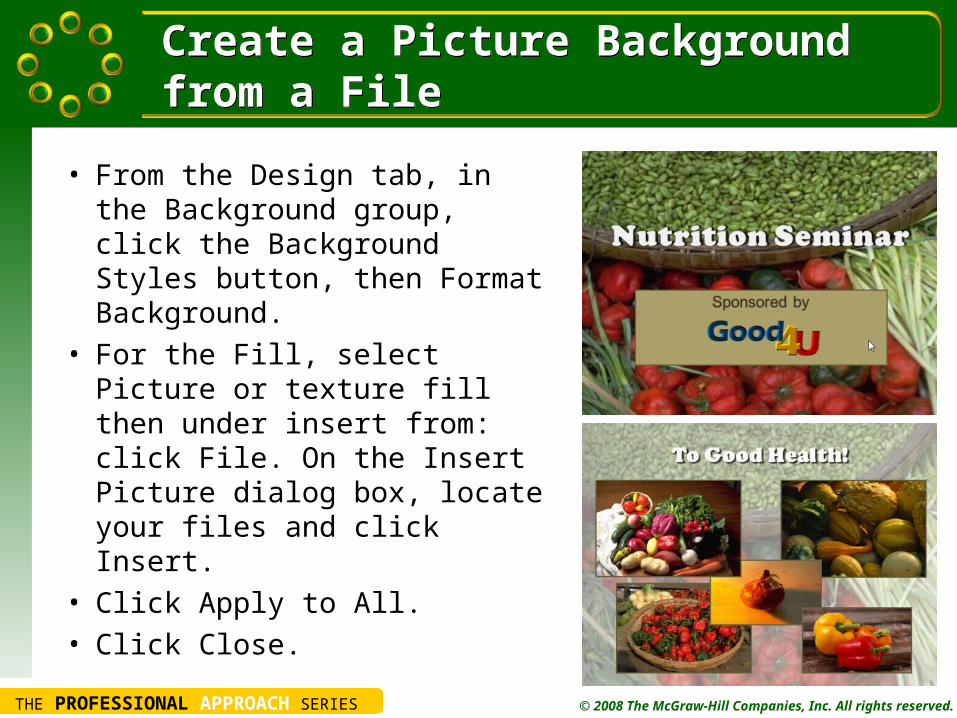
Create a Picture Background from a FileCreate a Picture Background from a File
• From the Design tab, in the Background group, click the Background Styles button, then Format Background.
• For the Fill, select Picture or texture fill then under insert from: click File. On the Insert Picture dialog box, locate your files and click Insert.
• Click Apply to All.
• Click Close.

© 2008 The McGraw-Hill Companies, Inc. All rights reserved.
M I C R O S O F T ®
Customizing Themes and Master SlidesCustomizing Themes and Master Slides
Lesson 11
3
Working with Slide Masters for a Custom ThemeWorking with Slide Masters for a Custom Theme

THE PROFESSIONAL APPROACH SERIES © 2008 The McGraw-Hill Companies, Inc. All rights reserved.
Rearrange Background GraphicsRearrange Background Graphics
• From the View tab, in the Presentation Views group, click the Slide Master button.
• Use the Background Styles button to change the background fill.
• Add shapes and resize/recolor them as appropriate.
• Copy and paste to reproduce similar shapes.

THE PROFESSIONAL APPROACH SERIES © 2008 The McGraw-Hill Companies, Inc. All rights reserved.
Change and Reposition PlaceholdersChange and Reposition Placeholders
• When the layout of the graphics and the backgrounds of a theme is changed, often the theme placeholders must be repositioned for all objects to fit attractively on the slide.
THE PROFESSIONAL APPROACH SERIES © 2008 The McGraw-Hill Companies, Inc. All rights reserved.
Change BulletsChange Bullets
• From the Home tab in the Paragraph group, click the down arrow on the Bullets button.
• Click Bullets and Numbering. • Click Picture, and select the bullet you want. • Click OK.

THE PROFESSIONAL APPROACH SERIES © 2008 The McGraw-Hill Companies, Inc. All rights reserved.
Insert an Image and Add WordArtInsert an Image and Add WordArt
• To add interest to your theme and help to establish your presentation’s meaning, insert a clip art image or picture on the Slide Master Title Slide layout.
• Repeat the same image in a smaller size on the Slide Master layout for all the slides in the presentation.

THE PROFESSIONAL APPROACH SERIES © 2008 The McGraw-Hill Companies, Inc. All rights reserved.
Adjust Footer Positioning and Add Footer TextAdjust Footer Positioning and Add Footer Text
• On the first Slide Master layout, select the footer placeholders for the date and footer text.
• Adjust the font, size, color, and position of the date and footer text.
• On the Slide Master tab, click the Close Master View button.
THE PROFESSIONAL APPROACH SERIES © 2008 The McGraw-Hill Companies, Inc. All rights reserved.
Adjust Slide Elements to Fit the New Design TemplateAdjust Slide Elements to Fit the New Design Template
• After a new theme is complete, the positioning of images and other graphics already used in the presentation may need adjusting.
• Adjust the same as on a slide, but complete these actions in the Slide Master Layout.

THE PROFESSIONAL APPROACH SERIES © 2008 The McGraw-Hill Companies, Inc. All rights reserved.
Save a New Design TemplateSave a New Design Template
• Click the Microsoft Office Button, choose Save As, and then Other Formats to open the Save As dialog box.
• In the Save as type drop-down list, choose PowerPoint Template.
• In the File name box, key the filename. • Click OK.
THE PROFESSIONAL APPROACH SERIES © 2008 The McGraw-Hill Companies, Inc. All rights reserved.
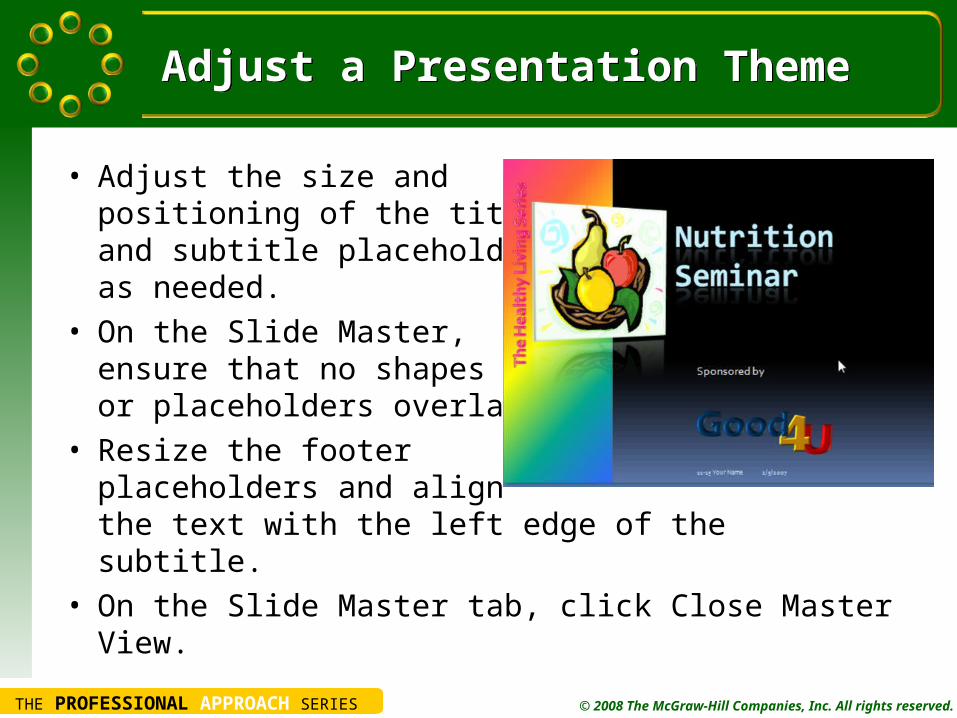
Adjust a Presentation ThemeAdjust a Presentation Theme
• Adjust the size and positioning of the title and subtitle placeholder as needed.
• On the Slide Master, ensure that no shapes or placeholders overlap.
• Resize the footer placeholders and align the text with the left edge of the subtitle.
• On the Slide Master tab, click Close Master View.

© 2008 The McGraw-Hill Companies, Inc. All rights reserved.
M I C R O S O F T ®
Customizing Themes and Master SlidesCustomizing Themes and Master Slides
Lesson 11
4
Applying Themes and Design Templates from Microsoft Office Online
Applying Themes and Design Templates from Microsoft Office Online

THE PROFESSIONAL APPROACH SERIES © 2008 The McGraw-Hill Companies, Inc. All rights reserved.
Search Microsoft Office OnlineSearch Microsoft Office Online
• From the Design tab, in the Themes group, click the More button then click More Themes on Microsoft Office Online.
• A collection of themes shown as thumbnails will appear that you can download from this site.

THE PROFESSIONAL APPROACH SERIES © 2008 The McGraw-Hill Companies, Inc. All rights reserved.
Browse for ThemesBrowse for Themes
• From the Design tab, in the Themes group, click the More button.
• To look for additional themes, click the More button again and choose Browse for themes.
• Select the theme, and click Open.• Adjust placeholder alignment and position as
needed.
© 2008 The McGraw-Hill Companies, Inc. All rights reserved.
M I C R O S O F T ®
Customizing Themes and Master SlidesCustomizing Themes and Master Slides
Lesson 11
5
Customizing a Handout Master and a Notes MasterCustomizing a Handout Master and a Notes Master

THE PROFESSIONAL APPROACH SERIES © 2008 The McGraw-Hill Companies, Inc. All rights reserved.
Work with the Notes MasterWork with the Notes Master
• From the View tab, in the Presentation Views group, click the Notes Master button.
• Make needed adjustments.
• From the Notes Master tab, click the Close Master View button.

THE PROFESSIONAL APPROACH SERIES © 2008 The McGraw-Hill Companies, Inc. All rights reserved.
Work with the Handout MasterWork with the Handout Master
• Handout Masters come with built-in layouts, from one to nine slides per page.
• When placing pictures or other objects on a Handout Master, be careful to size and position them so that they do not overlap slide placeholders.

© 2008 The McGraw-Hill Companies, Inc. All rights reserved.
M I C R O S O F T ®
Customizing Themes and Master SlidesCustomizing Themes and Master Slides
Lesson 11 SummaryLesson 11 Summary
THE PROFESSIONAL APPROACH SERIES © 2008 The McGraw-Hill Companies, Inc. All rights reserved.
Lesson 11 Summary—1 Lesson 11 Summary—1
• You can customize presentation theme colors to suit individual needs. – From the Design tab, in the Themes group, click the
Colors button and then choose from available themes. Click Create New Theme Colors to change individual colors and save them as a new theme.
• From the Design tab, in the Background group, use the Background styles button to apply a background effect to one or more slides in a presentation. – Backgrounds can be solid colors, gradient fills,
textures, or pictures.

THE PROFESSIONAL APPROACH SERIES © 2008 The McGraw-Hill Companies, Inc. All rights reserved.
Lesson 11 Summary—2 Lesson 11 Summary—2
• The Apply to All command on the Background dialog box applies a background effect to all slides in a presentation.
• Customize a pre-designed theme by rearranging graphics, changing the background, repositioning placeholders, and changing font treatments. – If graphic objects from a Slide Master interfere with
the design of one or more slides, they can be hidden on those slides by selecting Hide Background Graphics on the Design tab.

THE PROFESSIONAL APPROACH SERIES © 2008 The McGraw-Hill Companies, Inc. All rights reserved.
Lesson 11 Summary—3 Lesson 11 Summary—3
• Create a new design template by changing and adding elements on the slide and title master.– Save it as a template by using the Save As dialog box
and choosing PowerPoint Template in the Save as type list box.
• Notes and Handout Masters can also be customized. – Slide placeholders on the Handout Master cannot be
moved or resized. – When placing text boxes or pictures on a Handout
Master, be sure they do not overlap slide image placeholders.
Related Documents


