Computer and Communication Fundamental Basic web programming Lecture 8 Rina Zviel- Girshin

Welcome message from author
This document is posted to help you gain knowledge. Please leave a comment to let me know what you think about it! Share it to your friends and learn new things together.
Transcript
Computer and Communication Fundamental
Basic web programming
Lecture 8
Rina Zviel-Girshin
Overview
Event-driven programming
Basic Events
Event-driven programming
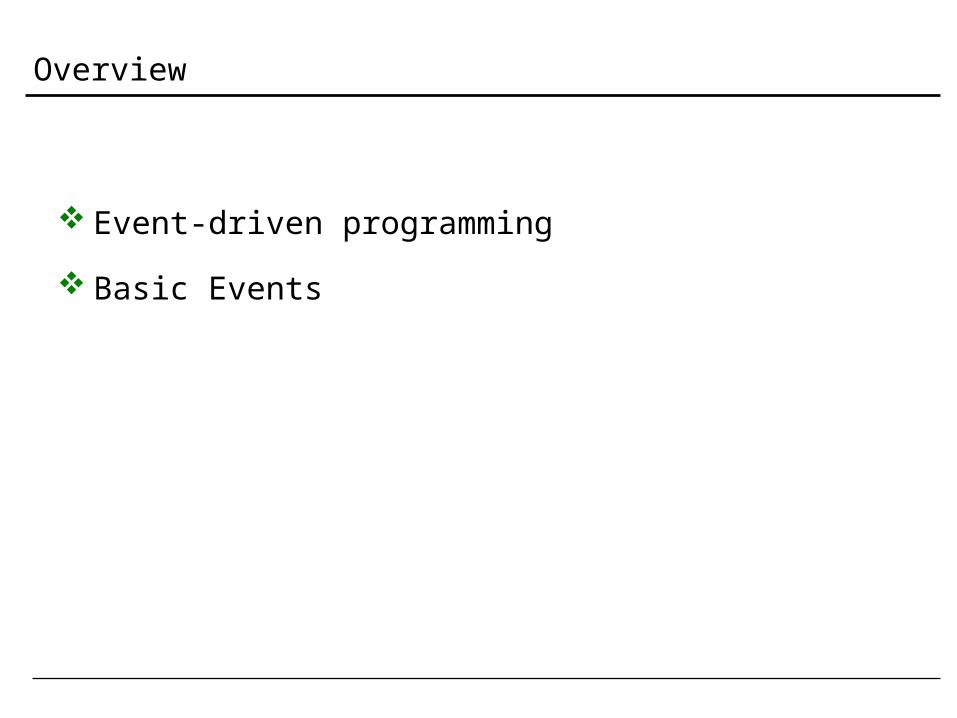
GUI contains elements which can be presented in a window which can react on events (mouse, keys)
All communication from user to computer occurs via events and the code that handles the events.
Event-driven programming - definition of actions to be performed upon events .
An event is an action that happens in the system A mouse button pressed or released A keyboard key is hit Data is changed or entered A window is moved, resized, closed, etc.
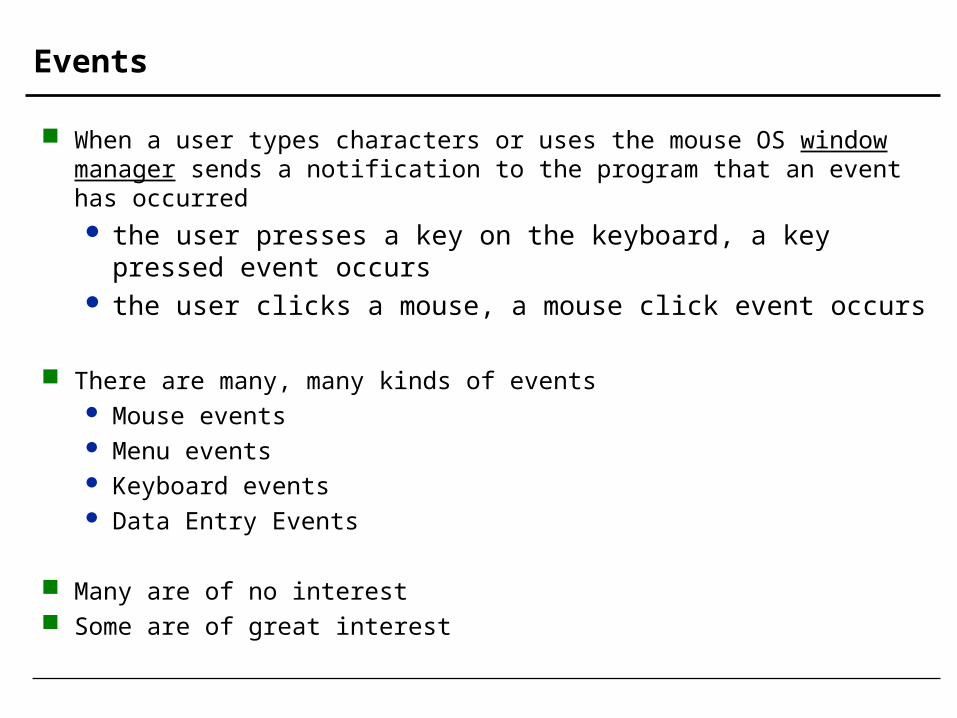
Events
When a user types characters or uses the mouse OS window manager sends a notification to the program that an event has occurred the user presses a key on the keyboard, a key pressed event
occurs the user clicks a mouse, a mouse click event occurs
There are many, many kinds of events Mouse events Menu events Keyboard events Data Entry Events
Many are of no interest Some are of great interest
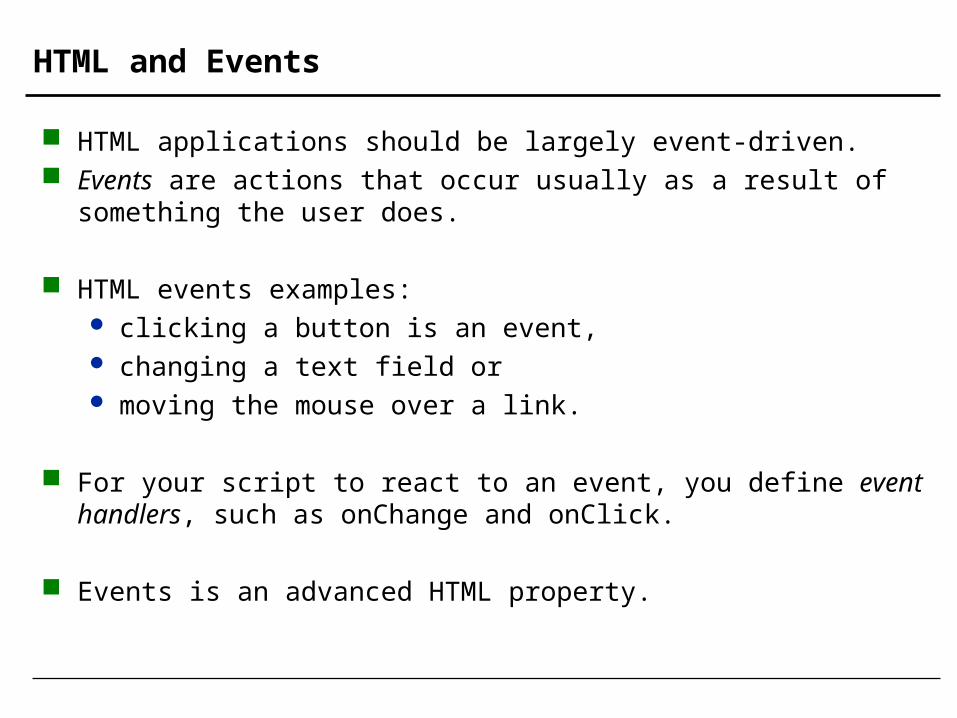
HTML and Events
HTML applications should be largely event-driven. Events are actions that occur usually as a result of something the user
does.
HTML events examples: clicking a button is an event, changing a text field or moving the mouse over a link.
For your script to react to an event, you define event handlers, such as onChange and onClick.
Events is an advanced HTML property.
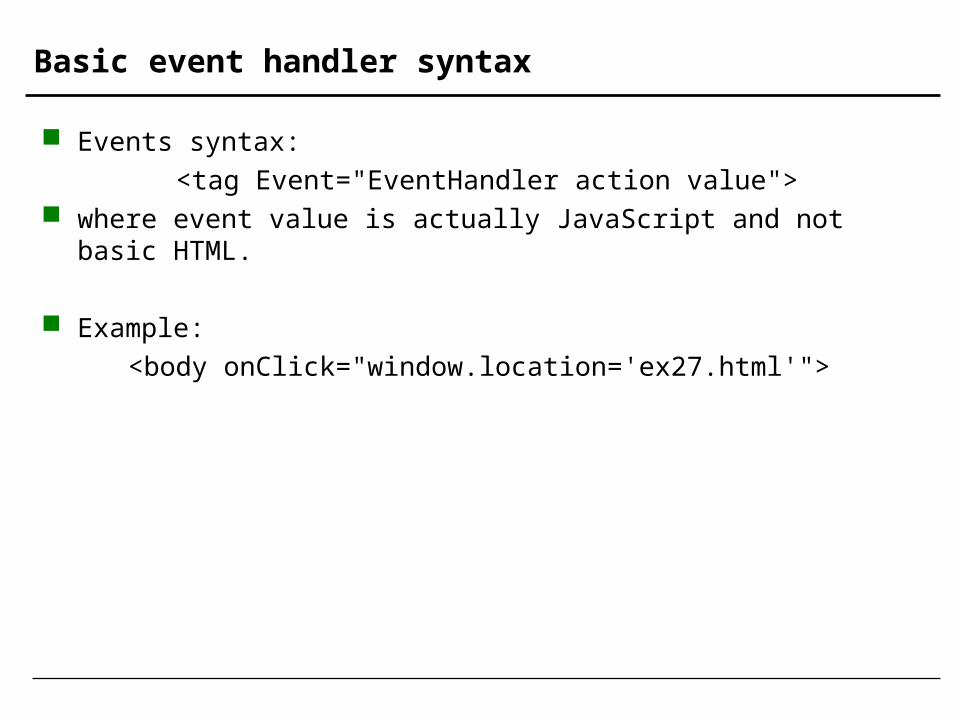
Basic event handler syntax
Events syntax:
<tag Event="EventHandler action value"> where event value is actually JavaScript and not basic HTML.
Example:
<body onClick="window.location='ex27.html'">
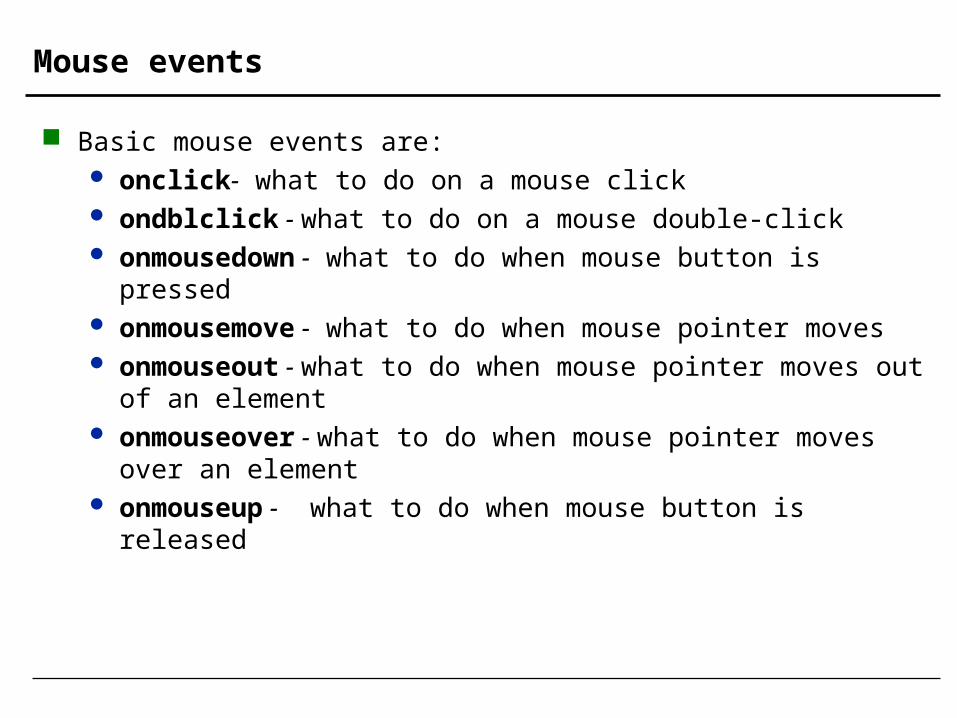
Mouse events
Basic mouse events are: onclick- what to do on a mouse click ondblclick - what to do on a mouse double-click onmousedown - what to do when mouse button is pressed onmousemove - what to do when mouse pointer moves onmouseout - what to do when mouse pointer moves out of an
element onmouseover - what to do when mouse pointer moves over an
element onmouseup - what to do when mouse button is released
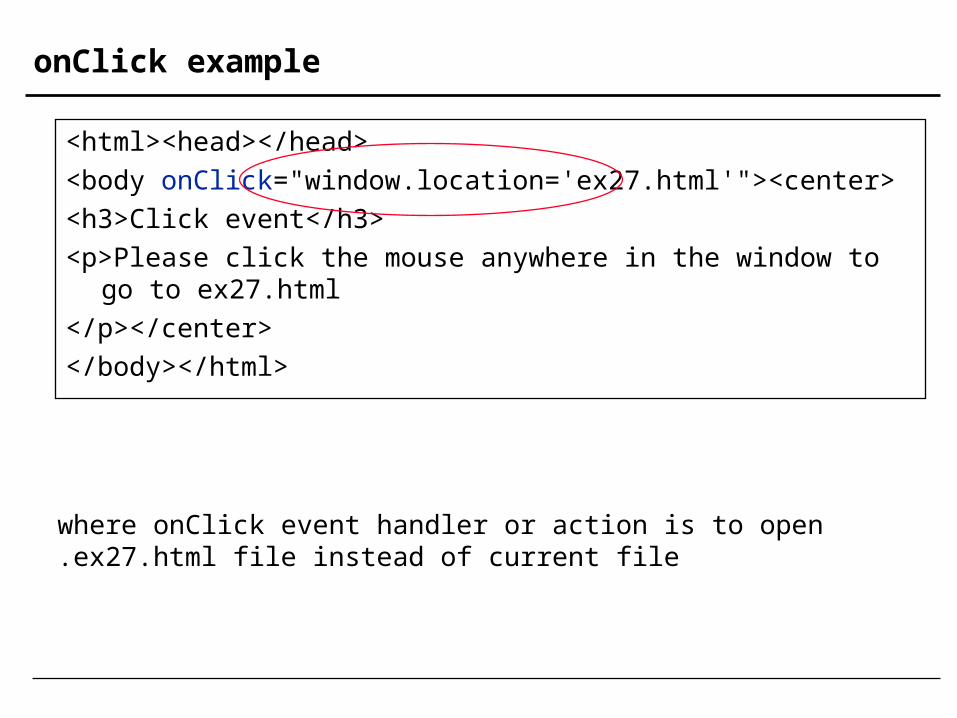
onClick example
<html><head></head>
<body onClick="window.location='ex27.html'"><center>
<h3>Click event</h3>
<p>Please click the mouse anywhere in the window to go to ex27.html
</p></center>
</body></html>
where onClick event handler or action is to open ex27.html file instead of current file.
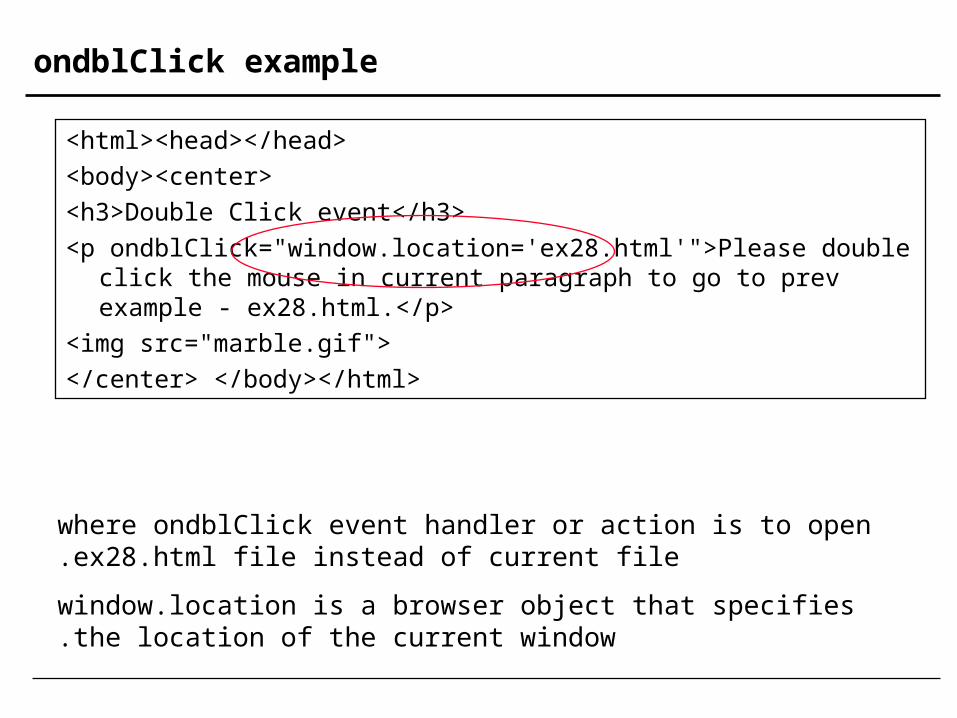
ondblClick example
<html><head></head>
<body><center>
<h3>Double Click event</h3>
<p ondblClick="window.location='ex28.html'">Please double click the mouse in current paragraph to go to prev example - ex28.html.</p>
<img src="marble.gif">
</center> </body></html>
where ondblClick event handler or action is to open ex28.html file instead of current file.
window.location is a browser object that specifies the location of the current window.
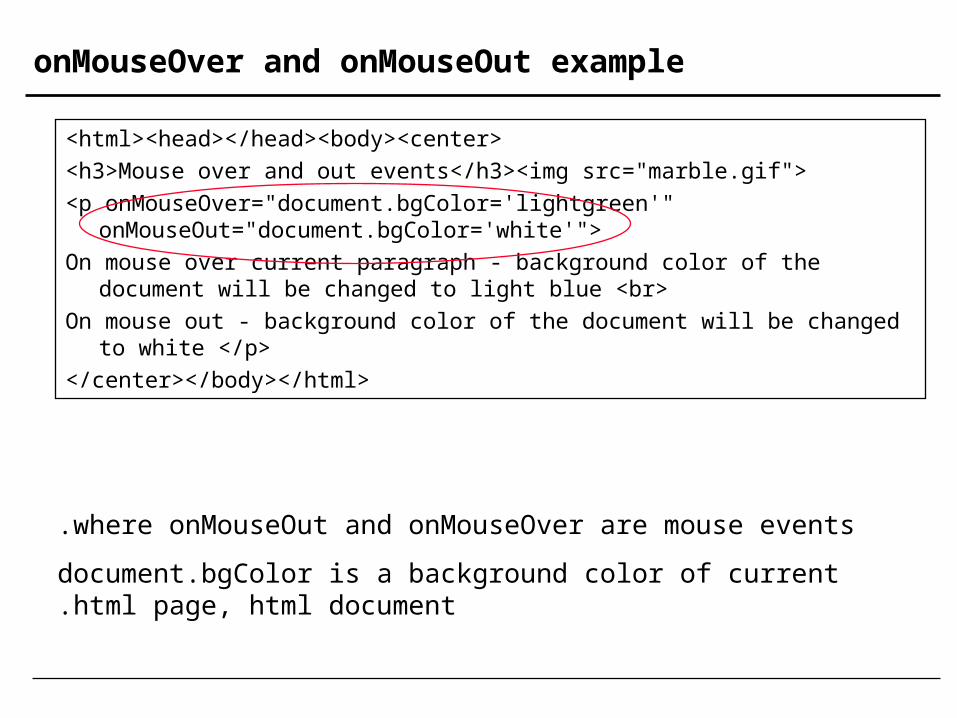
onMouseOver and onMouseOut example
<html><head></head><body><center>
<h3>Mouse over and out events</h3><img src="marble.gif">
<p onMouseOver="document.bgColor='lightgreen'" onMouseOut="document.bgColor='white'">
On mouse over current paragraph - background color of the document will be changed to light blue <br>
On mouse out - background color of the document will be changed to white </p>
</center></body></html>
where onMouseOut and onMouseOver are mouse events.
document.bgColor is a background color of current html page, html document.
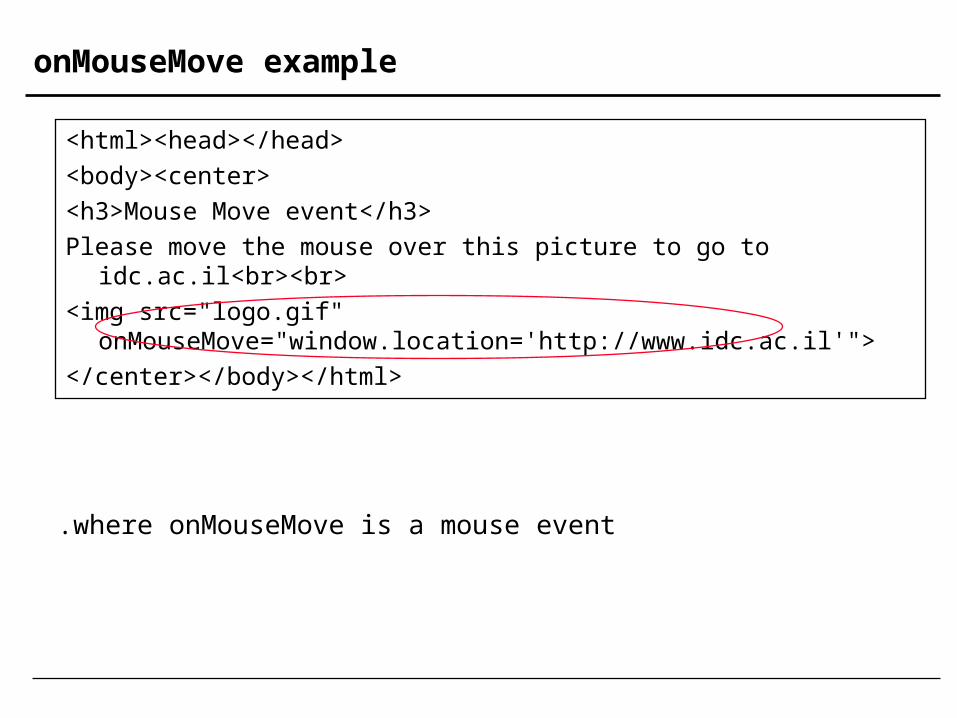
onMouseMove example
<html><head></head>
<body><center>
<h3>Mouse Move event</h3>
Please move the mouse over this picture to go to idc.ac.il<br><br>
<img src="logo.gif" onMouseMove="window.location='http://www.idc.ac.il'">
</center></body></html>
where onMouseMove is a mouse event.
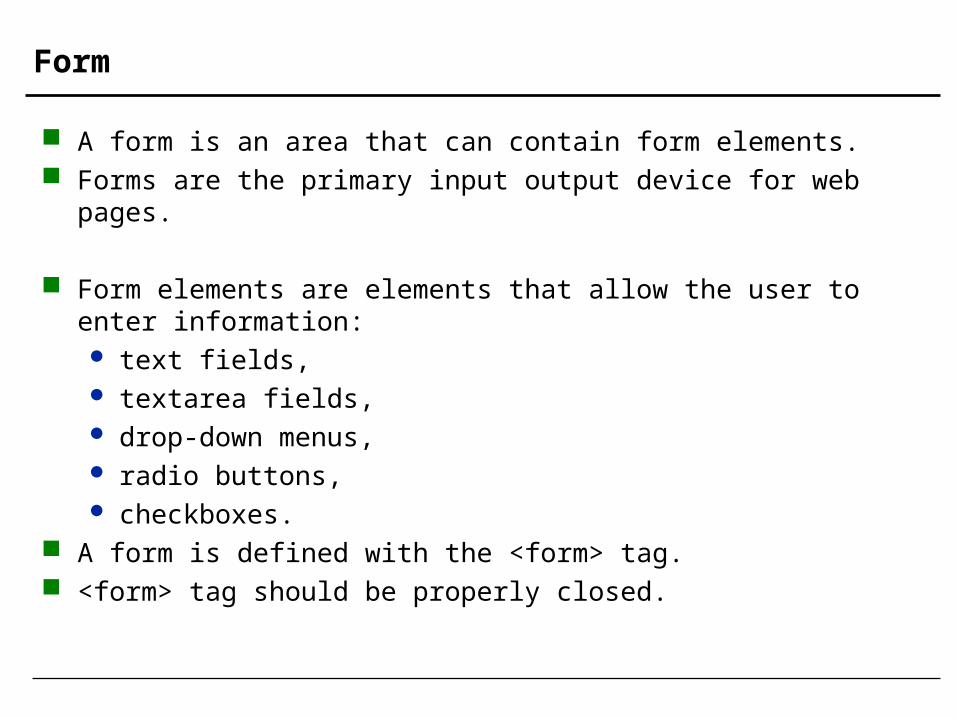
Form
A form is an area that can contain form elements. Forms are the primary input output device for web pages.
Form elements are elements that allow the user to enter information: text fields, textarea fields, drop-down menus, radio buttons, checkboxes.
A form is defined with the <form> tag. <form> tag should be properly closed.
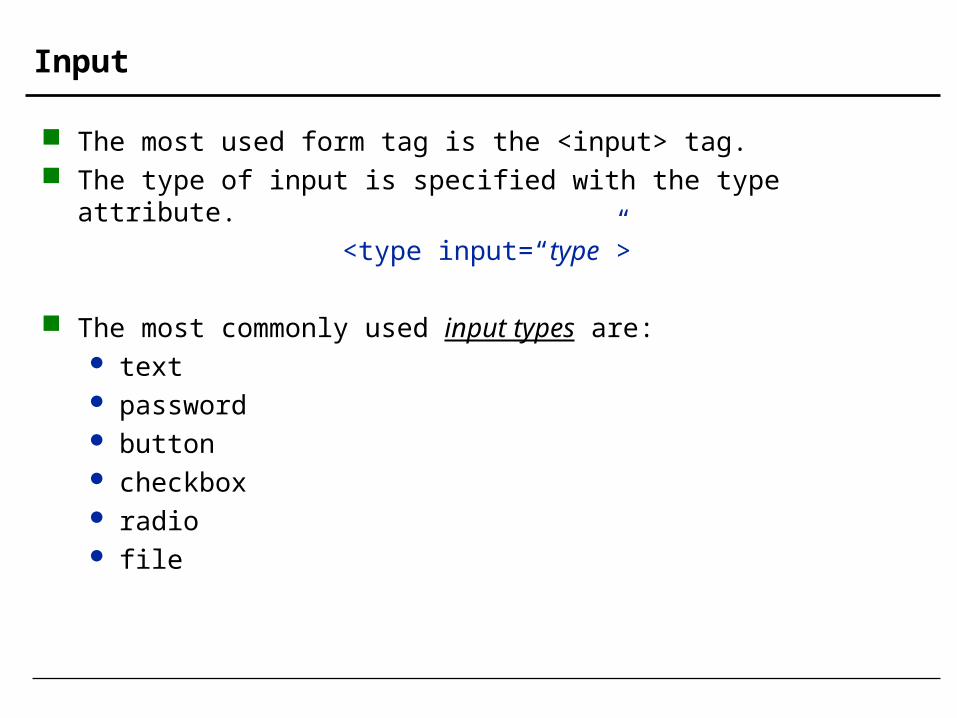
Input
The most used form tag is the <input> tag. The type of input is specified with the type attribute.
<type input=“type”>
The most commonly used input types are: text password button checkbox radio file
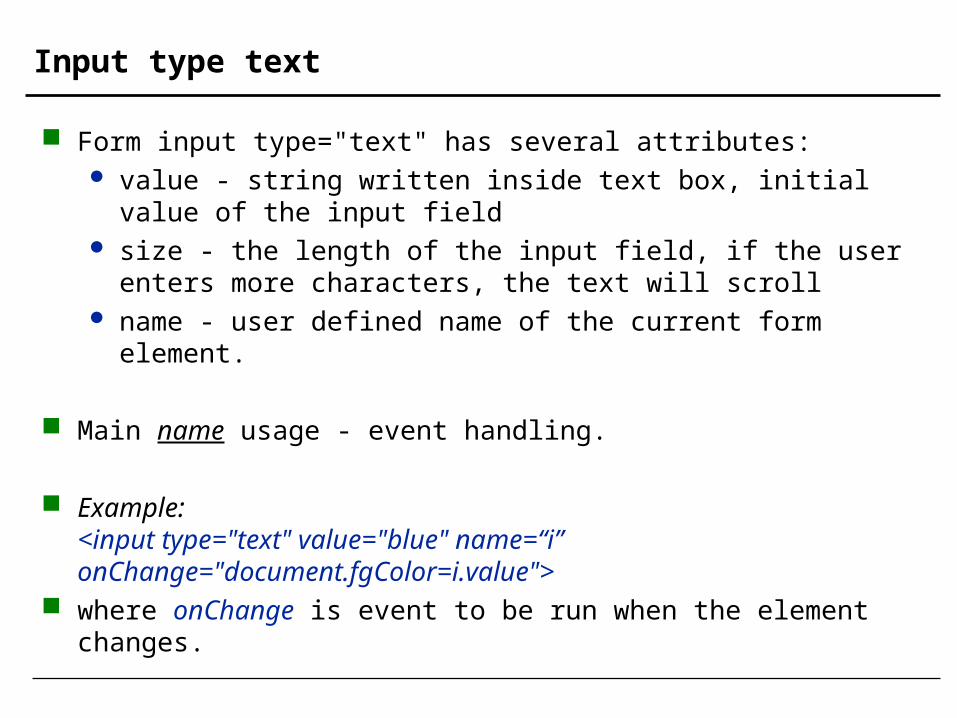
Input type text
Form input type="text" has several attributes: value - string written inside text box, initial value of the input field size - the length of the input field, if the user enters more characters,
the text will scroll name - user defined name of the current form element.
Main name usage - event handling.
Example:<input type="text" value="blue" name=“i” onChange="document.fgColor=i.value">
where onChange is event to be run when the element changes.
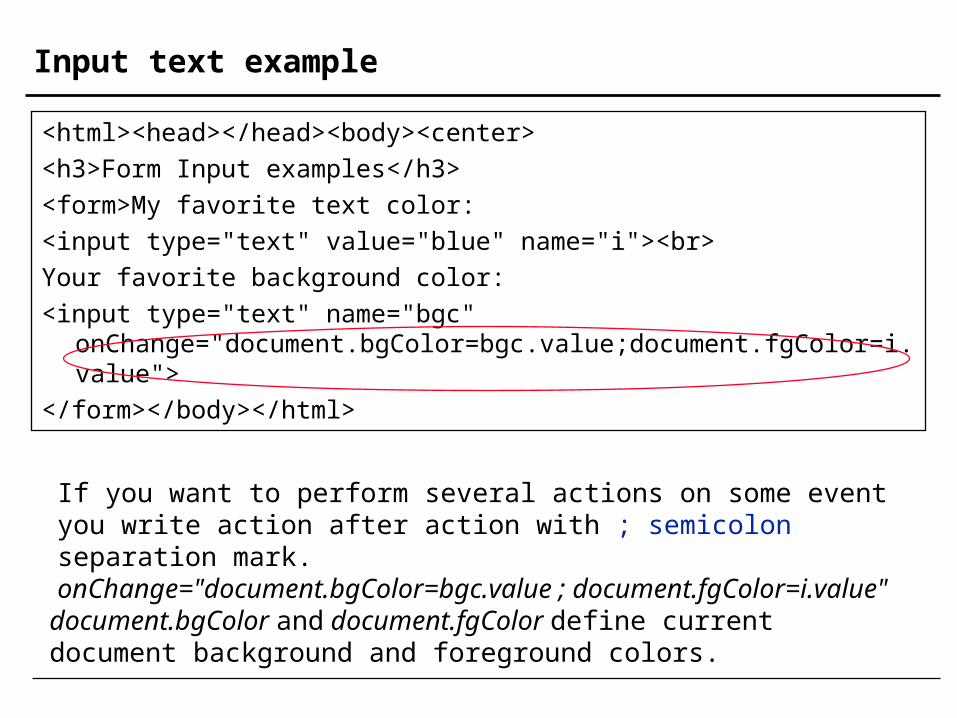
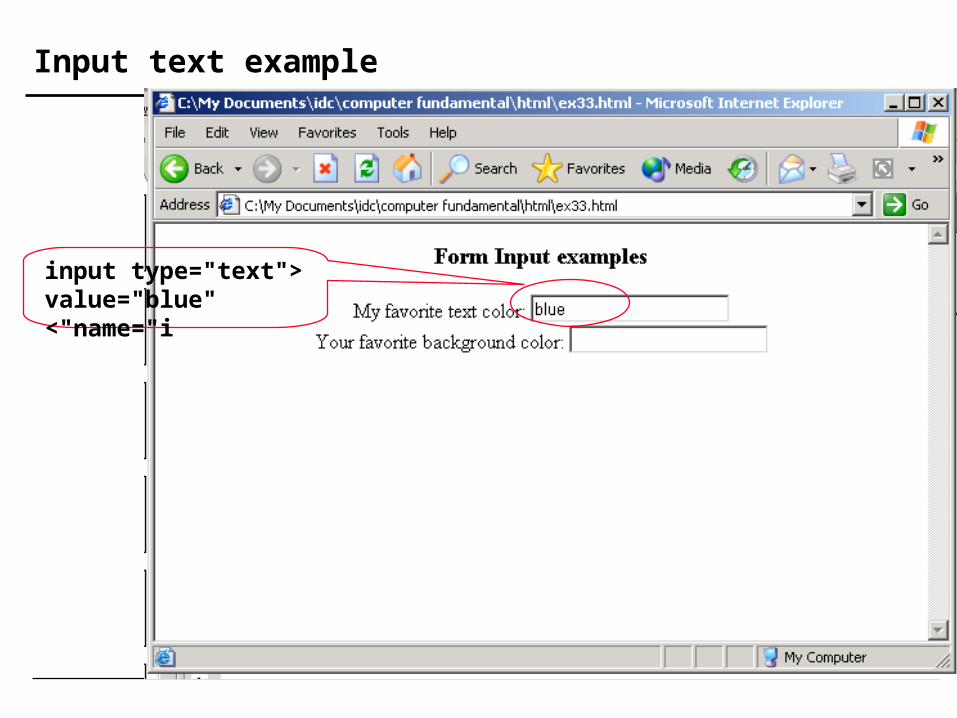
Input text example
<html><head></head><body><center>
<h3>Form Input examples</h3>
<form>My favorite text color:
<input type="text" value="blue" name="i"><br>
Your favorite background color:
<input type="text" name="bgc" onChange="document.bgColor=bgc.value;document.fgColor=i.value">
</form></body></html>
If you want to perform several actions on some event you write action after action with ; semicolon separation mark.onChange="document.bgColor=bgc.value ; document.fgColor=i.value"
document.bgColor and document.fgColor define current document background and foreground colors.
Input text example
<input type="text" value="blue" name="i>"
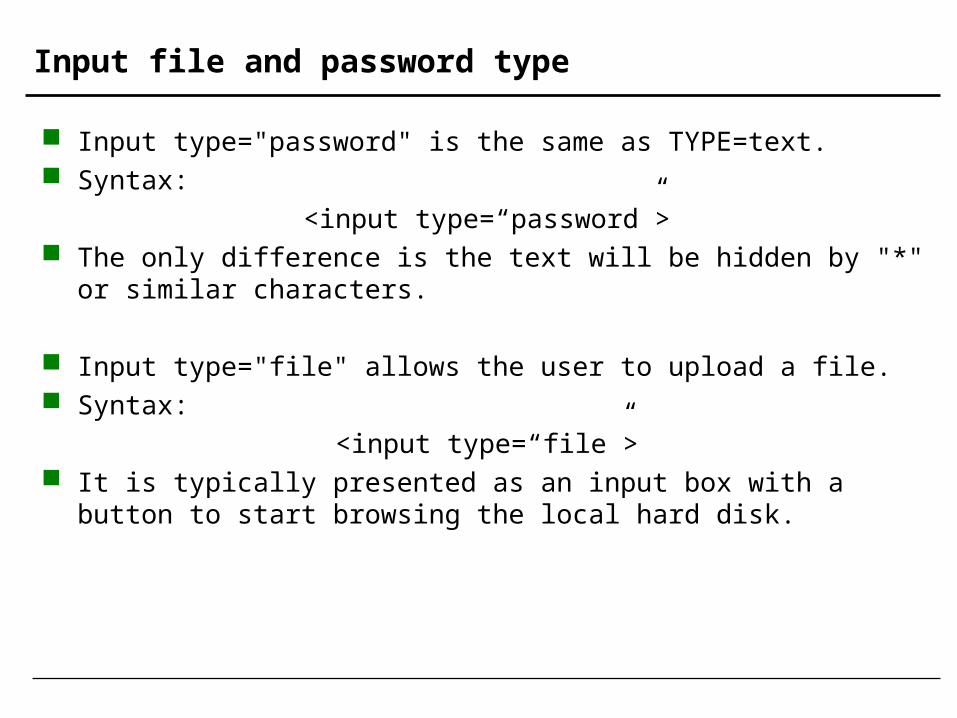
Input file and password type
Input type="password" is the same as TYPE=text. Syntax:
<input type=“password”> The only difference is the text will be hidden by "*" or similar characters.
Input type="file" allows the user to upload a file. Syntax:
<input type=“file”> It is typically presented as an input box with a button to start browsing
the local hard disk.
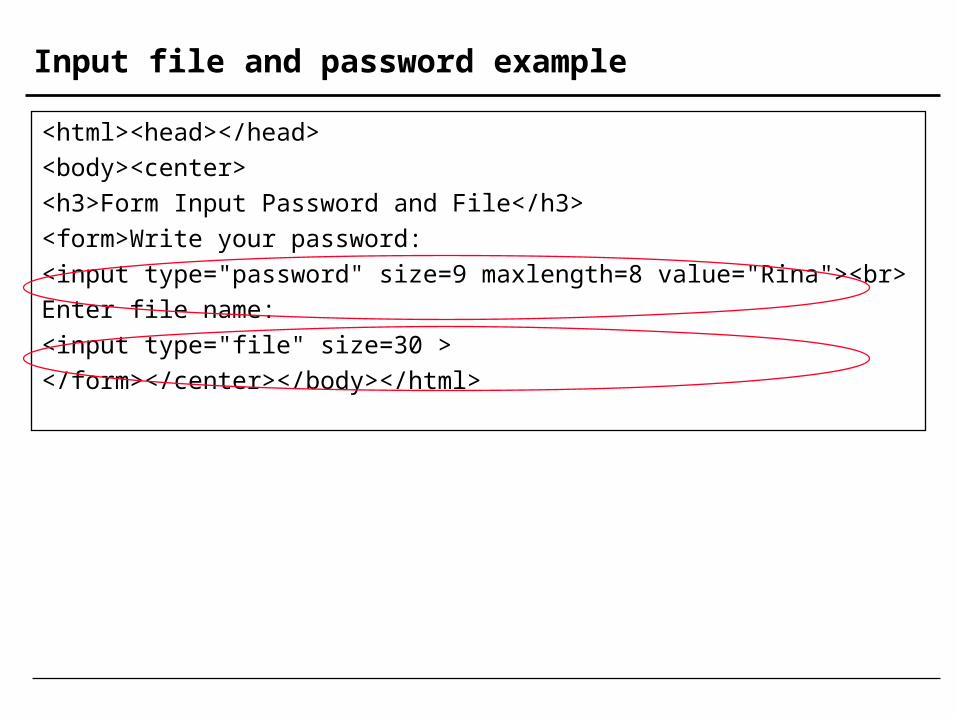
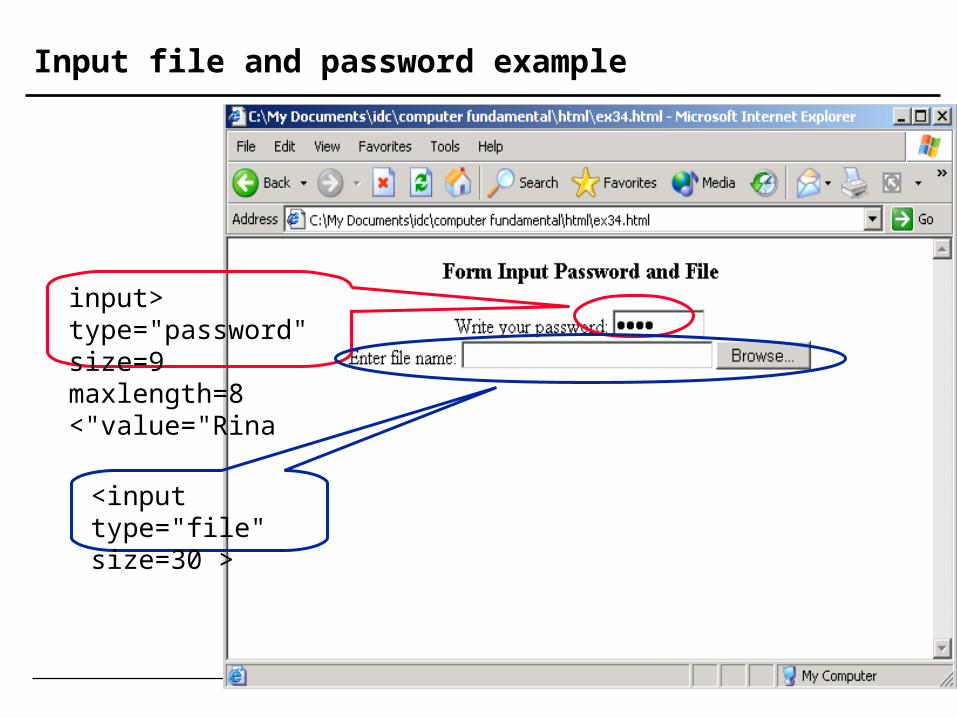
Input file and password example
<html><head></head>
<body><center>
<h3>Form Input Password and File</h3>
<form>Write your password:
<input type="password" size=9 maxlength=8 value="Rina"><br>
Enter file name:
<input type="file" size=30 >
</form></center></body></html>
Input file and password example
<input type="password" size=9 maxlength=8
value="Rina>"
>input type="file" size=30 <
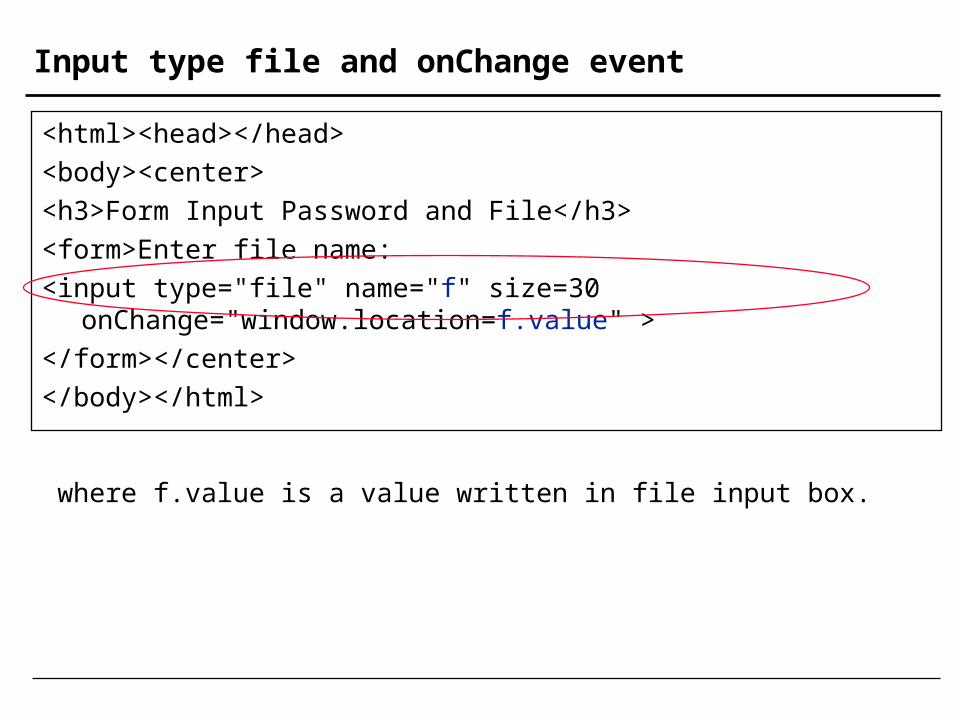
Input type file and onChange event
<html><head></head>
<body><center>
<h3>Form Input Password and File</h3>
<form>Enter file name:
<input type="file" name="f" size=30 onChange="window.location=f.value" >
</form></center>
</body></html>
where f.value is a value written in file input box.
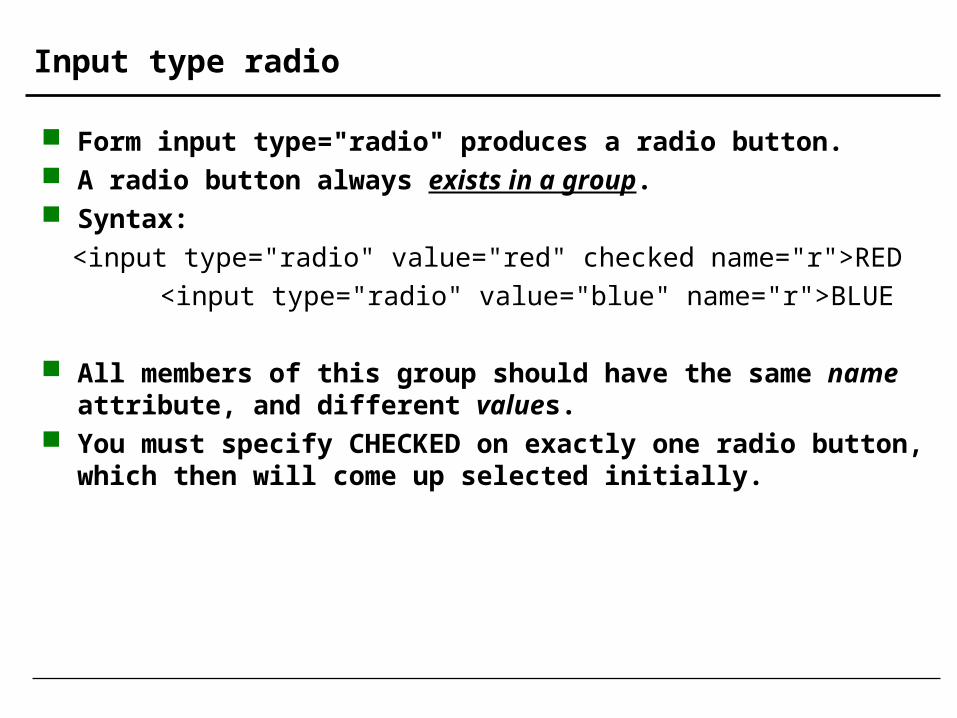
Input type radio
Form input type="radio" produces a radio button. A radio button always exists in a group. Syntax:
<input type="radio" value="red" checked name="r">RED
<input type="radio" value="blue" name="r">BLUE
All members of this group should have the same name attribute, and different values.
You must specify CHECKED on exactly one radio button, which then will come up selected initially.
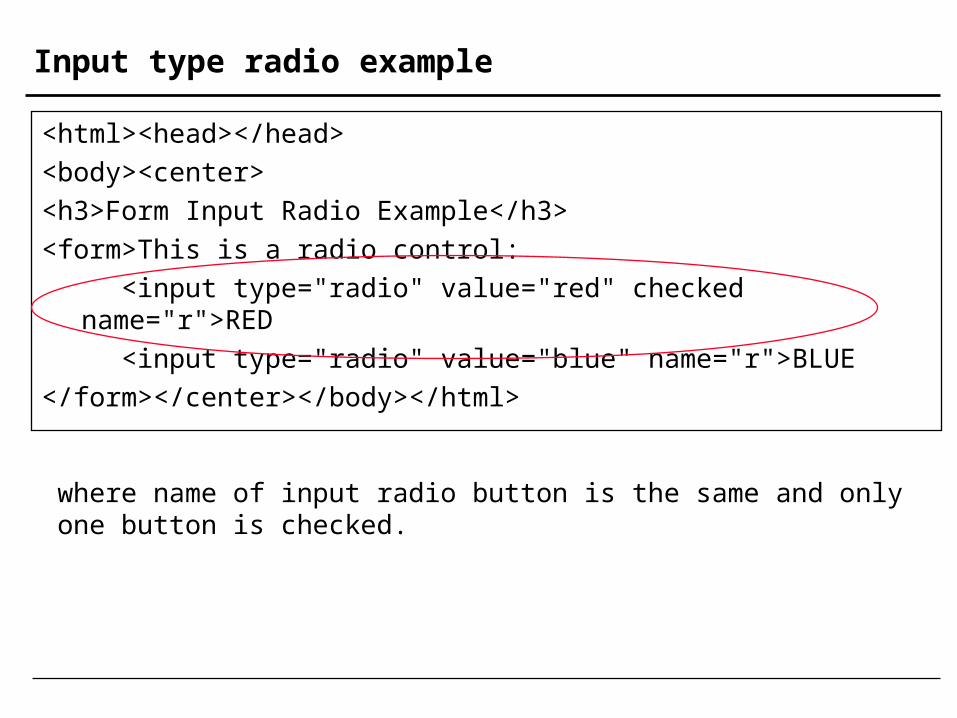
Input type radio example
<html><head></head>
<body><center>
<h3>Form Input Radio Example</h3>
<form>This is a radio control:
<input type="radio" value="red" checked name="r">RED
<input type="radio" value="blue" name="r">BLUE
</form></center></body></html>
where name of input radio button is the same and only one button is checked.
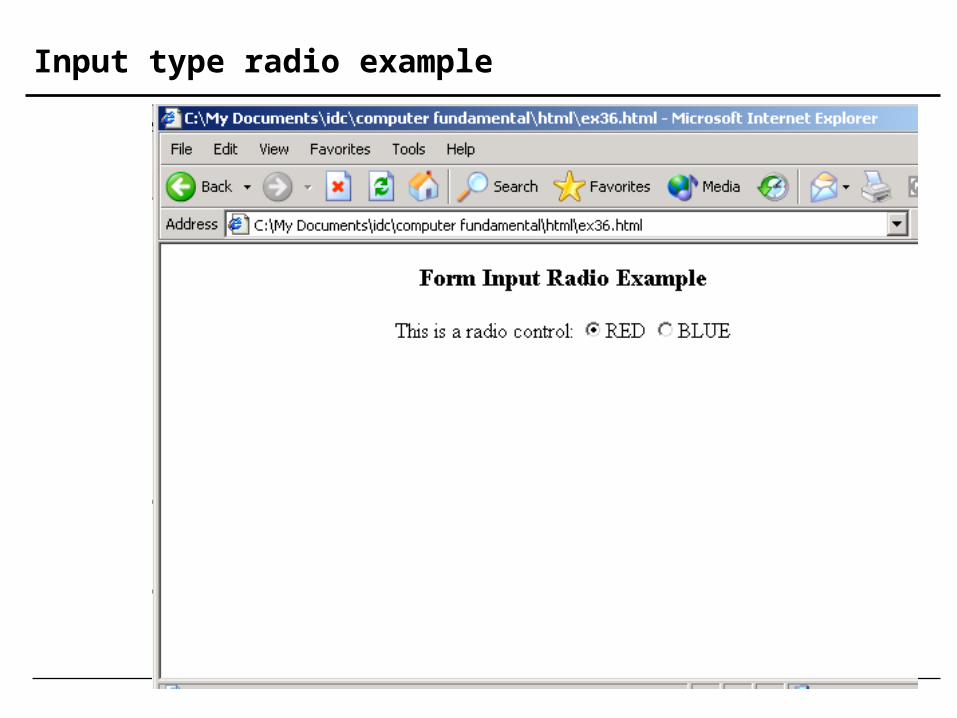
Input type radio example
Input type checkbox
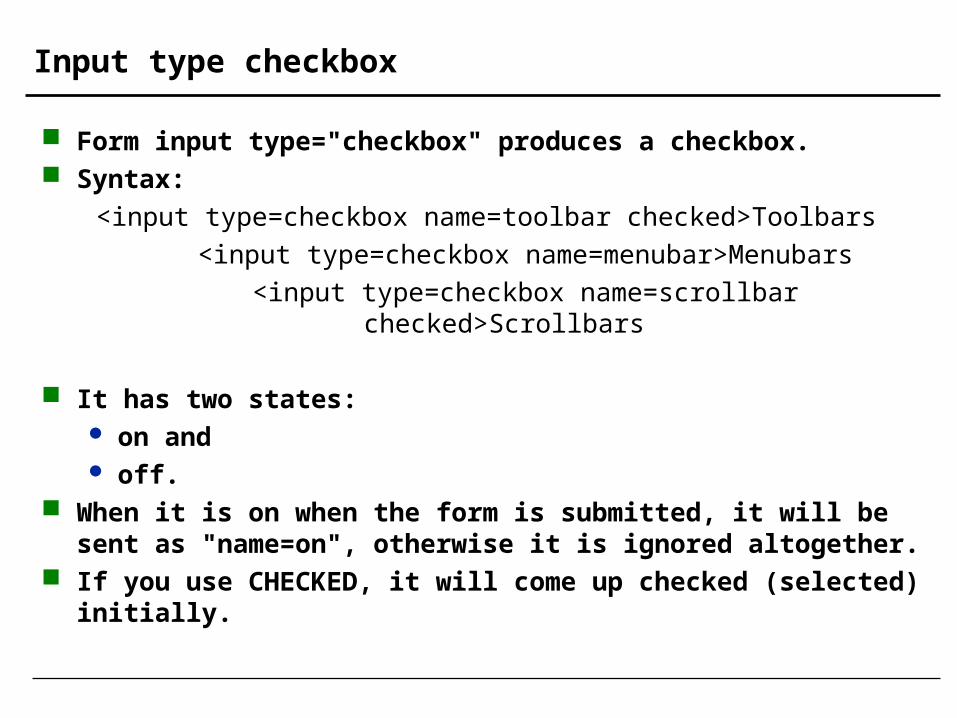
Form input type="checkbox" produces a checkbox. Syntax:
<input type=checkbox name=toolbar checked>Toolbars
<input type=checkbox name=menubar>Menubars
<input type=checkbox name=scrollbar checked>Scrollbars
It has two states: on and off.
When it is on when the form is submitted, it will be sent as "name=on", otherwise it is ignored altogether.
If you use CHECKED, it will come up checked (selected) initially.
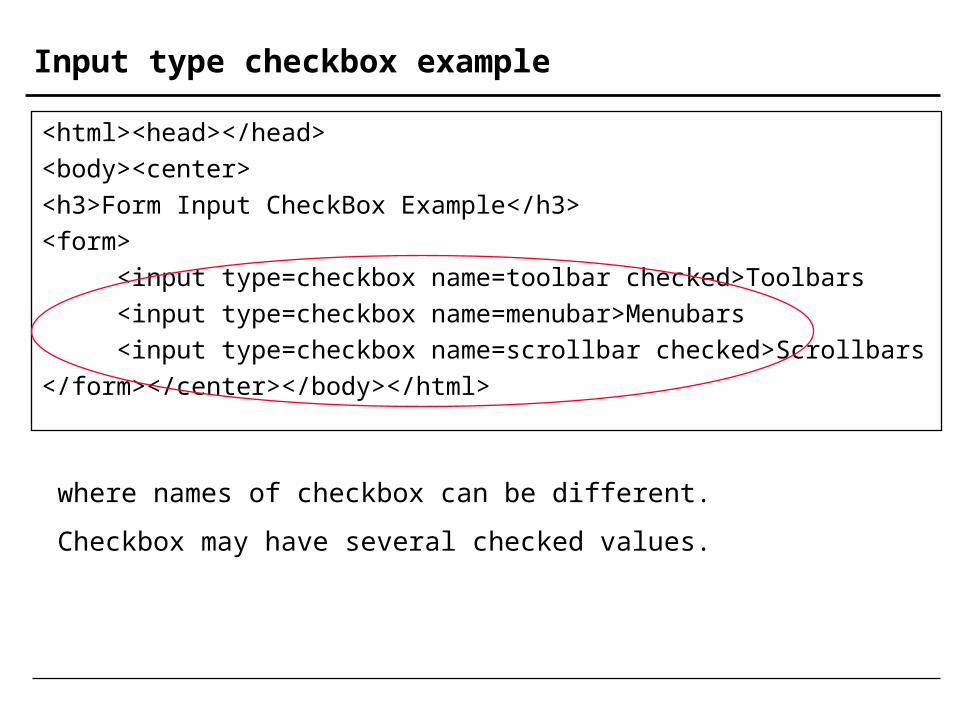
Input type checkbox example
<html><head></head>
<body><center>
<h3>Form Input CheckBox Example</h3>
<form>
<input type=checkbox name=toolbar checked>Toolbars
<input type=checkbox name=menubar>Menubars
<input type=checkbox name=scrollbar checked>Scrollbars
</form></center></body></html>
where names of checkbox can be different.
Checkbox may have several checked values.
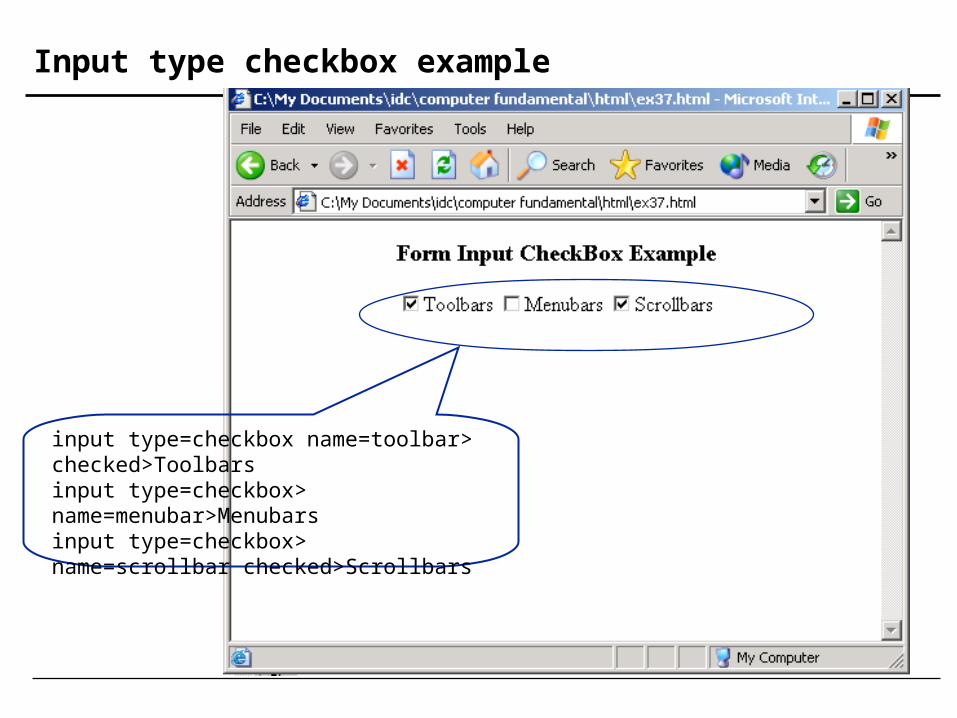
Input type checkbox example
<input type=checkbox name=toolbar checked<Toolbars
<input type=checkbox name=menubar<Menubars<input type=checkbox name=scrollbar
checked<Scrollbars
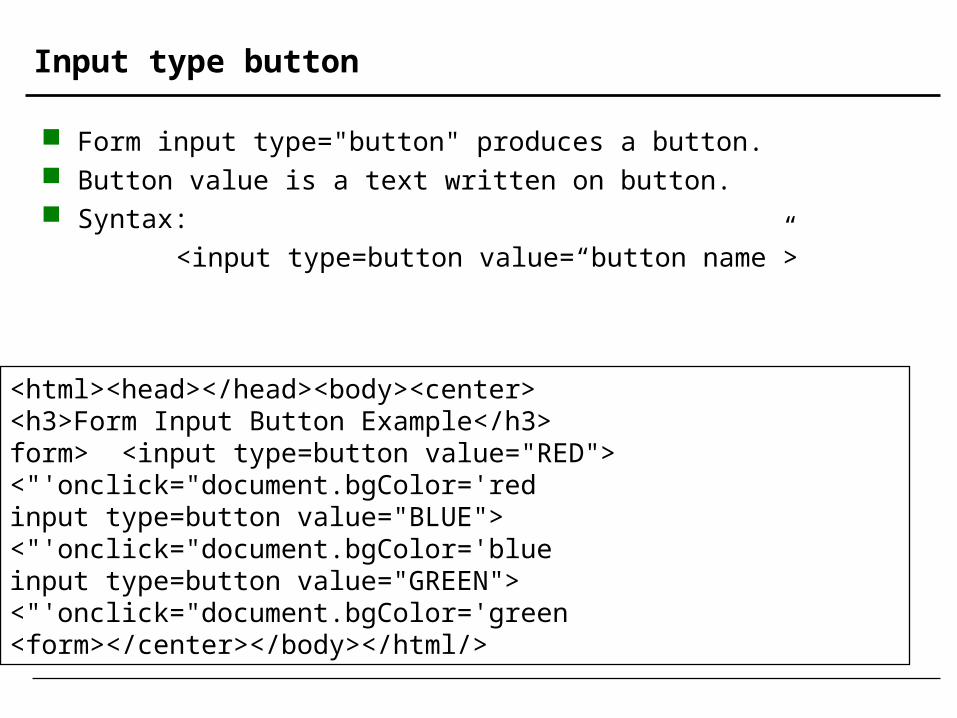
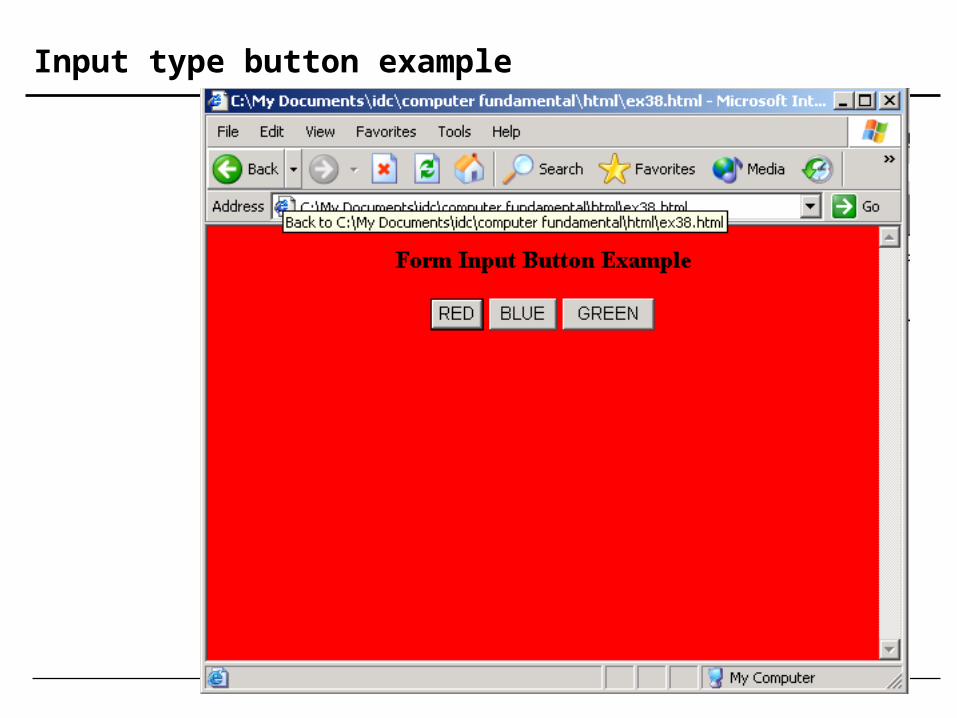
Input type button
Form input type="button" produces a button. Button value is a text written on button. Syntax:
<input type=button value=“button name”>
>html><head></head><body><center<>h3>Form Input Button Example</h3<
>form> <input type=button value="RED" onclick="document.bgColor='red<"'
> input type=button value="BLUE" onclick="document.bgColor='blue<"'> input type=button value="GREEN" onclick="document.bgColor='green<"'
/>form></center></body></html<

Input type checkbox example
<html><head></head>
<body><center>
<h3>Form Input CheckBox Example</h3>
<form>
<input type=checkbox name=toolbar checked>Toolbars
<input type=checkbox name=menubar>Menubars
<input type=checkbox name=scrollbar checked>Scrollbars
</form></center></body></html>
where names of checkbox can be different.
Checkbox may have several checked values.
Input type button example
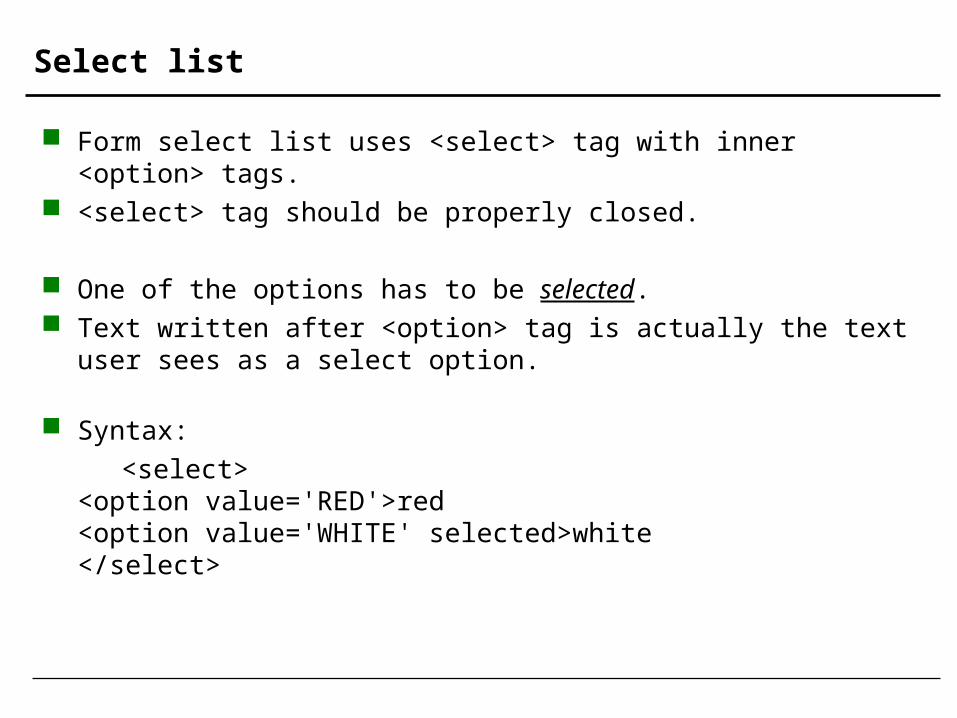
Select list
Form select list uses <select> tag with inner <option> tags. <select> tag should be properly closed.
One of the options has to be selected. Text written after <option> tag is actually the text user sees as a select
option.
Syntax:
<select><option value='RED'>red<option value='WHITE' selected>white</select>
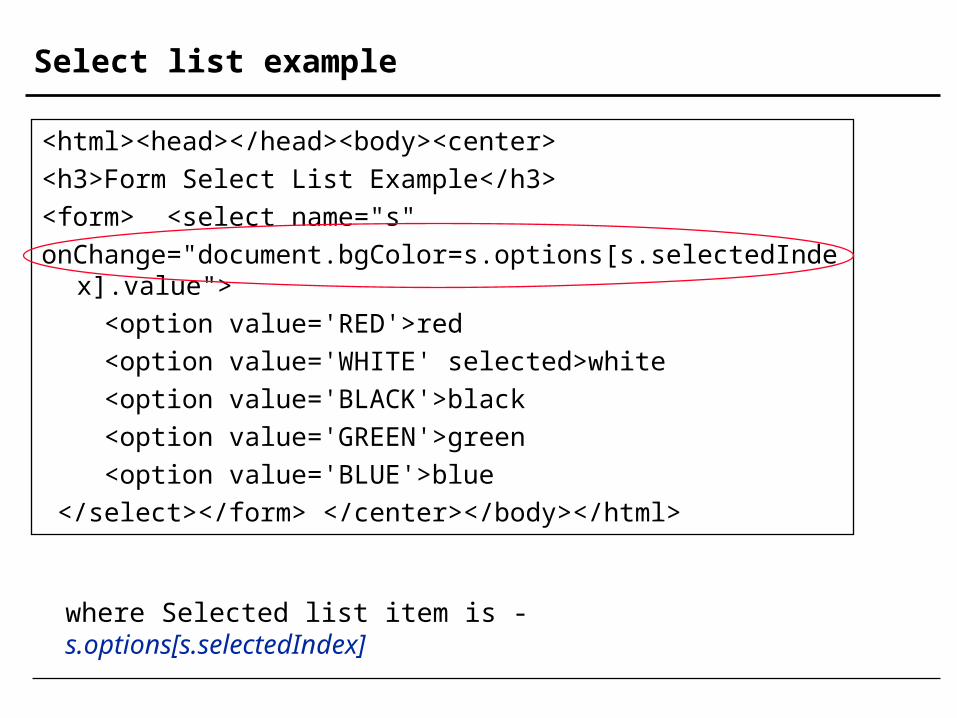
Select list example
<html><head></head><body><center>
<h3>Form Select List Example</h3>
<form> <select name="s"
onChange="document.bgColor=s.options[s.selectedIndex].value">
<option value='RED'>red
<option value='WHITE' selected>white
<option value='BLACK'>black
<option value='GREEN'>green
<option value='BLUE'>blue
</select></form> </center></body></html>
where Selected list item is - s.options[s.selectedIndex]
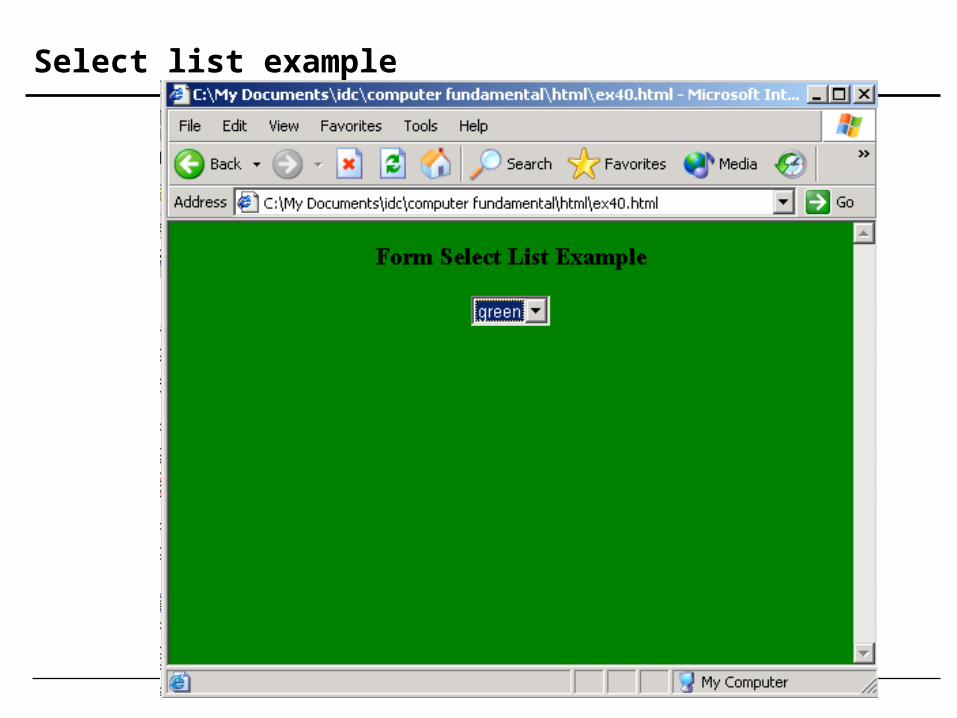
Select list example
Frames
Instead of one document in the window, we can divide the window into parts.
Each part is a FRAME. In each frame a different document can be loaded. The set of frames is called a FRAMESET. FRAMESETs can be nested, i.e. one FRAMESET can include another. One FRAMESET draws a straight line (either vertical or horizontal) and
thus divides the window into two. Combining a set of FRAMESETs and FRAMEs, we can divide and sub-
divide as we wish. Vertical division is achieved using the COLS attribute in the
FRAMESET tag. Horizontal division is achieved using the ROWS attribute in the
FRAMESET tag.
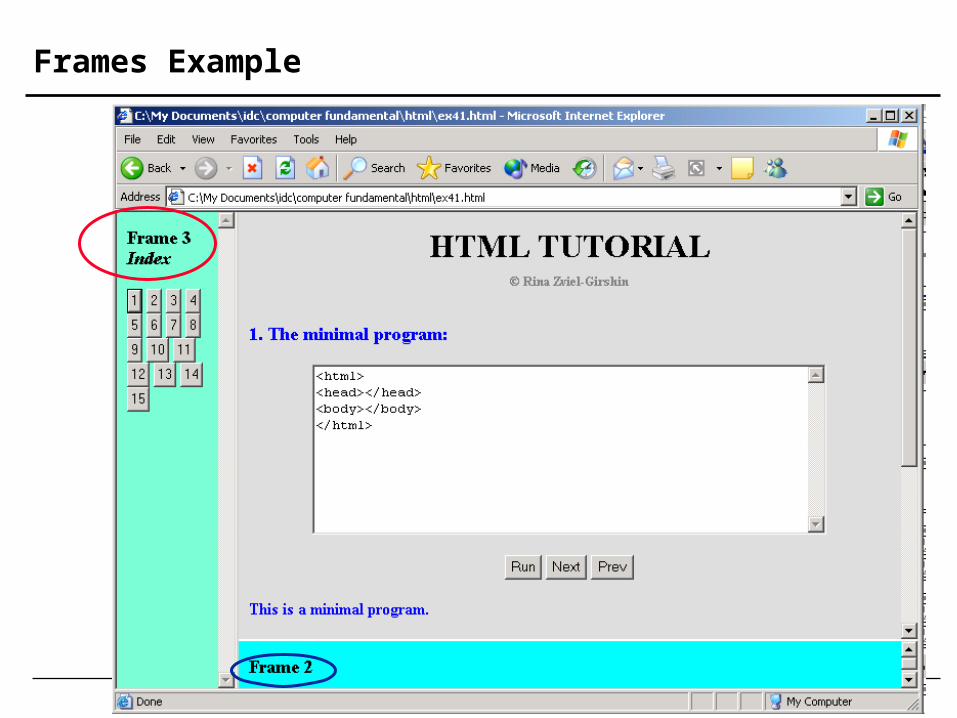
Frames Example
Frames Example
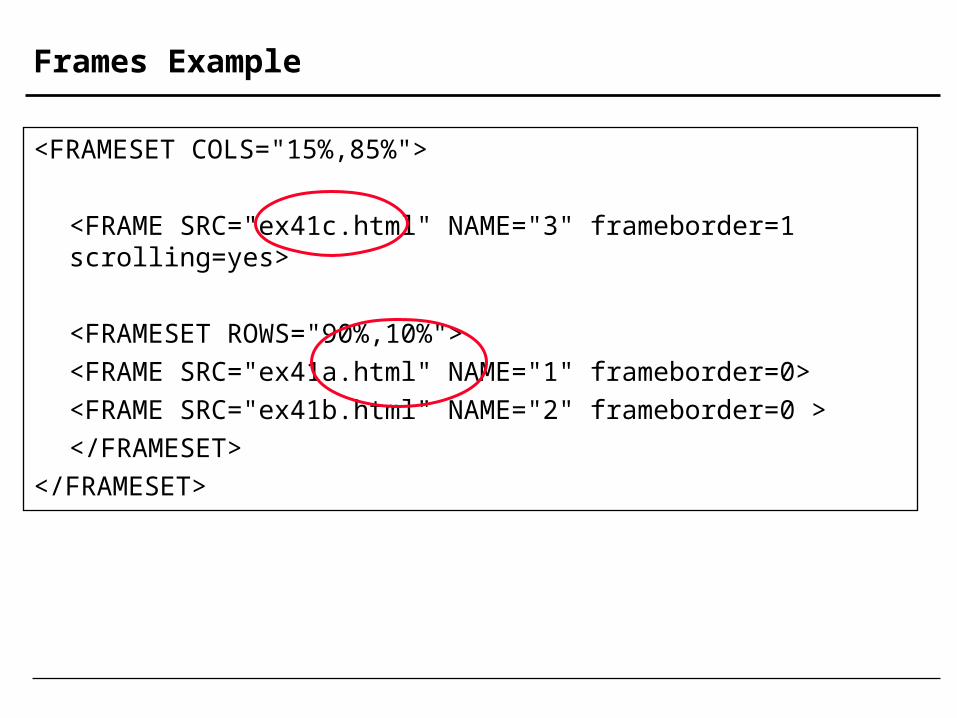
<FRAMESET COLS="15%,85%">
<FRAME SRC="ex41c.html" NAME="3" frameborder=1 scrolling=yes>
<FRAMESET ROWS="90%,10%">
<FRAME SRC="ex41a.html" NAME="1" frameborder=0>
<FRAME SRC="ex41b.html" NAME="2" frameborder=0 >
</FRAMESET>
</FRAMESET>
Any questions?
Related Documents