MailChimp Tutorial 1 JETAA USA 5/10/2010 Introduction to MailChimp: The Communication Management Tool for your JETAA Chapter

Welcome message from author
This document is posted to help you gain knowledge. Please leave a comment to let me know what you think about it! Share it to your friends and learn new things together.
Transcript

MailChimp Tutorial 1 JETAA USA 5/10/2010
Introduction to MailChimp: The Communication Management Tool for your JETAA Chapter
MailChimp Tutorial 2 JETAA USA 5/10/2010
1.0 Background and Overview: On January 29th, 2010 during the JETAA Technology Conference, in Portland, it was agreed that an email marketing communication approach is recommended as the best strategy for the communication of news, messages and/or the promotion of events. The process of managing communications via Excel spreadsheet and email blast is grossly inefficient and more time consuming than it needs to be. At the meeting, it was decided that the email marketing website called MailChimp (www.mailchimp.com) would be the recommended tool that evolves the management of email marketing and communication between the chapter and its stakeholder.
2.0 Introduction: An effective communication plan is fundamental to developing a thriving JET Alumni Chapter. Typically, the chapter will designate a communication manager who will be responsible for making sure that chapter can effectively communicate within the executive, Alumni members, Japanese Consulate representatives, friends of the chapter and other stakeholders of interest. For effective communication a system will satisfy the following needs:
• Store current contacts into a centralized database for management
• Import and add members to the database via an effective, efficient and time-effective means
• Target communications to different groups
• Track information about stakeholders and history with the chapter
• Manage communication for specific events
• Integration of this system into a website (like WordPress or JOOMLA)
MailChimp satisfies these needs, and with experience, the program will lead to a simple yet effective management of communications for your JETAA chapter.
3.0 This Guide: This tutorial is meant to assist in introducing you to some of the useful tools of this website for your chapter. MailChimp has a number of video tutorials that can assist you with other questions you might have. You also can contact the JETAA Tech community to get assistance should you require further assistance. Also, some experimentation goes a long way to mastering MailChimp’s capabilities.
It is recognized that this tutorial is not perfect and may contain some inaccuracies. Also, the system may change from the time of creation of this manual. The expectation is that this manual evolves with use, an open source manual if you will. Any suggestions for improvement are welcome.
MailChimp Tutorial 3 JETAA USA 5/10/2010
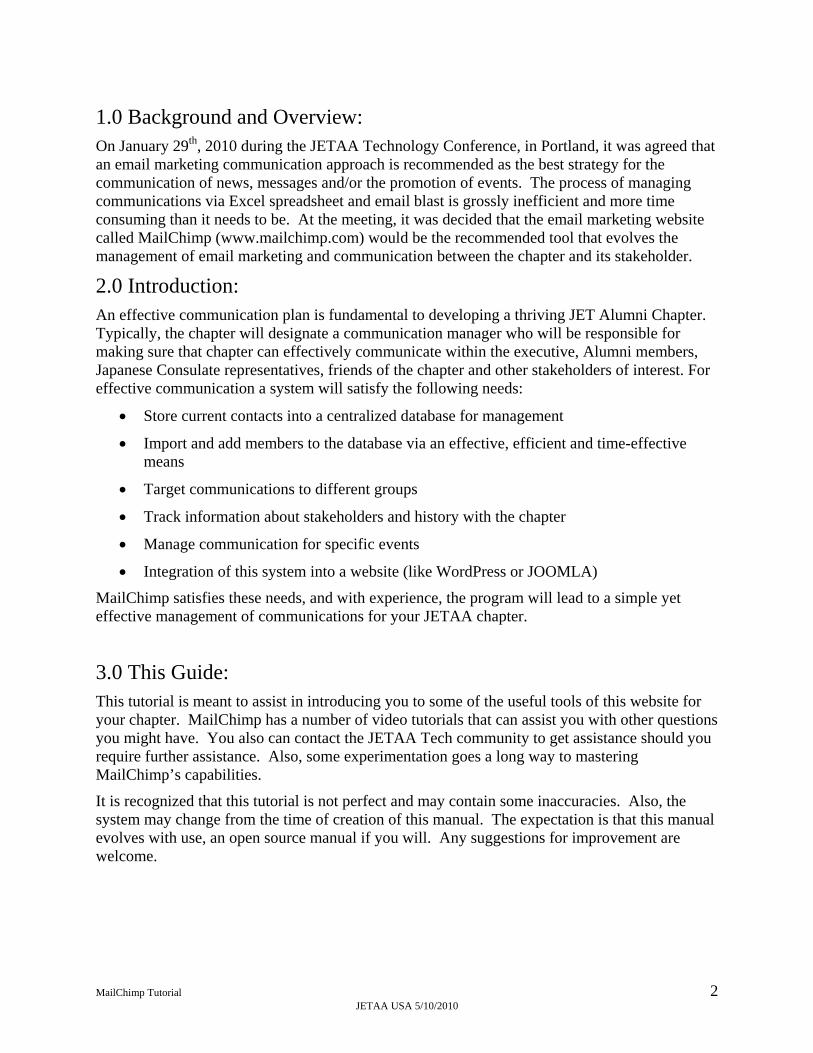
4.0 Step One: Creating an Account Creating an account is easy. Simply go to the MailChimp website at www.mailchimp.com, click on the orange-brown “sign up free” button. Next, enter the chapters (or designated) email and choose a user name. Once completed choose a password and re-enter it again to confirm its acceptance. Upon successfully completing the above MailChimp will send a confirmation email to the designated email account. Open this email in your account and simply click the link to confirm your email and you will be automatically directed to the MailChimp Dashboard. This Dashboard is the general management tab of the account. Near the top there are other tabs named campaigns, lists, reports and auto responders. Each of these tabs manages important components of the system. Their use will be explained shortly.
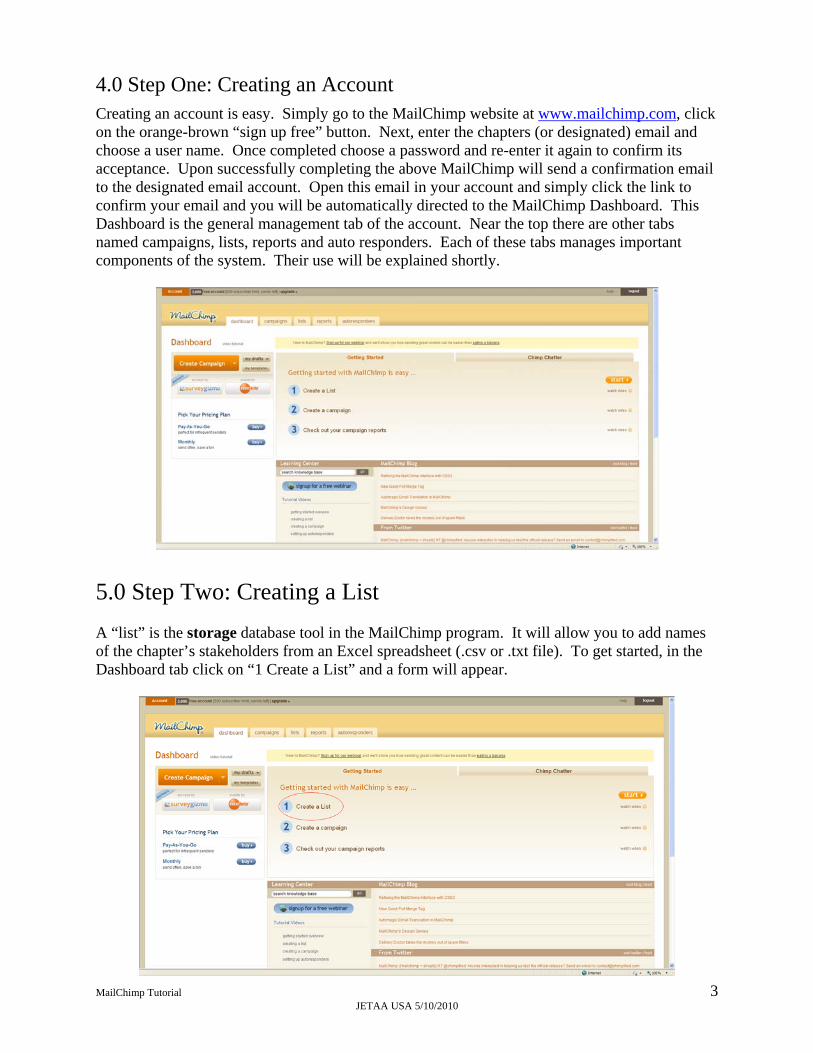
5.0 Step Two: Creating a List A “list” is the storage database tool in the MailChimp program. It will allow you to add names of the chapter’s stakeholders from an Excel spreadsheet (.csv or .txt file). To get started, in the Dashboard tab click on “1 Create a List” and a form will appear.
MailChimp Tutorial 4 JETAA USA 5/10/2010
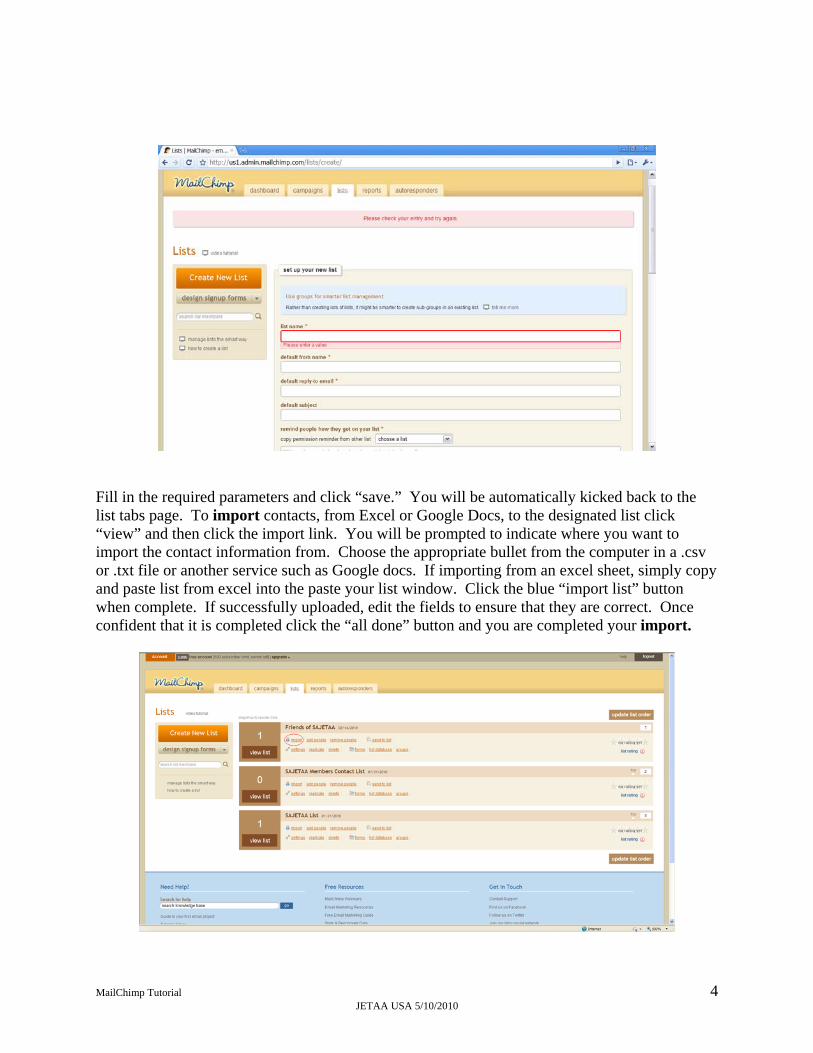
Fill in the required parameters and click “save.” You will be automatically kicked back to the list tabs page. To import contacts, from Excel or Google Docs, to the designated list click “view” and then click the import link. You will be prompted to indicate where you want to import the contact information from. Choose the appropriate bullet from the computer in a .csv or .txt file or another service such as Google docs. If importing from an excel sheet, simply copy and paste list from excel into the paste your list window. Click the blue “import list” button when complete. If successfully uploaded, edit the fields to ensure that they are correct. Once confident that it is completed click the “all done” button and you are completed your import.
MailChimp Tutorial 5 JETAA USA 5/10/2010
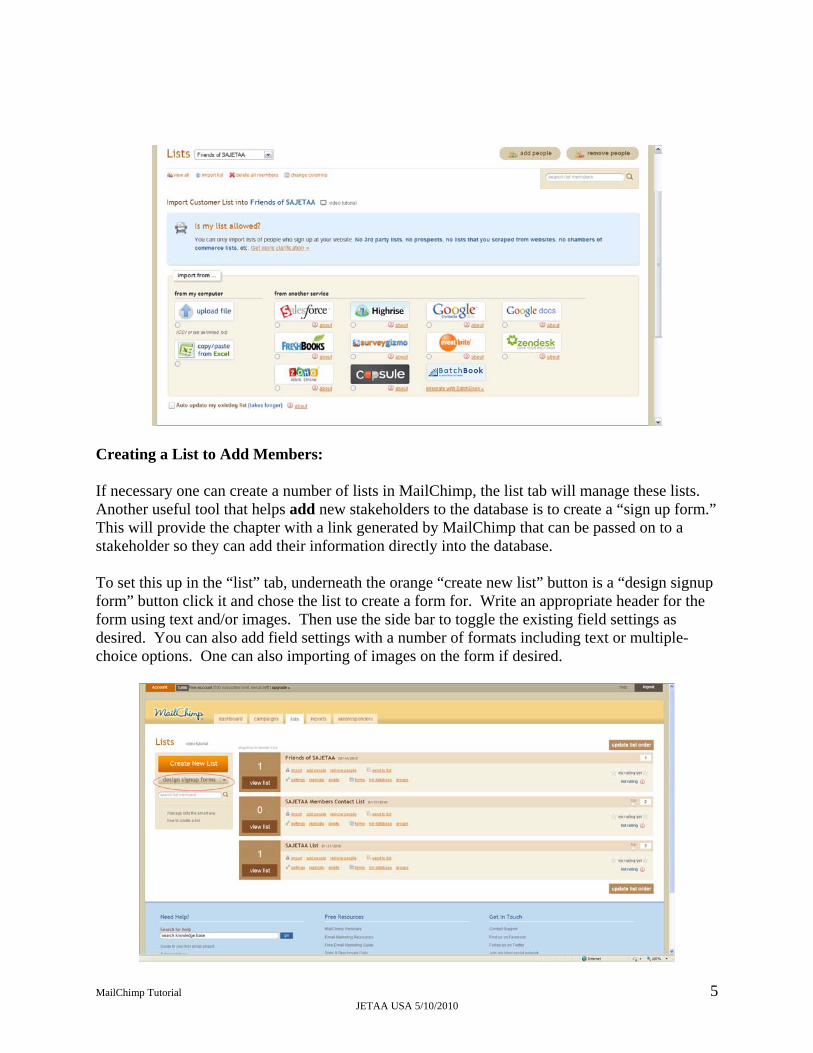
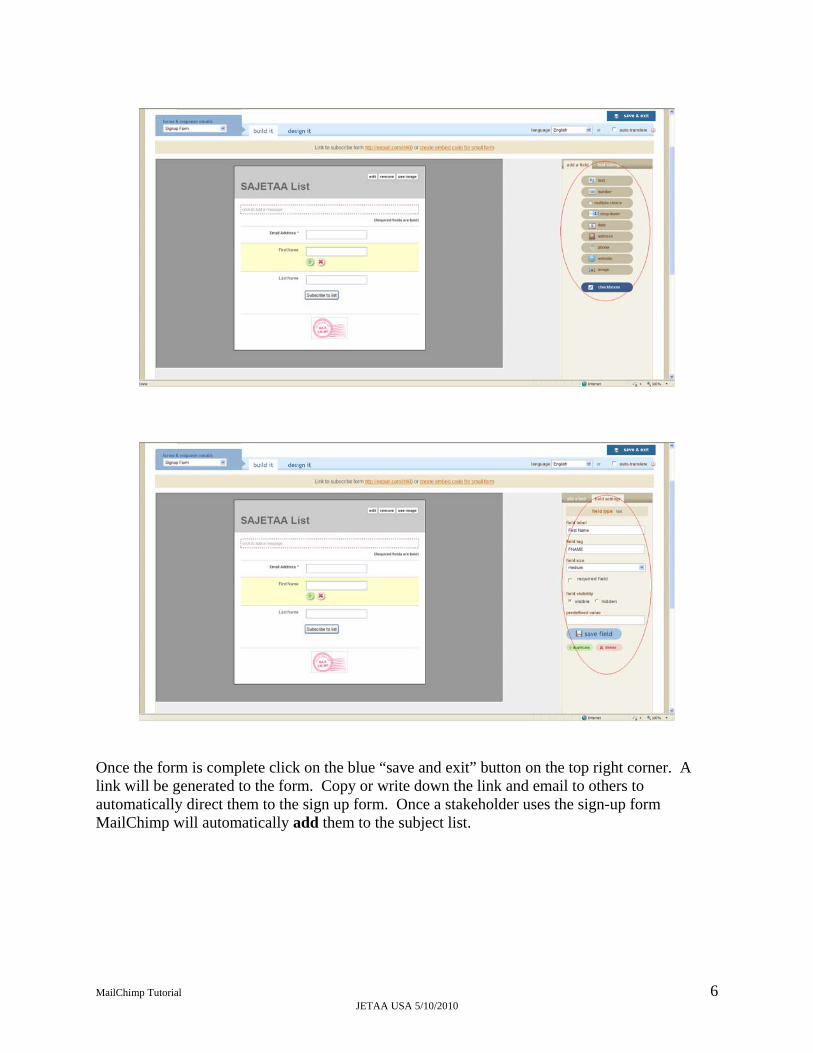
Creating a List to Add Members: If necessary one can create a number of lists in MailChimp, the list tab will manage these lists. Another useful tool that helps add new stakeholders to the database is to create a “sign up form.” This will provide the chapter with a link generated by MailChimp that can be passed on to a stakeholder so they can add their information directly into the database. To set this up in the “list” tab, underneath the orange “create new list” button is a “design signup form” button click it and chose the list to create a form for. Write an appropriate header for the form using text and/or images. Then use the side bar to toggle the existing field settings as desired. You can also add field settings with a number of formats including text or multiple-choice options. One can also importing of images on the form if desired.
MailChimp Tutorial 6 JETAA USA 5/10/2010
Once the form is complete click on the blue “save and exit” button on the top right corner. A link will be generated to the form. Copy or write down the link and email to others to automatically direct them to the sign up form. Once a stakeholder uses the sign-up form MailChimp will automatically add them to the subject list.
MailChimp Tutorial 7 JETAA USA 5/10/2010
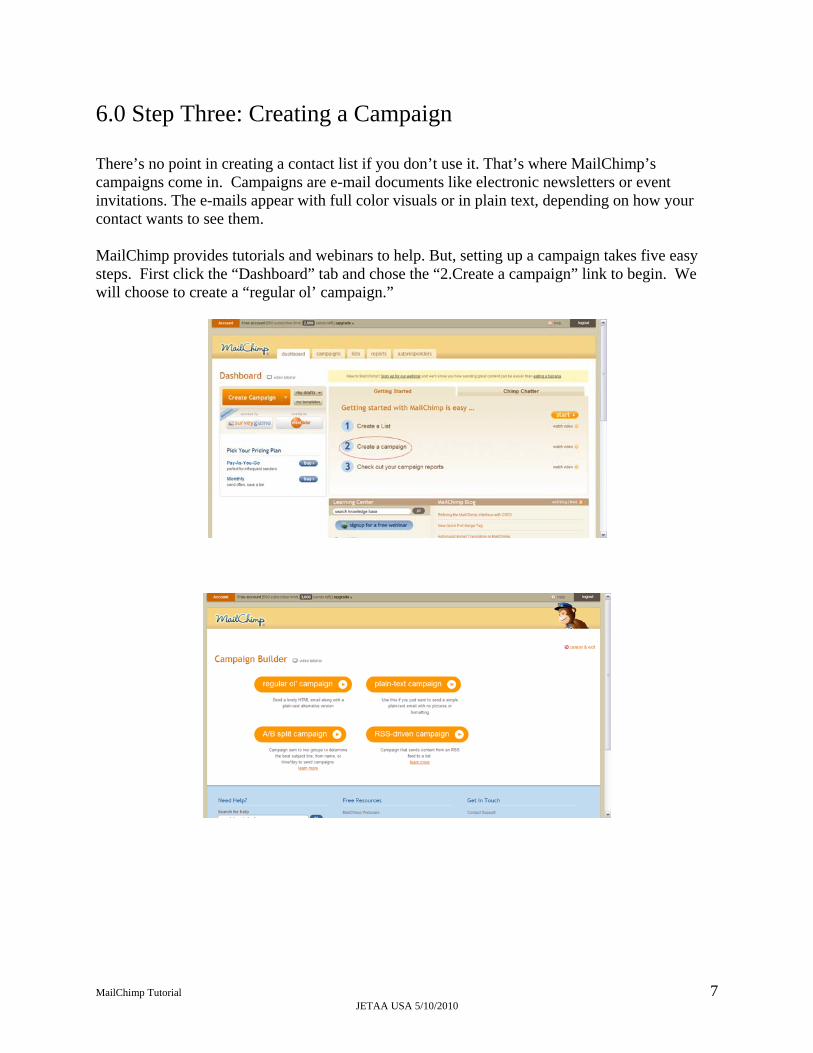
6.0 Step Three: Creating a Campaign There’s no point in creating a contact list if you don’t use it. That’s where MailChimp’s campaigns come in. Campaigns are e-mail documents like electronic newsletters or event invitations. The e-mails appear with full color visuals or in plain text, depending on how your contact wants to see them. MailChimp provides tutorials and webinars to help. But, setting up a campaign takes five easy steps. First click the “Dashboard” tab and chose the “2.Create a campaign” link to begin. We will choose to create a “regular ol’ campaign.”
MailChimp Tutorial 8 JETAA USA 5/10/2010
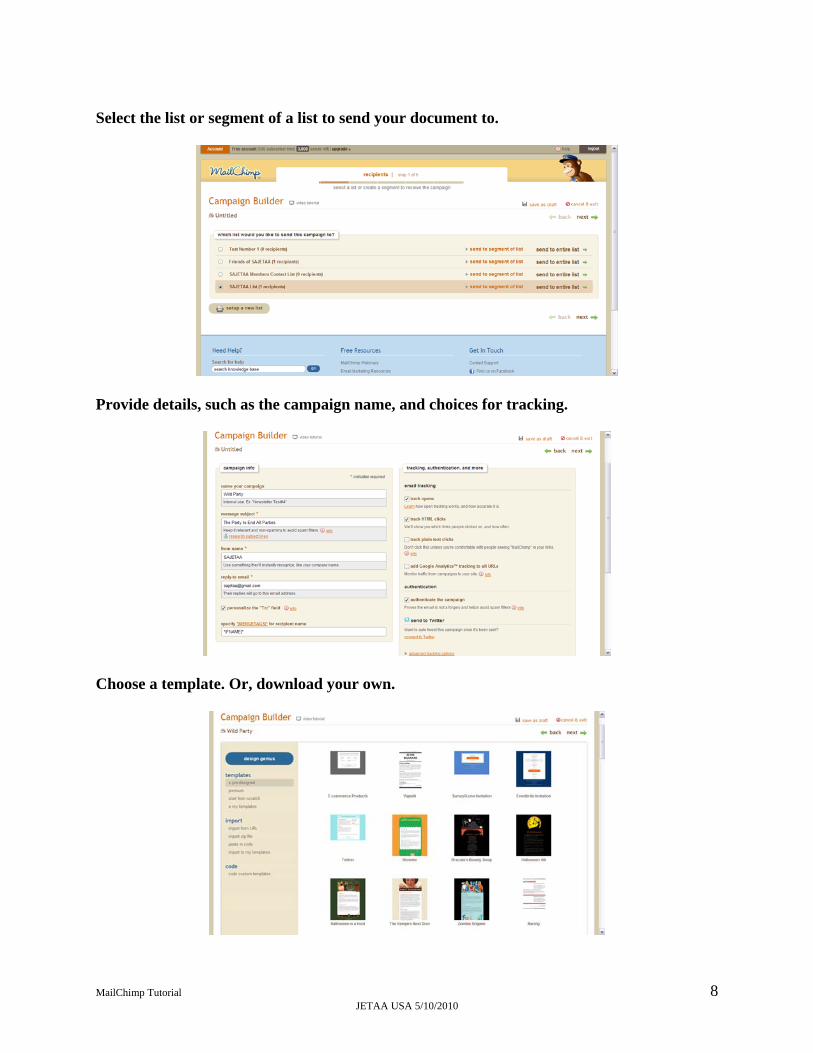
Select the list or segment of a list to send your document to.
Provide details, such as the campaign name, and choices for tracking.
Choose a template. Or, download your own.
MailChimp Tutorial 9 JETAA USA 5/10/2010
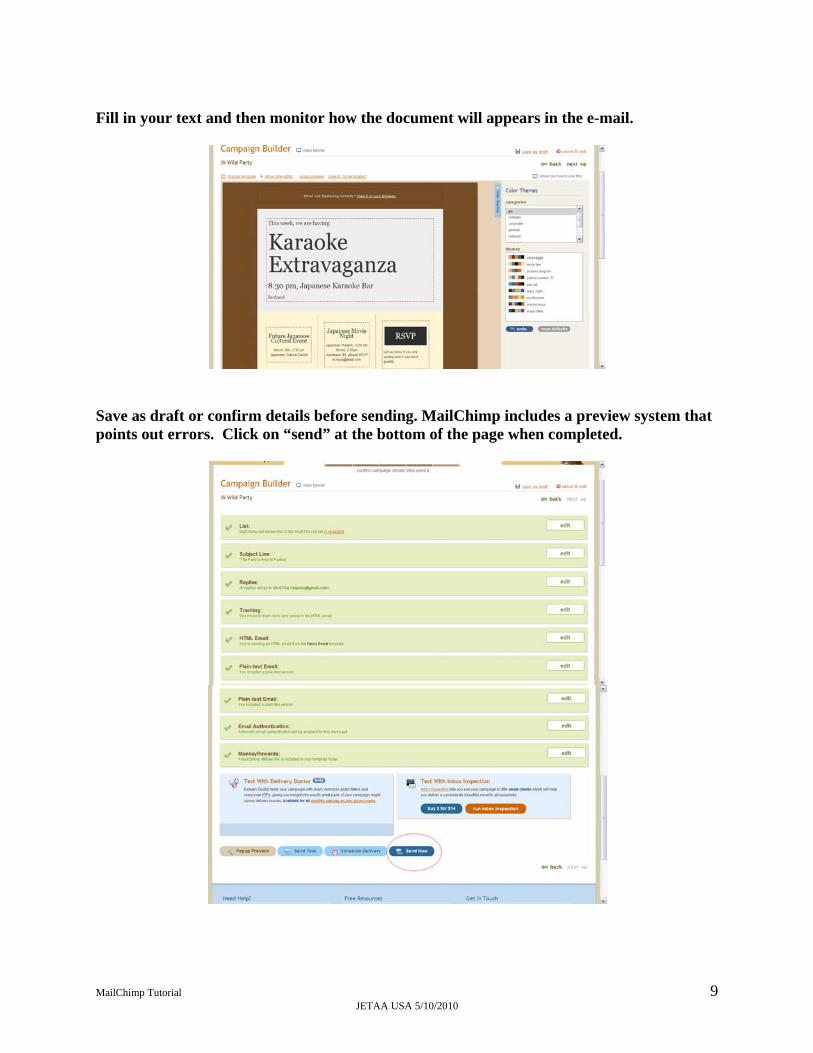
Fill in your text and then monitor how the document will appears in the e-mail.
Save as draft or confirm details before sending. MailChimp includes a preview system that points out errors. Click on “send” at the bottom of the page when completed.
MailChimp Tutorial 10 JETAA USA 5/10/2010
Mail Chimp will tell you how many contacts read your campaigns – or it can link to ‘Google Analytics’ and find out more. You can also link campaigns to your website; thus, displaying the full campaign layout on the site instead of in the e-mail. Campaigns can also broadcast to Facebook and Twitter. Thus, MailChimp’s campaigns draw upon the internet to unify your chapter’s communications across several tools. No more updating information in different places. 7.0 Integrating with Websites: Should you require help integrating Mail Chimp with what you’ve got, tech savvy JETs have been using it for a while. So if you need help, we’re there. However, below is a brief description on how to integrate MailChimp into your WordPress or Joomla sites. WordPress: Sign up forms from MailChimp can be used for WordPress. Simply integrate the link into your WordPress website. Joomla: The order of things is a little different depending on whether it's being done off of the JETAA template (developed by Jason Porath of JETAASC), or if it's part of an already-established Joomla site. Enclosed are the procedure for both approaches. Non-Template Joomla Site: First off, this will only work if you are using the Community Builder add-on for Joomla. If you are not, first download it here: http://www.joomlapolis.com/ The Mailchimp plugin is currently hard-coded to work only with a specific set of field names, combining them so that it will sync correctly with corresponding fields in Mailchimp. They are: cb_mailingaddressa (Mailing address line 1) cb_mailingaddressb (Mailing address line 2) cb_city (Mailing address city) cb_state (Mailing address state) cb_zippostalcode (Mailing address zip code) cb_country (Mailing address country) cb_placementalt (Placement as ALT) cb_altbeginyear (ALT start year) cb_altendyear (ALT end year) cb_placementcir (Placement as CIR) cb_cirbeginyear (CIR start year) cb_cirendyear (CIR end year) cb_placementsea (Placement as SEA) cb_seabeginyear (SEA start year)
MailChimp Tutorial 11 JETAA USA 5/10/2010
cb_seaendyear (SEA end year) Once you have that set up and filled with data, next download the Mailchimp plugin, found here: http://www.jasonporath.com/uploads/jetaasc/plug_mailchimp.zip Upload and install the MailChimp plug-in in the Joomla administrative backend, under Community Builder->Plugins. If this doesn't work, try unzipping the file on your local computer, re-zipping it, and uploading it again. This brings you up to where someone with the JETAA Template is. JETAA TEMPLATE (AND MAILCHIMP-ENABLED NON-TEMPLATE SITES): 1) Go into Mailchimp and create a list. 2) Under that list's "Settings" tab, go to "Groups for Segmentation" and create as many interest groups as you like for specific mailing lists (say, for subchapters, jobs, nihongo dake dinners, etc). 3) Under that list's "Settings" tab, go to "List Fields" and add the following fields: ADDRESS (address) PREFECTURE (should be a dropdown list of all the prefectures) JETSTART (text) JETEND (text) 4) Get your list's unique ID, available on the "Settings" tab for your list. Write that down. 5) Create an API key by going to your Account settings (top-left) corner, clicking on "API Keys and Info," and following the instructions. Write that down too. 6) Go back to the Joomla administration backend. Click on Components>Community Builder>Plugins. 7) Click on "mailchimp" in order to edit it. 8) Fill in the "Mailchimp.com account API key" and "Mailchimp.com account list id" with the information obtained in steps #5 and #4 respectively. 9) Write down the URL provided at "Webhook URL." If, for some reason, it does not include your domain name (like "http://www.YOURDOMAINNAME.com") at the beginning, add that. 10) Customize any of the other settings here that you desire. If you are confused, mouse-over the blue "i" icons on the right-hand side. 11) Go back to Mailchimp's administrative backend. Click on your list, then click on "List Tools," then "WebHooks."
MailChimp Tutorial 12 JETAA USA 5/10/2010
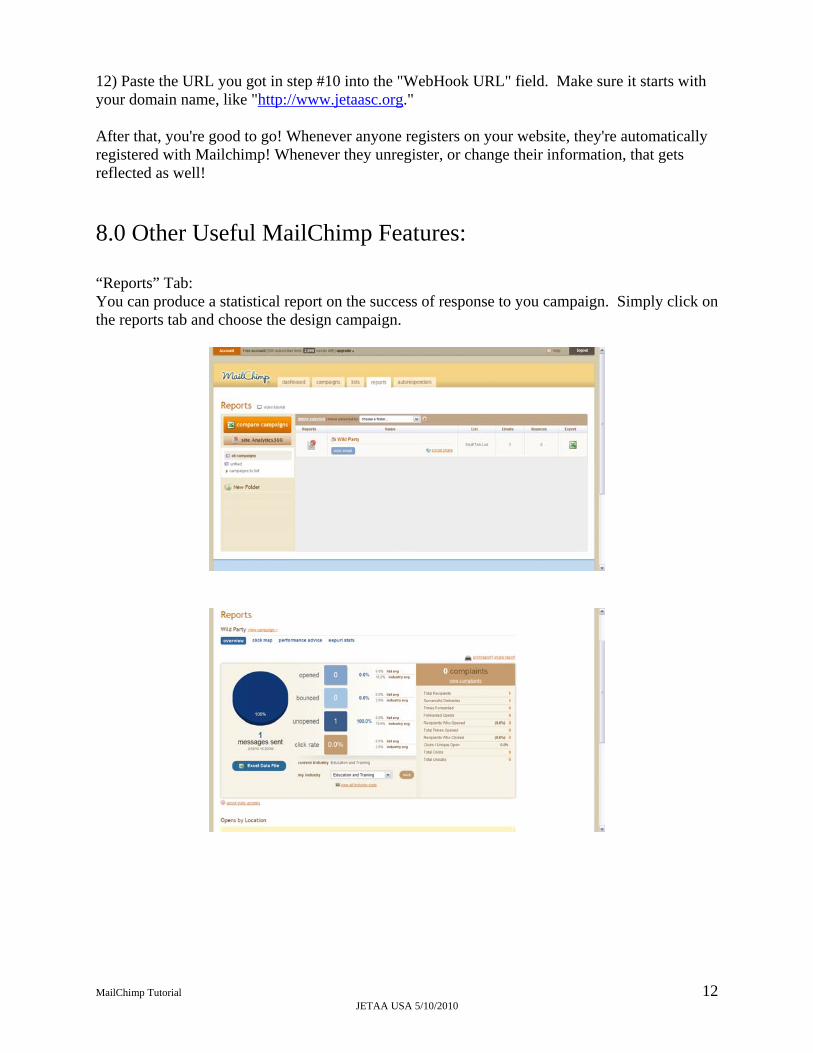
12) Paste the URL you got in step #10 into the "WebHook URL" field. Make sure it starts with your domain name, like "http://www.jetaasc.org." After that, you're good to go! Whenever anyone registers on your website, they're automatically registered with Mailchimp! Whenever they unregister, or change their information, that gets reflected as well! 8.0 Other Useful MailChimp Features: “Reports” Tab: You can produce a statistical report on the success of response to you campaign. Simply click on the reports tab and choose the design campaign.
MailChimp Tutorial 13 JETAA USA 5/10/2010
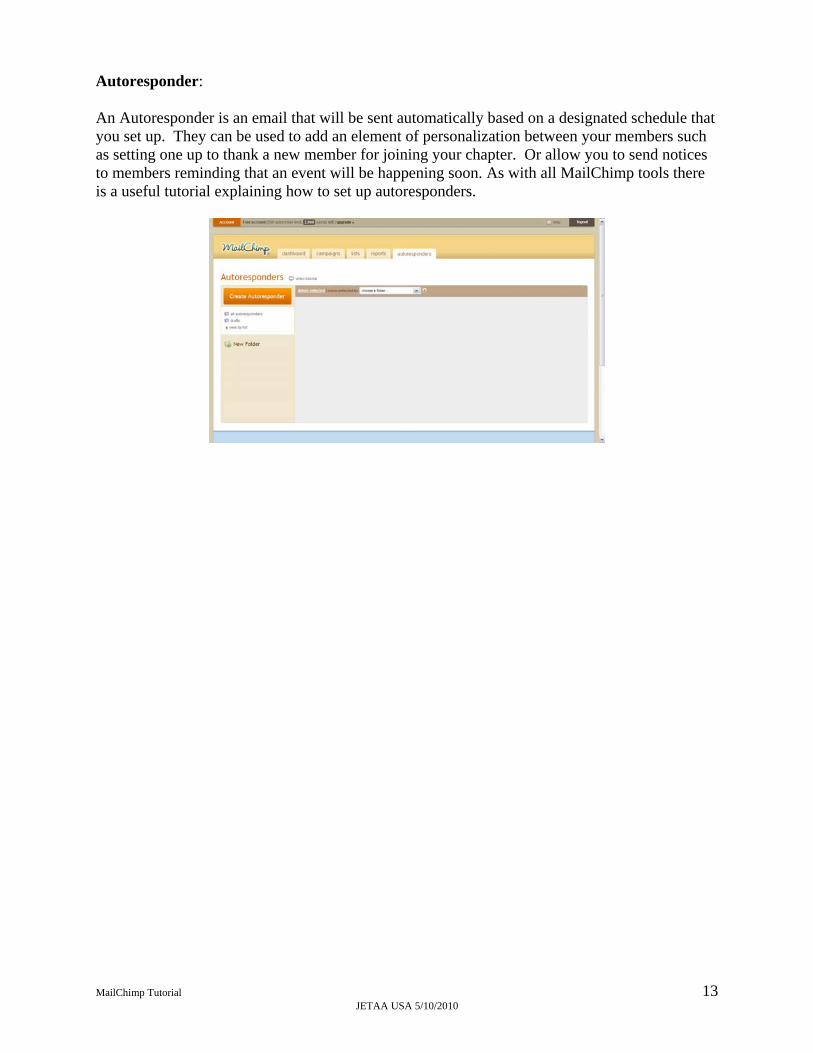
Autoresponder: An Autoresponder is an email that will be sent automatically based on a designated schedule that you set up. They can be used to add an element of personalization between your members such as setting one up to thank a new member for joining your chapter. Or allow you to send notices to members reminding that an event will be happening soon. As with all MailChimp tools there is a useful tutorial explaining how to set up autoresponders.
Related Documents