CGMB 324: MULTIMEDIA SYSTEM DESIGN Chapter 04: Multimedia Element II – Image (Part I)

CGMB 324: MULTIMEDIA SYSTEM DESIGN Chapter 04: Multimedia Element II – Image (Part I)
Dec 26, 2015
Welcome message from author
This document is posted to help you gain knowledge. Please leave a comment to let me know what you think about it! Share it to your friends and learn new things together.
Transcript
CGMB 324: MULTIMEDIA SYSTEM DESIGNChapter 04: Multimedia Element II – Image (Part I)
Objectives
At the end of this chapter, learners should be able to understand brief history of imaging understand the theory and concept of conventional camera and digital cameraidentify some of the most common graphics and image file formats. describe the variations in image compression techniques understand how to apply images in multimedia systems

Brief History Of Imaging
Brief History Of Imaging
The photosensitivity of certain silver compounds (halides), particularly silver nitrate and silver chloride, was recognized by scientists during the 18th century (1700s). A photographic film coated with these compounds are put in a camera and then exposed to light. An image, or picture, of the scene before the camera is formed on the film because the silver halides become activated (light-altered) where light falls but not where light does not fall. The image is made visible by the process of developing, made permanent by fixing, and, finally, is usually printed on paper.
Brief History Of Imaging
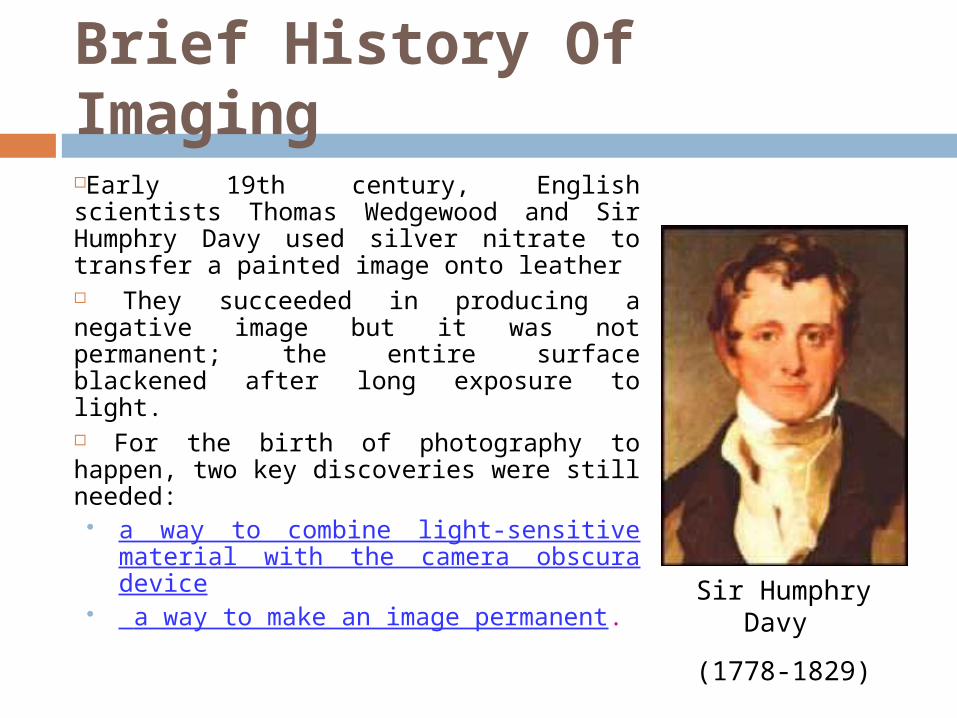
Early 19th century, English scientists Thomas Wedgewood and Sir Humphry Davy used silver nitrate to transfer a painted image onto leather They succeeded in producing a negative image but it was not permanent; the entire surface blackened after long exposure to light. For the birth of photography to happen, two key discoveries were still needed:
a way to combine light-sensitive material with the camera obscura device
a way to make an image permanent. Sir Humphry Davy
(1778-1829)
Brief History Of Imaging
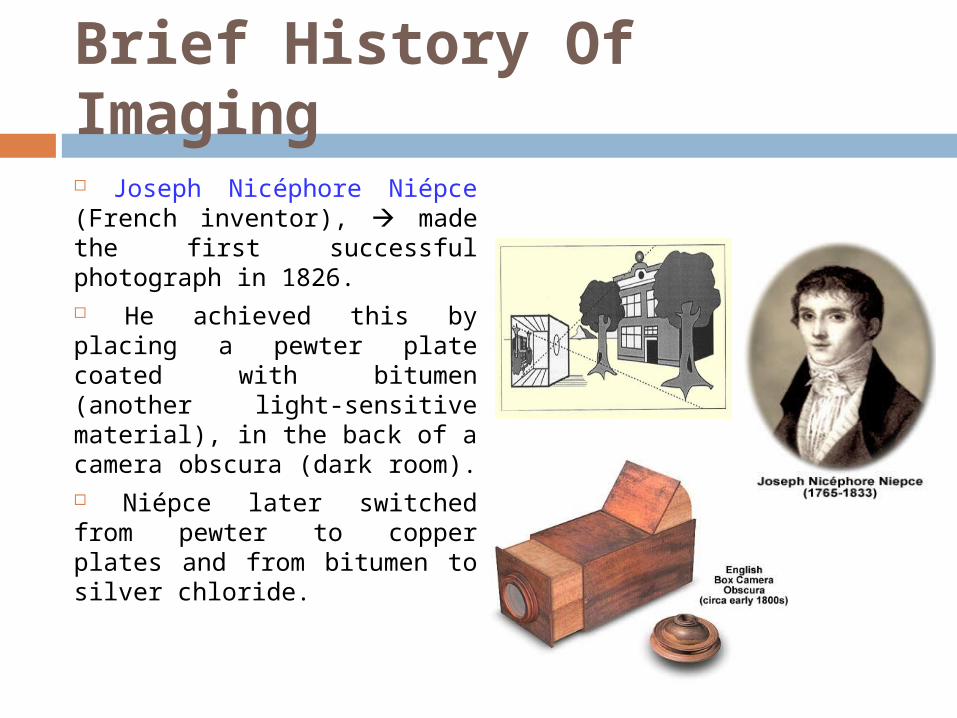
Joseph Nicéphore Niépce (French inventor), made the first successful photograph in 1826. He achieved this by placing a pewter plate coated with bitumen (another light-sensitive material), in the back of a camera obscura (dark room). Niépce later switched from pewter to copper plates and from bitumen to silver chloride.
The First Photograph
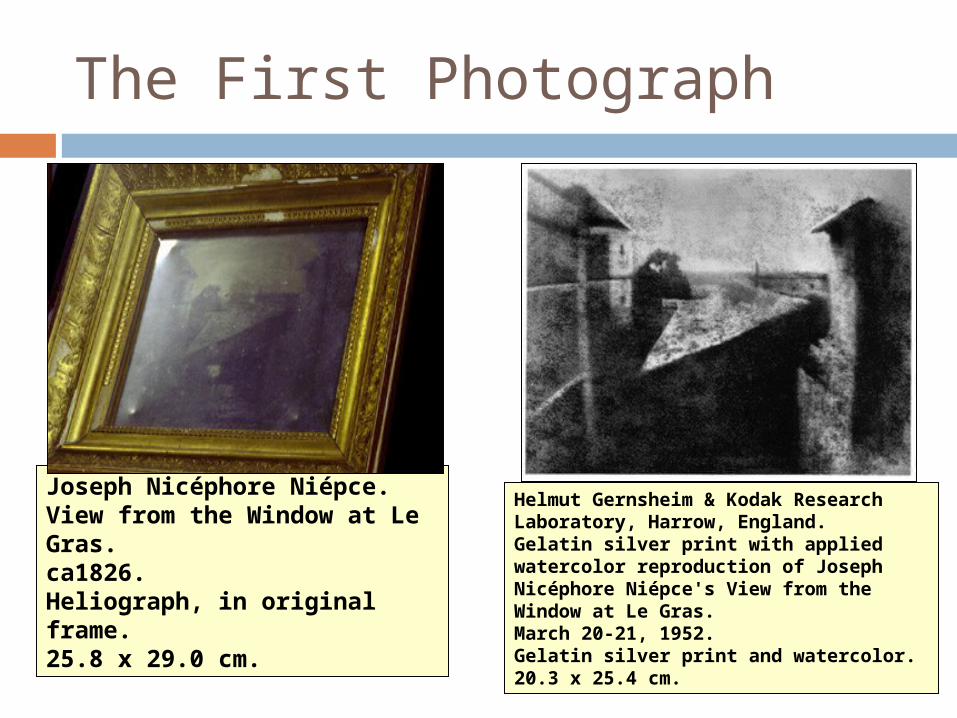
Joseph Nicéphore Niépce.View from the Window at Le Gras.ca1826.Heliograph, in original frame.25.8 x 29.0 cm.
Helmut Gernsheim & Kodak Research Laboratory, Harrow, England.Gelatin silver print with applied watercolor reproduction of Joseph Nicéphore Niépce's View from the Window at Le Gras.March 20-21, 1952.Gelatin silver print and watercolor.20.3 x 25.4 cm.
Brief History Of Imaging
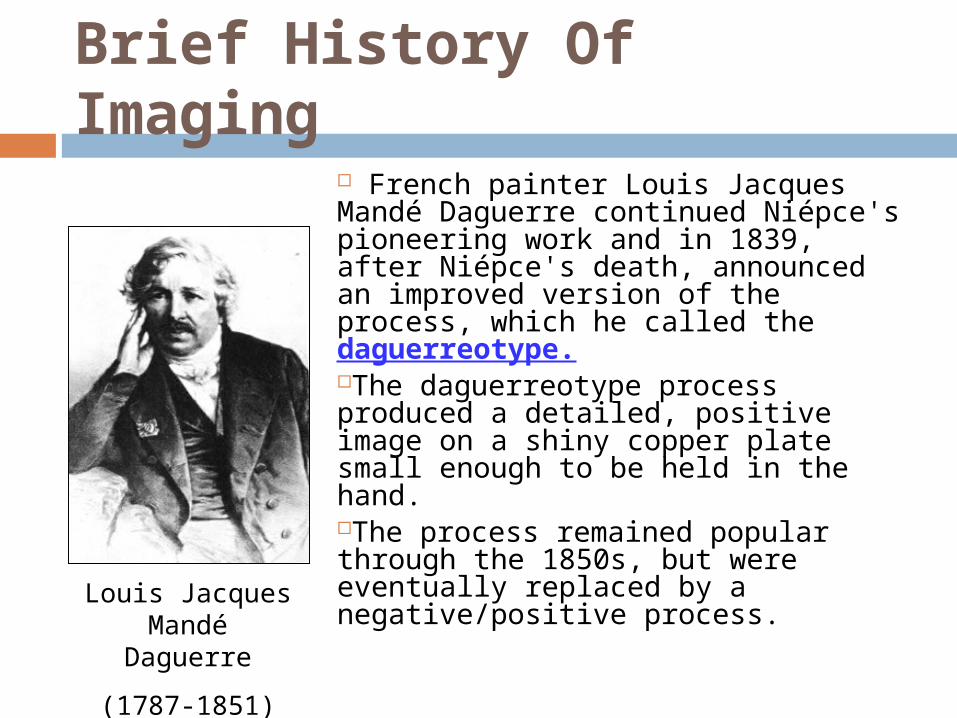
French painter Louis Jacques Mandé Daguerre continued Niépce's pioneering work and in 1839, after Niépce's death, announced an improved version of the process, which he called the daguerreotype.The daguerreotype process produced a detailed, positive image on a shiny copper plate small enough to be held in the hand. The process remained popular through the 1850s, but were eventually replaced by a negative/positive process.
Louis Jacques Mandé Daguerre
(1787-1851)
Brief History Of Imaging
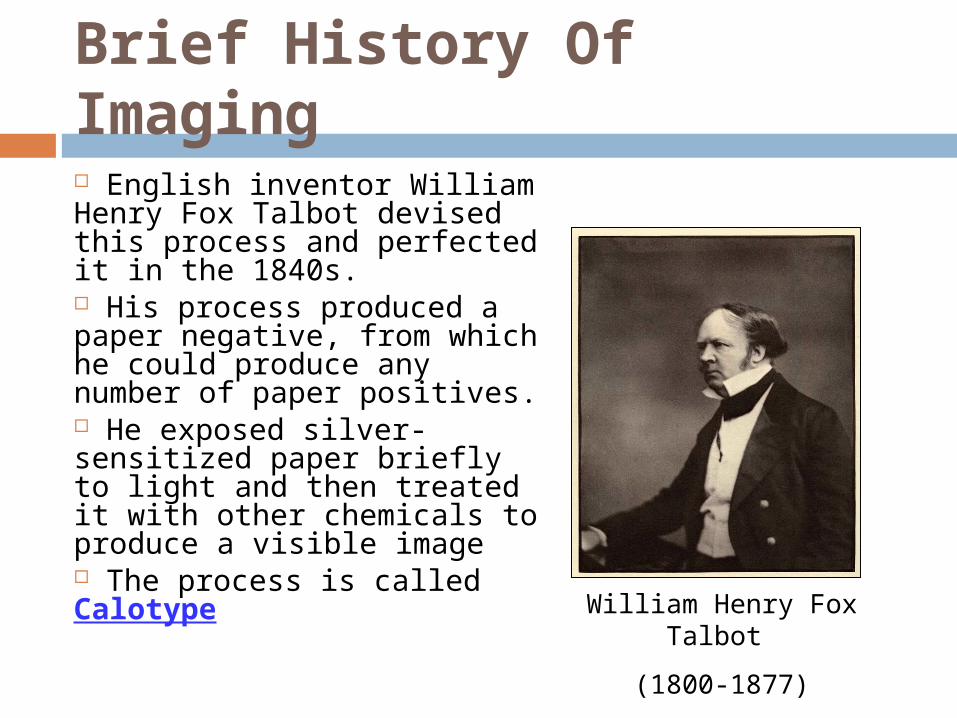
English inventor William Henry Fox Talbot devised this process and perfected it in the 1840s. His process produced a paper negative, from which he could produce any number of paper positives. He exposed silver-sensitized paper briefly to light and then treated it with other chemicals to produce a visible image The process is called Calotype
William Henry Fox Talbot
(1800-1877)
Brief History Of Imaging
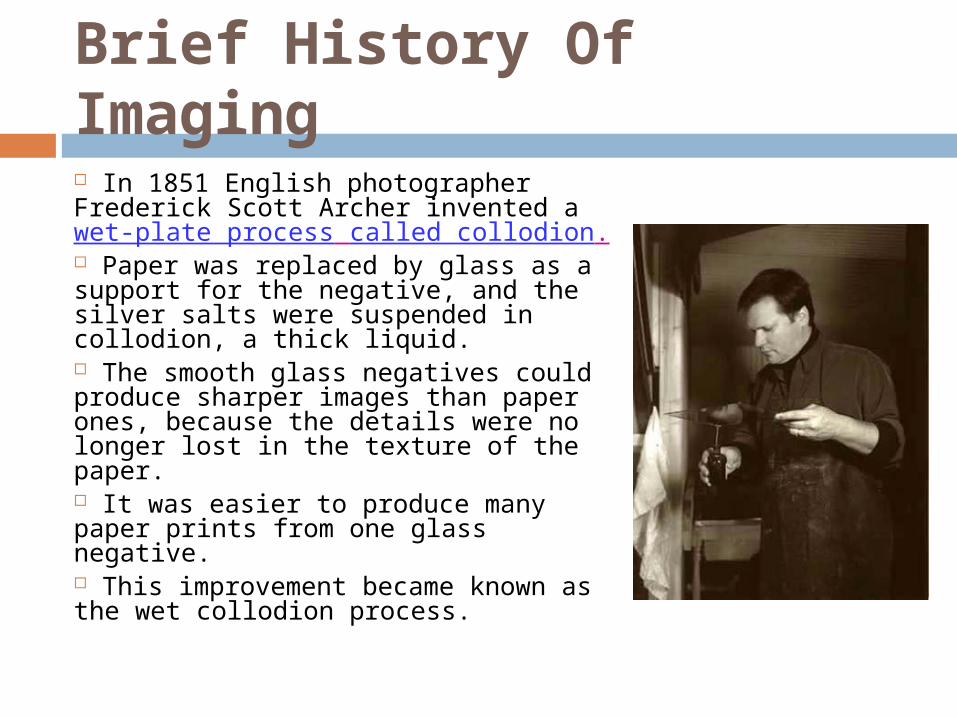
In 1851 English photographer Frederick Scott Archer invented a wet-plate process called collodion. Paper was replaced by glass as a support for the negative, and the silver salts were suspended in collodion, a thick liquid. The smooth glass negatives could produce sharper images than paper ones, because the details were no longer lost in the texture of the paper. It was easier to produce many paper prints from one glass negative. This improvement became known as the wet collodion process.
Brief History Of Imaging
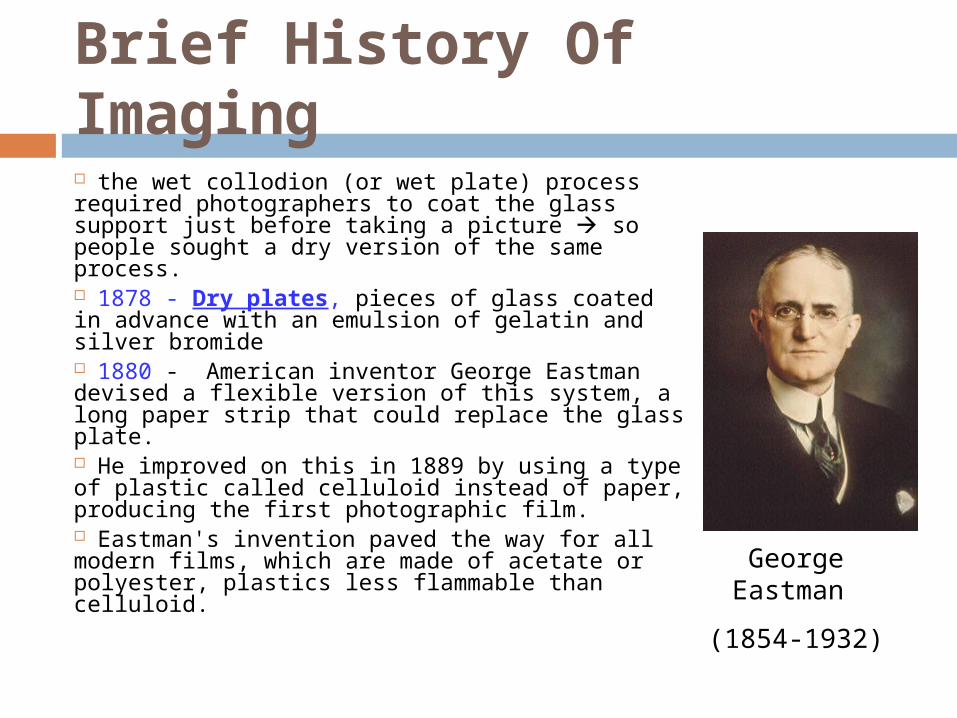
the wet collodion (or wet plate) process required photographers to coat the glass support just before taking a picture so people sought a dry version of the same process. 1878 - Dry plates, pieces of glass coated in advance with an emulsion of gelatin and silver bromide 1880 - American inventor George Eastman devised a flexible version of this system, a long paper strip that could replace the glass plate. He improved on this in 1889 by using a type of plastic called celluloid instead of paper, producing the first photographic film. Eastman's invention paved the way for all modern films, which are made of acetate or polyester, plastics less flammable than celluloid.
George Eastman
(1854-1932)
Brief History Of Imaging
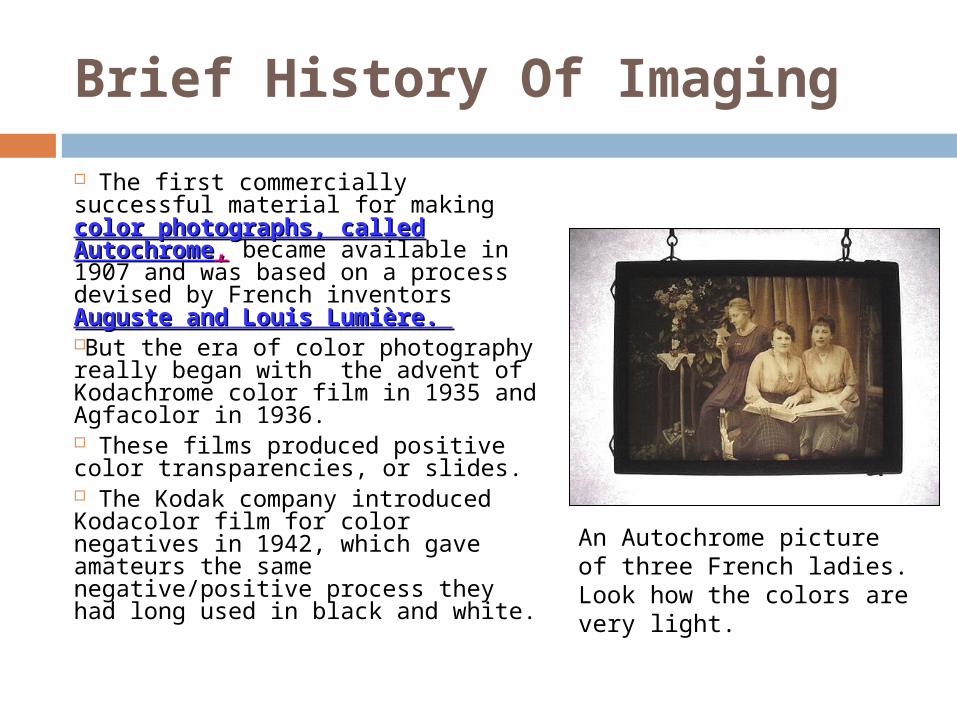
The first commercially successful material for making color color photographs, called Autochromephotographs, called Autochrome,, became available in 1907 and was based on a process devised by French inventors Auguste and Auguste and Louis Lumière. Louis Lumière. But the era of color photography really began with the advent of Kodachrome color film in 1935 and Agfacolor in 1936. These films produced positive color transparencies, or slides. The Kodak company introduced Kodacolor film for color negatives in 1942, which gave amateurs the same negative/positive process they had long used in black and white.
An Autochrome picture of three French ladies. Look how the colors are very light.
Conventional Cameras
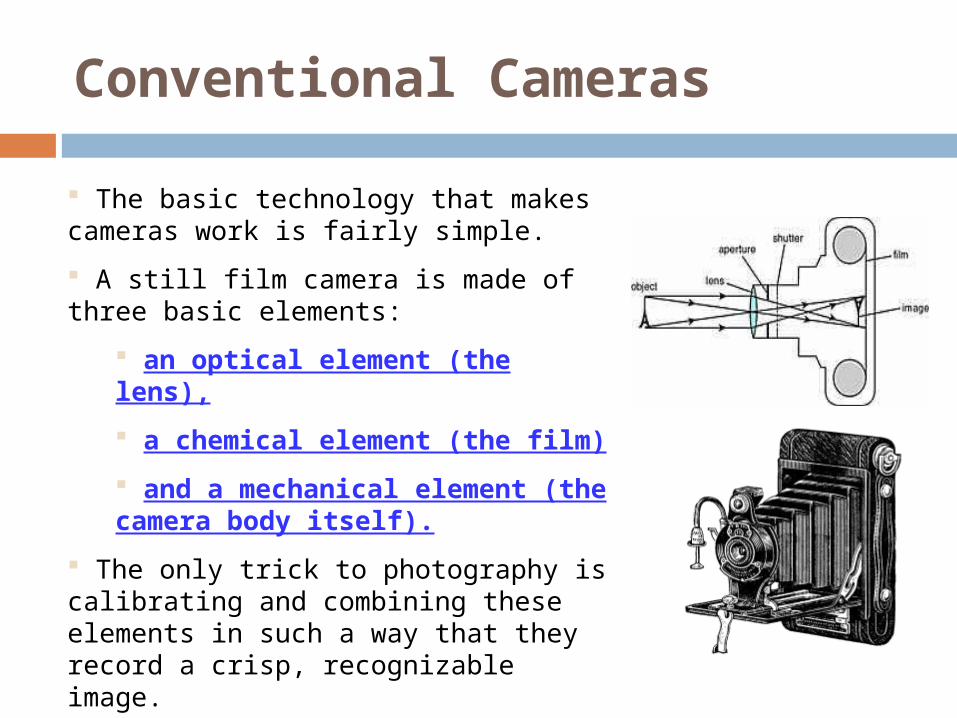
The basic technology that makes cameras work is fairly simple.
A still film camera is made of three basic elements:
an optical element (the lens),
a chemical element (the film)
and a mechanical element (the camera body itself).
The only trick to photography is calibrating and combining these elements in such a way that they record a crisp, recognizable image.
A Bit On Cameras
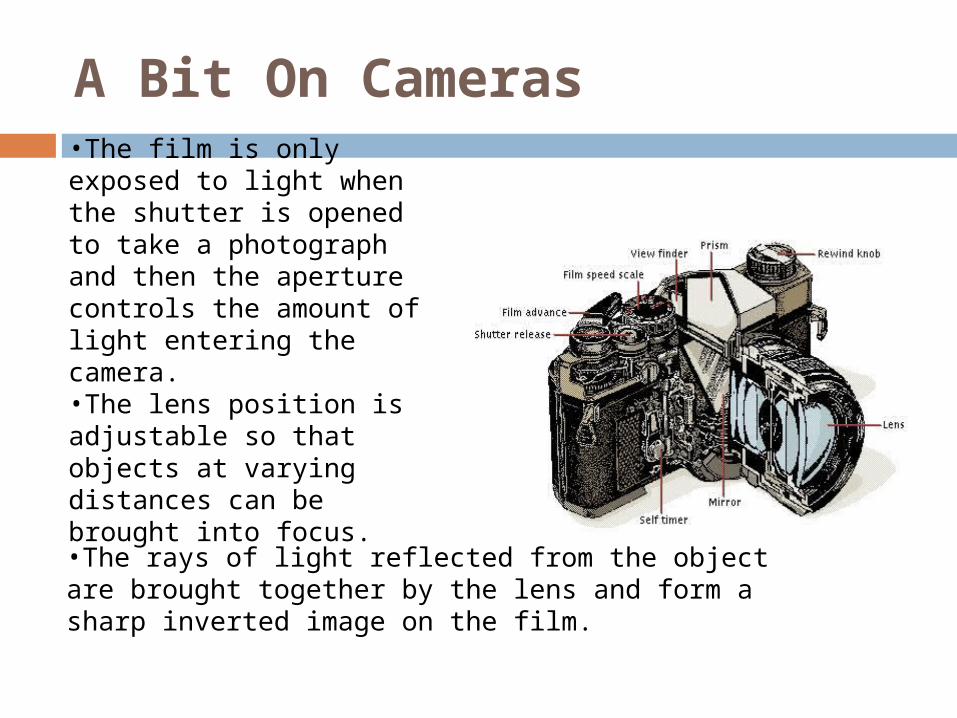
•The film is only exposed to light when the shutter is opened to take a photograph and then the aperture controls the amount of light entering the camera. •The lens position is adjustable so that objects at varying distances can be brought into focus.
•The rays of light reflected from the object are brought together by the lens and form a sharp inverted image on the film.
Digital Camera – A filmless Camera
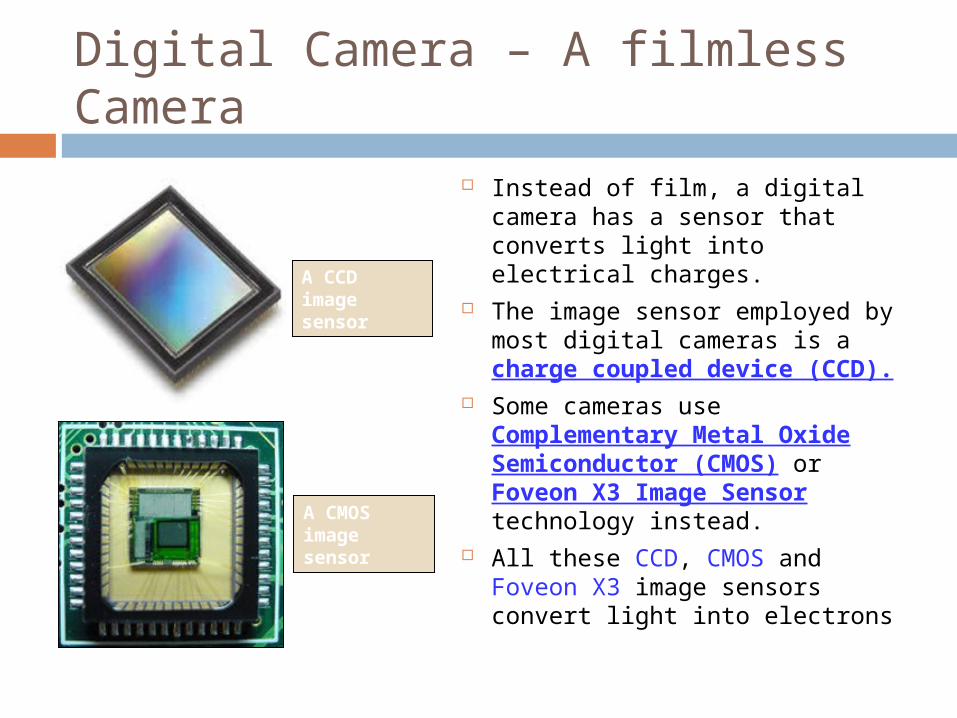
Instead of film, a digital camera has a sensor that converts light into electrical charges.
The image sensor employed by most digital cameras is a charge coupled device (CCD).
Some cameras use Complementary Metal Oxide Semiconductor (CMOS) or Foveon X3 Image Sensor technology instead.
All these CCD, CMOS and Foveon X3 image sensors convert light into electrons
A CMOS image sensor
A CCD image sensor
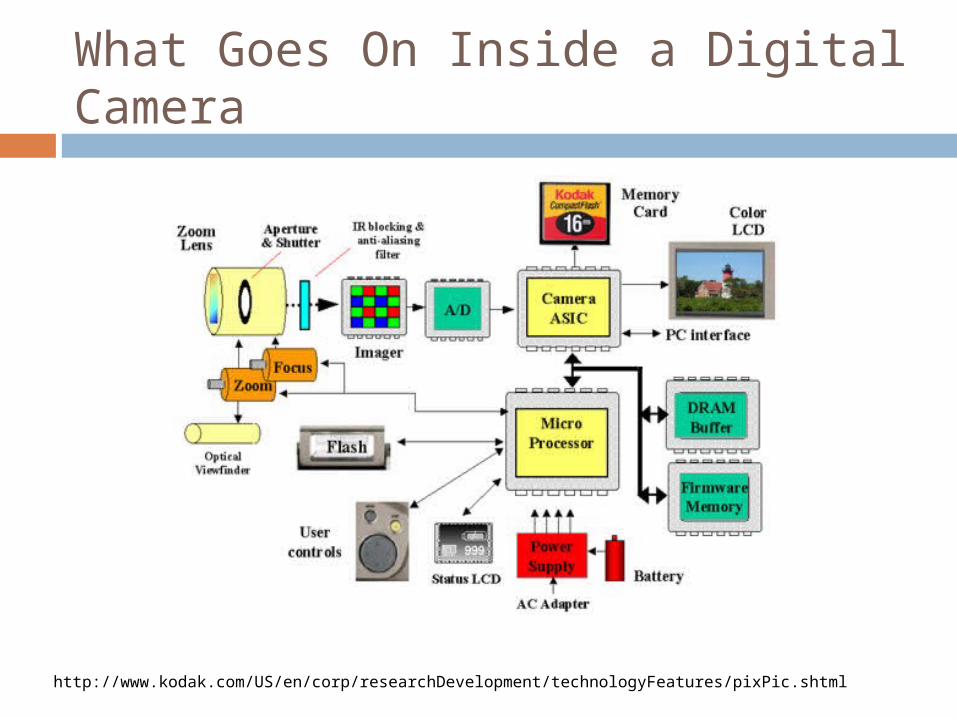
What Goes On Inside a Digital Camera
http://www.kodak.com/US/en/corp/researchDevelopment/technologyFeatures/pixPic.shtml
CCD vs. CMOS sensors
Differences between the two types of sensors lead to a number of pros and cons: CCD sensors create high-quality, low-noise images. CMOS
censors are generally more susceptible to noise. Because each pixel on a CMOS sensor has several transistors
located next to it, the light sensitivity of a CMOS chip is lower. Many of the photons hit the transistors instead of the photodiode.
CMOS sensors traditionally consume little power. CCDs, on the other hand, use a process that consumes lots of power. CCDs consume as much as 100 times more power than an equivalent CMOS sensor.
CCD sensors have been mass produced for a longer period of time, so they are more mature. They tend to have higher quality pixels, and more of them.
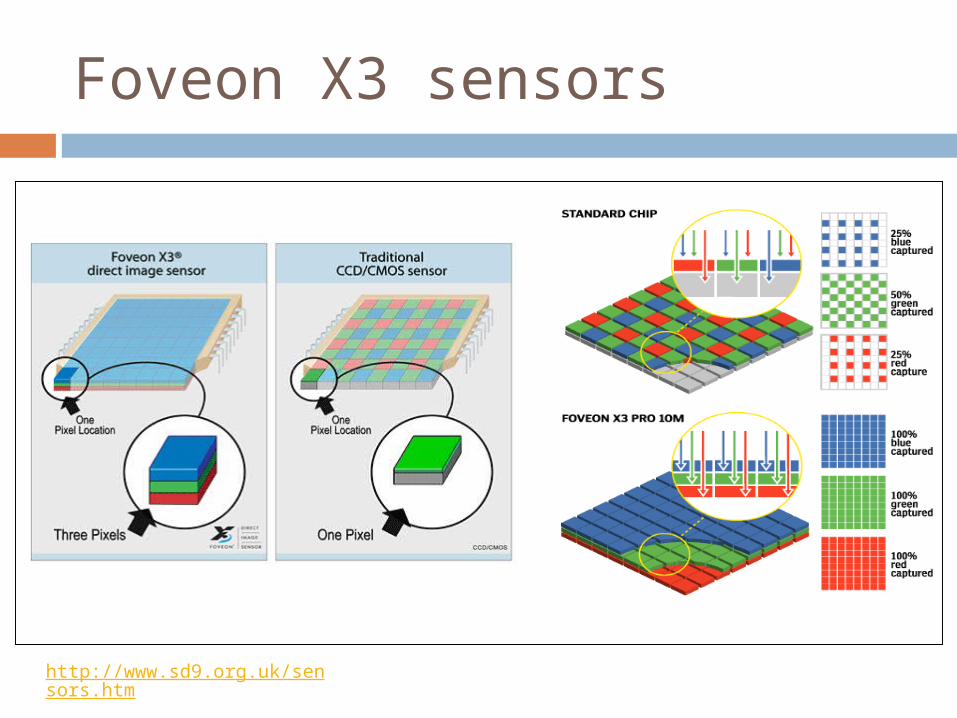
Foveon X3 sensors
Capture three times the color resolution than Bayer sensors (CCD & CMOS)
Produces sharper images and more accurate color reproduction than Bayer sensors
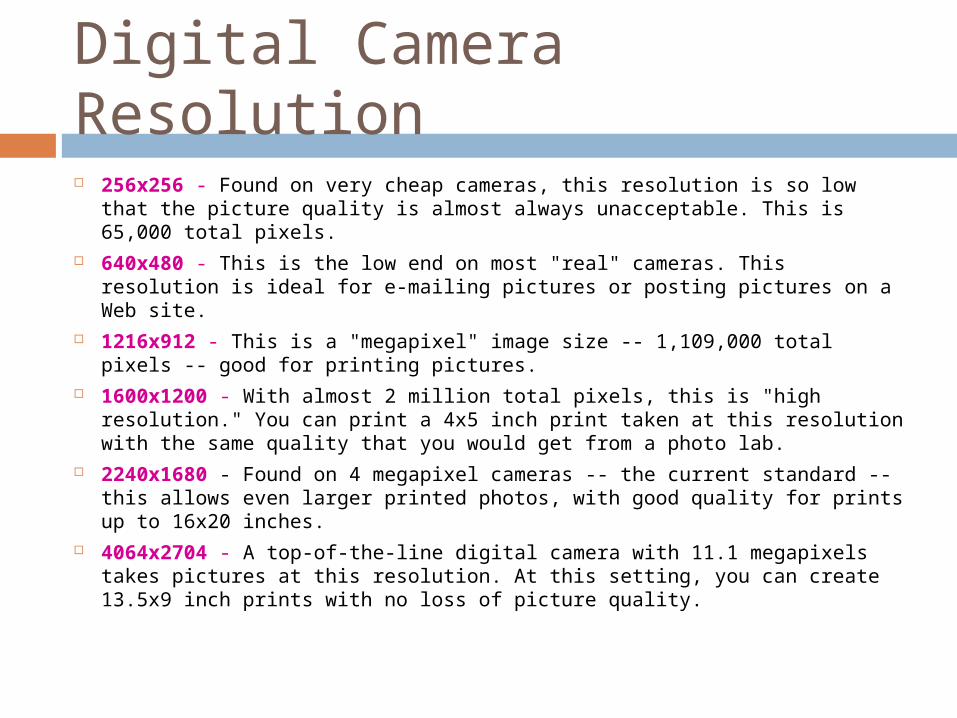
Digital Camera Resolution
256x256 - Found on very cheap cameras, this resolution is so low that the picture quality is almost always unacceptable. This is 65,000 total pixels.
640x480 - This is the low end on most "real" cameras. This resolution is ideal for e-mailing pictures or posting pictures on a Web site.
1216x912 - This is a "megapixel" image size -- 1,109,000 total pixels -- good for printing pictures.
1600x1200 - With almost 2 million total pixels, this is "high resolution." You can print a 4x5 inch print taken at this resolution with the same quality that you would get from a photo lab.
2240x1680 - Found on 4 megapixel cameras -- the current standard -- this allows even larger printed photos, with good quality for prints up to 16x20 inches.
4064x2704 - A top-of-the-line digital camera with 11.1 megapixels takes pictures at this resolution. At this setting, you can create 13.5x9 inch prints with no loss of picture quality.
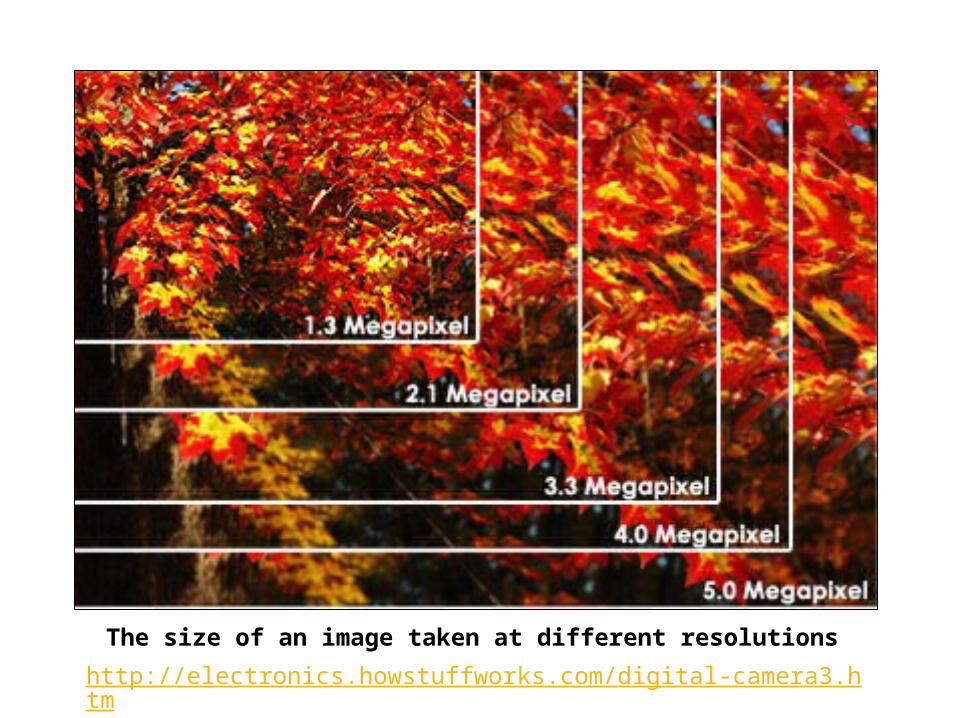
The size of an image taken at different resolutions
http://electronics.howstuffworks.com/digital-camera3.htm

Graphic / Image Data Structures
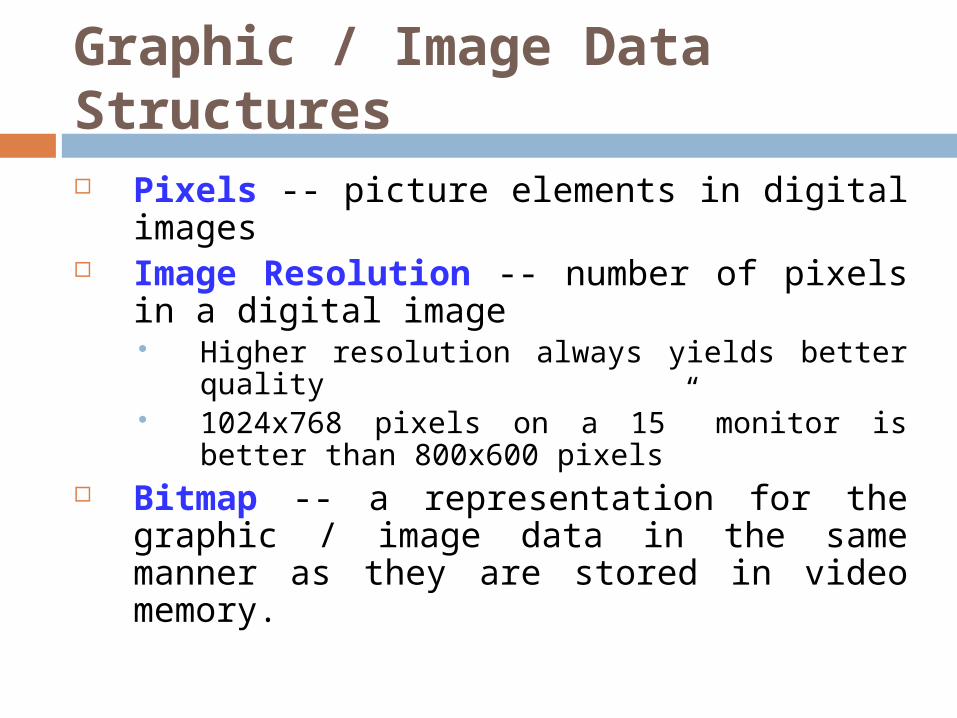
Graphic / Image Data Structures Pixels -- picture elements in digital
images Image Resolution -- number of pixels in
a digital image Higher resolution always yields better
quality 1024x768 pixels on a 15” monitor is better
than 800x600 pixels Bitmap -- a representation for the
graphic / image data in the same manner as they are stored in video memory.
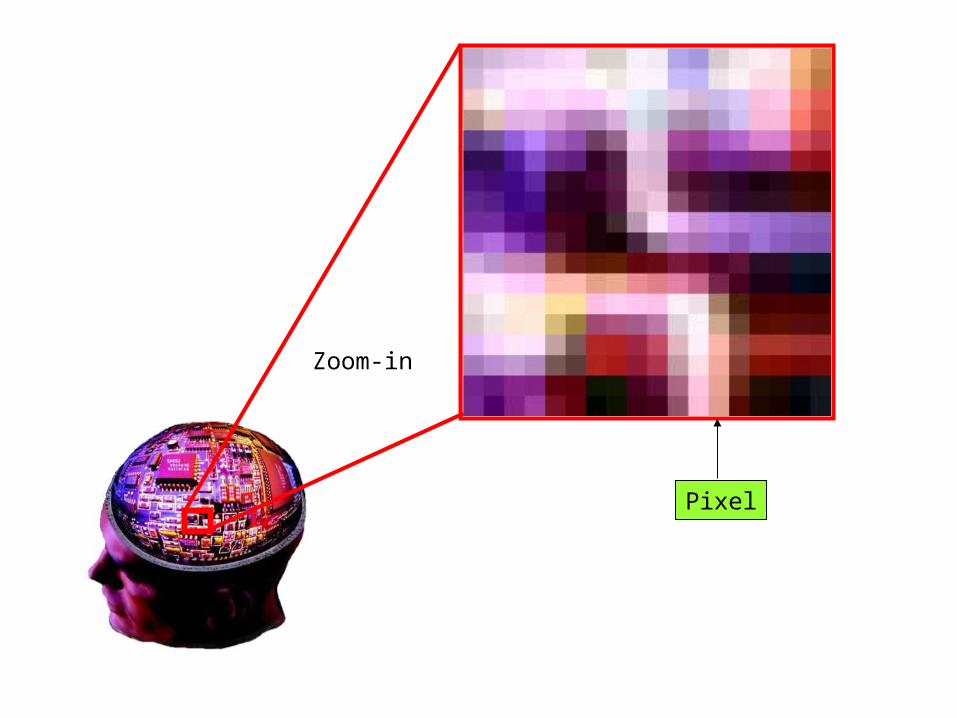
Pixel
Zoom-in
Why is a higher resolution better ? When a 12x8 inch picture is formed by say, 600x400 pixels, it uses pixels of a certain size.If the resolution increases, to about (for example) 1200x800, more pixels have to be squeezed in the 12x8 inch space. So the pixels used are smaller.This allows more colors to be included in the image matrix, thereby creating a more realistic look.The drawback is that this requires more memory.
Monochrome Image
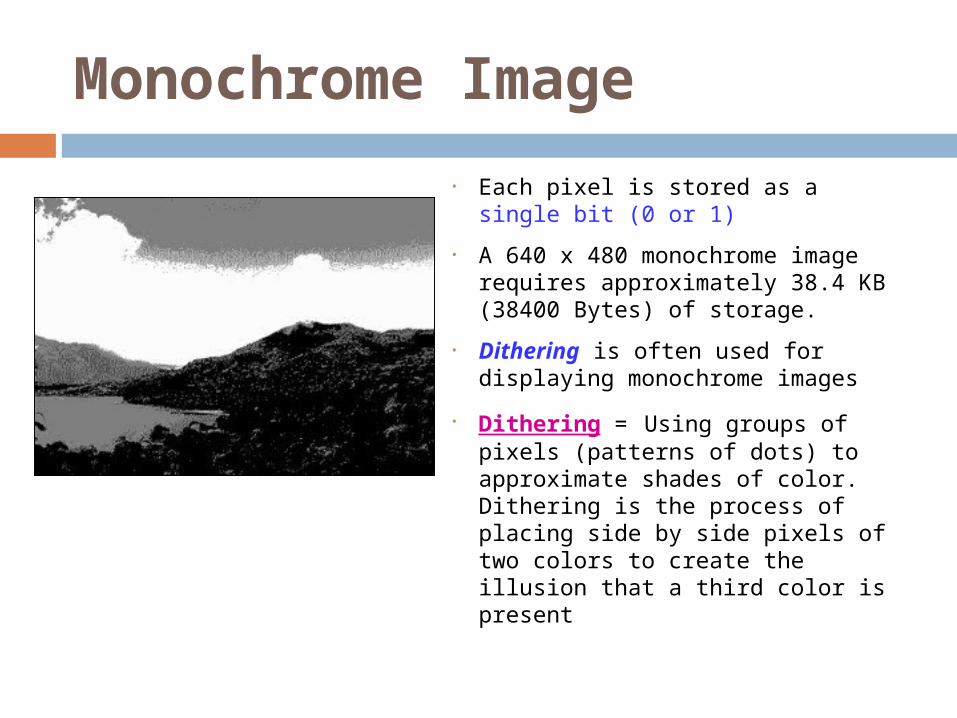
• Each pixel is stored as a single bit (0 or 1)
• A 640 x 480 monochrome image requires approximately 38.4 KB (38400 Bytes) of storage.
• Dithering is often used for displaying monochrome images
• Dithering = Using groups of pixels (patterns of dots) to approximate shades of color. Dithering is the process of placing side by side pixels of two colors to create the illusion that a third color is present
Grey Scale Images
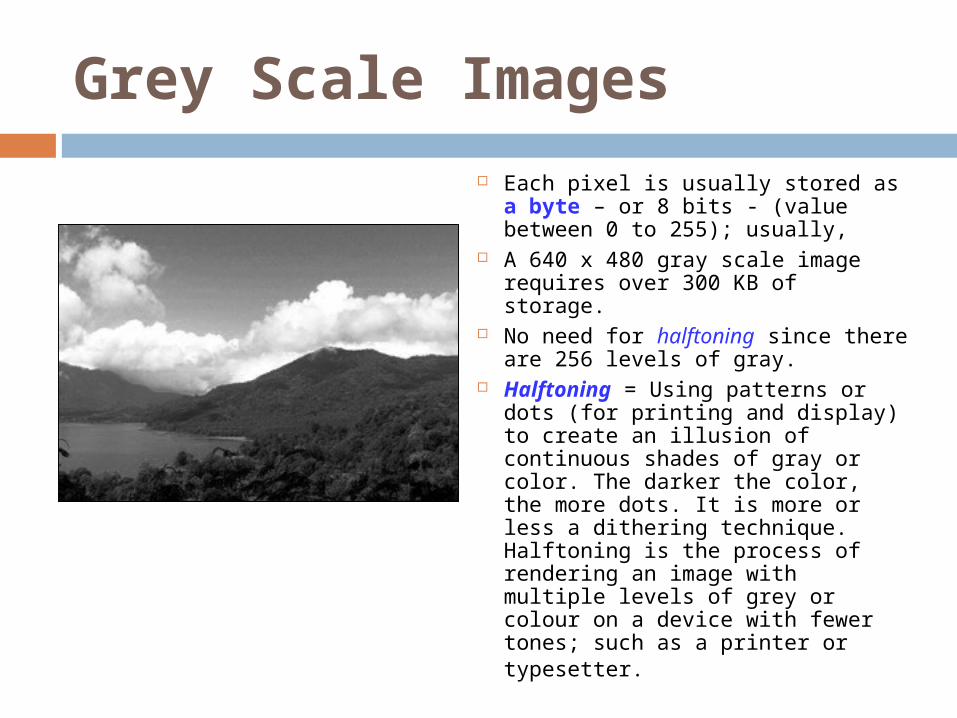
Each pixel is usually stored as a byte – or 8 bits - (value between 0 to 255); usually,
A 640 x 480 gray scale image requires over 300 KB of storage.
No need for halftoning since there are 256 levels of gray.
Halftoning = Using patterns or dots (for printing and display) to create an illusion of continuous shades of gray or color. The darker the color, the more dots. It is more or less a dithering technique. Halftoning is the process of rendering an image with multiple levels of grey or colour on a device with fewer tones; such as a printer or typesetter.
8-bit Colour Images
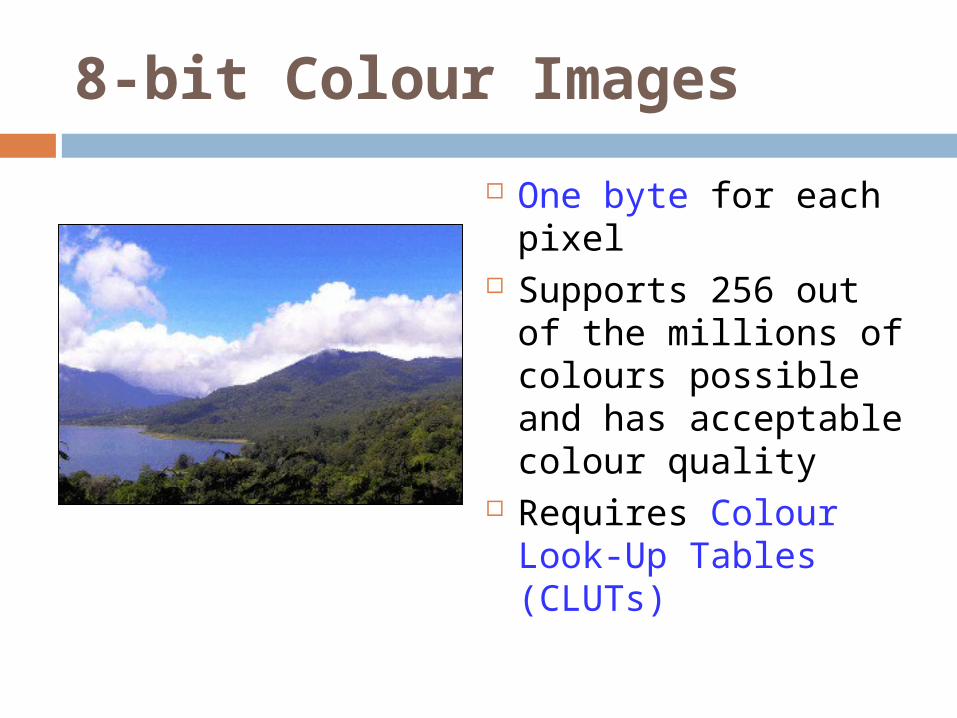
One byte for each pixel
Supports 256 out of the millions of colours possible and has acceptable colour quality
Requires Colour Look-Up Tables (CLUTs)
24-bit Colour Images
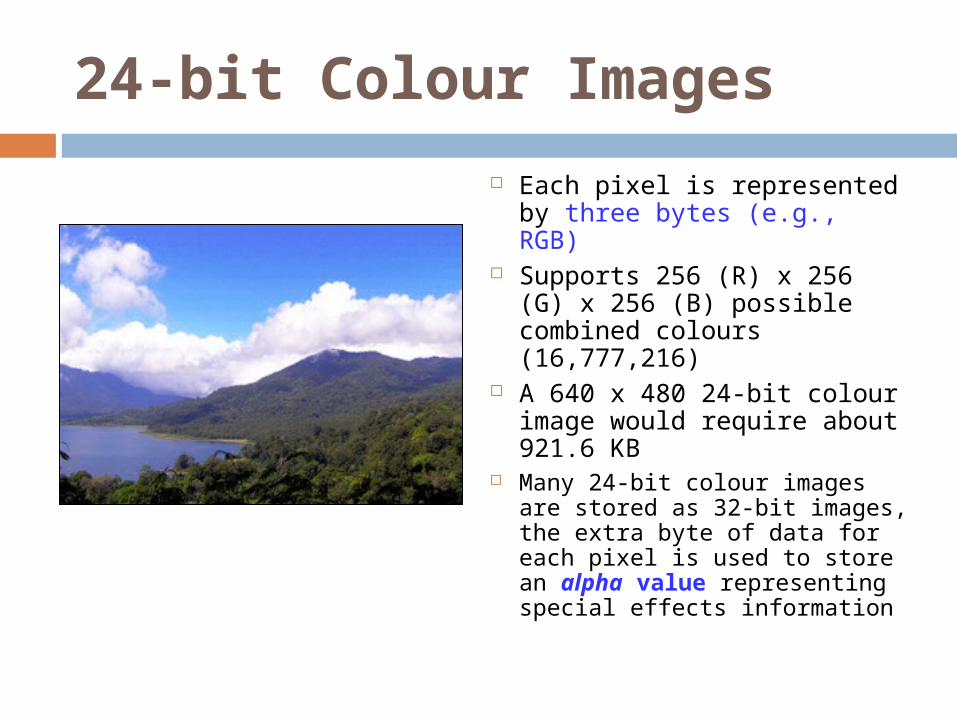
Each pixel is represented by three bytes (e.g., RGB)
Supports 256 (R) x 256 (G) x 256 (B) possible combined colours (16,777,216)
A 640 x 480 24-bit colour image would require about 921.6 KB
Many 24-bit colour images are stored as 32-bit images, the extra byte of data for each pixel is used to store an alpha value representing special effects information
File Sizes In Computers
1 bit is a value of either 0 or 1 in the computer. 4 bits equal a ‘nibble’.
1 byte consists of 8 bits. This is because the earliest computers could only send 8 bits of data at a time so it was convenient to write code in sets that large.
1 KB or 1 kilobyte is theoretically 1,000 bytes. However, early computer engineers noticed that
the binary 210 (1024) was very close to the decimal 103 (1000).
So, they set that in computers, 1 kilobyte (1 KB) equals 1024 bytes.
This also meant that 1 megabyte (1 MB) equals 1024 KB and 1 gigabyte (1 GB) equals 1024 MB.
File Sizes In Computers
Through all this, 1 Kb (1 kilobit) still equals 1000 bits. A small ‘b’ denotes bits.
This is why hard drives often have less space than they’re said to have.
For example, an 80 GB hard drive has 80,000,000,000 bytes because this is described on the drive using the decimal system.
When installed in a computer, this number becomes 80,000,000,000/(1024x1024x1024) GB = 74.5 GB.
For simplicity of calculations, we often say that 1 KB = 1000 bytes.
File Sizes In Computers
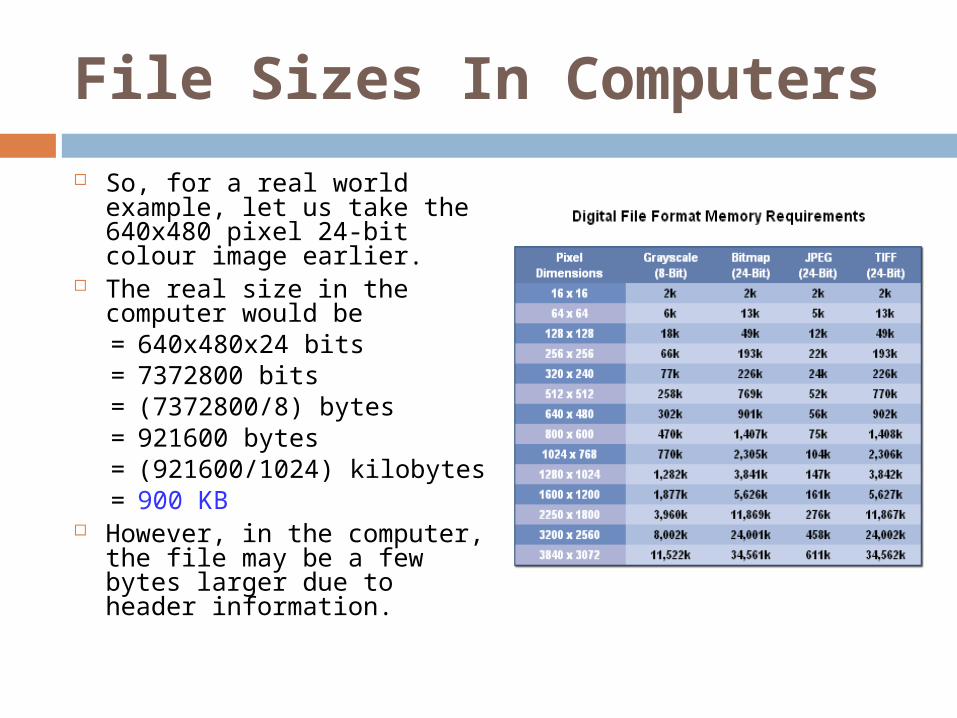
So, for a real world example, let us take the 640x480 pixel 24-bit colour image earlier.
The real size in the computer would be= 640x480x24 bits = 7372800 bits= (7372800/8) bytes= 921600 bytes= (921600/1024) kilobytes= 900 KB
However, in the computer, the file may be a few bytes larger due to header information.
Related Documents